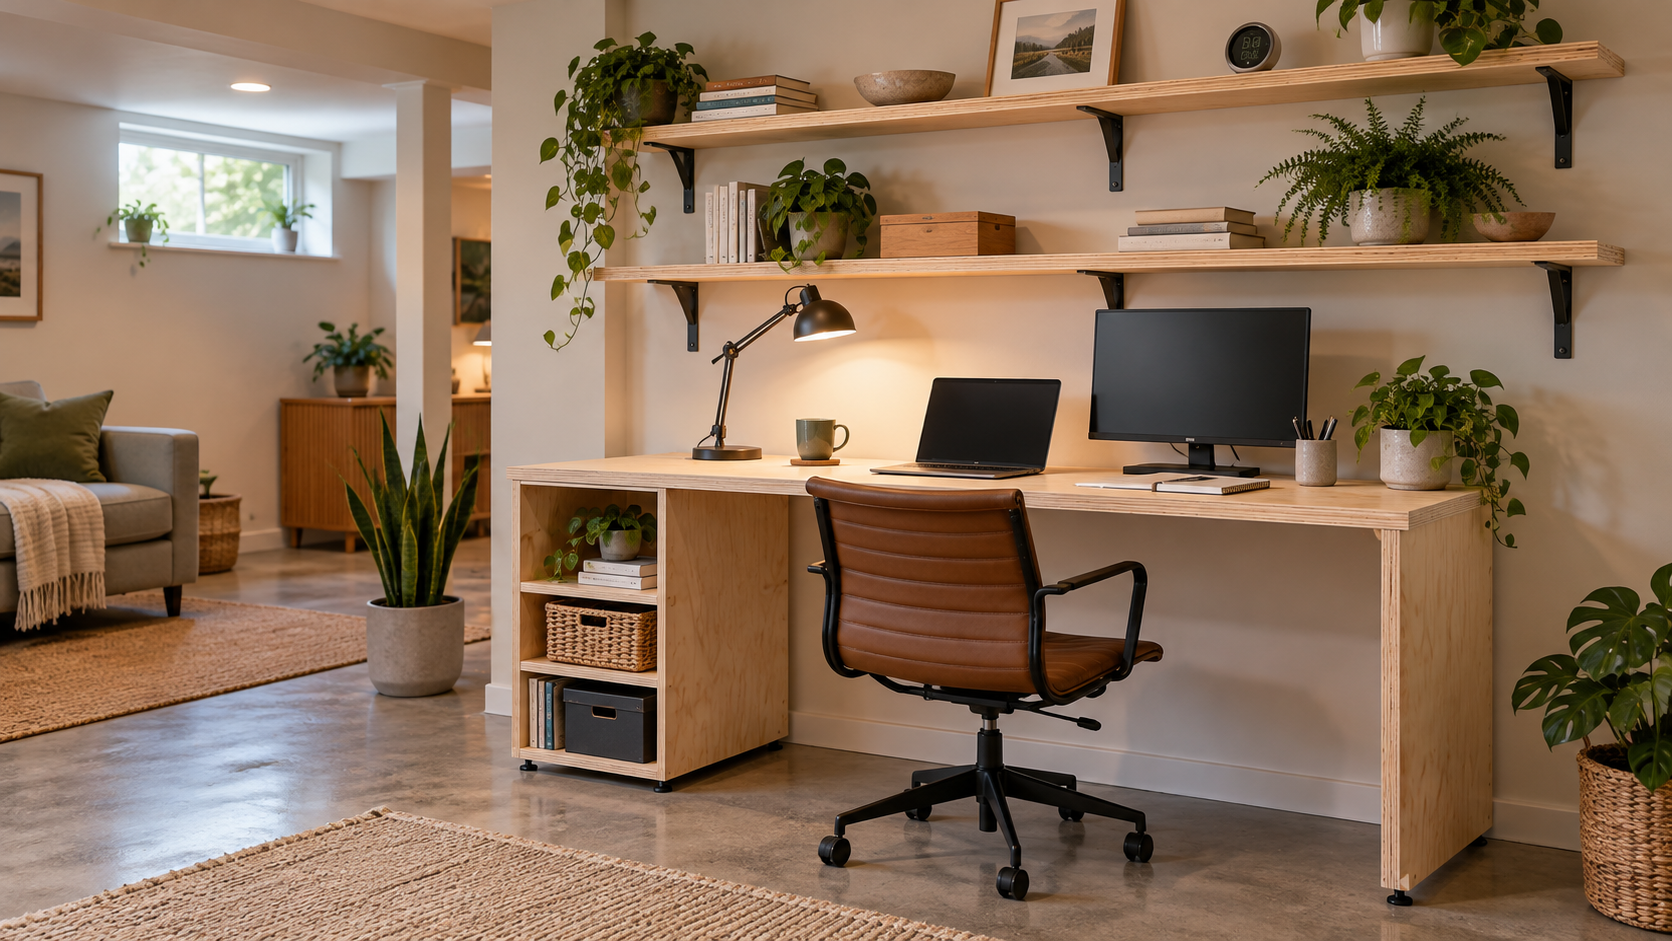
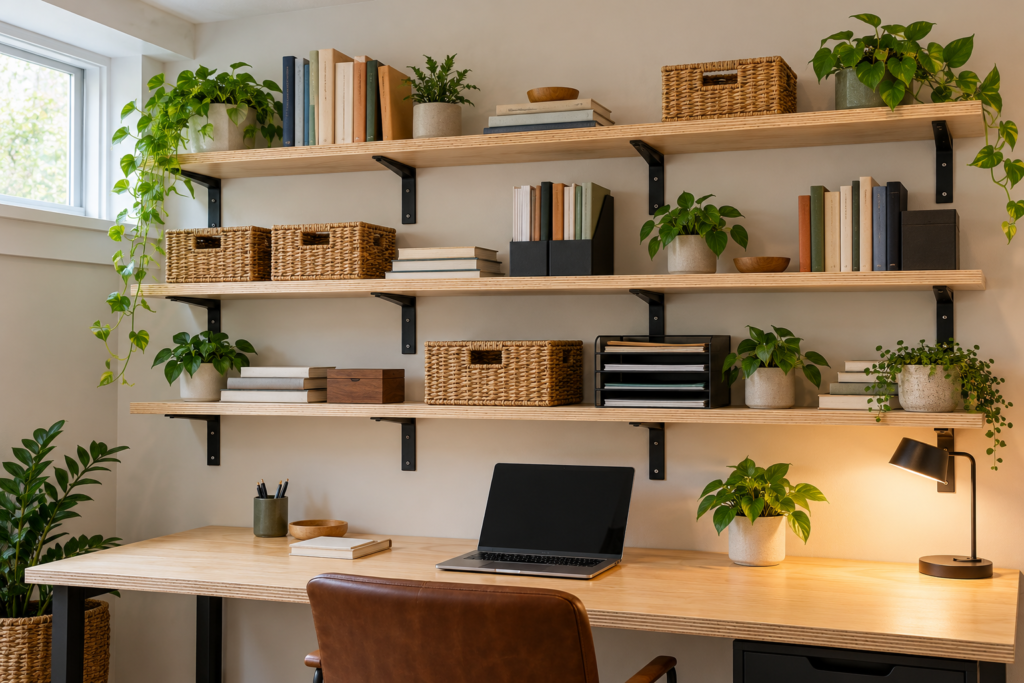
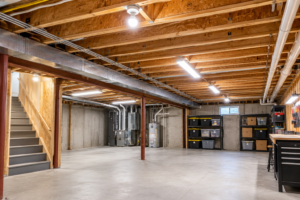
The cheapest solid basement home office you can build is a desk and storage set made from two sheets of 3/4-inch plywood. One sheet makes a 60 × 23-7/8-inch desk with a built-in storage tower. The second sheet makes the stiffeners and up to three wall shelves, each as long as 8 feet. Raise the whole desk off the concrete on adjustable feet, and keep the room’s humidity between 30% and 50% before you build anything.
Quick answer
Material: two 4 × 8 sheets of 3/4-inch plywood
Desk: 60 in. wide × 23-7/8 in. deep, with the top about 28–30 in. off the floor (set it to your seated elbow height)
Storage: a 15-inch-wide open tower under one end, plus wall shelves 11-7/8 in. deep
Basement rule #1: no plywood touching the slab. Use leveling feet.
Supports the left end; open cubbies for bins, paper, or a printer
Panel leg
3/4″ plywood
23″ D × leg height
Supports the right end
Back stretcher
3/4″ plywood
4″ × 44-1/4″
Stops side-to-side wobble
Front stiffener
3/4″ plywood
2″ × 44-1/4″
Keeps the top from sagging under a monitor
Wall shelves (×3)
3/4″ plywood
11-7/8″ × up to 96″
Wall storage above or beside the desk
Feet
Adjustable leveling feet
4–6 feet
Keeps wood off the slab and levels the desk on an uneven floor
Room target
Hygrometer + dehumidifier if needed
30–50% RH
Protects the plywood and everything you store
Leg height = your target desktop height − 3/4 in. (the top) − the height of your leveling feet. For a 29-1/2-inch desktop on 1/2-inch feet, cut the legs to 28-1/4 in.
Before You Build: Test the Basement First
A desk can’t fix a damp basement. Run two quick checks first.
Test 1: Humidity. Put a digital hygrometer where the desk will go and read it for a few days, including after a rainy day. If it stays above 60%, deal with that before you build. Usually that means a dehumidifier, and fixing grading or gutters if water is getting in.
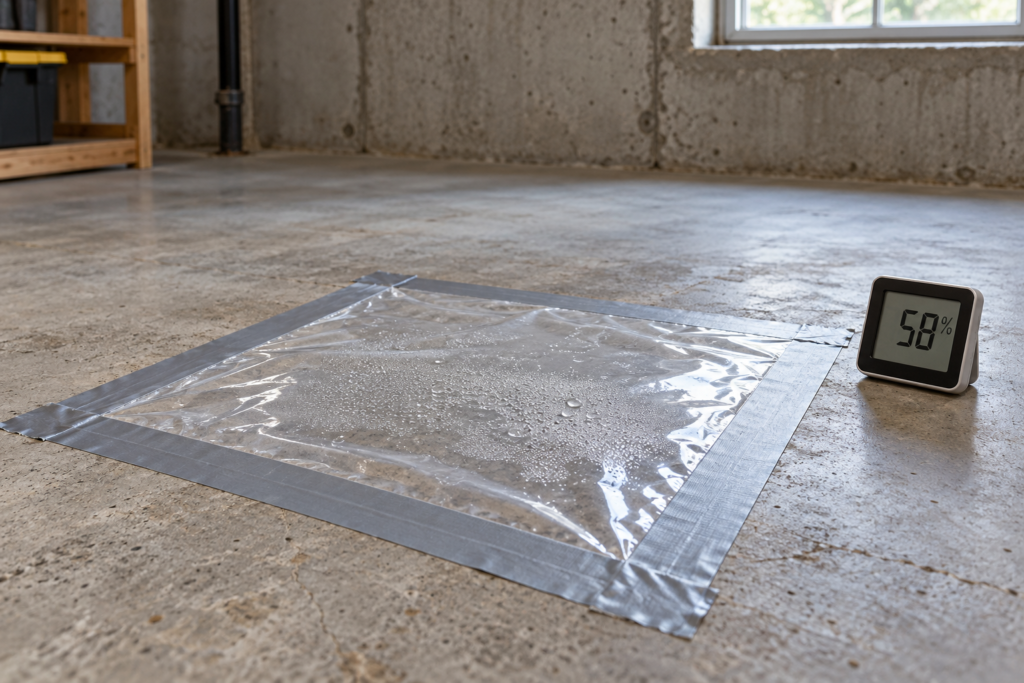
Test 2: Slab moisture. Tape an 18 × 18-inch sheet of clear plastic flat to the bare concrete, sealing all four edges, and leave it at least 16 hours. This is the plastic-sheet method in ASTM D4263. Then lift it: condensation under the plastic or a darker patch on the concrete means moisture is coming up through the slab.
Treat this as a quick first check only. The test shows whether moisture is present, not how much. A dry result doesn’t prove the slab stays dry, because readings change with the season, the weather, and the room temperature. Repeat it in a humid month. If you plan to finish the floor, use a quantitative slab test such as in-slab RH probes (ASTM F2170). Either way, this plan keeps the desk off the concrete on leveling feet.
Warning: If you see standing water, active leaks, or visible mold, stop here. Plywood furniture doesn’t fix any of these, and anything you store down there will be damaged too.
Use 3/4-inch plywood throughout. Thinner panels flex across a 44-inch span, and 3/4 inch is also the standard for shelves and cabinet boxes (see this plywood thickness for cabinets chart).
Dry, conditioned basement (stays at 30–50%): birch or maple hardwood plywood. It has smooth faces, takes paint or stain well, and the desk looks like furniture.
Basement that sometimes runs damp: choose a panel with an exterior-rated glue bond. For softwood plywood, PS 1 uses the bond classifications Exposure 1 and Exterior. For hardwood plywood, ANSI/HPVA HP-1 lists the bond type, so ask for Type I (exterior).
Avoid particleboard and MDF. Both swell when they take on moisture, and a swollen edge doesn’t go back down.
Important: The glue bond decides whether the layers stay together when wet. It does not make the wood resist rot. Exterior-glue plywood held at high humidity can still grow mold and decay. Controlling humidity is what protects the desk.
Cut List: Two Sheets of Plywood
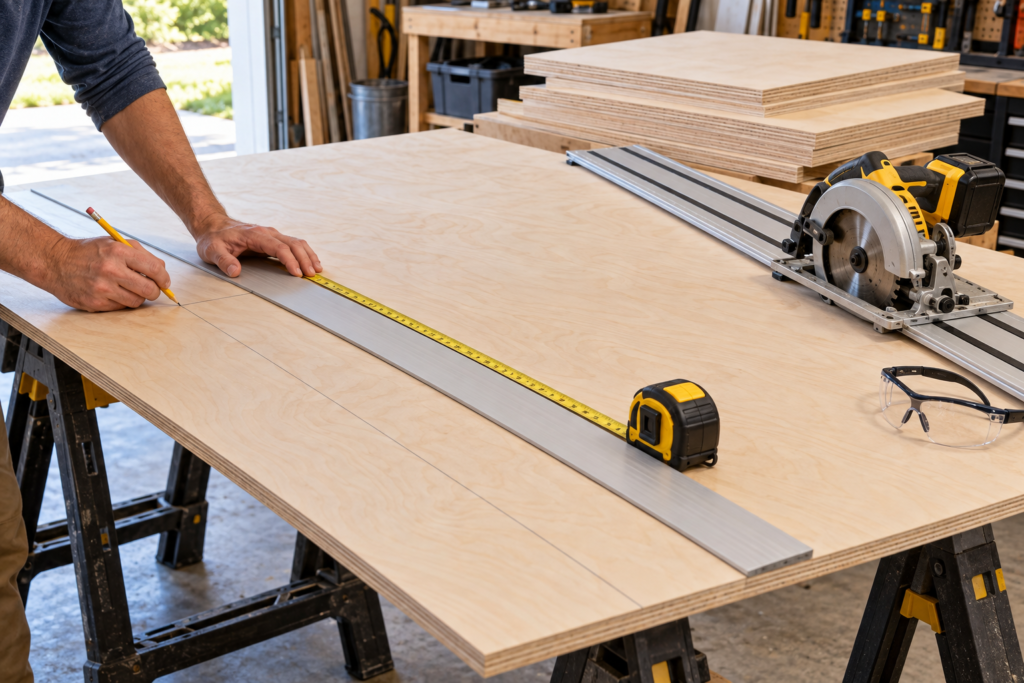
A 4 × 8 sheet measures 48 × 96 inches, and every saw cut removes about 1/8 inch. You can’t get two full 24-inch strips from one sheet: the two halves come out just under 24 in. each. The sizes below allow for that.
Sheet 1: Desk and Storage Tower
Rip the sheet lengthwise down the middle. You get two strips just under 24 in. wide.
Strip A: rip to 23-7/8 in. wide. This also trims off any dinged factory edge. Crosscut the desktop at 60 in. (60 × 23-7/8 in.). Rip the leftover piece (about 23-7/8 × 35-7/8 in.) to 23 in. wide, then cut two tower shelves at 13-1/2 × 23 in.
Strip B: rip to 23 in. wide, then cut two tower sides and one panel leg to your leg height × 23 in. The three pieces fit with room to spare at leg heights up to 28-3/4 in.
The tower and leg are 23 in. deep, so the 23-7/8-inch desktop overhangs the front by about 7/8 in. That small lip makes the top easier to grab and clean.
Sheet 2: Stiffeners and Wall Shelves
Rip the sheet into four strips 11-7/8 in. wide. Four strips plus three saw cuts total 47-7/8 in., so they fit.
Strip 1: crosscut to 44-1/4 in., then rip a 4-inch back stretcher and a 2-inch front stiffener from that piece.
Strips 2–4: three wall shelves, cut to the length of your wall (up to 96 in.).
Cost difference: The second sheet costs the same as the first but nearly doubles your storage. It turns a desk into a desk plus up to 24 feet of shelving. To budget, add up: 2 sheets + leveling feet + shelf brackets + edge banding + finish. Prices vary a lot by region, so check your local store before you buy.
How to Build the Desk
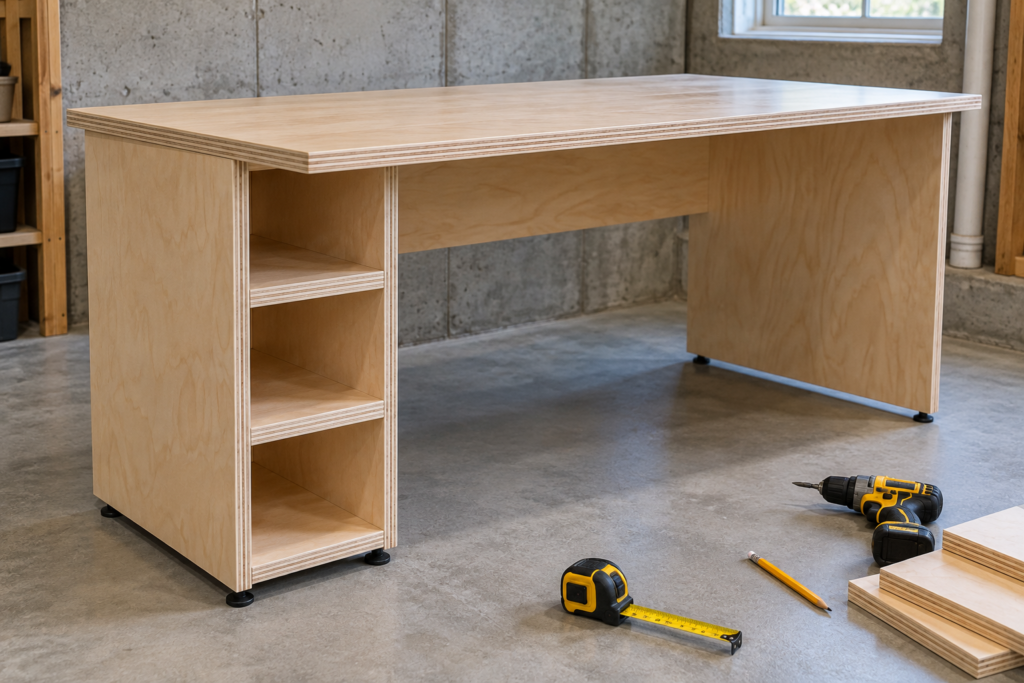
1. Build the storage tower. Stand the two tower sides 13-1/2 in. apart. Fix the bottom shelf about 3 in. up from the bottom edge so the feet and a vacuum can clear it. Fix the middle shelf at whatever height suits your bins or printer. Pocket screws or glue plus 1-1/4-inch screws both work.
2. Add the stretchers. Fit the 4-inch back stretcher between the tower’s right side and the panel leg, flush with the top and back edges. This piece stops the desk from racking side to side, so don’t skip it.
3. Attach the top. Set the desktop on the tower and leg, flush at both ends and at the back, with the extra 7/8 in. overhanging the front. Fasten it from below with pocket screws or corner brackets. Then glue and screw the 2-inch front stiffener under the top between the tower and the leg, in line with their front edges. That leaves about 26 inches of knee clearance (on 1/2-inch feet), which is inside OSHA’s guidance of 20–28 inches of leg clearance under a desk.
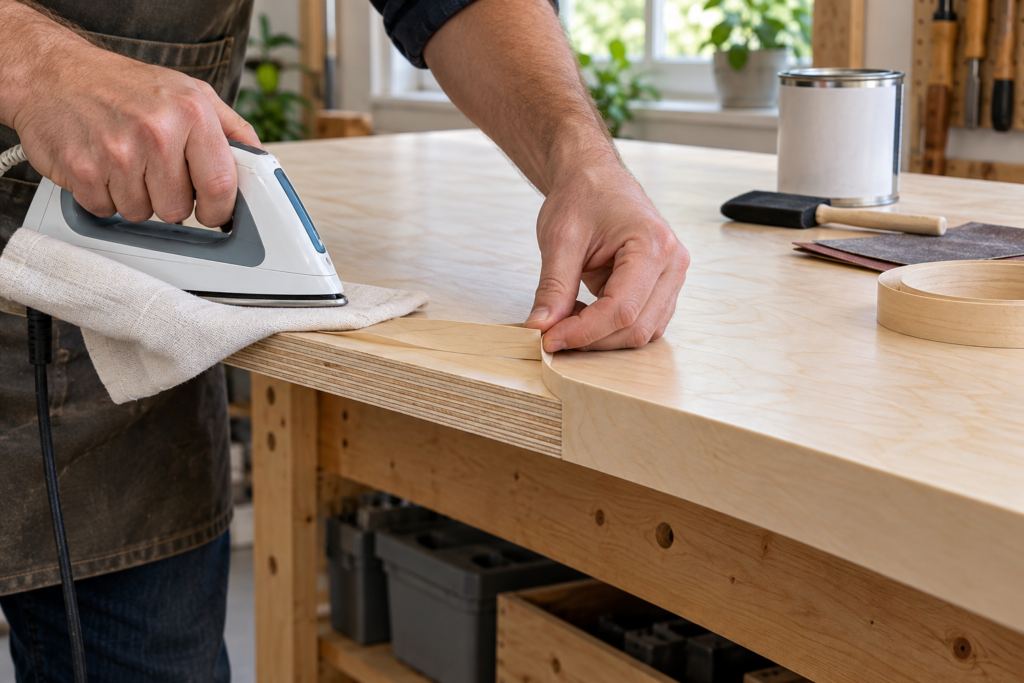
4. Band the edges. Iron on edge banding over the visible plywood edges on the top, the tower front, and the leg. It’s the quickest way to make plywood look finished. The DIY plywood desk guide shows the edge banding and leg steps in detail.
5. Finish every face. Coat the top, the underside, the inside of the tower, and every cut edge. Sealing all sides evenly helps keep the panels flat when basement humidity changes with the seasons. Water-based polyurethane is low-odor, which matters in a room with little fresh air.
6. Install feet and level. Screw adjustable leveling feet under the tower sides and the panel leg. Basement slabs are rarely flat, so adjust each foot until the top is level and the desk doesn’t rock.
7. Position it. Leave a gap of a couple of inches between the back of the desk and a bare foundation wall so air can move behind it.
Wall Storage: Shelves That Hold
On a framed wall: install appropriately rated steel brackets into structural framing at approximately 16-inch intervals, so there’s a bracket at every stud. Check that the brackets’ load rating covers what you plan to store. Don’t hang loaded shelves on drywall anchors alone.
For heavy loads like books, paper, or equipment: use a supported shelf design (vertical standards or a floor-standing unit) rated for the intended load instead of brackets alone.
On a bare foundation wall: use masonry anchors rated for the load. The brackets naturally hold the shelf away from the concrete.
Spacing: put the lowest shelf at least 18–20 in. above the desktop so a monitor and your head clear it.
For thickness, span, and grain direction, see the plywood shelves guide. If you’re framing new walls for the office, put blocking where the shelves will go now; see how to frame a basement.
Tools and Supplies
Affiliate disclosure: ThePlywood.com is reader-supported. If you buy through links on this page, we may earn a commission at no extra cost to you.
Common Basement Home Office Mistakes (and What They Cost You)
Mistake: plywood sitting directly on the concrete. The bottom edges soak up slab moisture and can swell, stain, or grow mold. You end up recutting the legs or rebuilding the tower.
Regret: a particleboard flat-pack desk in a damp basement. Once the edges swell, the cam fittings lose their grip. You pay twice: once for the cheap desk, again for a replacement.
Mistake: planning on a full 24-inch-deep top from half a sheet. The saw blade eats about 1/8 in., so the second strip comes up short and won’t match. Plan for 23-7/8 in. from the start.
Mistake: skipping the back stretcher. The desk racks side to side every time you type, and the screws loosen over a few months.
Mistake: trusting one dry plastic-sheet test. A dry result in winter can turn wet in August. Retest in a humid month before you store paper or electronics under the desk.
Mistake: loaded shelves on drywall anchors. Anchors pull out under the weight of books and bins. The shelf, and whatever’s on it, ends up on your desk.
When This Plan Isn’t the Right Fit
Water problems: active leaks, standing water, or a slab that shows moisture under the plastic sheet. Fix the water first.
Low ceilings in a room you’re finishing: under IRC R305.1, finished living space in a basement generally needs a ceiling of at least 7 feet, with allowances for beams and ducts that vary by code edition. The desk itself doesn’t need a permit, but turning the area into a finished room may. Check with your local building department.
Radon: if you’ll spend full workdays down there, test the basement. The EPA recommends fixing a home at 4 pCi/L or higher.
Heavy equipment: a large tower PC plus several monitors may need a thicker top or a center support. This plan is sized for typical home-office loads.
FAQ
Is a basement a good place for a home office? Yes, if it stays dry. A basement is usually quiet and separate from the rest of the house. The deciding factor is humidity: if you can hold it at 30–50%, a basement office works well. If you can’t, fix that before you furnish the room.
What is the best plywood for a basement desk? Use 3/4-inch hardwood plywood, such as birch, if the basement stays dry. If it sometimes runs damp, choose a panel with an exterior-rated glue bond, and still control humidity, because the glue rating doesn’t stop mold or rot.
How many sheets of plywood do I need for a desk with storage? Two. One 4 × 8 sheet covers a 60 × 23-7/8-inch desktop, a storage tower, and a panel leg. The second covers the stiffeners and up to three wall shelves 8 feet long.
What humidity should a basement office be? The EPA recommends keeping indoor humidity below 60%, ideally between 30% and 50%. Use a hygrometer to check, and run a dehumidifier if readings stay high.
How do I know if my basement slab is too damp? Start with the plastic-sheet test (ASTM D4263): tape an 18 × 18-inch sheet to the concrete for at least 16 hours and look for condensation or darkening. It only tells you whether moisture is present, so a dry result isn’t a guarantee. Repeat it in a humid month, and use a quantitative test before you install flooring.
Do I need a permit for a basement home office? Building and placing a desk and shelves usually doesn’t. Finishing the space into a habitable room (framing, electrical, ceilings) often does, and ceiling-height rules apply. Ask your local building department before you start a finish project.
Bottom Line
Two sheets of 3/4-inch plywood give you a 60-inch desk, a storage tower, and up to three long wall shelves, which is a full basement home office for the price of the panels and hardware. Check humidity and the slab first, keep every piece of wood off the concrete, and seal every face. Those three steps decide whether the desk lasts.