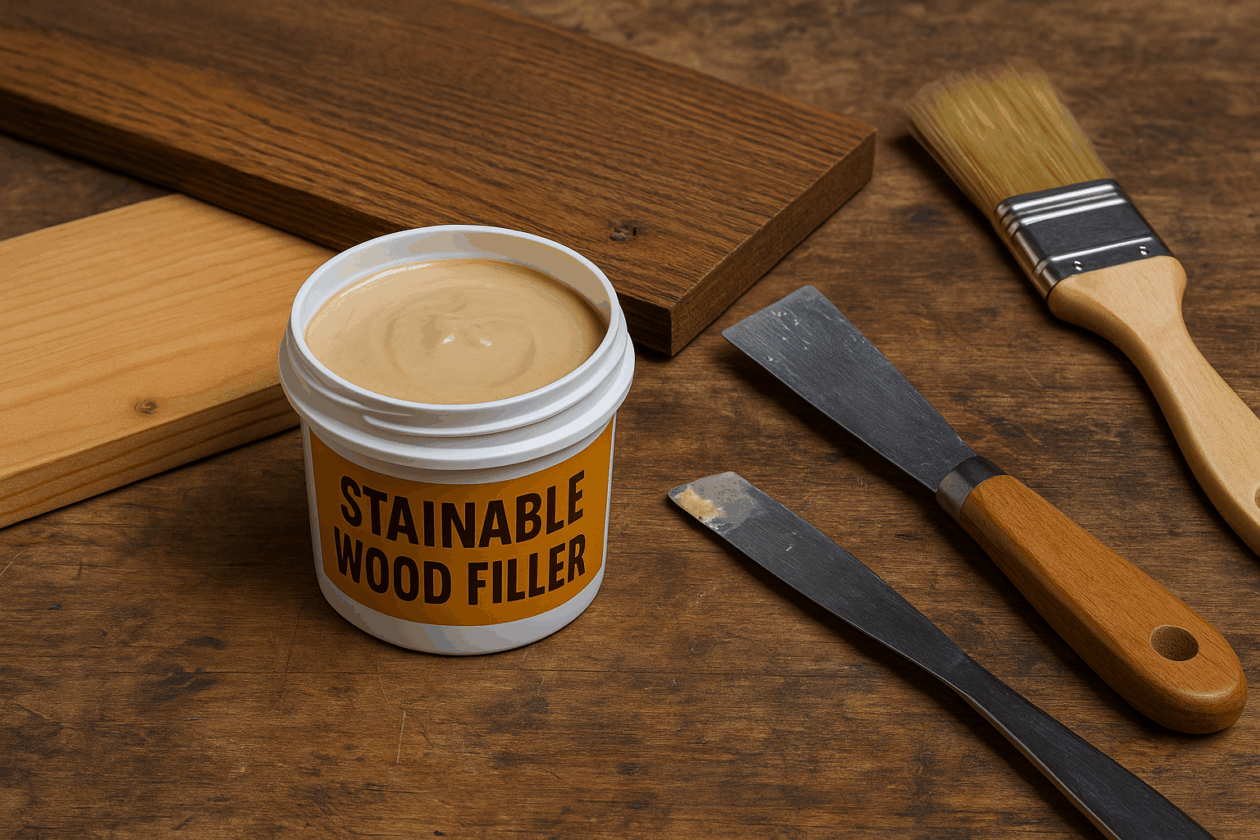
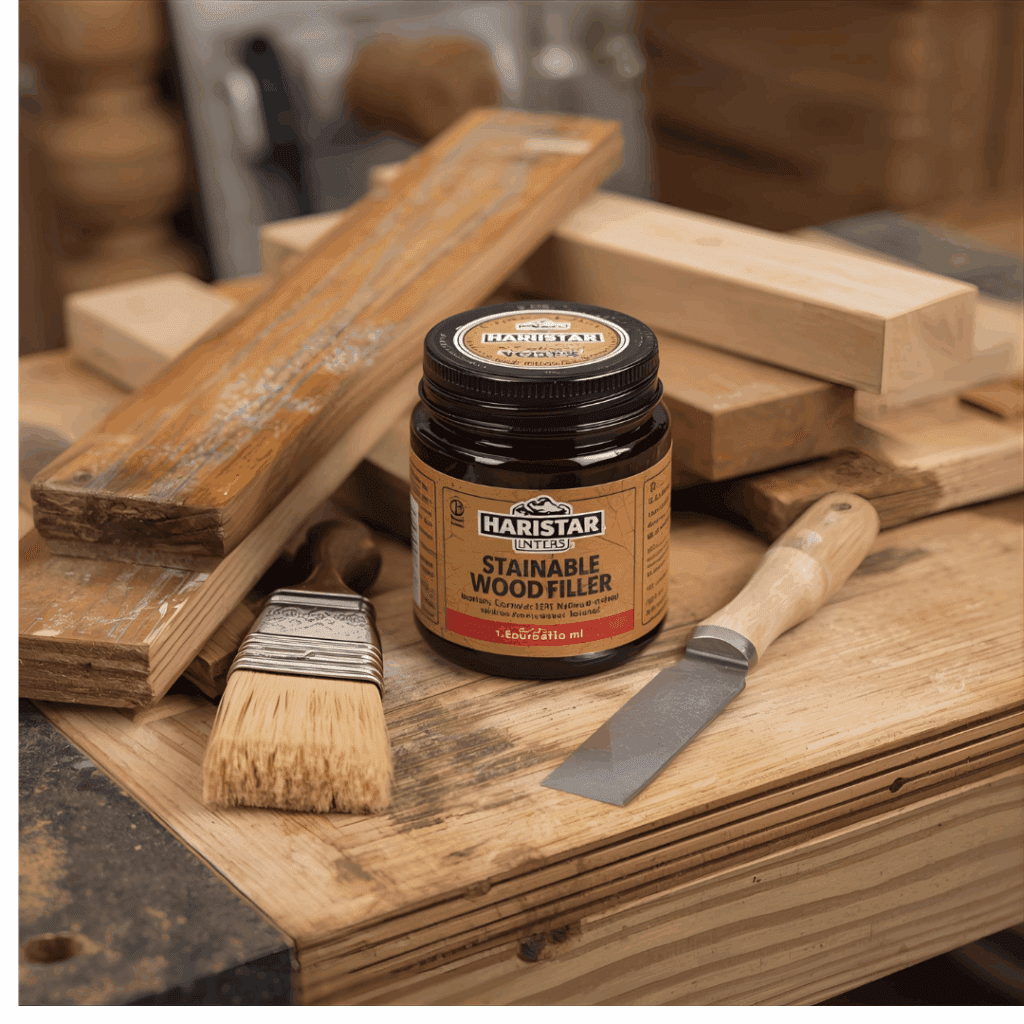
Woodworking projects rarely go perfectly. Even the most careful craftsman ends up with nail holes, gaps, dents, or minor cracks in their boards. That’s where stainable wood filler comes in. Unlike traditional putty or spackle, stainable filler is designed to blend seamlessly with your wood once stained—making repairs virtually invisible.
In this guide, I’ll cover what stainable wood filler is, how to use it, the best products available, and tips I’ve learned from my own projects.
What Is Stainable Wood Filler?
Stainable wood filler is a special compound made from wood fibers, cellulose, or synthetic binders that mimic the porous structure of real wood. This allows it to absorb stain, unlike standard fillers that remain pale or blotchy.
Think of it as a “patch-and-forget” solution: once applied, sanded, and stained, the repaired area blends in with the rest of the wood grain.
Why Use Stainable Wood Filler?
Here’s why it’s my go-to fix for imperfections:
Blends with wood stains – Essential for projects where natural wood tones matter. This makes it possible to repair without leaving obvious patches behind.
Strong and durable – Holds up to sanding, drilling, and finishing. It won’t crumble or flake out of holes after the stain is applied.
Versatile – Works on furniture, trim, floors, and even outdoor projects (if labeled exterior-grade). That flexibility means one tub can cover multiple repair needs in your shop.
Saves time and money – No need to replace boards over minor flaws. Instead of tossing lumber, you can restore it with just a few minutes of work.
Although people often confuse the two, wood filler and wood putty are very different products. Choosing the right one depends on whether you’re working with raw wood or something that’s already finished.
Feature
Stainable Wood Filler
Wood Putty
Surface Use
Best for unfinished wood surfaces
Best for finished or sealed wood
Hardness
Dries hard and solid
Stays slightly flexible after drying
Workability
Can be sanded, painted, or stained
Cannot be sanded smoothly once applied
Stainability
Absorbs stain (though sometimes a bit differently than natural grain)
Does not absorb stain well
Typical Uses
Filling nail holes, cracks, dents, or gaps before staining/painting
Small cosmetic touch-ups on trim or furniture that’s already sealed
Durability
Long-lasting, becomes part of the surface
More temporary, suited for minor fixes
Quick tip: If your project involves staining, go with filler. If the wood is already stained or painted and just needs a small touch-up, putty is your best bet.
Although the terms are often used interchangeably, stainable wood filler and wood putty are not the same thing, and knowing the difference can save you a lot of frustration on a project.
Wood filler is designed for raw or unfinished wood. It dries hard, bonds tightly with the material, and can be sanded smooth before you apply stain or paint. Once cured, it almost becomes part of the surface itself, giving you a solid foundation for finishing. This makes it ideal for tasks like filling nail holes in trim, repairing cracks in furniture, or patching dents in a floor before refinishing.
Wood putty, on the other hand, stays flexible even after it dries. It’s made with oils or solvents, which is why it doesn’t absorb stain in the same way that filler does. Instead, it works best for small cosmetic touch-ups on already finished or sealed wood. For example, if you notice a tiny gap around a piece of molding after it’s been stained, a dab of putty can hide the flaw without having to strip and refinish the entire surface.
In short: choose wood filler when you’re working with bare wood that will be stained or painted, and reach for putty when you need a quick fix on something that’s already finished.
Goes on pink, dries naturally, so you know when it’s ready.
Sands smoothly and takes stain reliably.
How to Apply Stainable Wood Filler (Step-by-Step)
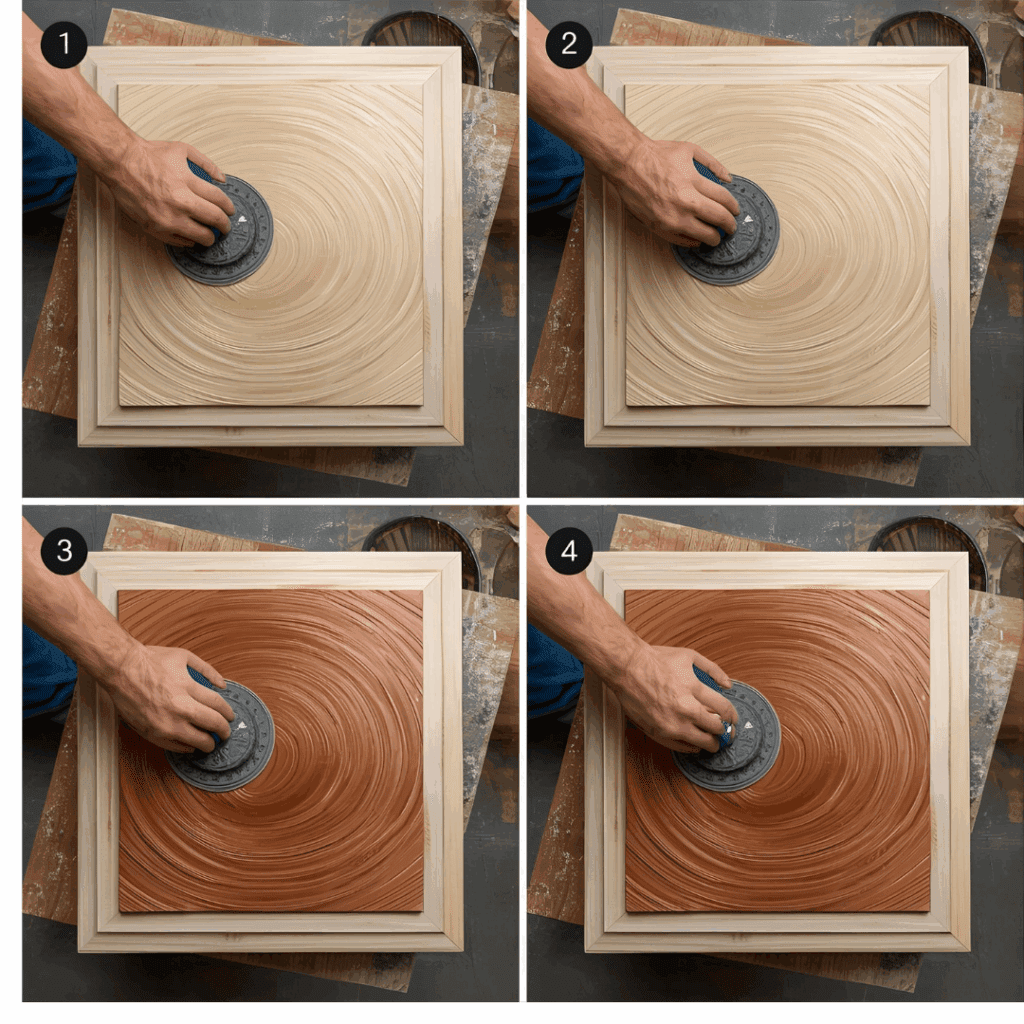
Prep the surface Sand the area lightly and clean off dust. A clean, smooth surface ensures the filler bonds tightly and won’t flake out later.
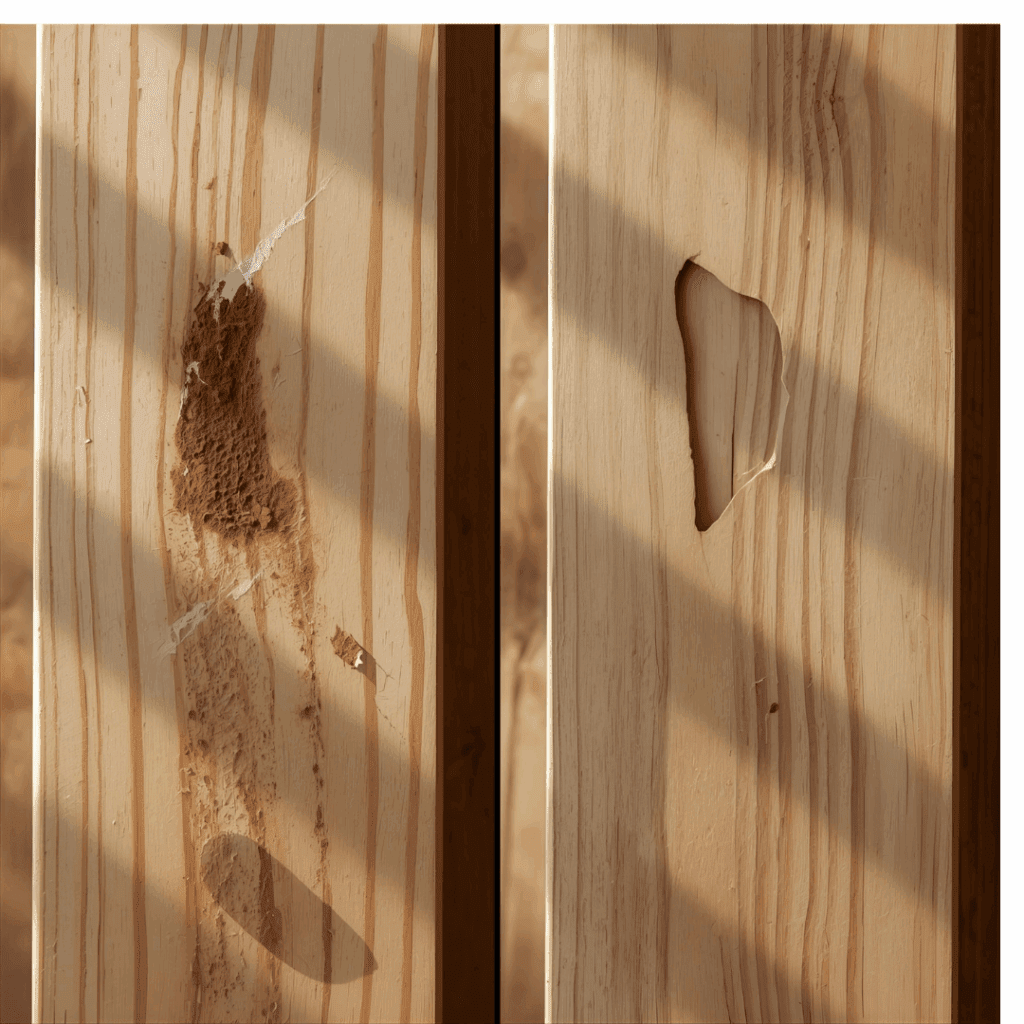
Apply filler Using a putty knife, press the filler into the hole or gap. Make sure to press firmly so it gets deep into cracks and fully seals the imperfection.
Dry thoroughly Drying times vary (30 minutes to several hours). Always check the label. Rushing this step is the number one reason repairs look blotchy once stained.
Sand smooth Once hardened, sand with fine-grit paper until flush with the wood. Take your time here—the better you sand, the more invisible the repair will be.
Stain or paint Apply stain as you would to raw wood. For best results, test on scrap wood with filler first. This helps you see how the filler reacts with the stain before committing to the final piece.
Pro Tips for Better Results
Mix filler with sawdust – Blend a pinch of sawdust from your project into the filler for a closer color match. This little trick helps the repair blend seamlessly with the wood grain, especially on lighter woods like pine or maple, where color mismatches stand out.
Test staining – Filler may absorb stain differently than raw wood, so always test. A quick sample on scrap material lets you adjust your approach—sometimes applying a pre-stain conditioner or wiping stain differently makes the patch disappear.
Seal afterward – Apply polyurethane, lacquer, or another finish to even out the look. A topcoat not only protects the repair but also balances the sheen so the filled area doesn’t appear dull or glossy compared to the rest of the surface.
For deep holes – Apply filler in layers rather than all at once. Layering prevents cracking and ensures the filler hardens completely, leaving a stronger and longer-lasting repair that won’t shrink back over time.
Common Mistakes to Avoid
Using non-stainable filler when the project requires staining. Regular filler might fix the hole, but once you apply stain, the spot will stick out as a pale blemish. Always double-check the label before buying so you don’t waste hours on a repair that can’t blend in.
Failing to sand—unsanded filler stands out like a patch. Even a perfectly applied filler job looks rough without sanding. Taking just a few minutes with fine-grit paper makes the difference between a professional-looking finish and an obvious repair.
Applying stain before the filler fully dries (leads to blotches). Wet filler doesn’t absorb stain properly, leaving behind dark, uneven patches. Waiting for it to cure completely ensures the stain soaks in evenly and matches the surrounding wood grain.
Where to Use Stainable Wood Filler
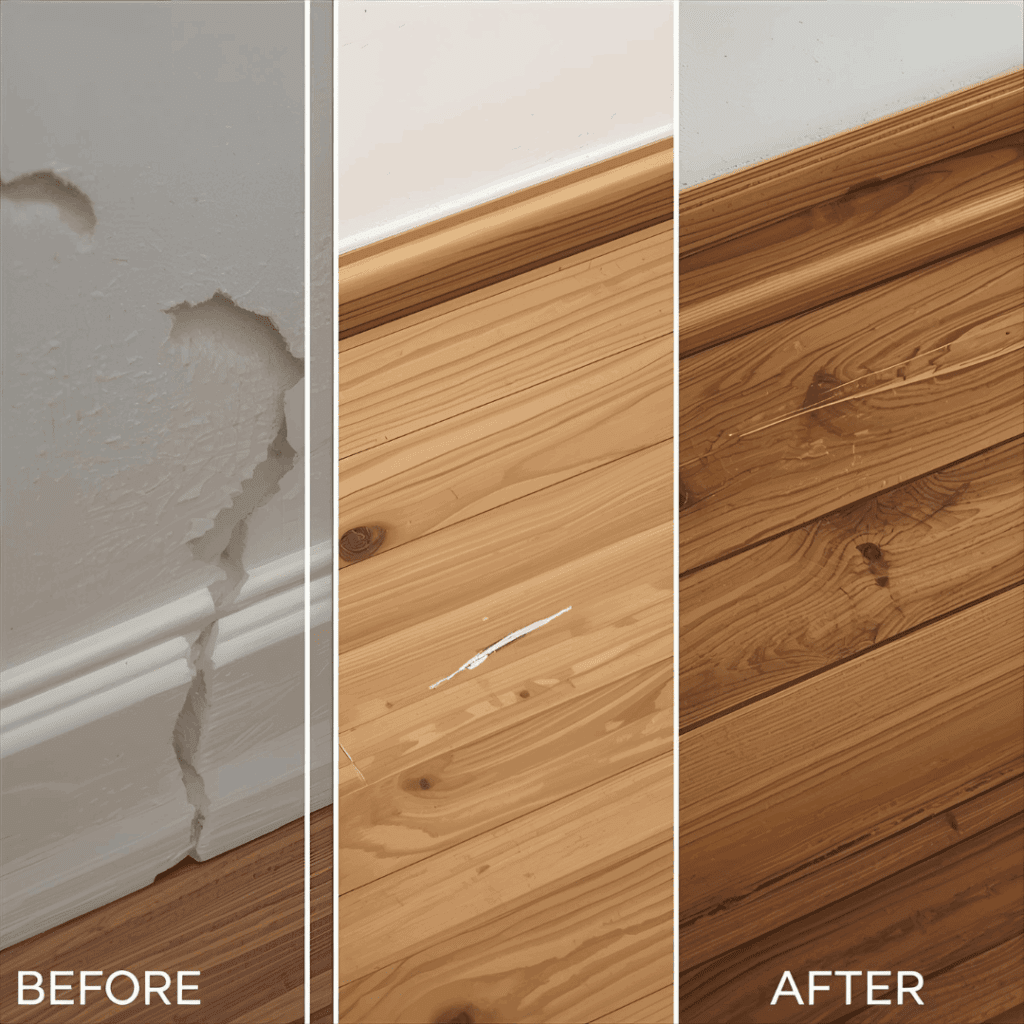
Filling nail holes in trim before staining oak or pine. When you drive finishing nails into oak or pine trim, those little holes stick out once the stain hits them. By packing in a small amount of stainable filler and sanding it flush, the trim takes on a smooth, uninterrupted look, almost as if no nails were ever there.
Repairing gaps in plywood edges before sealing. Plywood edges often show tiny voids and open spots between layers. If you seal them as-is, those flaws remain visible. A quick application of wood filler evens out the surface, giving you edges that stain or paint much more evenly and professionally.
Fixing minor dents in hardwood floors without replacing planks. Floors inevitably get dropped tools, furniture scuffs, or dents from everyday life. Instead of tearing out an entire plank, you can press in filler, sand it smooth, and re-stain the area. The repair costs almost nothing compared to replacing the flooring, and it still looks polished.
Blending cracks in furniture before staining and finishing. Even sturdy pieces of furniture sometimes develop hairline cracks from age or seasonal wood movement. By filling those lines and sanding carefully, you restore the surface to a like-new condition. Once stained, the repair blends in so well that it protects the piece while keeping its natural character intact.
Frequently Asked Questions About Stainable Wood Filler
Q: Can stainable wood filler really match the color of my wood? Not always perfectly. It absorbs stain, but sometimes a shade lighter or darker than the surrounding grain. A quick test on scrap wood helps you see how close the match will be before you commit.
Q: Can I use stainable wood filler outdoors? Yes, but make sure you buy one labeled for exterior use. Standard fillers can crack or wash out in rain, while exterior-grade versions are formulated to handle weather.
Q: Should I apply filler before or after sanding? You’ll want to apply it before the final sanding pass. This way, you can smooth the patch flush with the wood surface and avoid leaving raised spots.
Q: How long should I let wood filler dry before staining? Dry times vary, but most need at least 30 minutes to a few hours. If you try staining too soon, the filler may still be soft and won’t take the stain evenly.
Q: What’s the difference between wood filler and wood putty again? Filler hardens and can be sanded, painted, or stained—it’s for unfinished wood. Putty stays flexible and doesn’t stain well, so it’s better for touching up already finished surfaces.
Q: Can I drill or screw into stainable wood filler? Some high-strength fillers, like Famowood, can hold a small screw once cured. That said, it’s always stronger to drill into the surrounding wood when possible.
Q: What’s the best way to get a perfect color match? Mixing a little sawdust from your project into the filler helps it blend better with the grain. After staining, sealing the entire piece with polyurethane or lacquer usually evens out the tone even more.
The funny thing about woodworking is that the smallest flaws are usually the ones your eye finds first. A nail hole in trim, a dent in a floorboard, or a thin crack running across a table—it all jumps out once you put stain on it. That’s why I never start a staining job without stainable wood filler nearby. It’s quick, it’s cheap, and when you sand it right, the repair disappears into the grain. Most people won’t even know it was there.
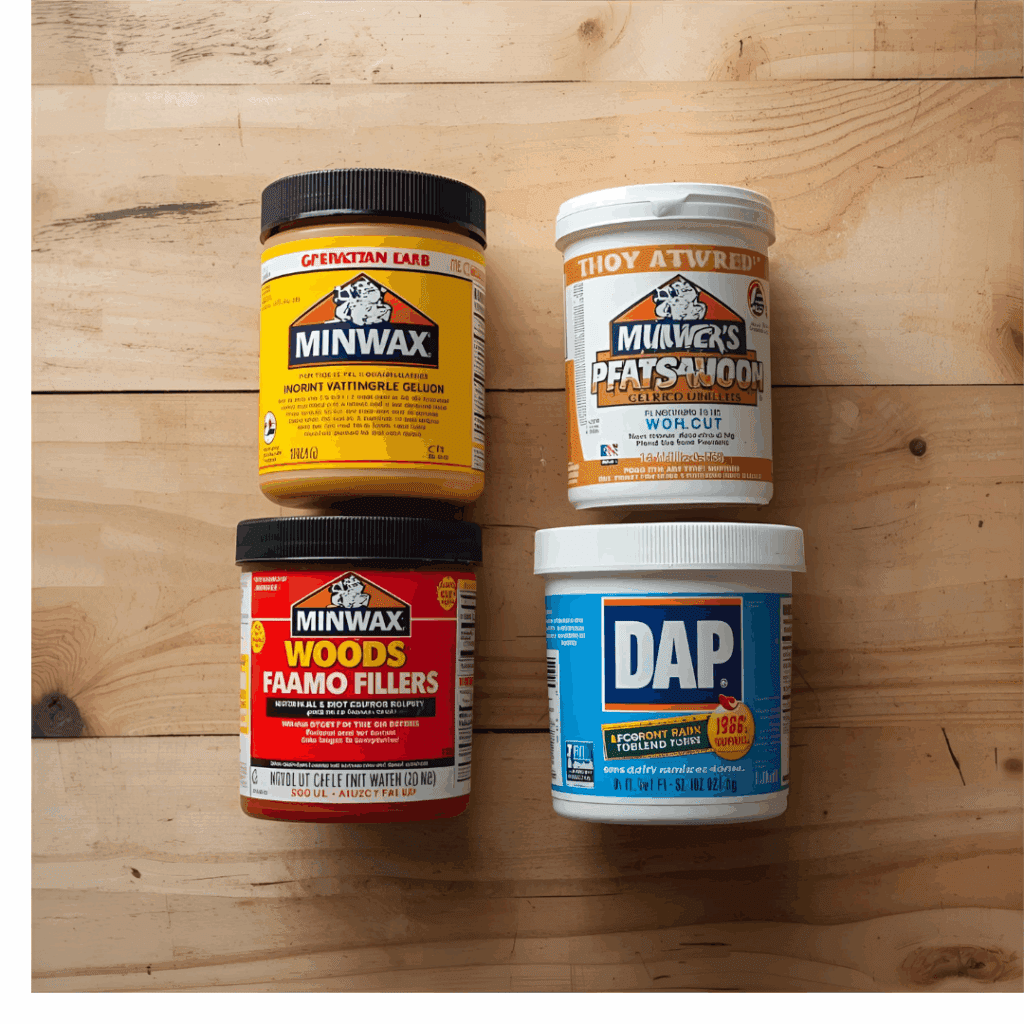
👉 Shop Tip: I keep a tub of filler in the same bucket as my rags and brushes, because I know sooner or later I’ll need it. Sometimes it sits for weeks, and then suddenly I’ll reach for it on three different projects in a row. If you’re shopping around, I’ve had good luck with Minwax Stainable Wood Filler, but honestly, the best brand is the one you already have ready when the wood decides to fight back.
Drying Wood in Oven: A Complete DIY Guide by Admin September 23, 2025 More About Most people don’t give a second thought to drying wood in an oven until something goes wrong. I didn’t either. I slapped together a pine…