Red-toned woods are some of the most unique and most unusual colored woods around. But that doesn’t mean that they are perfect when applied in all situations. Some colors clash with red and so a major piece of furniture that is red might not go properly in a particular room. People either put up with the clashing furniture or more likely get rid of it, replacing it with something that will match. But when that’s an heirloom piece of furniture, it can be hard to get rid of.
Fine furniture is a combination of the wood’s coloration and grain, coupled with what the furniture-maker does with it. The craftsmanship of old isn’t totally lost, although it is generally only found in bespoke furniture pieces today. In the past, the average furniture-maker produced works that would be considered works of art today. Yet the types of wood they used and the colors of those woods aren’t the current style. Some people can live with it; while others can’t.
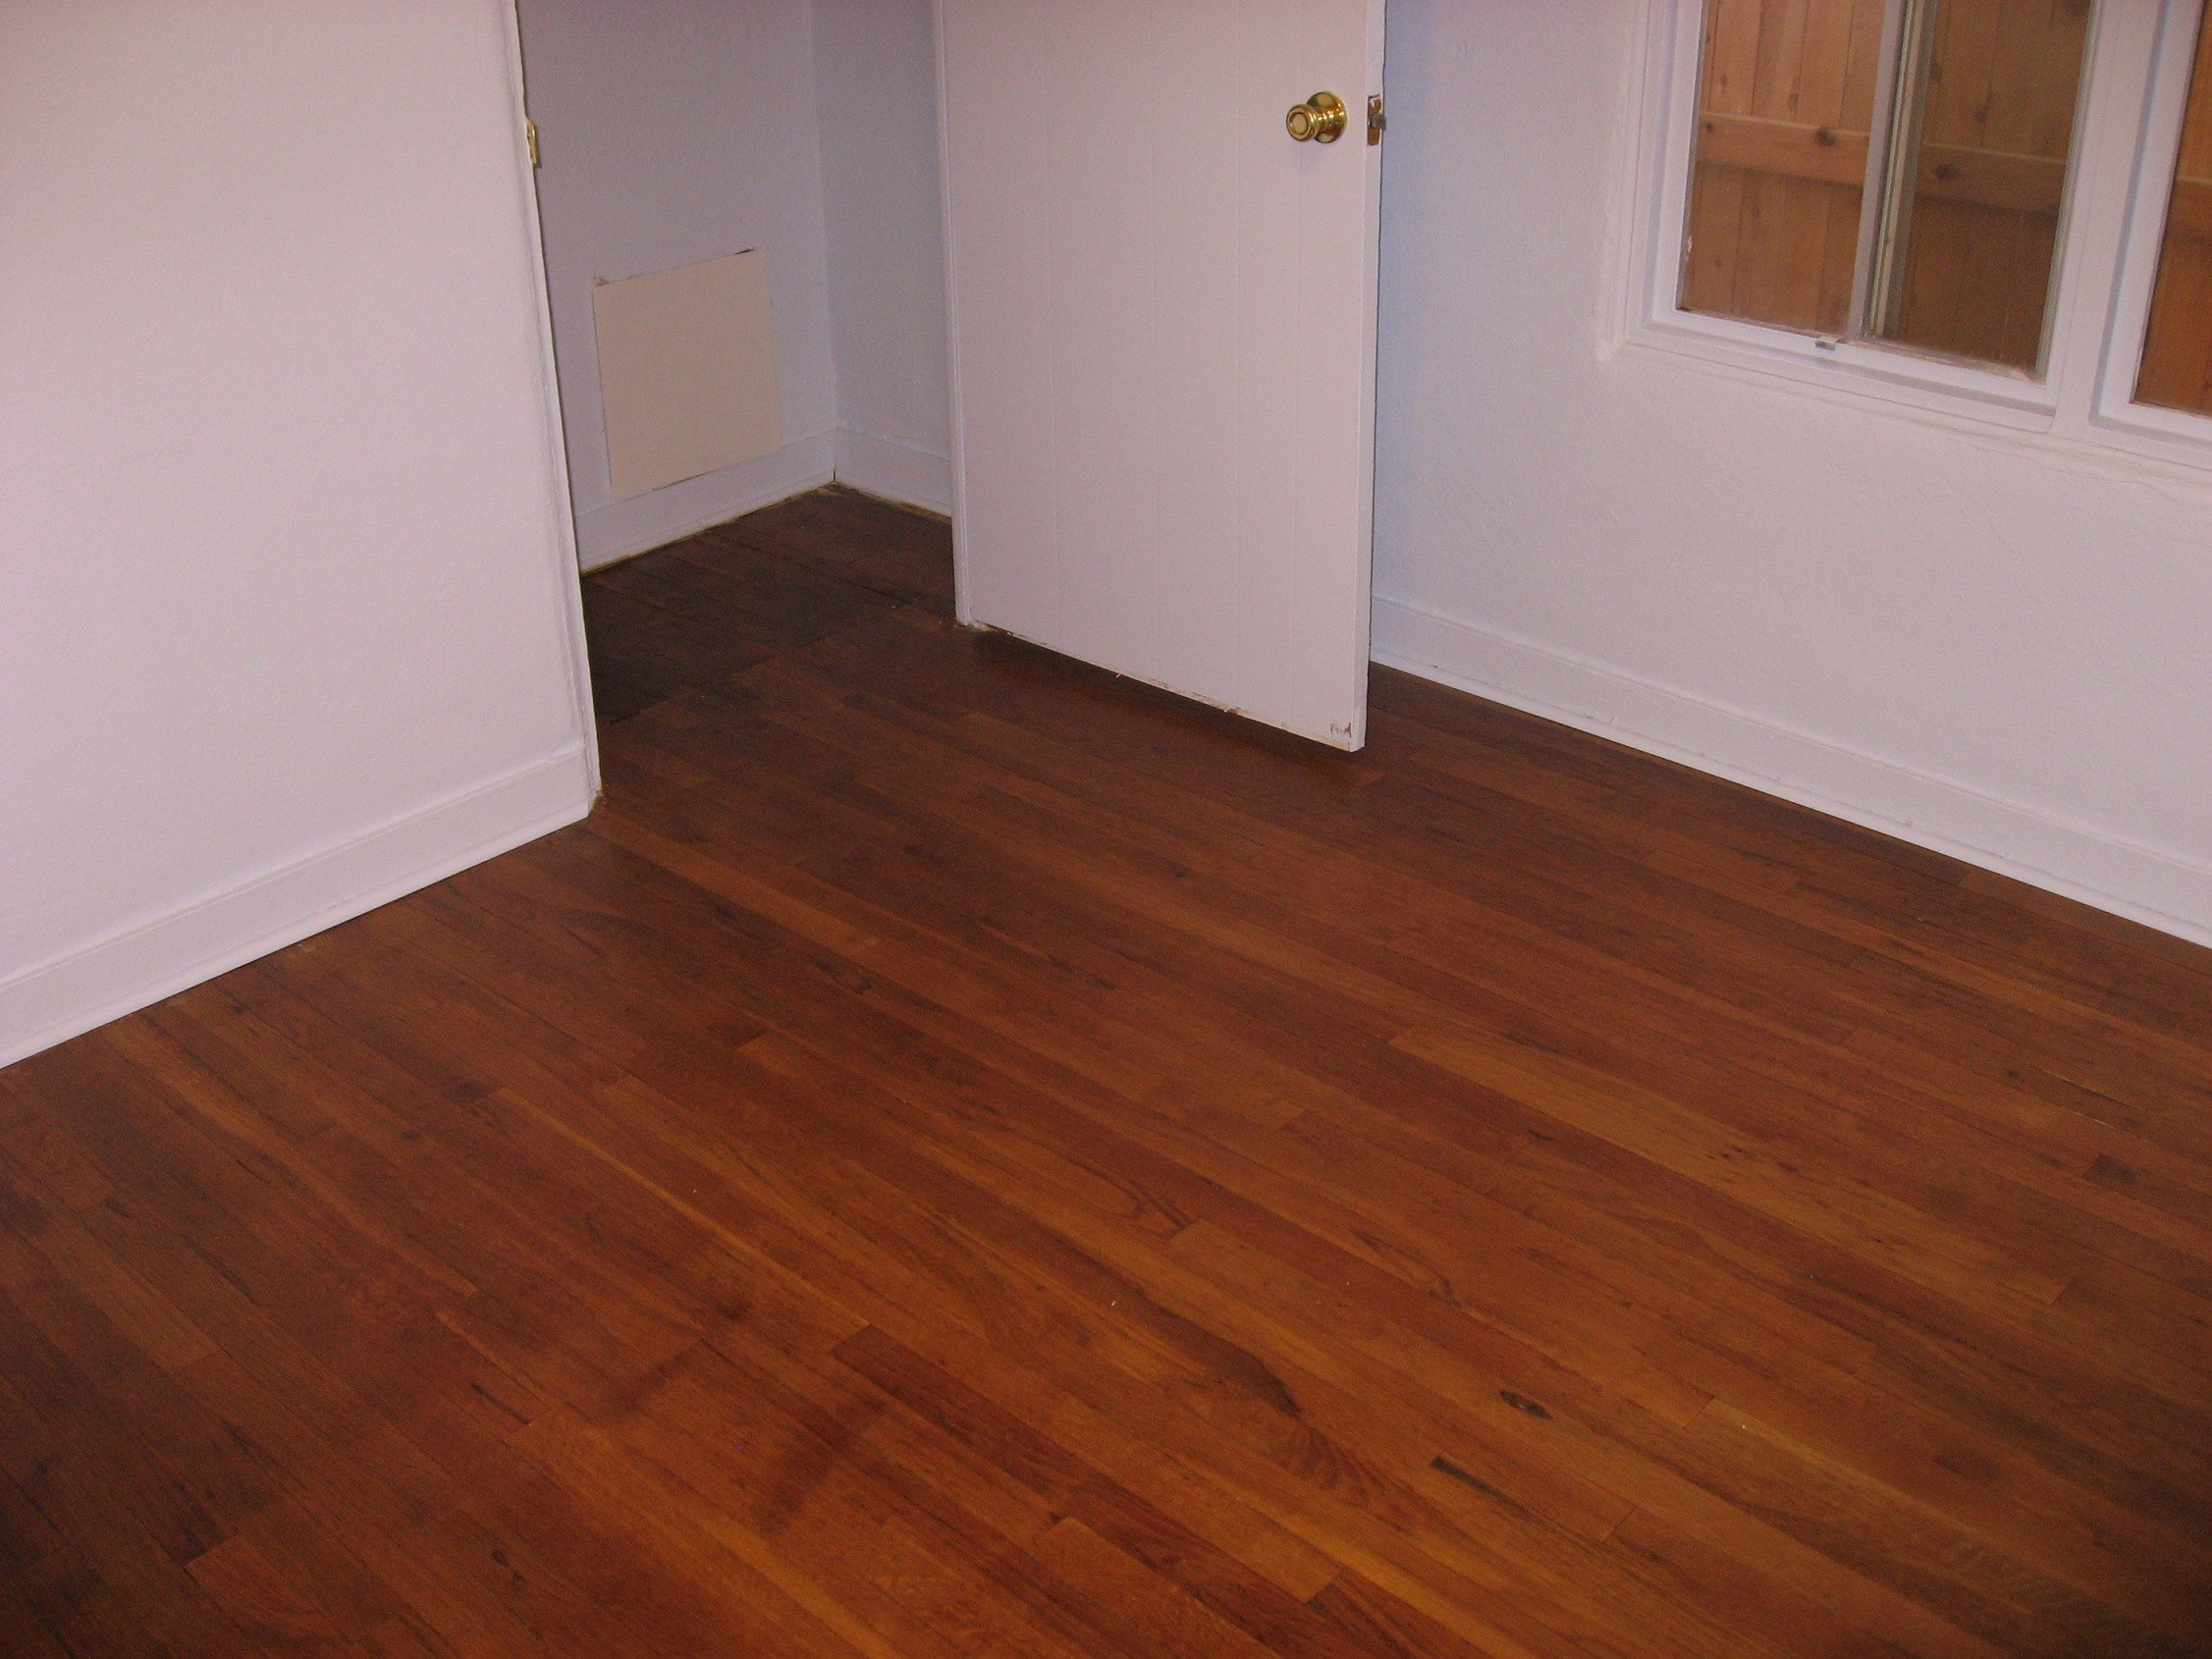
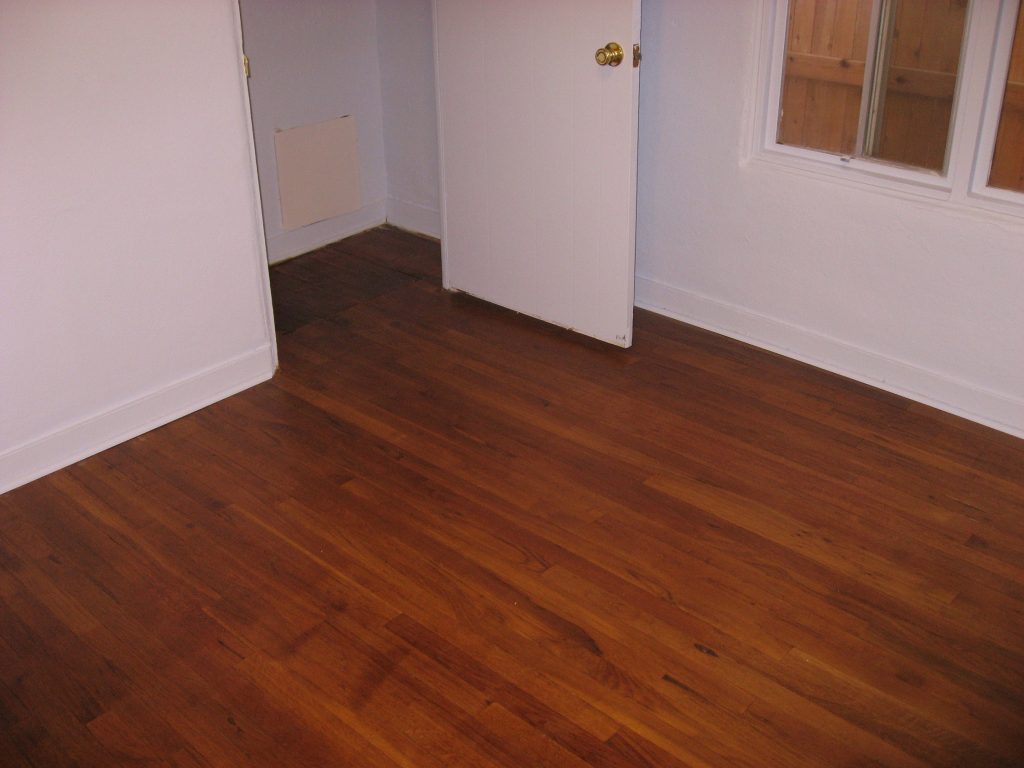
Mahogany and cherry were both popular woods for making furniture in times past, garnering large portions of the furniture market. Yet it is rare to find a piece of furniture made of either of these woods in furniture stores today. Modern wood tones tend to dark browns, almost black, like a cup of coffee.
Making those older pieces of furniture fit into modern décor can be challenging, hence the desire to change the wood color. That even refers to more recent furniture made out of oak, as red oak will have a reddish tone to it as well. Rather than replace furniture that may have cost a lot of money, it’s better to make it fit in, even if that means refinish it and changing the color.
Simplest Solutions
The absolute simplest and in many cases, the solution people pick is to paint the furniture, covering the wood’s natural color with something that better matches the room. There are countless articles online, showing how to paint antique furniture to “modernize it” by painting it. In some cases, the painted furniture is then “distressed” to make it look old and worn. But that may not be the look that’s needed. Taking an expensive piece of furniture and downgrading it, just so it can match the current décor doesn’t exactly make sense. Keeping the woodgrain visible is often preferred, as it tends to make the piece look richer.
A second very simple solution is to cover the existing finish with a stain and polyurethane combination, such as Minwax Polyshades. This has become a popular finish for people who don’t want to put the effort into doing a proper refinish job; but want to change the appearance of a piece of furniture.
One major precaution about using such products is that it absolutely must be put on in an even coat, without any drips or runs. These are translucent products which dry quickly, so it is necessary to work an entire side as one piece, brushing it out to the full length of the panel. Brushing out half a panel, lengthwise, and then trying to brush out the other half will create an overlapping area that turns out darker than the rest of the panel.
That’s not to say that it is impossible to get a good finish with these products. It’s just to say that extreme precaution must be taken when finishing them, so as to ensure that a good finish is achieved. Plan out the work carefully, so that each panel or side is done in a logical manner that will make it easy to avoid overlapping paint strokes.
The other precaution with these finishes is that if they scratch, the underlying color will show through. Allow the finish to cure thoroughly before moving the piece of furniture and then take care to ensure that the piece doesn’t become easily dinged, scratched or otherwise damaged.
Altering the Actual Wood Tone
A much better solution is to alter the wood tone, neutralizing the red. The question then becomes, what to do to neutralize that red and make the wood clash less? There are a few different options to consider. First, it’s important to understand if the red is the natural color of the wood, as with mahogany or cedar or if it was applied as a stain. The two are dealt with in different ways.
Before doing anything to change the color of the wood, it is usually necessary to remove any clear finish over the wood, whether that be varnish, lacquer or shellac. Sanding is usually the best and most thorough means of removing that finish, but take care, if the wood is merely veneer, rather than solid wood, sanding will probably go through the veneer to the plywood or particle board below.
Stained Wood
If the wood has been stained, the stain can be neutralized with ordinary chlorine laundry bleach. This will remove the stain or dye coloration, without affecting the wood’s natural color. Once it has had a chance to do its work, the bleach should be neutralized with a lot of water and then be allowed to dry before doing any further work on it.
In cases of stained wood that also has underlying reddish tones, such as mahogany, hydrogen peroxide can do a better job of neutralizing the stain, as it will blanch the color of the wood itself to some extent. Once again, it needs to be neutralized with water, after using.
Please note that in either of these cases, results can and will vary. Therefore, it is best to work on a small, hidden area first, seeing what sorts of results are obtained, before applying either bleach or hydrogen peroxide to the wood.
While bleach or hydrogen peroxide can help to remove the wood’s color and the coloration of any stain on that wood, it may not even be necessary to remove the coloration of the wood, especially if the intent is to go darker, rather than lighter. Wood that is going to be stained darker anyway can and will change the existing color of the wood. The trick is to get it to change it in the desired way.
Anyone who has ever bought stain and tried to stain wood has realized that the samples of how the stain is supposed to come out rarely match how their project comes out. That’s because those samples are showing an “ideal” result that the stain is supposed to achieve. But the existing coloration of the wood, as well as its ability to allow the stain to soak in is going to affect the actual color. We can use that to our advantage.
Since we are working with a wood that has a reddish tone that we want to get rid of, all we have to do is pick a stain that has a greenish tint to it. Any artist knows that any two opposite colors on the color wheel produce brown. So, if we pick a greenish stain to apply over our reddish wood, we’ll end up with brown. The only real question is exactly what sort of brown we’ll end up with. That’s all but impossible to predict.
Once again, the solution is to stain a small, hidden area of the wood, to see what the results are, before applying the stain to the entire furniture piece. Apply it using the same method that will be used on the larger piece, allowing it to sit the same amount of time and wiping the excess off in the same way. If it works in that small area, then it can be applied to the larger piece with confidence.
Always remember, when staining, that the finish is going to affect the color of the wood somewhat. How much it affects it depends on the finish used. At the worst, it will yellow the finish slightly. But while that won’t take the piece back to red, it should be taken into consideration and allowed for.
All furniture which has been stained must be finished with some sort of clearcoat, whether that be varnish, polyurethane, lacquer or shellac. Be sure to sand lightly between coats, with fine sandpaper, as the wood will tend to “fuzz” slightly and the finish may pick up sawdust out of the air. A smooth finish always requires some light sanding.
Related Posts:
Drying Wood in Oven: A Complete DIY Guide by Admin September 23, 2025 More About Most people don’t give a second thought to drying wood in an oven until something goes wrong. I didn’t either. I slapped together a pine…
Best Practices for Using Mineral Spirits on Wood by Admin May 20, 2025 Finish . Looking to clean old wood or prepare it for stain? Mineral spirits offer an easy, safe, and effective method for refreshing wood without damage.…
Sandblasting Wood: How to Clean & Restore by Admin May 17, 2025 Finish There’s something satisfying about bringing old wood back to life. Whether it's barn siding, an antique door, or a weathered cedar plank, wood has a…