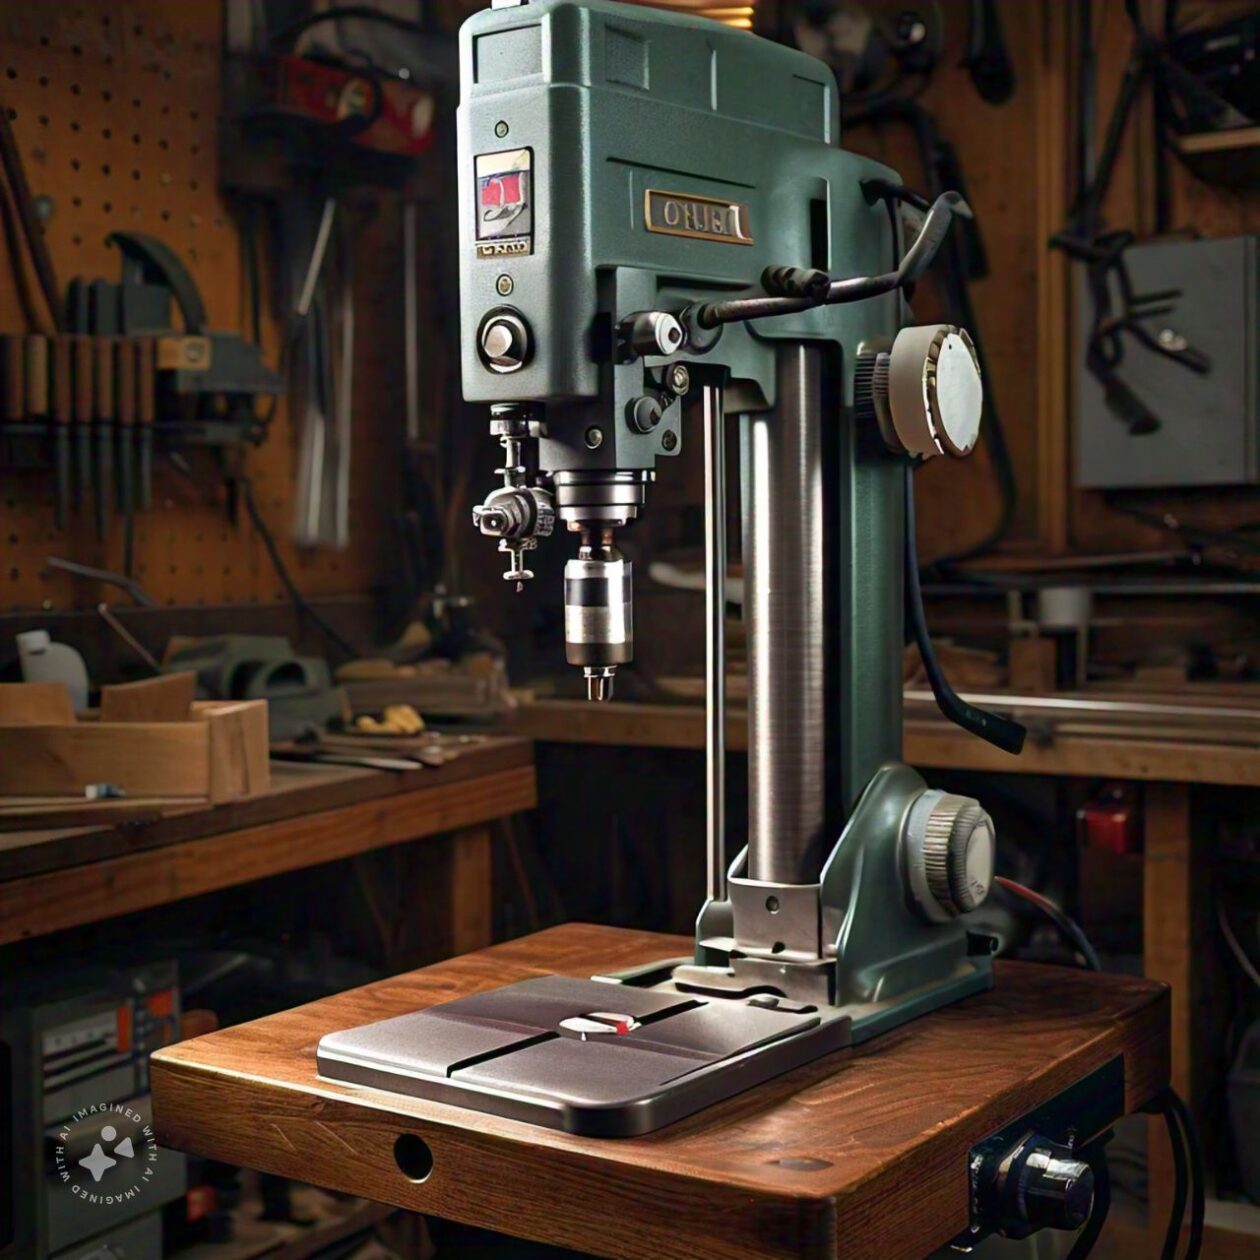
A drill press is an incredibly useful tool, ignored by many woodworkers. Originally developed to be a metalworking tool, the drill press definitely has a place in the modern wood shop. It provides a means of drilling holes much more accurately than can be done with a handheld drill. It’s especially good at holding perfect perpendicularity between the drill bit and the workpiece. As we’ve all experienced, handheld drills make it way too easy to drill holes at an angle, causing us problems later.
The one big problem with a drill press, from a woodworking point of view, is that being a metalworking tool, it’s really not designed for the kinds of projects we do. While much of the tool works out perfect, as is, the typical drill press table really isn’t ideal for woodworking. It’s too small to properly hold the projects we do and designed for bolting drill press vices to, which are in turn designed for holding small parts, nothing bigger than a few inches square.
There’s a simple answer to this problem. That’s to build ourselves a larger table. Why not? We build all sorts of other things, including other jigs and fixtures for our shops. So the idea of building a drill press table really isn’t much of a challenge. All it takes is thinking through what’s needed to get the job done.
Designing the Drill Press Table
Our starting point is the existing drill press table. These can be either square or round, depending on the specific model of drill press. But unless a large, floor-standing drill press is purchased, it’s unlikely that it will be any bigger than 12”. That’s enough for most metalworking projects; but not for woodworking. Even so, it makes a good base to attach the shop-built drill press to.
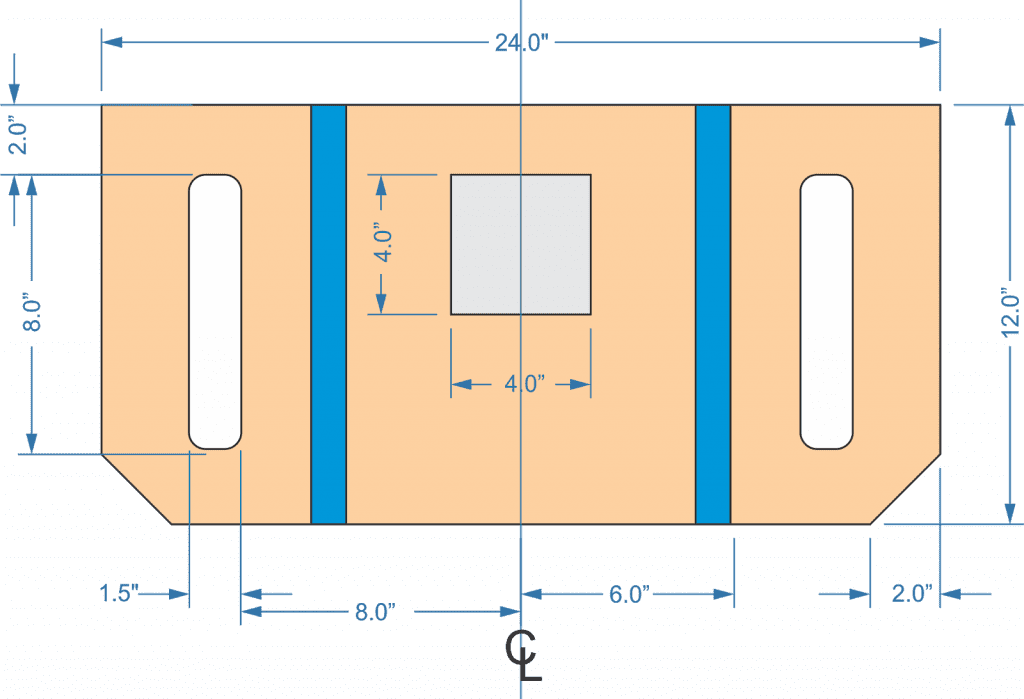
Just how big should a drill press table be? That depends on the woodworker and the amount of space they have available in their shop. If space is available, a 24” wide table would be good, roughly 12” deep. Those aren’t exact dimensions, so they can be adjusted in order to use some scrap that’s sitting around, rather than cutting up good material.
Most of the drill press tables I’ve seen have been made out of ¾” thickbirch plywood, although I have seen some that were made of MDF as well. Some woodworkers choose to cover the surface of their table with laminate, giving it a slicker finish for material to slide across. However, that’s also because those woodworkers had some scrap laminate lying around from another project and decided to use it; it’s not necessary.
Any table which is going to be more than 24” wide should probably be made of two ¾” layers of plywood or MDF, so as to provide a table which will not flex from the weight of large pieces being placed on it. Otherwise, one layer is enough.
In addition, some standard aluminum T-track will be needed. This will be used both for aligning and clamp the fence in place, as well as for hold-downs to hold the material being worked in place.
Building the Drill Press Table
The base of the drill press table is the tabletop itself, so that’s where the project begins. Cut a piece of quality ¾” thick plywood or MDF for the top. Then cut the front corners off at a 45 degree angle so as to provide protect from running into sharp corners. Smooth the edges and band them, if so desired.
If the table is going to be covered with laminate, that should be applied at this time. However, there is some risk associated with using laminate on the table, as it may cause the table to cup somewhat over time, as the laminate ages. This problem is increased in workshops that are not air-conditioned, as heat will make the laminate dry out more quickly. The problem can be largely eliminated however, by applying laminate to both sides of the table.
Drill press table
Please note that any of these dimensions can be adjusted as needed by the user. The dimensions I’ve picked work out well for a variety of different projects. But a woodworker who does a lot of big projects might need something larger. On the other hand, a woodworker who does a lot of small projects might need the tracks closer together.
The 4”x 4” cutout in the middle of the table is for a removable insert the same size. This allows the drill to go through the workpiece and into a “sacrificial piece of wood” behind it. Once the insert is beat up, it can be replaced. I’d recommend cutting several at the same time, so that there’s a spare one available when needed.
In the drawing below, the table has been modified to add two slots through the table, with rounded corners. These are for using standard F-clamp with the table. On a wider table, additional slots can be added, allowing for the clamping of even larger workpieces.
Drill press table 2
It can be useful to cut some alignment blocks for the bottom of the table, which will fit into the slots in the existing drill press table. That way, the blocks can align the new table, rather than the hardware having to do that. Screws with large washers, run through the slots in the bottom of the original table and into these alignment blocks can hold the table in place.
Adding a Fence to the Table
A fence can be extremely useful to a woodworker using a drill press. As with other power tools, a fence allows for precise alignment of the part being worked on, especially when it is necessary to drill multiple parts or drill a row of hole in the same part, such as for shelf pins.
Basically, a fence is nothing more than two strips of straight material, connected together at a right angle. 1”x 3” or 1”x 4” strips can be used, but it would probably be best to use the same material that the table itself is made of, especially if it is going to be laminated.
One thing that the fence needs is a relief in the vertical leg, so that the drill press chuck will not run into the fence. This can easily be cut with a hole saw, if it is cut into a larger piece of wood, which is then ripped to make the fence. If a wider piece is not being used, then it would probably work better to cut the relief with a jigsaw or scroll saw.
The fence attaches to the table by means of a couple of screw knobs, running into standard inserts that can be purchased for the track. When buying the screw knobs, keep in mind the thickness of the material and the insert. For a fence that is made of ¾” thick material, the screw knob should only have a 1” thread. If the screw knob is any longer than about 1-1/8” it will bottom out in the track, without tightening the fence to the table.
The fence doesn’t need to sit square to the table, as the drill press’ chuck will be the pivot point for any work done. If a row of hole is being drilled, they will all go through that point, regardless of which direction the fence is facing.
The fence also allows the ability to clamp on blocks for repetitive location of stock that is being drilled, just as one might do so on a router table or even a table saw. It may be useful to cut some custom blocks to fit, attaching a clamp to them permanently.
Installing the Drill Press Table
Before installing the drill press table, it’s a good idea to check the alignment of the existing table with the drill press’ chuck. I do this by chucking up a long 3/8” drive extension, rather than a drill bit. The extension is longer, providing for a more accurate check.
With the extension in the chuck, align it with the center hole in the existing table and run the table up high enough to cover the end. Then tighten the table lock, as the angle of the table might change slightly when it is loose. Then use a square to verify that the table is exactly 90 degrees to the chuck in both directions.
Remember that the table lock has to be tightened every time the drill press is used to ensure that the table is exactly 90 degrees to the chuck in both the X and Y axis. Failure to ensure this can cause crooked hole in the workpiece.