Walk into any modern kitchen or peek inside a custom-built cabinet, and you’ll see a neat, finished look along the exposed plywood or MDF edges. That sleek finish isn’t magic—it’s edge banding.
Edge banding is an essential woodworking technique that conceals rough plywood or MDF edges, making your project look polished and ready for showroom floors. Whether you’re a weekend DIYer or a seasoned woodworker, learning how to apply edge banding can completely transform your projects.
In this detailed guide, we’ll walk you through:
What edge banding is and why it matters
Types of edge banding (and which is best)
Tools you’ll need (with top Amazon picks)
Step-by-step instructions
Common mistakes and pro tips
Where to buy quality edge banding materials
Maintenance and long-term care
Let’s start at the beginning.
🪵 What Is Edge Banding?
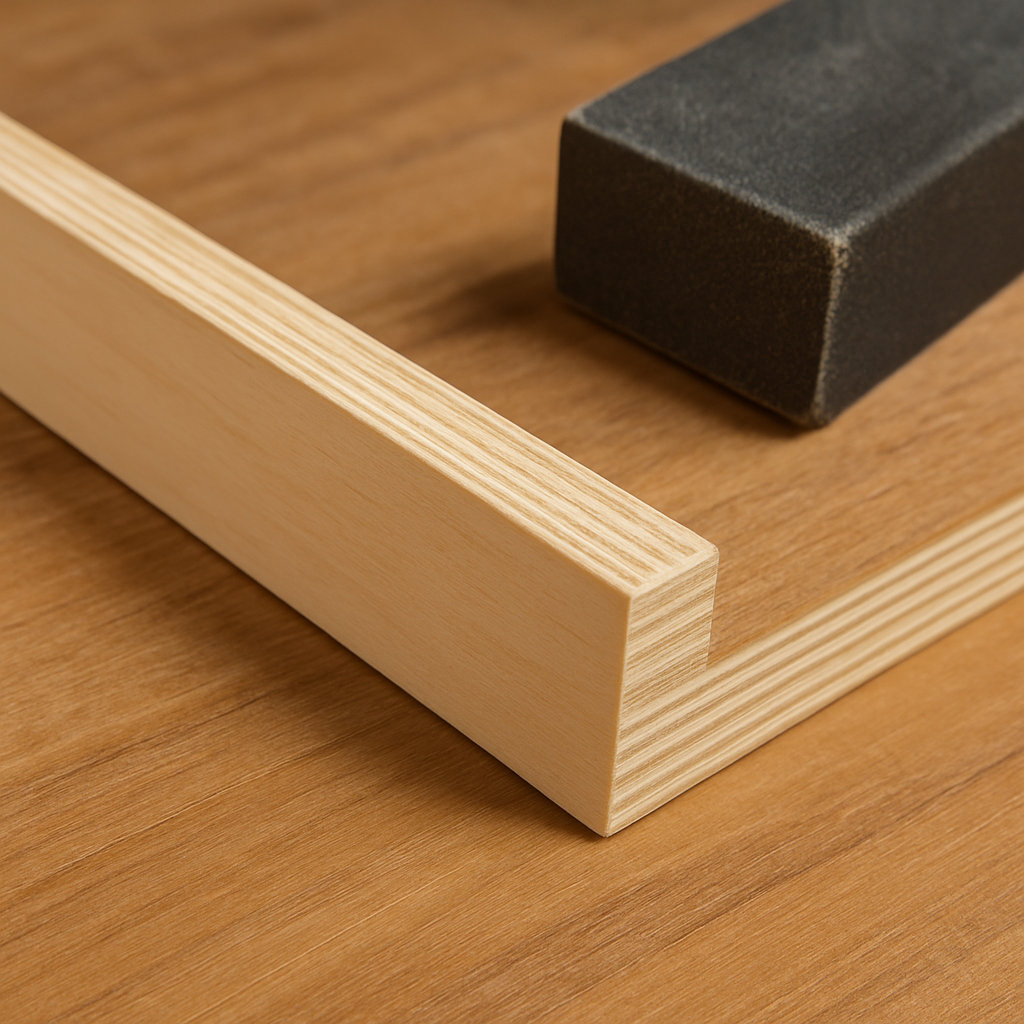
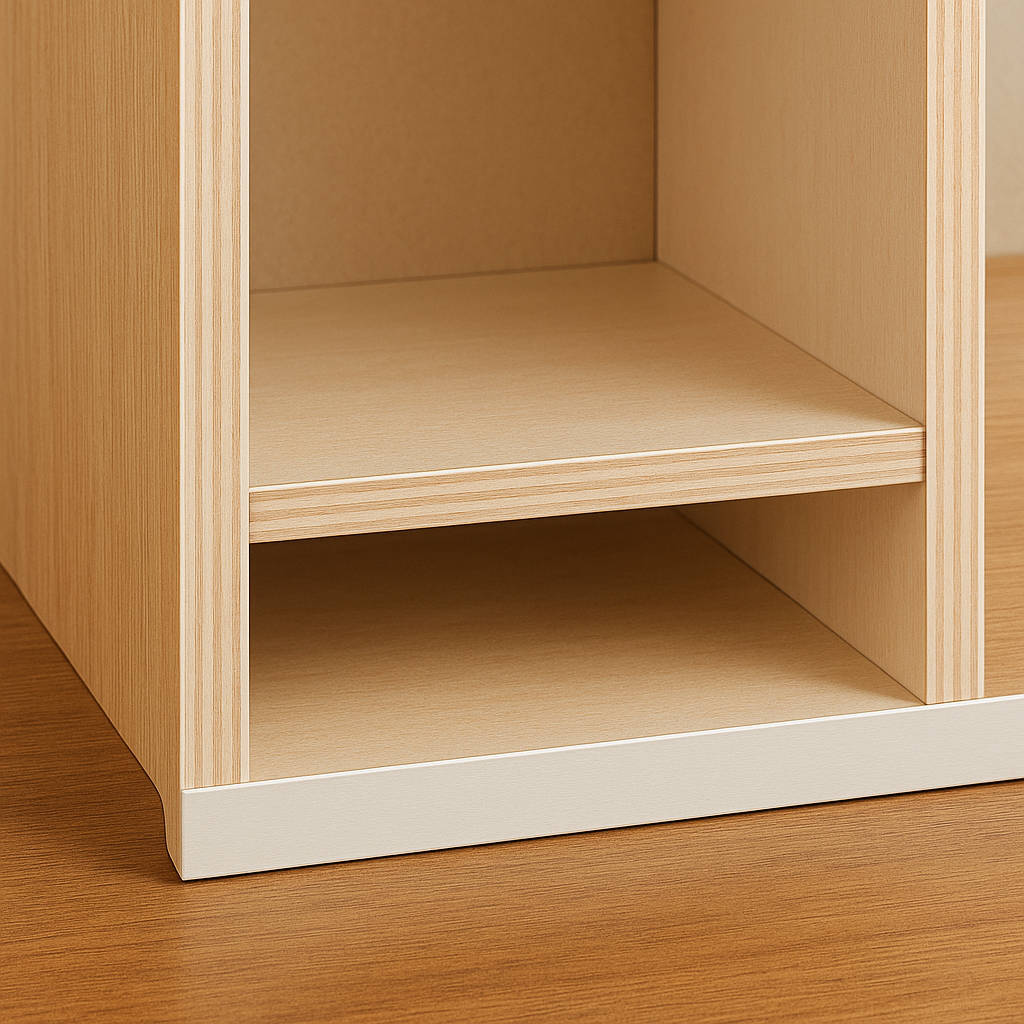
Edge banding is the process of covering the exposed edges of sheet goods like plywood, MDF, or particleboard with a thin strip of material. This not only improves the appearance but also protects against moisture, chipping, and delamination.
🧱 Why Edge Banding Matters in Real Woodworking Projects
The first time I built something out of plywood, I was genuinely proud of it—until I stepped back and looked at the edges. Everything else was solid: the joints were tight, the surfaces were flush, and I’d even taken time to sand it carefully. But those raw, layered sides? They completely gave away the fact that it was made from sheet goods. No matter what I did—paint, filler, even a little wood glue—they looked unfinished.
That’s when it clicked: you can’t ignore the edges.
It turns out that’s a lesson every woodworker eventually learns. Plywood is a great material—affordable, strong, stable—but every single cut exposes its inner layers. Unlike solid wood, which only shows end grain at the ends, plywood wears its insides on all sides. If you’re building furniture, cabinets, or shelving, that layered edge doesn’t just look raw—it cheapens the whole piece.
Edge banding solves that.
It gives you a clean line, seals off those exposed layers, and makes your work look intentional. Instead of highlighting the fact that it’s plywood, you’re telling the eye, “This is a finished surface.” And if you’re building anything modern or minimalist, where clean lines matter, edge banding is non-negotiable.
There’s also the durability factor. Raw plywood edges soak up moisture. They chip easily. With particleboard or MDF, the problem gets worse—they can swell and crumble just from humidity in the air. But with edge banding? You’re locking in the strength and protecting your project from everyday wear and tear.
Once I saw how much cleaner and more professional my projects looked with edge banding, I started using it on everything—from shelves and tables to storage cabinets in the garage. It’s one of those finishing steps that separates a decent build from something you’d be proud to show off or even sell.
📦 Types of Edge Banding
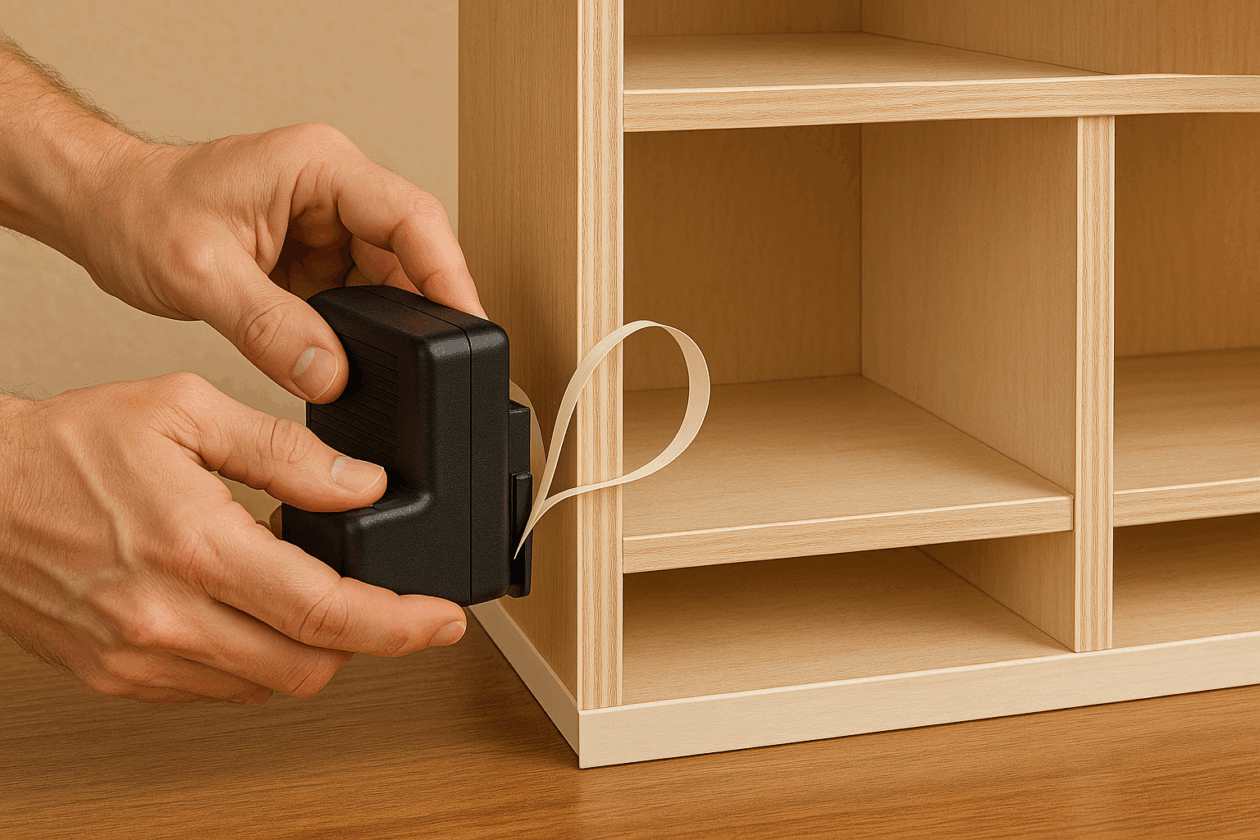
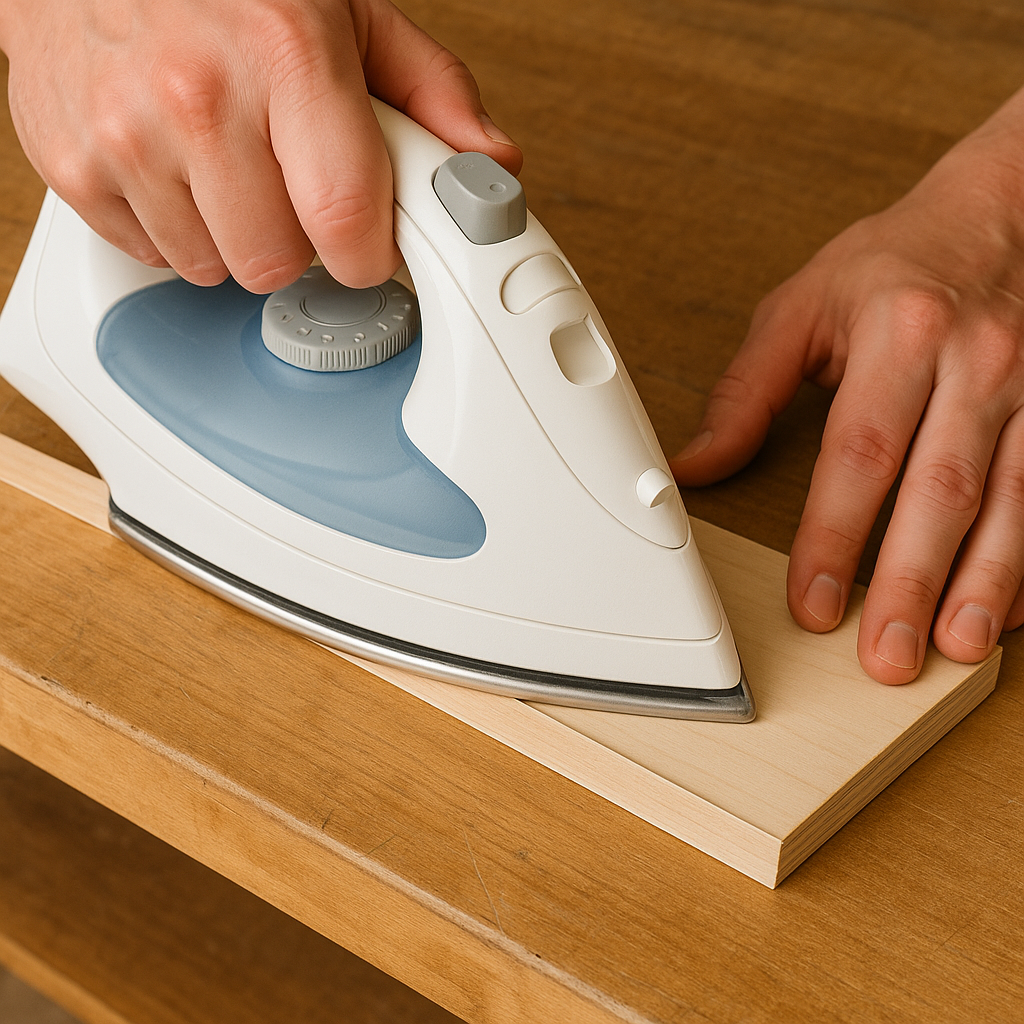
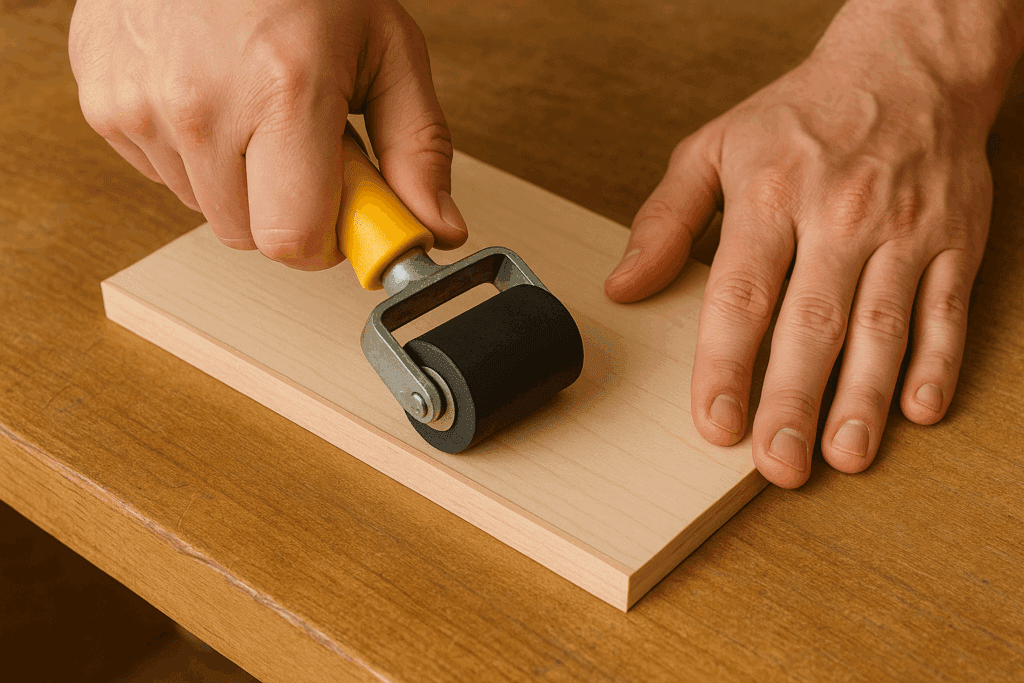
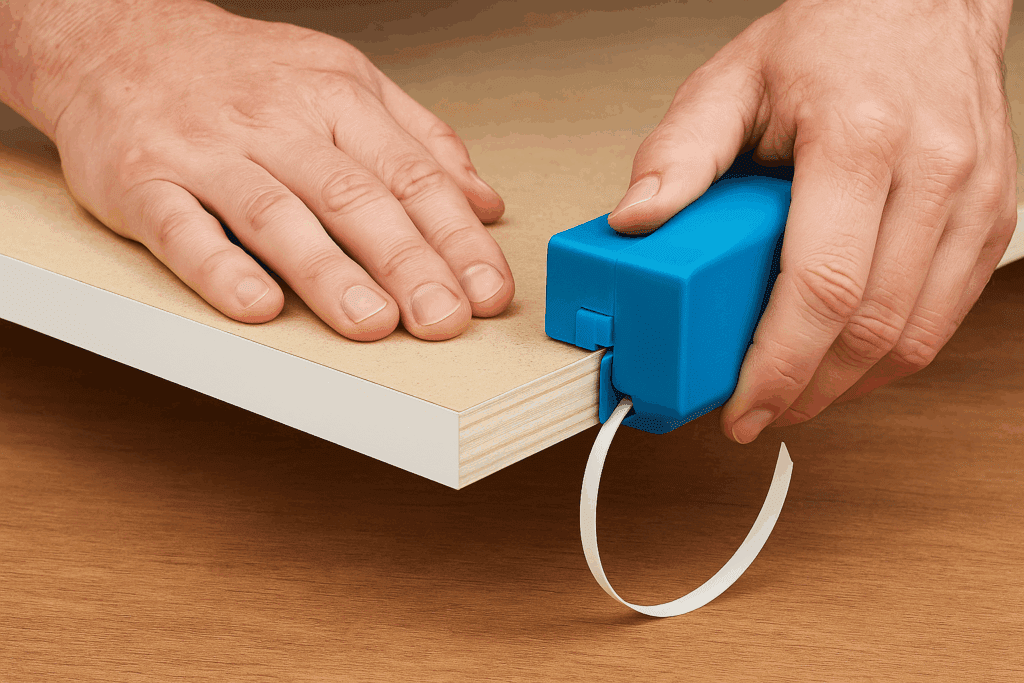
1. Pre-Glued Edge Banding (Iron-On)
This version comes with heat-activated glue. Just apply it with a household iron.
✅ Best For: DIYers, small shops ⛔ Drawback: Glue bond is weaker than commercial-grade options
2. PVC Edge Banding
Plastic-based and flexible. Popular in cabinet shops.
✅ Best For: Durability, water resistance ⛔ Drawback: Requires an edge banding machine
3. Wood Veneer Edge Banding
Thin strips of real wood. Perfect for high-end furniture.
Absolutely. Whether you’re flipping furniture, updating your cabinets, or building from scratch, edge banding is a small investment with a big payoff. It instantly elevates your project, gives it a professional look, and helps your work last longer.
Once you’ve done it a few times, you’ll find it’s not intimidating at all—just another valuable woodworking skill in your toolbox.

")

")

")