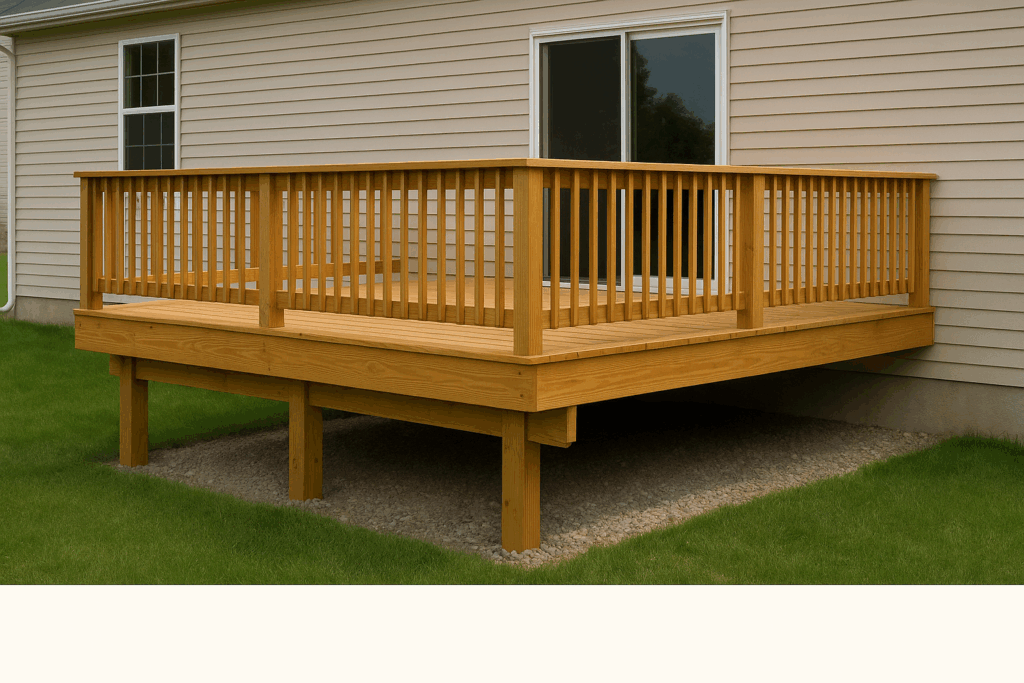
The first summer after I finished building my backyard deck, I realized something was missing—deck stairs. Every time I wanted to get to the garden or let my dog out, I had to jump down to the grass. It wasn’t safe, and it made the deck feel incomplete. That’s when I decided to build proper stairs myself
I didn’t notice it at first, but my brand-new backyard deck had a pretty big flaw—no way to get down. No stairs, no little step stool, nothing. Every time I wanted to water the tomatoes or chase the dog, I had to jump off the edge like I was still ten years old. Fun for the first week. Then it just felt dumb—and a little dangerous.
One Saturday morning, I decided that’s it—I’m building some stairs. I had zero fancy plans, just a rough sketch in a notebook and a pile of lumber from the hardware store. I measured, messed up, re-measured, and eventually figured out the math for the stringers. There were moments where I thought, Well, this might look terrible, but by the end of the weekend, I had a real set of steps. Solid, safe, and nicer than I expected.
If you’re thinking about adding stairs to your deck, I’ve got everything I learned right here. Tools, measurements, mistakes—you name it. Hopefully, you can skip the part where you jump off the edge for three months before finally doing it right.
Why Deck Stairs Are Essential
Building deck stairs isn’t just about convenience—it’s about safety, code compliance, and enhancing your outdoor space. Without stairs:
Your deck isn’t fully accessible.
It may violate local building codes for raised decks.
It reduces your home’s overall value and functionality.
In my case, I quickly learned that a deck without stairs made it hard for guests to enjoy the yard. With stairs, the deck became an extension of our outdoor living space.
Planning Deck Stairs the Right Way
1. Figure Out the Rise and Run
The first thing I did was measure the rise—the vertical distance from the top of my deck down to the spot where the stairs would land. This number is the foundation of the whole project.
Once I had that measurement, I divided it by 7 to 7½ inches, which is the standard step height that feels comfortable. That gave me the total number of steps I’d need.
Next, I worked out the run—the depth of each tread. Most deck steps are between 10 and 11 inches deep, which is enough for your foot to land naturally without feeling cramped. I multiplied that by the number of steps to see how far the staircase would stick out into the yard.
Example: My deck was 42 inches off the ground. Dividing 42 by 7 gave me 6 steps. Six treads at 10 inches each meant my stairs would extend about 60 inches, or five feet, into the yard.
This simple math gave me a clear picture of the space I needed and helped me cut my stringers correctly the first time.
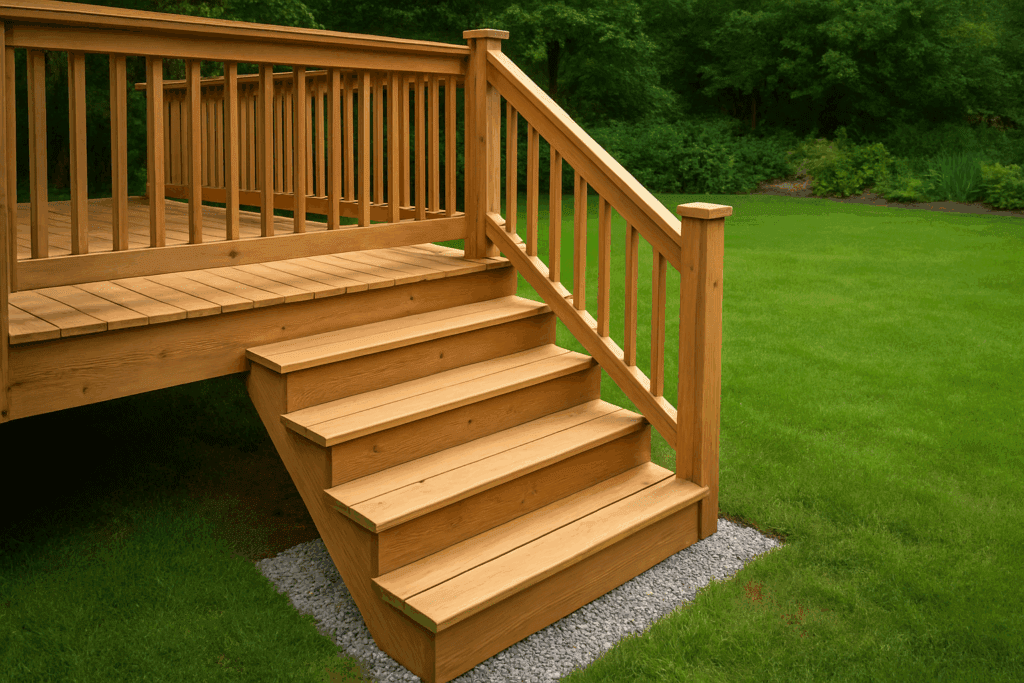
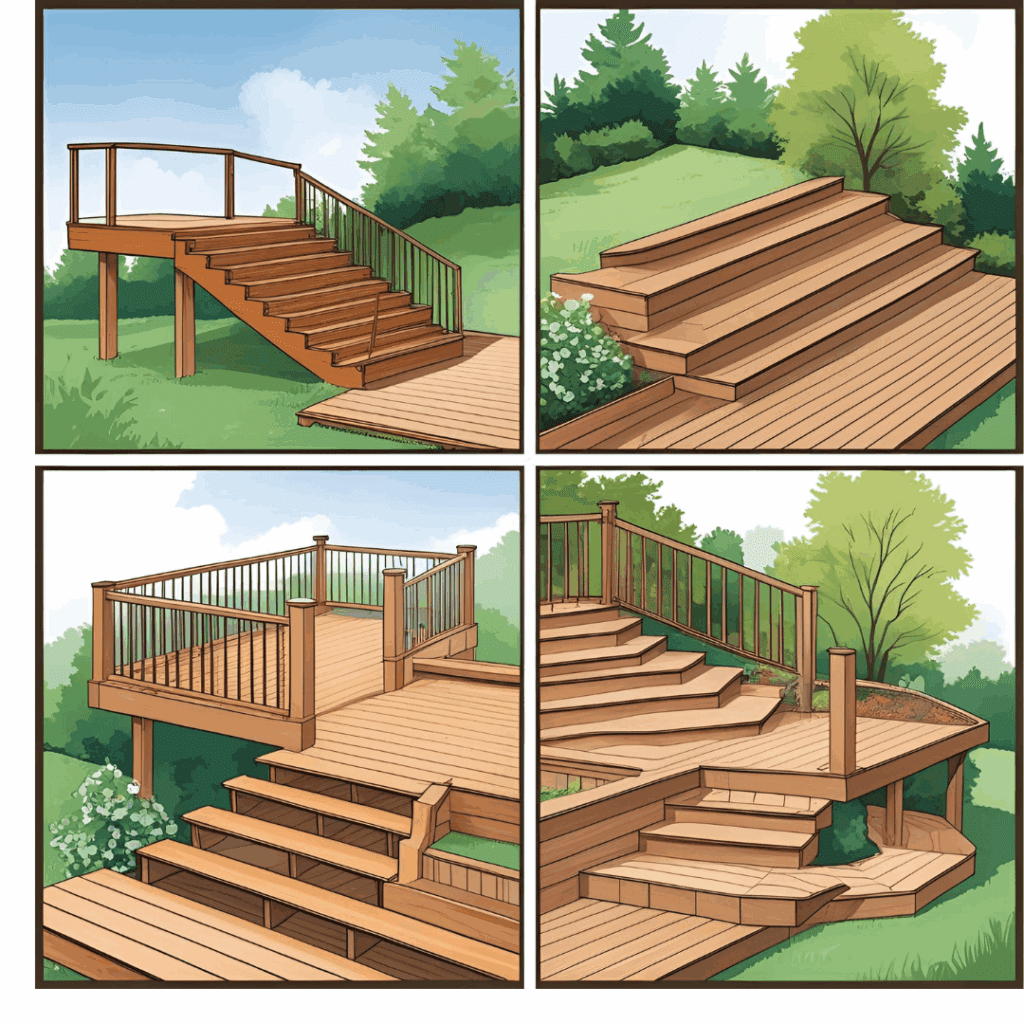
2. Choosing a Deck Stair Design
When I first thought about deck stairs, I figured I’d pick a style in five minutes. Nope. I spent the better part of a Saturday just… staring at the deck. Tape measure in one hand, coffee in the other, my dog trailing behind me like I’d lost my mind.
I considered every option:
Straight stairs – Simple and no-nonsense. I could picture carrying bags of mulch down them without worrying about tripping.
L-shaped or U-shaped stairs – I loved the idea of a landing; it feels safer, especially for taller decks. But when I marked it out in the yard, the landing would have ended up smack in the middle of my tomato patch.
Wraparound stairs – Honestly, these look amazing. I pictured summer cookouts where guests could step down from any side. Then I checked the lumber price… reality hit hard.
Floating, open-riser stairs – Modern and clean. I almost went for it, but my kid would’ve treated the gaps like a jungle gym, and the dog probably would’ve too.
After all that daydreaming, I went straight up the stairs. They weren’t flashy, but they fit my budget, space, and skill level. And I knew I could knock them out in a weekend—assuming I didn’t miscut another board (I did… twice).
Tip: Before you commit, do the “pretend walk.” Seriously—stand on your deck, step where the first stair will land, and walk the imaginary path. It sounds silly, but it instantly showed me where things would feel natural.
If you want more inspiration or examples, I found some really practical DIY stair ideas on ThePlywood.com
How to Build Deck Stairs Step by Step
3. Installing the Deck Stair Treads
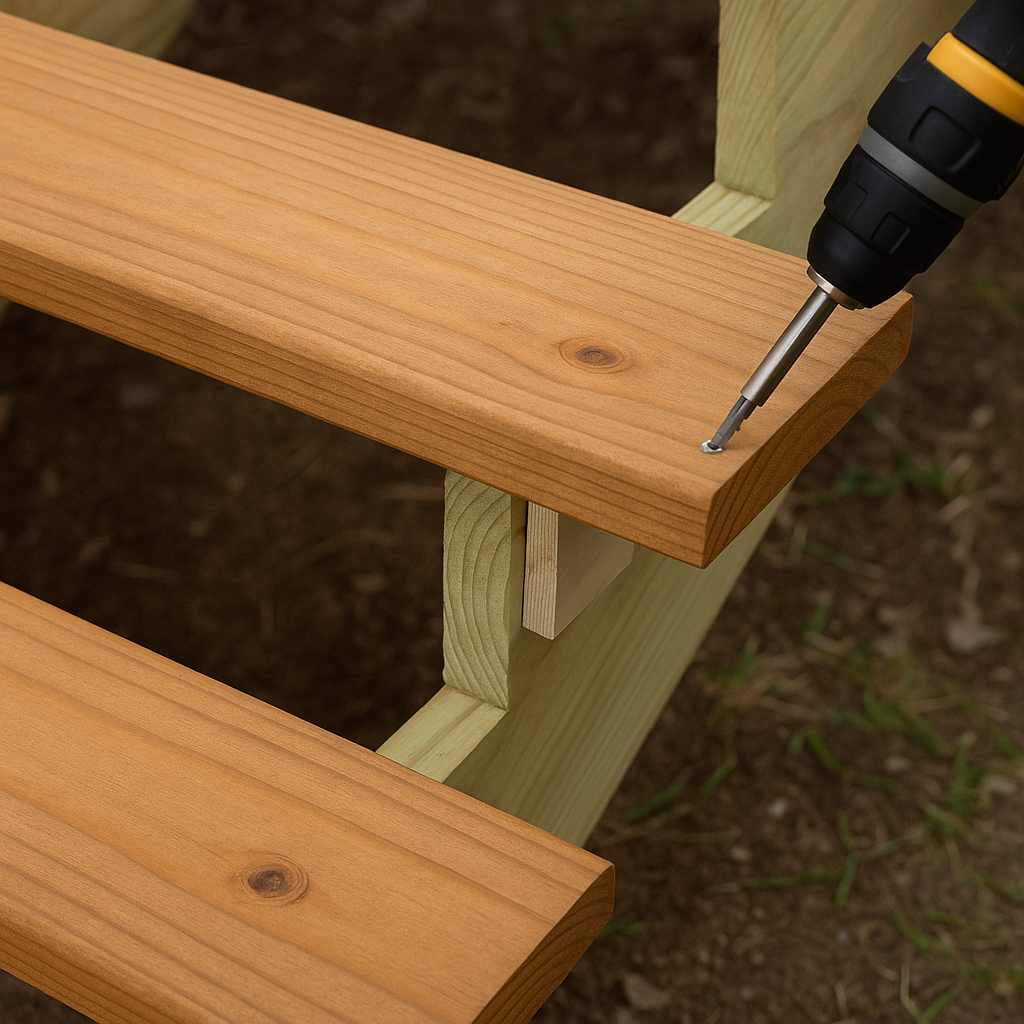
Once the stringers were finally in place, I took a step back and laughed a little. Technically, I had a staircase, but without treads, it looked like something out of a treehouse.
I like to start at the bottom step—it just feels less risky. I set the first board down across the stringers and shuffled it back and forth until the overhang looked right. One screw went in, I stepped back to eyeball it, and then adjusted it before driving in the rest. I’ve learned that if I rush here, I end up regretting it later.
The one thing I’ll never forget: leave a gap between the boards. Years ago, I didn’t. Rain swelled the wood so tight that every step squeaked like an old ship. This time, I grabbed a scrap of plywood as a spacer and used it on every tread.
By the time I reached the top, I went up and down a few times barefoot just to check the feel. Solid. Quiet. Exactly how deck stairs should be.
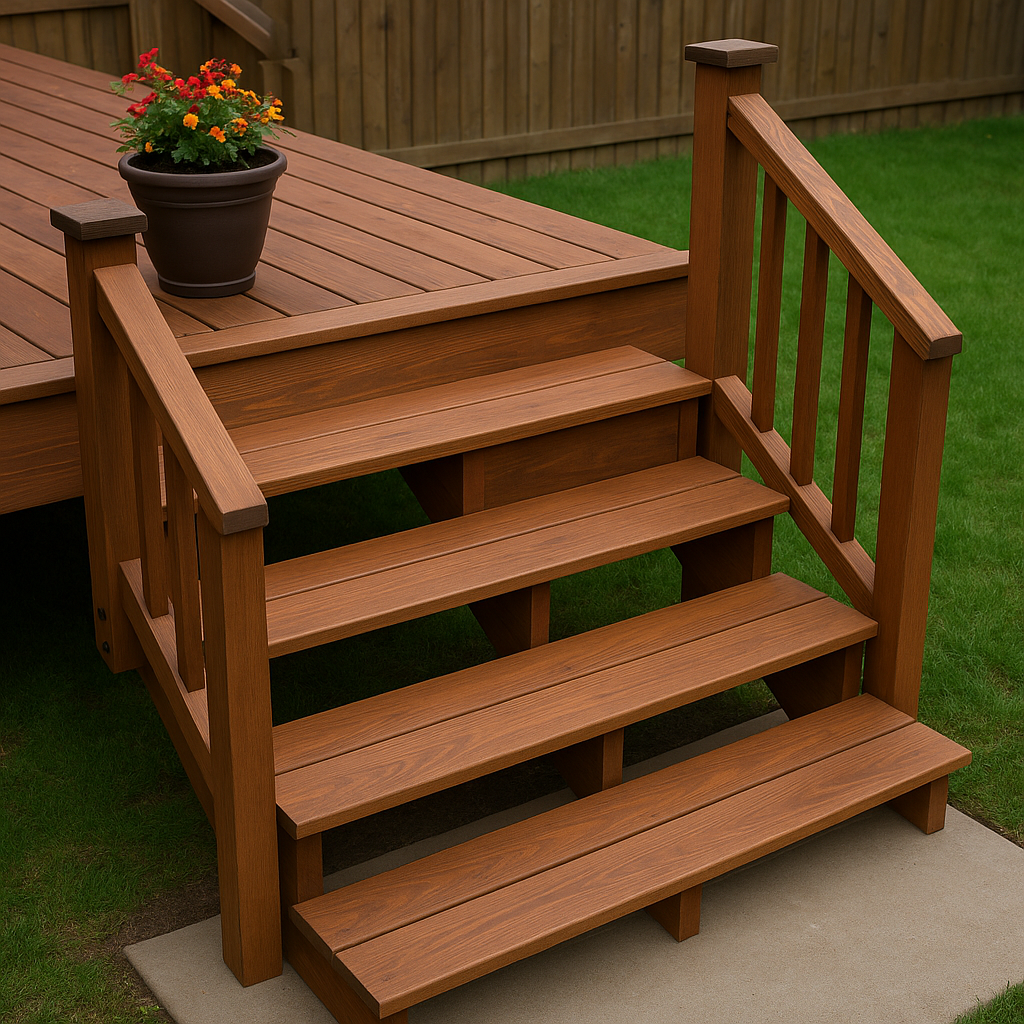
4. Adding the Railings
I thought about skipping the railings for a second—then I pictured my kids running down the stairs and my dog leaping off the side. Yeah, no. Railings were happening.
Bolting the posts into the stringers was a workout. I tightened each carriage bolt by hand until my arms ached. Once the posts were locked in, I added the top rail, then a middle brace to keep everything stiff.
Balusters were next. I got overconfident and skipped pre-drilling one. Of course, it split right down the middle. I laughed, grabbed another, and drilled properly this time. Small mistakes like that keep you humble.
After the last baluster was in, I leaned against the railing like I was trying to push it over. Nothing moved. That’s the feeling you want.
5. Finishing Touches
With the structure finished, the stairs still looked like raw construction. I gave the treads a light sanding, swept off the dust, and brushed on a cedar-toned stain to match the deck.
Then came the details that make a difference:
Solar step lights for night safety
A planter at the landing for a little color (my wife’s request)
Non-slip strips because wet wood and kids don’t mix
When I finally stepped back, it felt like the deck stairs had always been part of the deck. And the best part? I didn’t have to jump into the yard anymore just to grab the mail.
Materials for Building Deck Stairs
Building deck stairs requires weather-resistant materials for precision cutting.
Consider composite boards for treads if you want low-maintenance stairs.
Add LED stair lighting for safety and visual appeal.
Common Deck Stair Mistakes to Avoid
Skipping a proper landing – Your stairs may shift or become uneven.
Incorrect stringer cuts – Even a small miscalculation can throw off the entire staircase.
Using untreated lumber – Outdoor stairs will rot quickly without pressure-treated wood.
Ignoring building codes – Non-compliant stairs may have to be rebuilt later.
Frequently Asked Questions About Building Deck Stairs
How many steps do I need for my deck stairs?
To figure this out, measure the total height (rise) from the top of your deck to the ground. Then divide that number by 7 to 7½ inches, which is the standard riser height.
For example, if your deck is 42 inches high: 42 ÷ 7 = 6 steps
Always check your local building code, as some areas require a maximum riser height of 7¾ inches.
What size lumber should I use for deck stair stringers?
Most deck stairs are built using pressure-treated 2×12 boards for stringers. The wider board allows you to cut proper stair notches while maintaining structural strength.
Using smaller boards like 2×10 can weaken the stringer after cuts are made.
Do deck stairs need a concrete landing?
In most cases, yes — especially if your stairs are more than two or three steps high.
A stable base prevents shifting, sinking, and long-term movement. Many DIYers use:
Gravel base
Concrete pad
Pavers over compacted gravel
Without a proper landing, stairs can become uneven over time.
Should deck stairs have risers (closed backs)?
Not necessarily. Open-riser stairs are common for outdoor decks and allow water to drain through.
However, some building codes limit the size of the gap between treads (often no more than 4 inches). If you have kids or pets, closed risers may feel safer.
How deep should deck stair treads be?
Most building codes require a minimum tread depth of 10 inches.
I personally aim for 10 to 11 inches. That gives your foot enough space to land comfortably without feeling cramped.
What is the maximum height for deck stairs without a railing?
In most areas, stairs with more than 3 or 4 risers require a handrail.
Even if it’s not required for a very short staircase, adding a railing significantly improves safety — especially for kids and older guests.
Can I build deck stairs without cutting my own stringers?
Yes. Many hardware stores sell pre-cut stair stringers.
That said, they only work if your rise matches their dimensions exactly. For custom deck heights, cutting your own stringers usually provides a better fit.
What’s the best material for deck stair treads?
Pressure-treated wood is the most affordable option and holds up well outdoors when sealed properly.
Composite decking boards are more expensive but require less maintenance and resist rot and splintering.
How long does it take to build deck stairs?
For a standard straight staircase:
Planning & measuring: 1–2 hours
Cutting stringers: 2–3 hours
Installation & treads: 4–6 hours
Most DIYers can complete basic deck stairs in a weekend.
Do I need a permit to build deck stairs?
It depends on your location.
If your deck is attached to your home or elevated above a certain height (often 30 inches), permits are commonly required.
Always check with your local building department before starting construction.
Final Thoughts on Building Deck Stairs
Adding deck stairs transformed my backyard deck from an awkward platform into a fully functional outdoor living space. With the right tools, a little planning, and a weekend of effort, you can create safe, durable stairs that add both beauty and accessibility to your deck.
Every time I walk down my new stairs instead of hopping off the deck edge, I’m glad I took the time to do it right. If you follow the steps in this guide, you’ll get the same result—sturdy, attractive deck stairs that will last for years.
Related Posts:
Building Landings For Deck Stairs by Amy Reed February 28, 2023 DIY A landing is a flat pad, usually made of concrete, gravel, flagstone, bricks, or pavers, that appears at the bottom of deck stairs. It’s designed…