Those of us who work with wood are often stymied when forced to work with other materials. Yet there are a number of projects we might undertake, which require that we not only work with those other materials, but do so like an expert. Sometimes, the cost of failure is just too high to pay.
Such is the case with porcelain tile. It’s not uncommon to have to drill holes in that tile, after it is installed. Of course, the last thing that any of us would want to do at that time is to crack a tile and have to live with it. That’s even worse than having to replace the cracked tile, which isn’t an easy repair to accomplish.
Yet we can’t use our normal woodworking methods for drilling through porcelain tile. For one thing, the drill bits we use for wood and even metal won’t go through porcelain. About all we’ll accomplish, if we try, is managing to dull the bits, turning them into so much scrap metal.
So, how can we go about drilling those hole, without either destroying our drill bits or damaging our beautiful tile job?
What is Porcelain Tile?
Before talking about drilling hole through porcelain tiles, it would be a good idea to understand what we’re talking about. Porcelain isn’t ceramic, although it is similar. Both materials are made of clay, but that’s about where the similarity ends. Porcelain is made from a much more refined clay. Once the tiles are formed, they are fired in a kiln, like ceramic is, but they are fired at a much higher temperature. This results in a tile which is much harder and more durable.
It is easy to make the mistake of thinking that porcelain tile can be dealt with in the same way as other ceramic tile is; but don’t believe it. Methods used for other ceramic, or used for granite, stone or slate aren’t going to work for porcelain and the carbide drill bits used for those materials aren’t going to last in porcelain.
What Sort of Drill Bit to Use
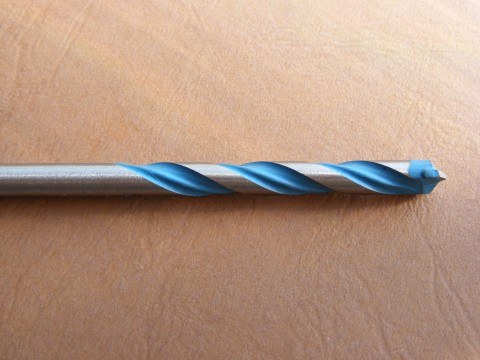
Masonry drill bits, even carbide tipped masonry drill bits won’t work on porcelain, although they will work on normal ceramic tile. Rather, porcelain requires the use of diamond-tipped hole saws. These are available in sizes as small as 3/16” and all the way up to more than 4” in diameter. Take care when choosing these to avoid the ones which require an arbor with a pilot drill, as the pilot drill won’t work when making holes in porcelain and will get in the way of the diamond edge doing its job.
One absolute requirement when using any diamond drill bit is cooling. tile saws use a water jet to cool the blade, while cutting; but that won’t work with a hole saw, as the drills used don’t have that capability. Rather, a pool of water needs to be formed on the surface of the water, so as to lubricate and cool the diamond bit.
Never use a hammer drill for drilling any sort of tile, as the hammering action exponentially increases the possibility of chipping or cracking the tile. Hammer drills are for use primarily with concrete, although there are other stone products they can be used for.
It is best to drill porcelain when it is horizontal, as that’s the easiest way of ensuring that there is water to cool and lubricate the hole saw while it is drilling the hole. However, it is possible to drill holes in vertically mounted tile, by directing a stream of water at the drill bit. Some care must be taken in doing this, as the water must not hit the drill itself, while still hitting the bit.
It’s a good idea to support a loose tile while cutting the hole, rather than sitting it directly on the floor. If this is done, be sure to support it all the way around the hole, such as with a scrap of plywood that has a larger hole cut in the middle, so that the pressure of drilling doesn’t have a chance of causing the tile to crack.
For a hole in a horizontal tile, whether mounted or free, build a dam of plumber’s putty around the area where the hole is to be drilled and fill the basin created by the putty with water. Then chuck up the diamond hole saw and start cutting the hole.
Cutting a hole with a diamond hole saw is different from drilling or using a normal hole saw. Since there is no pilot bit, trying to have the hole saw go straight into the tile, like a drill bit, won’t work, as the hole saw will skip all over the surface, possibly marring it permanently. Rather than have that happen, have the hole saw attack the surface at a 45 degree angle. Once the cutting has started, the hole saw can be gradually rotated upwards, so that it is perpendicular to the surface of the tile.
Let me warn you; this is an extremely slow process. Chances are high that you’ll be convinced that the diamond edge on the hole saw has worn out and the saw is useless and that the next ice age will occur before the hole is drilled; but don’t despair, it is actually doing its job. It just takes a long time.
Keep an eye on the water level in the little pool around the hole saw; it will eventually dissipate, mostly splattered to the sides by the hole saw. Replenish it as necessary, so as to always ensure that there is adequate water available to lubricate the hole saw and keep it cooled. The finished hole should come out smooth, without any apparent chips around the edge. Nor should there be any breakout in the back side of the tile, although if there is, it will be hidden when you mount it, making that a non-issue.