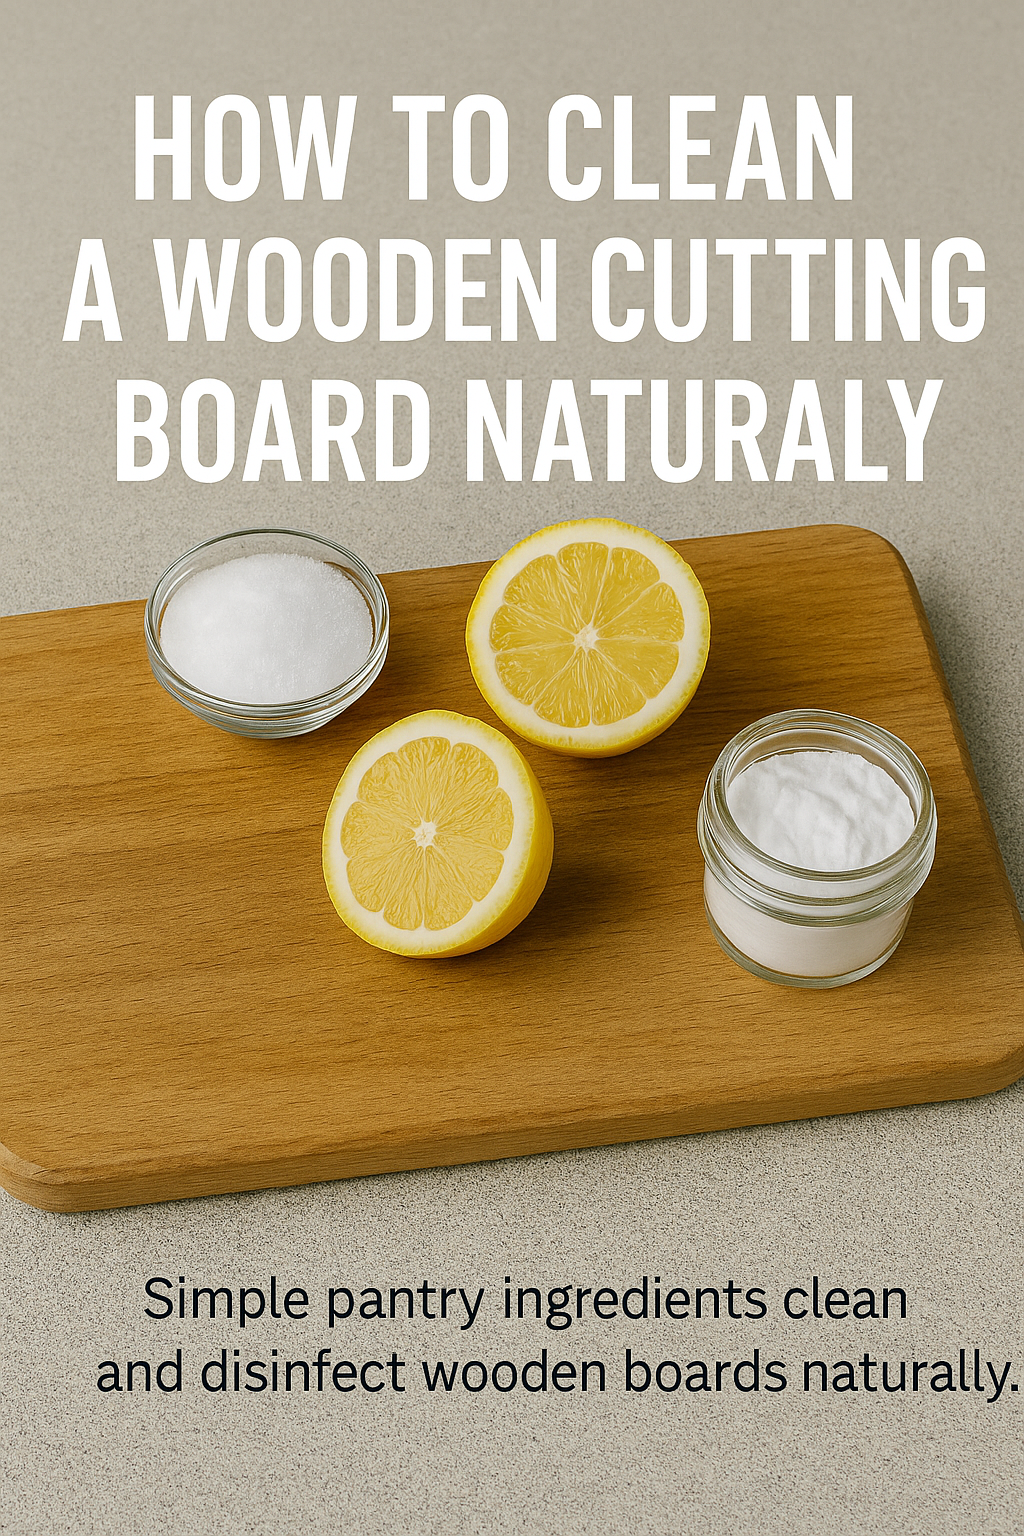
If you’ve ever wondered how to clean a wooden cutting board the right way, this simple step-by-step guide will keep it safe and beautiful for years.
When I bought my first solid maple cutting board, I didn’t realize I was also buying a piece of kitchen furniture that would age and change over time. Wooden boards are alive in a way — they swell, breathe, and even develop character as the years go by. But they also need love. If you’ve ever wondered how to clean a wooden cutting board without ruining it, here’s everything I’ve learned from years of cooking, sanding, and restoring boards that have seen hundreds of family dinners.
Why Wooden Cutting Boards Need Special Care
Wood and water don’t always get along. The same pores that make wood attractive also make it vulnerable. When moisture or raw food juices seep in, the board can stain, smell, or even warp. On the flip side, letting it dry out too much causes cracks.
Cleaning wood correctly isn’t just about hygiene — it’s about balance. You’re keeping the board clean enough for food prep, but oiled sufficiently so it doesn’t splinter or dry out.
Most commercial kitchens actually prefer wooden boards for their natural antibacterial properties. Studies from the University of Wisconsin found that bacteria die off faster on wood than on plastic. The key is knowing how to clean, dry properly, and oil it.
Step 1: Rinse and Scrape Immediately After Use
Every great cutting board habit starts the moment you finish chopping. Don’t wait until after dinner to rinse it — that’s when juices harden and odors set in.
Rinse your board quickly with warm water, then use a bench scraper or a flexible spatula to remove any food residue. This keeps grooves clean without grinding food deeper into the grain.
Avoid soaking it in the sink — the longer it sits underwater, the more it swells. Even a few minutes of soaking can permanently raise the grain.
🧽 Pro Tip: I keep a bamboo dish brush by the sink. It’s gentle on the wood and easy to grip when scrubbing stubborn food bits.
Step 2: Give It a Natural Deep Clean (Salt + Lemon Method)
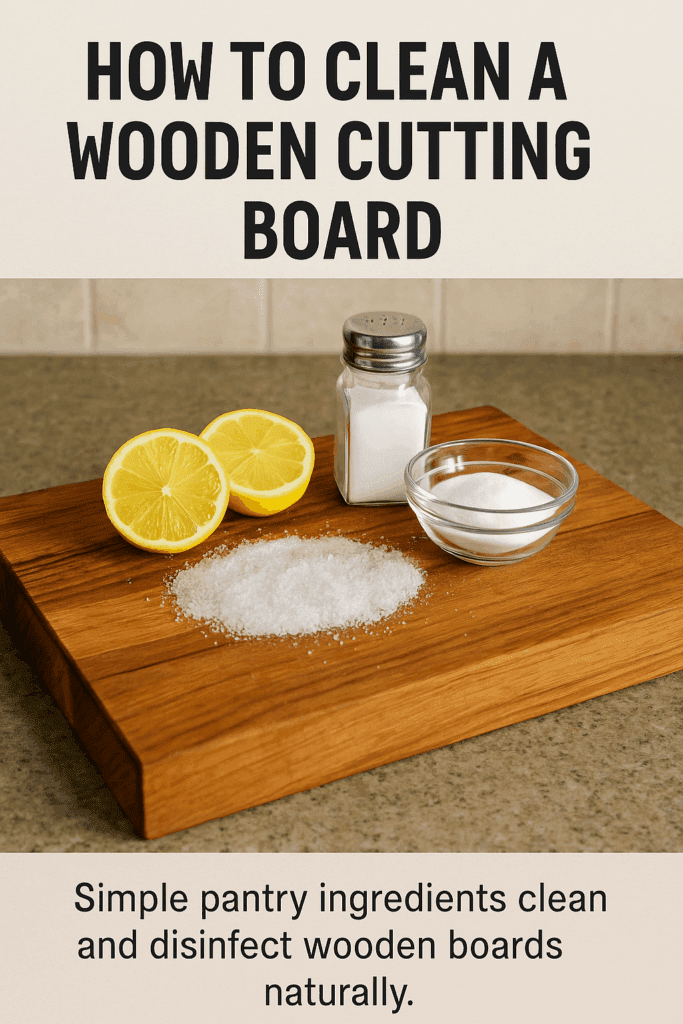
The lemon-and-salt method is one of the most effective ways to clean a wooden cutting board with ingredients you already have in your kitchen.
Once or twice a week, give your board a natural deep scrub. This classic method uses coarse salt and a cut lemon — a combination that works better than most chemical cleaners.
How to do it:
Sprinkle a generous layer of coarse kosher salt or baking soda over the surface.
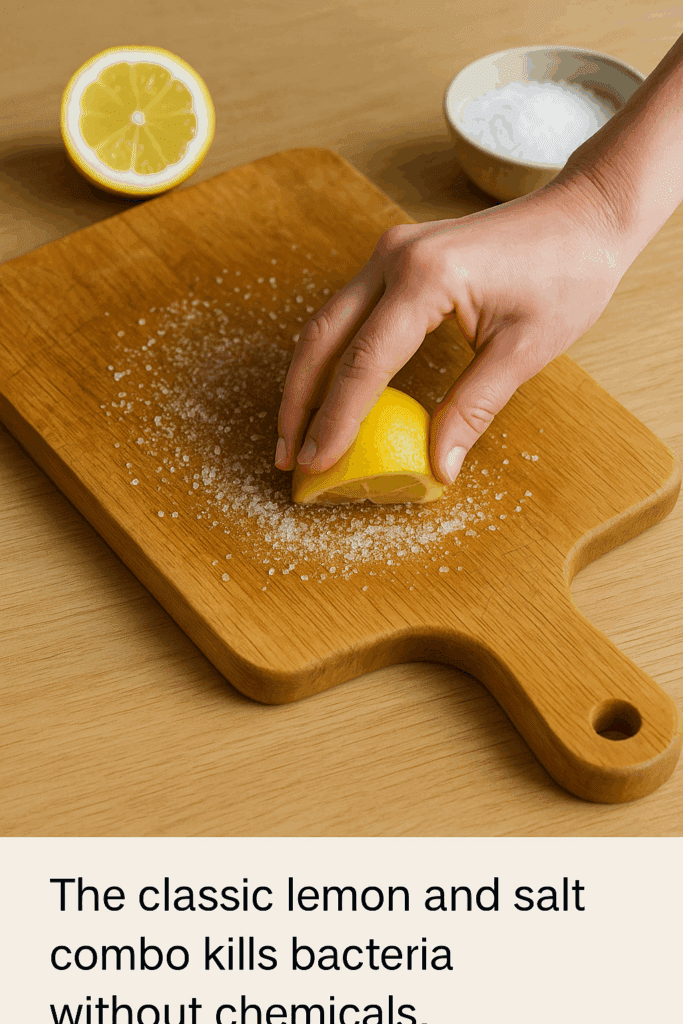
Cut a lemon in half and use it like a sponge, scrubbing in small circles.
Let it sit for about five minutes so the acid can lift grease and kill bacteria.
Rinse thoroughly with warm water and dry right away.
This is especially helpful after cutting onions, garlic, or meat. The salt draws out moisture while the lemon neutralizes odor.
Step 3: Rinse, Wipe, and Air Dry Properly
Deep cleaning is a key part of learning how to clean a wooden cutting board properly—especially after cutting meat, onions, or garlic.
After deep cleaning, rinse your board well under warm water. Then wipe it dry immediately using a clean kitchen towel or paper towel. The goal is to remove surface moisture as fast as possible.
To finish, stand the board upright or prop it slightly so air can circulate on all sides. If you lay it flat, moisture can become trapped underneath, potentially causing warping.
You can even set it in front of a small fan for a few minutes if your kitchen tends to be humid.
Step 4: Disinfect Naturally — No Bleach Needed
For boards that come into contact with raw meat or seafood, go one step further. Spray the surface with white vinegar or 3% hydrogen peroxide, let it sit for about five minutes, then wipe and rinse. Both are food-safe and effective disinfectants.
Bleach, however, should never come into contact with your board. It strips natural oils, causes discoloration, and leaves behind chemical residue.
If you like a pleasant scent afterward, add a few drops of lemon or tea tree essential oil to your vinegar spray bottle. It smells fresh and provides an antibacterial boost.
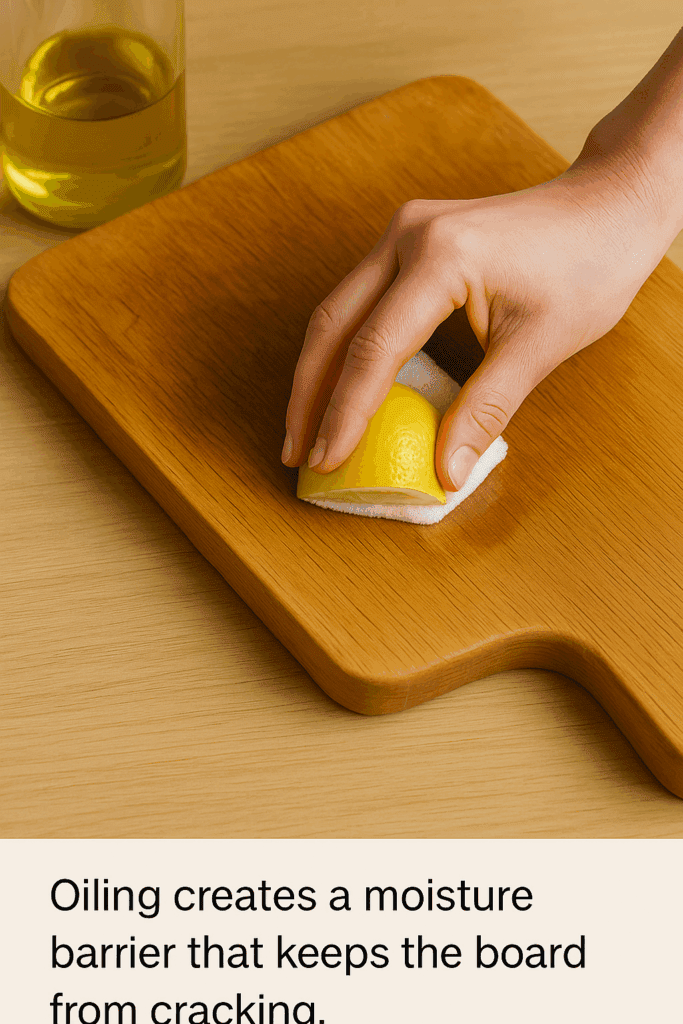
Step 5: Oil It Monthly to Keep It Hydrated
Wood, like skin, needs moisture — but not water. That’s where food-grade mineral oil comes in. It seeps into the pores, preventing cracking and sealing out stains.
How to oil your cutting board:
Start with a completely dry board.
Pour a small amount of mineral oil (about 1 tbsp) onto a lint-free cloth.
Rub it in with the grain until the surface looks slightly glossy.
Let it sit overnight so the oil penetrates deeply.
Some foods cling to wood like a bad memory — garlic, onions, or fish being the worst offenders. To fix that:
Sprinkle baking soda evenly on the board.
Rub with a damp sponge or lemon half.
Let it rest for 10 minutes before rinsing.
For dark stains like wine or beet juice, mix a paste of baking soda and water. Apply it directly, wait a few minutes, then scrub gently with a soft brush. The wood will lighten naturally as it dries.
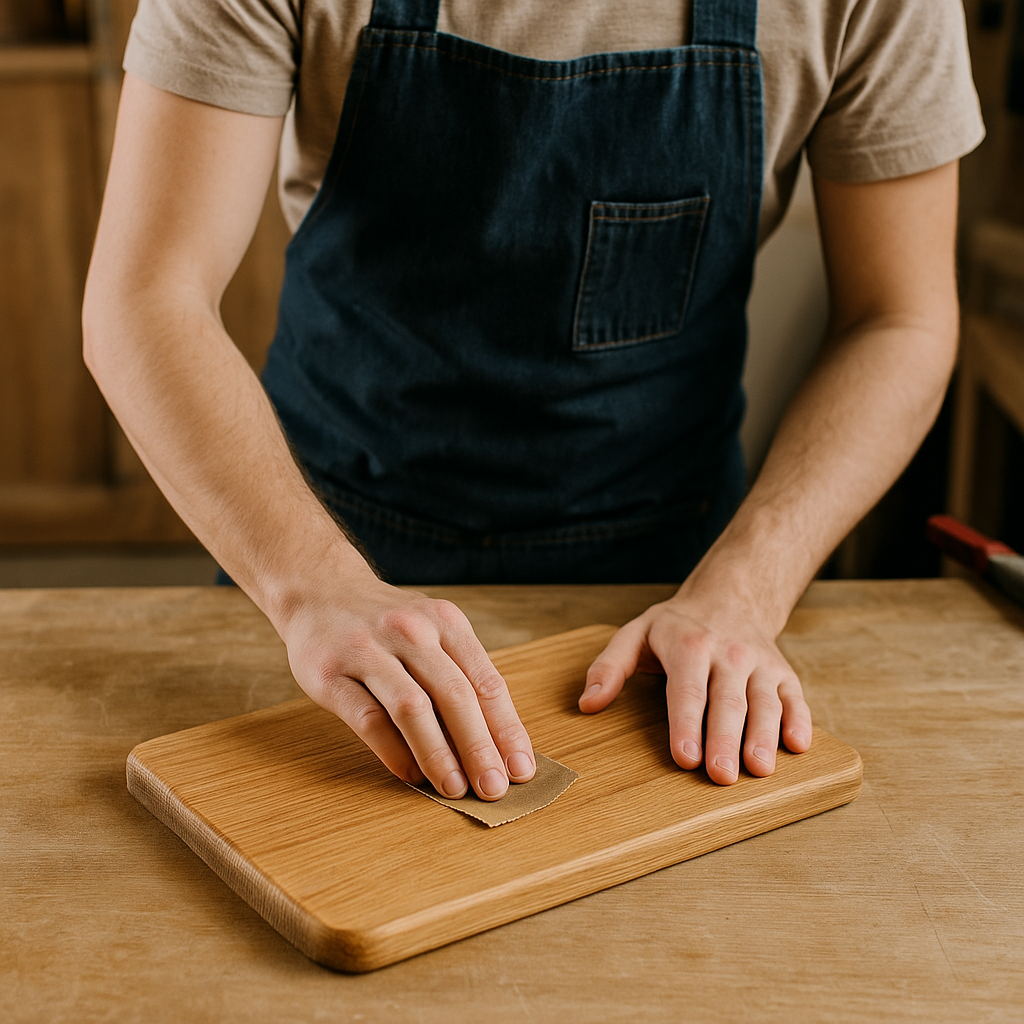
If your board looks gray, rough, or full of knife marks, it’s not trash — it’s ready for renewal. Lightly sand it with 220-grit sandpaper until smooth. Follow up with 400-grit for a silky finish, then oil it as usual.
This process reveals a fresh layer of wood beneath and restores color and texture. I’ve brought decade-old butcher blocks back to life using this trick.
How Often Should You Clean and Oil?
Task
Frequency
Why It Matters
Rinse & Wipe
After every use
Prevents food stains and smells
Lemon & Salt Deep Clean
Once a week
Natural antibacterial refresh
Oiling
Monthly
Prevents cracking and repels water
Sanding
Every 6–12 months
Restores surface and removes knife grooves
This schedule keeps your board safe, shiny, and long-lasting.
Common Cleaning Mistakes to Avoid
Soaking in water: The top reason boards warp.
Using harsh soap or bleach: Strips away protective oils.
Skipping oiling: Causes dryness and cracking.
Storing flat: Moisture gets trapped underneath.
Using one board for everything: Keep separate boards for raw meats and vegetables.
Shake well, then spray your board after each use. It’s eco-friendly and smells excellent.
Storing and Displaying Your Board
Never leave your cutting board near the stove, dishwasher, or sink. Steam and heat cause swelling and can even split the wood along the grain.
If you love the look of wood, display it upright on your counter or hang it on the wall using a metal hook. Not only does it dry faster, but it also looks great in farmhouse or modern kitchens.
If you have several boards, place a paper towel or thin cloth between them to absorb humidity.
DIY Board Reviver Trick (for Dull, Dry Boards)
Mix equal parts beeswax and coconut oil, melt in a small jar, and apply a thin coat using a soft cloth. Let it absorb for a few hours, then buff with a clean rag. The finish is smooth, glossy, and completely food-safe.
🧴 Deep Cleaning a Wooden Cutting Board with Baking Soda and Vinegar
One night after making tacos, I forgot to rinse my cutting board. The next morning, it didn’t smell very good—half onion, half soap. I figured it was done for. My grandmother used to say, “If vinegar can’t fix it, nothing can,” so I gave it a try.
I shook a handful of baking soda across the board. No measuring, just enough to dust it. Then I splashed a little white vinegar on top. It fizzed like a kid’s science fair volcano—tiny bubbles racing across the surface. I let it sit while I made coffee, maybe a minute or two.
When the fizz died down, I grabbed the soft brush that usually sits by the sink and brushed with the grain. You could feel the gunk lifting. Rinsed it off, dried it with a towel, and stood it upright on the counter. When it finally felt dry, I rubbed in a few drops of mineral oil using an old T-shirt. The color deepened instantly, as if the board had exhaled.
Since then, whenever the board smells a bit “off,” that’s my fix. Quick, cheap, no chemicals—just the same trick my grandmother used.
🪚 Restoring and Maintaining an Old Wooden Cutting Board
I found my first cutting board in a storage box after moving—cracked, gray, and looking like driftwood. But it was the board I’d chopped my first home-cooked meal on, so I couldn’t toss it.
I washed it gently, set it by the window, and left it there all night. The next morning, it felt dry as chalk. I took a piece of 120-grit sandpaper and started sanding with the grain. The top layer turned to powder. Underneath was that warm maple color I’d forgotten about. Switched to 220-grit, went over it again, then wiped it down. Smooth as a countertop.
For the finish, I melted a bit of beeswax with mineral oil in a jar over hot water—nothing fancy—and rubbed it on while it was still warm. The board drank it up like it had been waiting years. Left it overnight, buffed it in the morning, and suddenly it looked brand new.
Now I oil it every month or so and store it on edge instead of flat. It’s been five years, and it still feels solid when the knife hits the surface. There’s something satisfying about keeping an old tool alive with your own hands.
Q: Can I use dish soap? Yes, mild dish soap is delicate for light cleaning. Rinse well afterward and dry immediately.
Q: How do I remove black mold spots? Scrub gently with baking soda and vinegar paste. Rinse and dry in the sun.
Q: Can I use olive oil instead of mineral oil? No. Olive and vegetable oils can go rancid, causing an odor. Always use food-grade mineral oil.
Q: How do I know when to replace a board? If it’s cracked through or warped so much it won’t sit flat, it’s time to retire it — or repurpose it as a serving tray.
Sandblasting Wood: How to Clean & Restore by Admin May 17, 2025 Finish There’s something satisfying about bringing old wood back to life. Whether it's barn siding, an antique door, or a weathered cedar plank, wood has a…
How to Clean Old Unfinished Wood Floors by Admin May 20, 2025 More About Cleaning old unfinished wood floors can feel intimidating—after all, they’re raw, porous, and prone to staining or warping. But the good news is: with the…