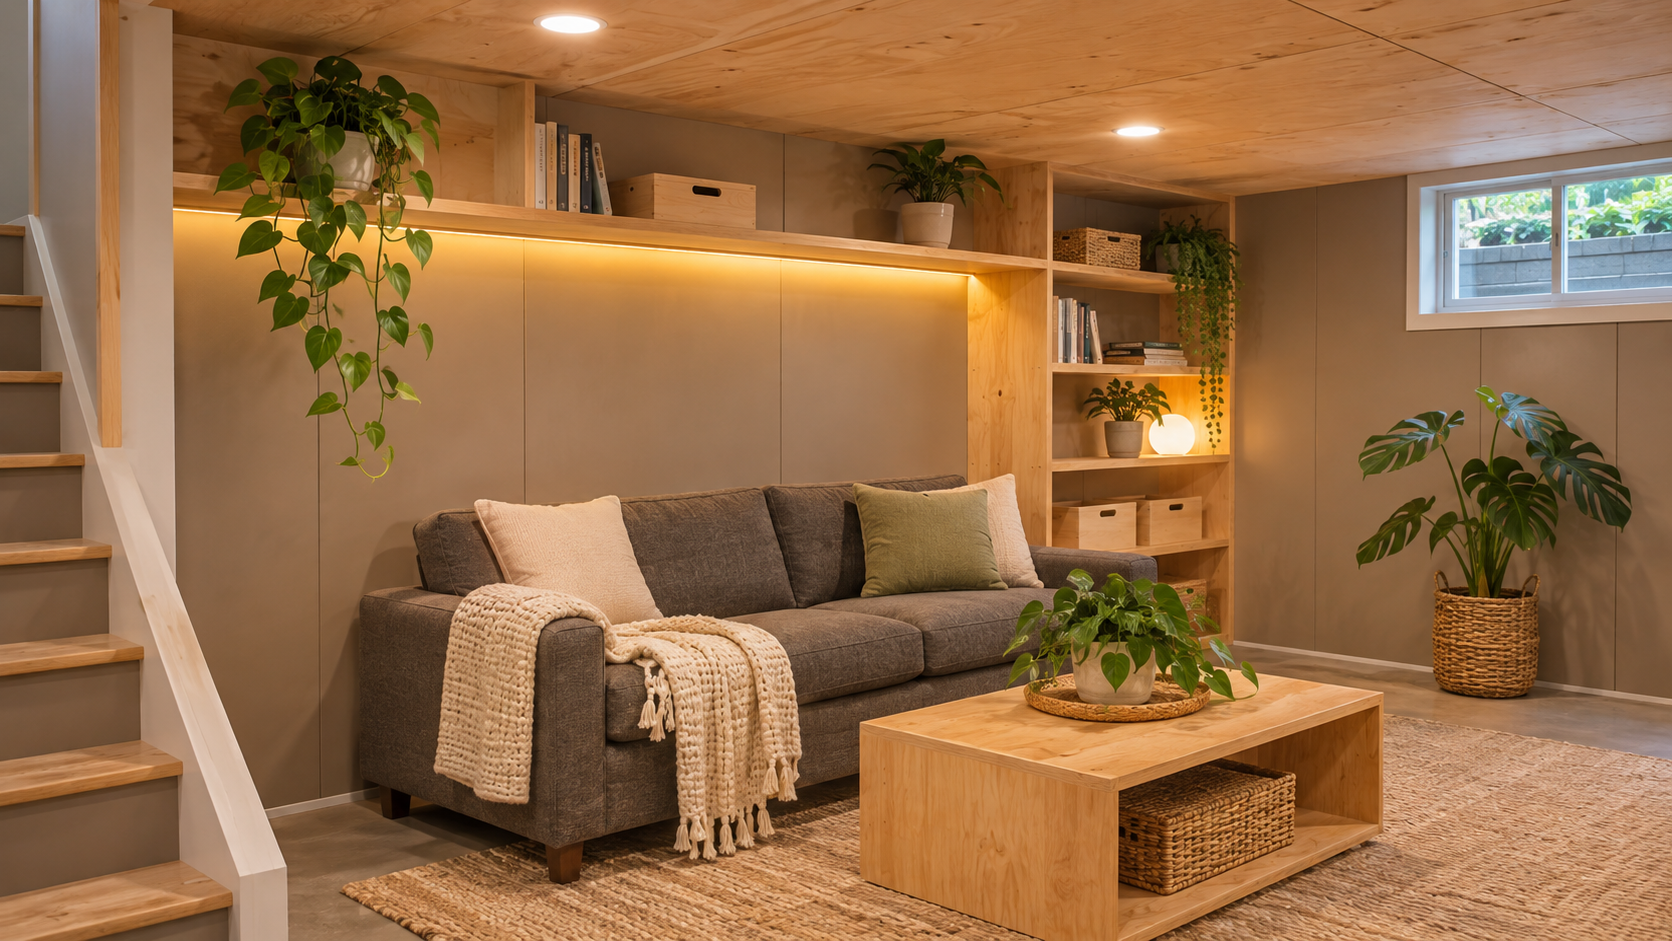
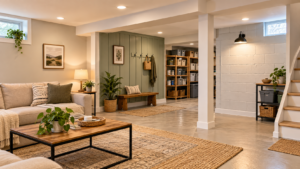
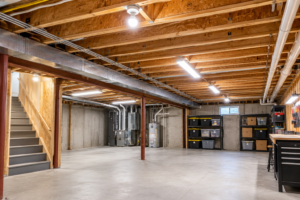
The cheapest way to make a basement feel finished with plywood is to finish the parts you look at and use every day. That usually means one painted accent wall, a plank ceiling over the seating area, and built-in storage, not paneling every surface. A 12-foot painted plywood accent wall takes three 4×8 sheets and about $230–$290 in DIY materials. The chart below lists eight projects with sheet counts, plywood-only and total material costs, and the code rules that can quietly double the bill.
Most finish per sheet: a painted 1/2-inch plywood accent wall on framing. That’s 3 sheets and about $230–$290 in DIY materials for a 12 x 8 ft wall.
Most useful per sheet: 3/4-inch plywood shelving. One sheet rips into four 11-7/8-inch strips, 8 feet long. Those are cutting sizes, not unsupported spans.
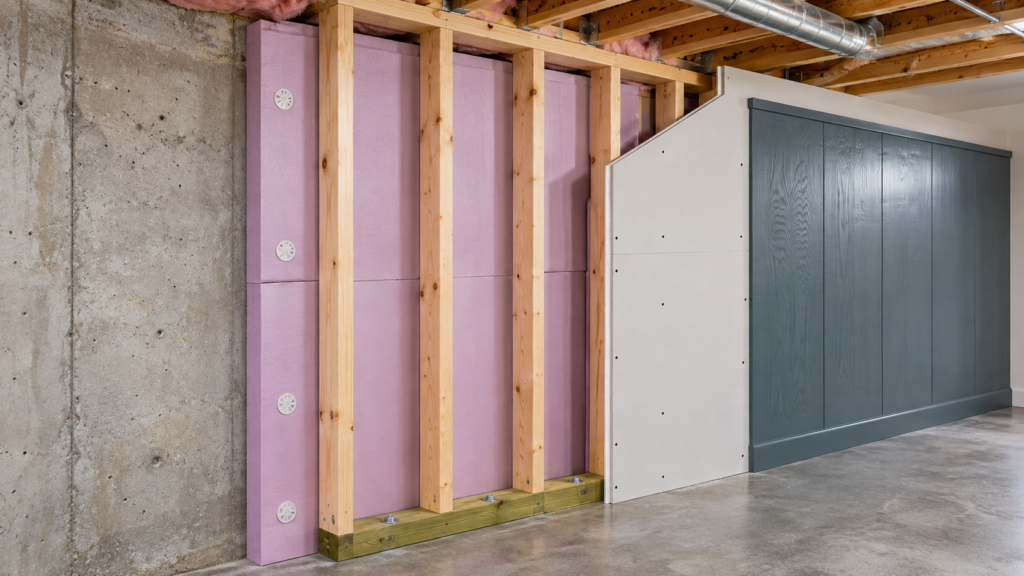
Biggest budget trap: putting 1/2-inch plywood over foam board. The thermal barrier rule can add a layer of drywall to every wall.
Do this first: check for moisture problems. No finish survives a leaking foundation.
Finished Basement Ideas Compared: Plywood Cost and Sheet Chart
Prices are Home Depot online listings checked in November 2026, before tax and delivery. Your store’s prices will differ, sometimes by 20% or more.
Project
Panel to buy
Sheets (example size)
Plywood only
Total DIY materials
Total includes
Skip it if
Painted accent wall
1/2″ BC or ACX sanded
3 (12 x 8 ft wall)
$129–$159
$230–$290
Plywood, 2×4 framing with treated bottom plate, 1 gal primer, fastener allowance
The wall is bare concrete with no framing
Board-and-batten wainscot
1/2″ sanded + ripped strips
2–3 (12 ft wall, 40″ tall)
$86–$159
$130–$215
Plywood, primer, nails and caulk allowance (mounts on an existing finished wall)
You want a stained wood look
Plywood plank ceiling
1/4″ BC sanded
5–6 (12 x 12 ft room)
$125–$192
$170–$250
Plywood, primer, nail allowance
Valves and junction boxes would get covered with no access
Storage shelving wall
23/32″ BC sanded
1 (four 8-ft strips)
$47–$54
$135–$165
Plywood, five 2×4 ladder frames, screw allowance
The wall gets regular water seepage
Built-in storage bench
23/32″ BC sanded
2 (6-ft bench)
$94–$108
$150–$180
Plywood, primer, hinge and edge-banding allowance
You need to reach a cleanout or valve behind it
Laundry folding counter
23/32″ BC sanded, doubled
1 (8-ft counter)
$47–$54
$95–$105
Plywood, 2×4 wall cleats, primer, screw allowance
It sits right next to a utility sink with no backsplash
French cleat tool wall
23/32″ BC sanded
1 (about 8 cleat pairs)
$47–$54
$57–$70
Plywood, screw allowance
The room is a living space, not a shop
Under-stair storage
23/32″ BC sanded for doors/shelves
1–2
$47–$108
$85–$200
Plywood, 2–4 sheets of 1/2″ drywall (required inside), hinge allowance
You were planning plywood-only walls inside
What the totals leave out: insulation and foam board, electrical, flooring, topcoat paint, tools, permits, and the extra layer the thermal barrier rule may require (see below). The “allowance” lines for fasteners, caulk and hinges are estimates, not checked prices.
Prices used: 1/4″ BC sanded $25–$32 a sheet; 1/2″ sanded $43–$53; 23/32″ BC sanded $47–$54; 1/2″ drywall $12–$17; 2×4 stud about $3.85–$4.65; ground-contact treated 2×4 about $4.50–$5.70; 1 gallon of stain-blocking primer about $30.
The sheet counts are layout math on a 48 x 96-inch panel with a 1/8-inch saw kerf. Add 10% for waste on ceilings and anything with lots of cuts.
How to Read the Chart
Four things change the numbers more than the project itself.
Wall height. Many basement walls are shorter than 8 feet, so you’ll trim sheets rather than buy more. A full-height wall needs one sheet per 4 feet of wall length, however short the ceiling is.
Panel thickness. 1/2-inch is enough for walls on studs 16 inches on center. Go to 3/4-inch wherever something hangs or carries weight: shelves, cleats, benches, TV backing. The price gap between 1/2-inch and 23/32-inch sanded plywood is often only a few dollars a sheet. Our best plywood thickness for walls chart breaks this down by wall type.
Face grade. For paint, BC or ACX sanded plywood is enough, because the sanded face fills and sands clean. ACX plywood is the usual pick for painted walls. If you want a stained wood look, you’re buying hardwood plywood (birch, maple), and that’s where a budget project stops being cheap.
What’s behind the wall. Foam board insulation can trigger the thermal barrier rule, and that can add a full layer of material. Check that rule before you price anything.
The 8 Projects, With What Makes Each Look Finished
1. Painted plywood accent wall
Pick the wall behind the TV or sofa, the one everyone looks at. Frame it with a treated bottom plate, insulate it the right way (more on that below), and hang 1/2-inch sanded plywood vertically so the seams line up with studs. You can leave the seams as a visible reveal by gapping them 1/8 inch and painting the gap dark, or fill and sand them flat. Use a stain-blocking primer first, because softwood plywood shows grain and patches through a single coat of paint. Our guide to painting plywood covers primer choices.
2. Board-and-batten or grid wainscot
Rip a sheet of 1/2-inch plywood into 40-inch-tall panels for the lower wall, then rip the offcuts into 3- to 3-1/2-inch battens. Paint everything one color. Wainscot hides the bottom of the wall, which takes the most scuffs in a basement, and it costs far less per foot than full paneling. The wainscoting height chart shows how to proportion it to a lower ceiling.
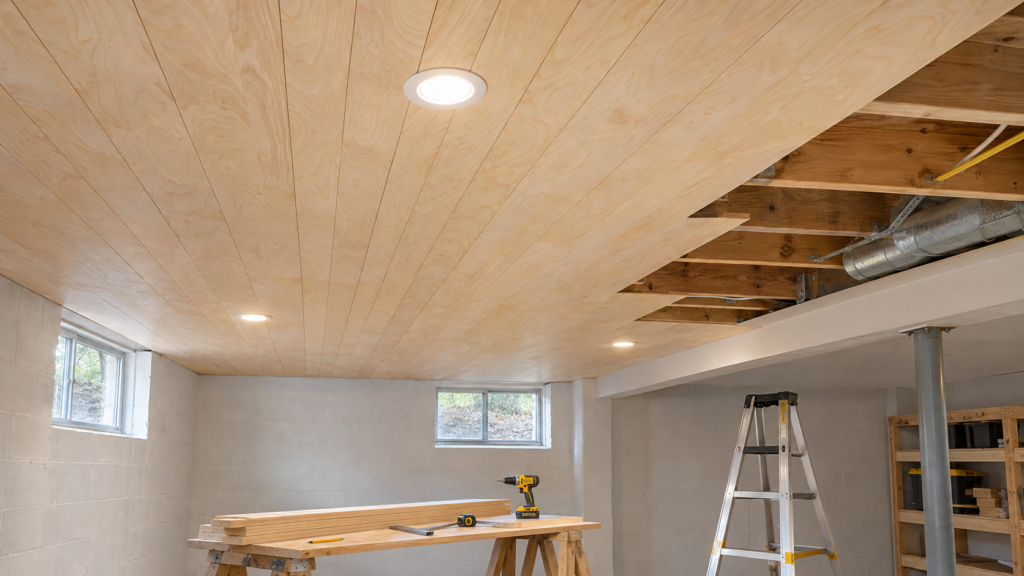
3. Plywood plank ceiling
Rip sanded plywood at 7-7/8 inches and you get six planks from one sheet. Nail them to the joists with a small gap between planks for a shiplap-style shadow line. Plank ceilings take less headroom than a drop ceiling, which matters in basements. The catch is access: plan removable panels anywhere a shutoff valve, cleanout or junction box sits above. For more options, see cheap basement ceiling ideas.
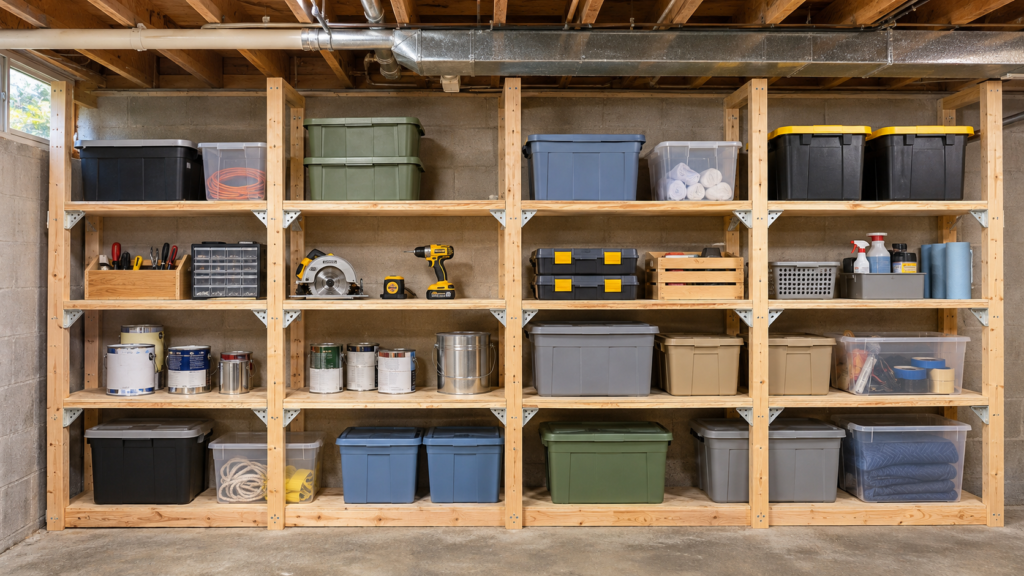
4. Storage shelving wall
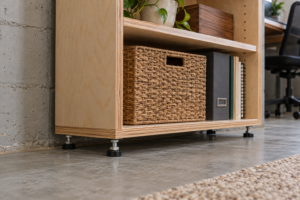
This is the best value on the list. One sheet of 3/4-inch plywood rips into four strips 11-7/8 inches deep and 8 feet long.
⚠️ Warning: These are cutting dimensions, not recommended unsupported spans. An 8-foot plywood shelf needs brackets, wall cleats or vertical supports spaced along its length. The safe spacing depends on what the shelf will hold and how it’s built (front edging, back cleat, thickness).
The cost estimate in the chart assumes five 2×4 ladder frames, but that’s only for pricing. Set your actual support spacing for your load using our plywood shelves span and build chart, and put heavy items (paint cans, tool cases) on shorter spans.
5. Built-in storage bench
A 6-foot bench, 18 inches deep with a hinged lid, takes two sheets of 3/4-inch plywood because the top, bottom and front pieces can’t all come out of one 48-inch width. Iron-on edge banding on the visible edges is what separates “built-in” from “plywood box.”
6. Laundry folding counter
One sheet gives you two 23-15/16-inch-wide strips, 8 feet long. Glue and screw them together and you have a 1-1/2-inch-thick counter. Support it on 2×4 cleats screwed to studs, with legs or brackets as the span requires. Seal all faces and every edge, including the back edge against the wall, because laundry areas are the most humid spot in most basements.
7. French cleat tool wall
Rip 3/4-inch plywood into 5-1/2-inch strips, then split each strip at 45 degrees. One sheet makes about eight wall-cleat-and-hanger pairs, 8 feet long. Screw the wall cleats into studs, not just into the panel behind them. Use this in a shop or utility room, not in a living area.
8. Under-stair storage
Plywood works well for doors, shelves and pull-out bins. But if you enclose the space and can get into it, IRC R302.7 requires the walls, the underside of the stairs and any soffits to be covered with 1/2-inch gypsum board on the enclosed side. Plywood alone doesn’t meet that rule, so budget for drywall inside the closet.
The Code Rules That Change Your Budget
Which code this follows: The code references in this article mainly follow the 2021 International Residential Code. Requirements and section numbers may differ under the 2024 IRC and under locally adopted amendments. Confirm the approved wall assembly and fire-protection requirements with your local building department before installation.
⚠️ Warning: foam board needs a thermal barrier. Under 2021 IRC R316.4, foam plastic insulation must be separated from the living space by at least 1/2-inch gypsum wallboard or 23/32-inch wood structural panel, or by a material that passes the NFPA 275 test. A 1/2-inch plywood finish over foam board doesn’t qualify on its own.
Picking a panel of the right thickness isn’t enough for the plywood option. The panel has to be installed as part of an approved assembly: a continuous layer fastened to framing, with edge support and joints as the code and the panel maker require, and accepted by your inspector. Some foam products also have their own evaluation reports with different requirements. APA’s technical topic on wood structural panels as thermal barriers covers the thickness and edge-support details. Bring it, and the foam’s data sheet, to your permit review.
💸 Cost difference: For a 12-foot accent wall over foam, here are the two ways to meet the rule:
1/2″ sanded plywood plus a 1/2″ drywall layer behind it: $129–$159 in plywood plus $36–$51 in drywall, and twice the hanging work.
Single layer of 23/32″ panel: 23/32″ BC sanded runs $141–$162 for three sheets, only about $3–$12 more than the 1/2″ sanded plywood. That makes it the cheaper route if your inspector accepts it. Check that the grade stamp shows PS 1 or PS 2. Birch or maple hardwood plywood made to HPVA HP-1 is a different product and isn’t automatically accepted.
Wood touching below-grade concrete. 2021 IRC R317.1 requires wood furring strips attached directly to below-grade concrete or masonry walls to be preservative-treated or naturally durable, unless an approved vapor retarder separates the wall from the wood. Bottom plates on the slab follow the same treated-wood logic.
Vapor retarders. 2021 IRC R702.7 calls for Class I or II vapor retarders on frame walls in colder climate zones, but it has exceptions for basement walls and the below-grade part of any wall. Stapling poly behind plywood on a below-grade wall can trap moisture against the wood. Latex paint on the plywood face counts as a Class III vapor retarder.
Flame spread. 2021 IRC R302.9 limits wall and ceiling finishes to a flame spread index of 200 or less (Class C) under ASTM E84. APA’s Technical Topic TT-010 reports that its tested APA-trademarked wood structural panels fall in Class C or better. For thin hardwood plywood or decorative paneling, check the manufacturer’s E84 data.
Formaldehyde. Hardwood plywood sold in the U.S. falls under EPA’s TSCA Title VI formaldehyde standard (0.05 ppm for hardwood plywood), and compliant panels carry a TSCA Title VI label. Basements often have less air movement than the floors above, so check for that label before you panel a whole room.
🧪 Real Test: A First Moisture Check Before You Buy a Single Sheet
Tape a roughly 2 x 2-foot square of clear plastic sheeting tightly to the bare concrete wall, sealing all four edges, and do the same on the slab. Leave both for 48 hours.
Moisture on the room side of the plastic: the room air is humid. Run a dehumidifier before and after you finish.
Moisture under the plastic, against the concrete: water is coming through the foundation. Fix drainage first. Plywood won’t hold up there.
Dry on both sides: No moisture was detected during this test. However, this does not guarantee the basement is moisture-free. Check for previous flooding, foundation leaks, efflorescence, and seasonal moisture problems before framing or installing plywood.
A 48-hour test shows conditions on the days you ran it, not across a full year. Building Science Corporation’s guidance on renovating basements says to assess wall moisture before insulating and finishing. It also says that walls that are visibly wet at times, or that occasionally drain water onto the floor, need an interior drain system first. Our basement moisture test guide explains how to read borderline results.
Picks for a Budget Plywood Basement
Kreg pocket-hole jig: builds benches, counters and shelf boxes with hidden screws, no clamping rig needed
Tapcon concrete screws: fastens bottom plates and furring to concrete without a powder-actuated tool
Foam sill gasket: a capillary break under bottom plates so the slab can’t wick into the wood
Stain-blocking primer: stops plywood grain and knot bleed from showing through paint
Pin moisture meter: checks that the plywood has acclimated before you nail it up
Iron-on edge banding: the cheapest way to make plywood edges look like furniture
Common Mistakes That Make a Budget Basement Expensive
❌ Paneling straight onto bare concrete. Plywood glued or nailed to a foundation wall sits against a surface that can stay damp. You’ll get mold on the back face, and you won’t see it until the panel cups.
❌ Putting 1/2-inch plywood over foam board with nothing in between. It can fail inspection under the thermal barrier rule, and adding drywall after the fact means tearing the plywood off.
❌ Building with untreated furring on below-grade concrete. It breaks IRC R317.1 and gives rot a head start in the one place you can’t see.
❌ Treating shelf cut sizes as spans. An 8-foot strip held only at the ends will sag under real storage loads. Space supports for the load, not for the cut list.
❌ Burying shutoffs and cleanouts. A plank ceiling or built-in bench over a valve means cutting into finished work during the next leak.
😬 Regret: paneling every surface on day one. You’ll spend the most on walls nobody looks at. Finish the focal wall and the storage first, then see what still bothers you.
FAQ
How much does it cost to finish a basement wall with plywood?
For a 12 x 8 ft accent wall, expect about $129–$159 for three sheets of 1/2-inch sanded plywood. With framing, primer and fasteners, the total is about $230–$290 in DIY materials, based on Home Depot listings checked in November 2026. Insulation, electrical and any thermal-barrier layer are extra.
Is plywood cheaper than drywall for basement walls?
Usually not on materials. A sheet of 1/2-inch drywall costs roughly a third of a sheet of 1/2-inch sanded plywood. Plywood often wins on time and toughness because there’s no taping and it holds screws anywhere. Over foam board, compare 1/2-inch drywall against 23/32-inch wood structural panel in an approved assembly, because those are the single-layer options the thermal barrier rule allows.
What thickness plywood should I use in a finished basement?
1/2-inch for walls on studs 16 inches on center, and 3/4-inch for shelves, benches, counters, cleats and anything mounted to the wall. Over foam insulation, 23/32-inch wood structural panel is the minimum thickness if plywood is acting as the thermal barrier, and the installed assembly still needs your inspector’s approval.
Do I need a vapor barrier behind plywood in a basement?
The correct term is vapor retarder, and on below-grade basement walls IRC R702.7 has exceptions that often make one unnecessary. Plastic sheeting behind plywood on a below-grade wall can trap moisture. Rigid foam against the concrete, with the wall able to dry toward the room, is the common approach. Confirm the assembly with your local building department.
Can I use plywood for a basement ceiling?
Yes. Sanded plywood ripped into planks is one of the lower-cost ceiling options, at about $170–$250 in materials for a 12 x 12 ft room using 1/4-inch panels. It takes less headroom than a drop ceiling. Leave access panels at every valve, cleanout and junction box, and check the flame spread data for thin panels.
Bottom Line
For a basement that looks finished on a budget, spend sheets where people look and where you store things. That’s a 1/2-inch painted accent wall (three sheets, about $230–$290 in materials for 12 feet) and 3/4-inch shelving with properly spaced supports. Check for moisture across the seasons and confirm the thermal barrier rule with your building department before you buy, because those two things are what turn a cheap plywood plan into an expensive one. For the full range of wall options, compare the best basement wall systems and our cheap basement wall ideas.
This post contains Amazon affiliate links. If you buy through them, theplywood.com may earn a small commission at no extra cost to you.
Related Posts:
Cheap Basement Wall Ideas That Actually Look Finished by Admin October 11, 2026 DIY The cheapest basement wall is a masonry coating rolled straight onto the concrete. The cheapest wall that looks like a real room is usually painted…