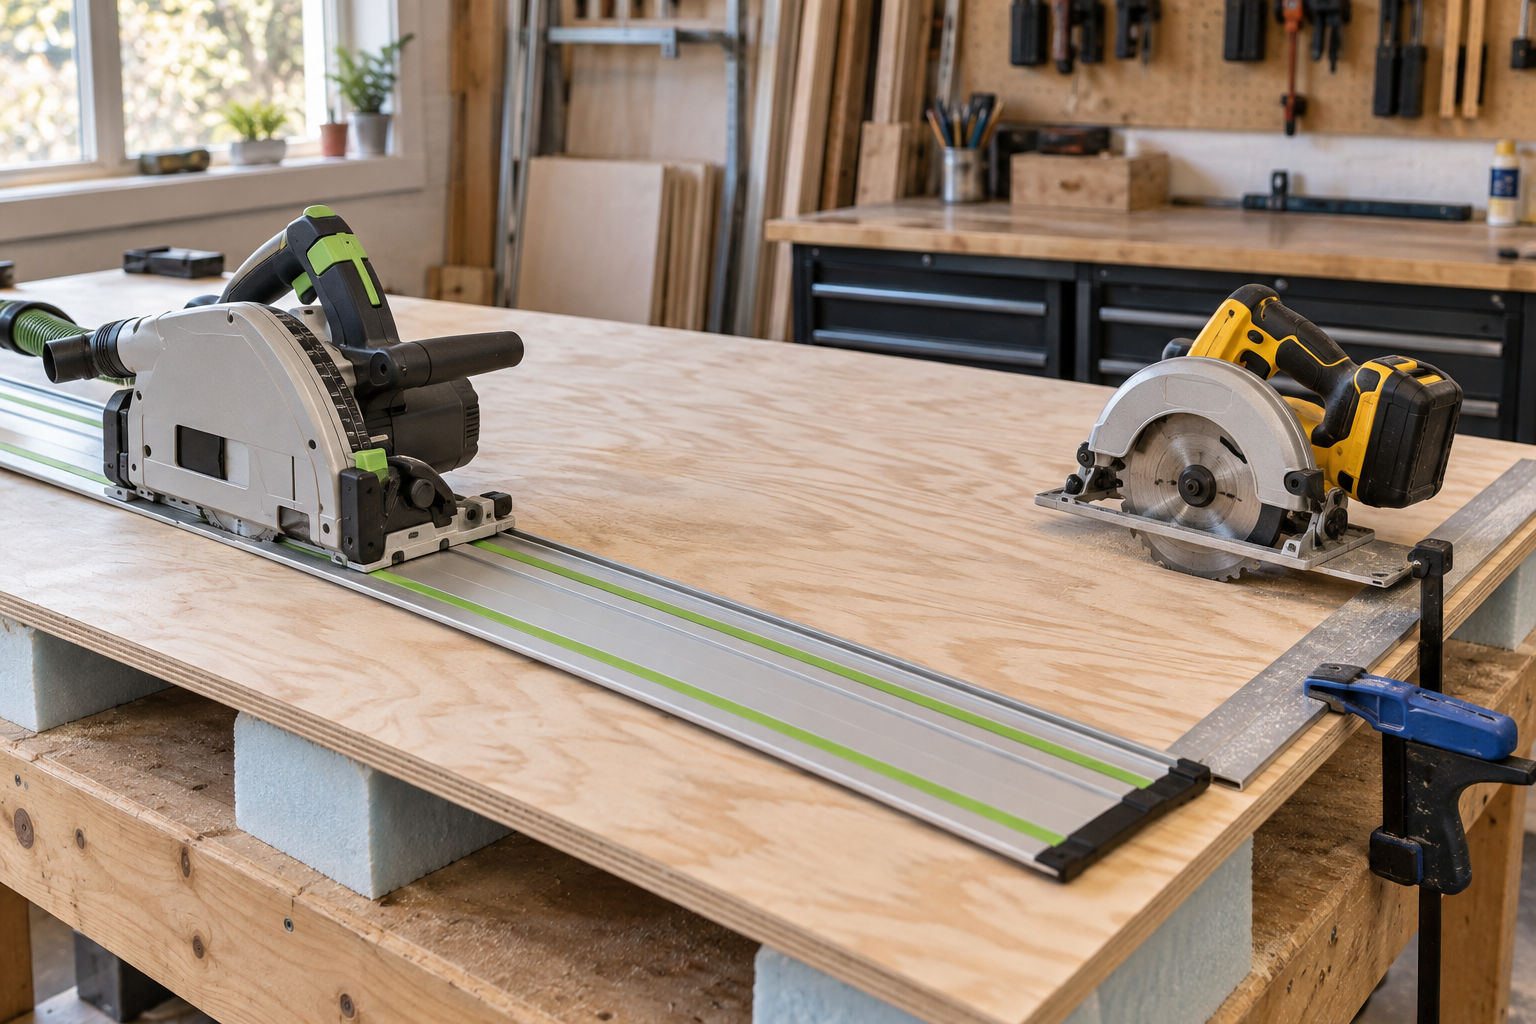
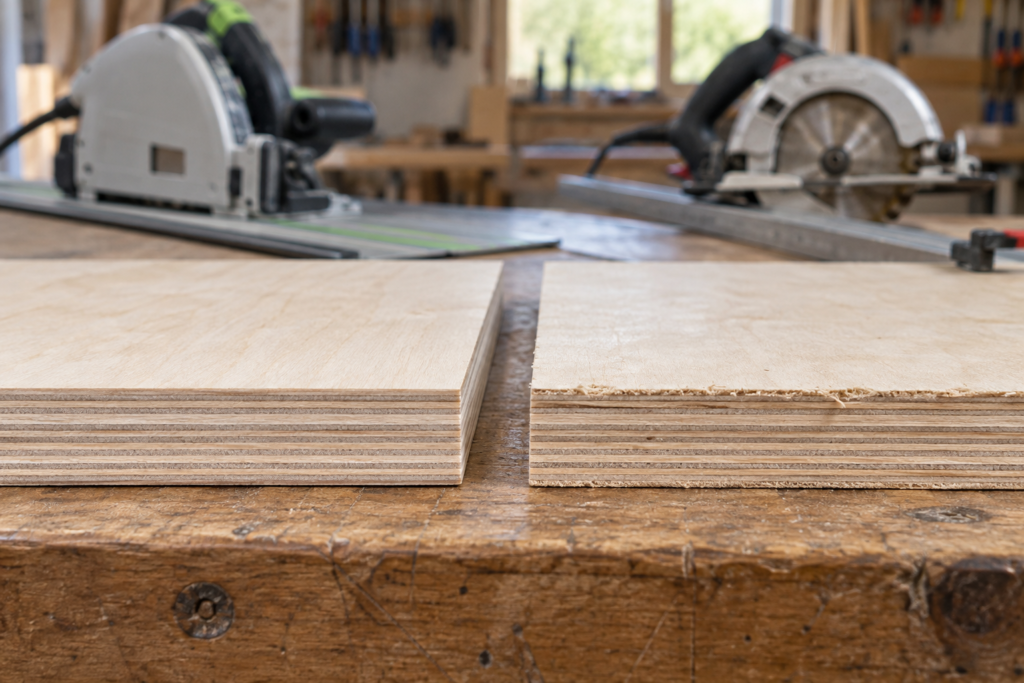
If you’re breaking down full 4×8 sheets of plywood, the honest answer is short: a track saw gives you cleaner, straighter cuts with almost no tearout, while a circular saw does the same job for a fraction of the price — but only if you add a guide and cut the right way. Neither is “wrong.” The right pick comes down to how much plywood you cut, how good the visible edge needs to be, and how much you want to spend.
Below is the practical breakdown: the cost difference, the one mistake that ruins expensive plywood, and how to get track-saw-quality edges out of a cheap circular saw.
Track saw vs circular saw for plywood: quick comparison
Factor
Track Saw
Circular Saw With a Guide
Edge quality on veneer plywood
Excellent — near splinter-free
Good, if blade + technique are right
Straight cuts on full sheets
Very easy, repeatable
Doable, more setup and drift risk
Learning curve
Low
Medium
Typical entry cost
Higher (kit + rail)
Low (saw + straightedge)
Dust collection
Usually built-in
Poor to none
Versatility beyond sheet goods
Limited
High — framing, demo, general cutting
Best for
Cabinet, furniture, finish plywood
Budget builds, occasional sheet cuts, general use
Bottom line up front: if plywood edge quality is the whole point (cabinets, built-ins, furniture), a track saw earns its keep. If you cut plywood occasionally and already own a circular saw, invest in a good plywood blade and a reliable cutting guide before spending several hundred dollars on a track saw.
What each saw actually does with plywood
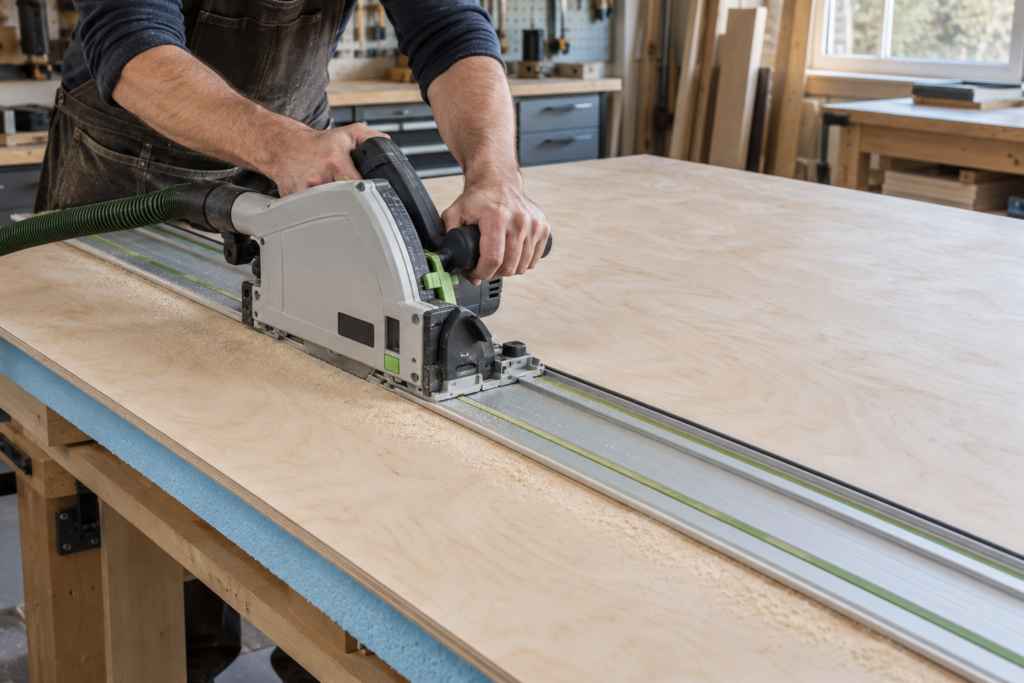
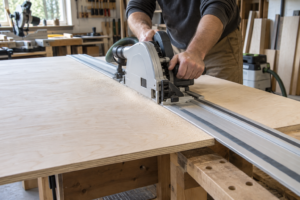
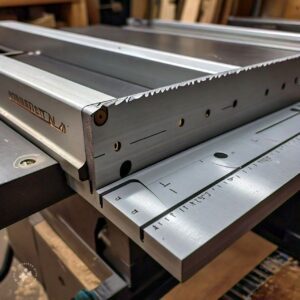
A track saw is a plunge-style circular saw that rides on an aluminum rail. The rail has a rubber anti-splinter strip that sits right on the cut line and holds the top veneer fibers down while the blade passes. That’s the whole trick — the edge that faces up stays crisp, and the rail keeps the cut dead straight without clamping a separate guide.
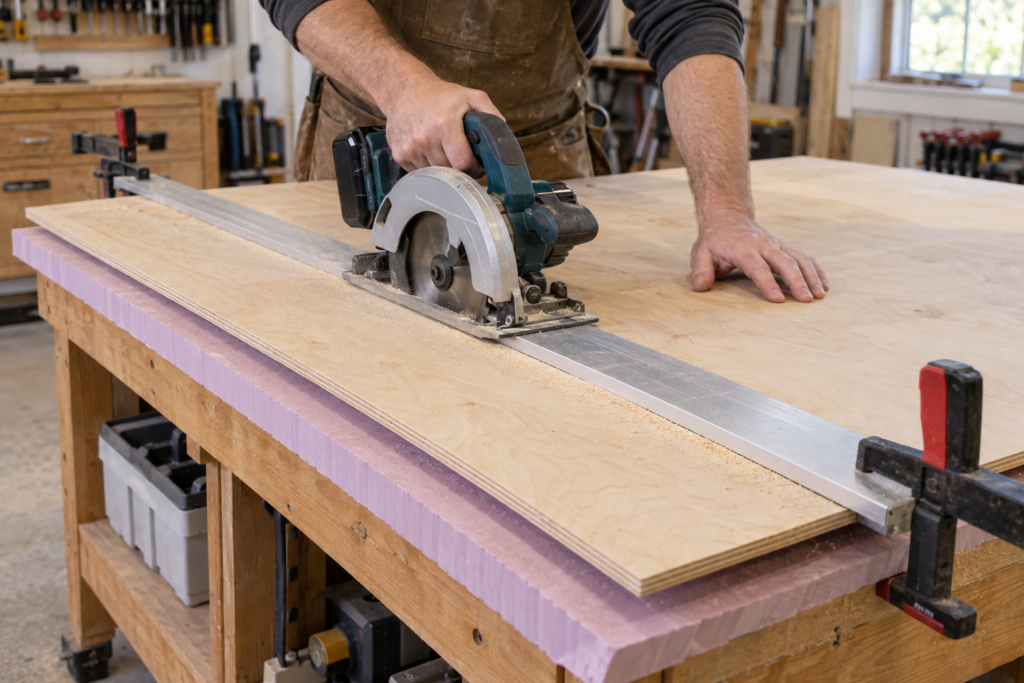
A circular saw is the workhorse everyone already owns. On its own it’s a freehand tool, which is exactly why plywood cuts go sideways — literally. Add a straightedge or a clamp-on guide and it will cut plywood cleanly and straight. It just takes a little more setup and a little more attention.
The mechanical difference that matters most is where the teeth exit the wood, because that’s where tearout happens.
❌ The mistake that ruins plywood: With a standard circular saw, the blade spins so the teeth exit through the top face — so tearout shows on the side facing up. Most people cut their good plywood face-up out of habit and wreck the visible edge. With a circular saw, cut with the good face DOWN. With a track saw, the splinter strip protects the top, so you cut good face UP. Cutting with the wrong face orientation can leave visible tearout even when you use a high-quality blade.
The cost difference (this is usually the deciding factor)
This is where most of the decision gets made, so let’s be blunt about it.
💸 Cost difference: A capable circular saw plus a clamp-on straightedge gets you cutting plywood cleanly for well under $200 — often under $150 if you already own the saw. A track saw system (saw, rail, and usually a longer or connected rail so you can complete a full 8-foot rip) generally starts around $400 and climbs fast from there. Prices vary by brand and change often, so treat these as ballpark, not gospel. The gap is real either way: you’re paying roughly 2–3x more for the track saw’s convenience and out-of-the-box edge quality.
What you’re actually buying with that extra money is speed and repeatability. The track saw removes setup steps and removes the skill from getting a clean edge. If you break down sheets all day, that adds up. If you break down a sheet a month, it doesn’t.
How to get track-saw-quality cuts from a circular saw
You can close most of the edge-quality gap for the price of a blade and some tape. This is the section worth bookmarking, because it saves you the whole $400 decision if edge quality is your only reason for wanting a track saw.
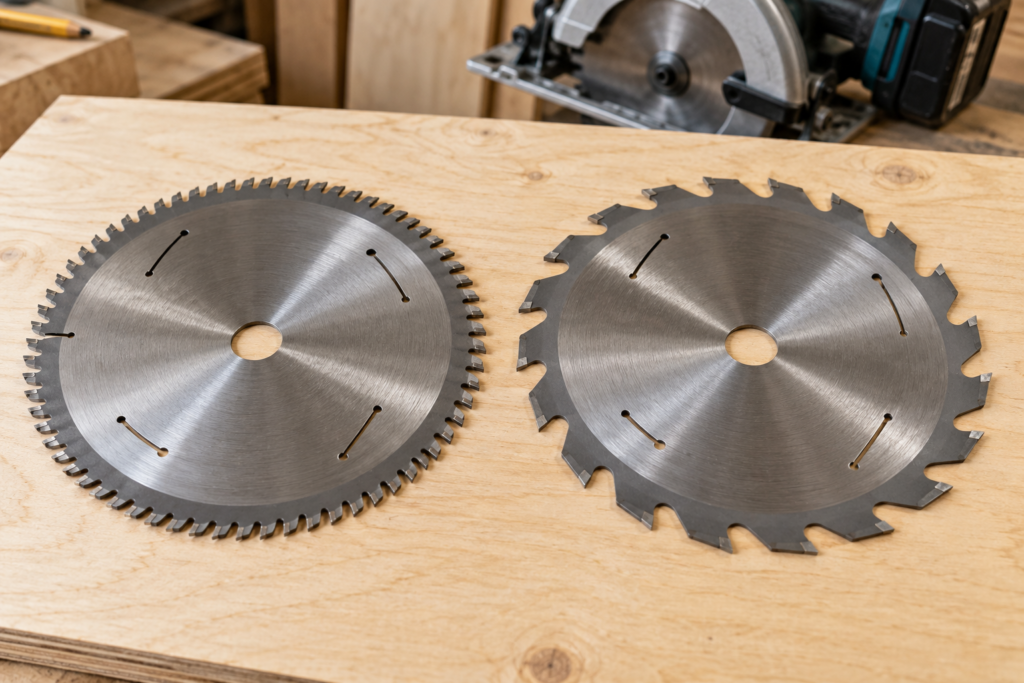
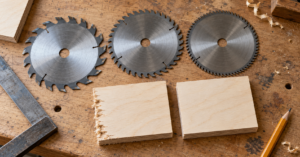
Use a fine-tooth blade. A 40-tooth blade is the practical minimum for plywood; 60-tooth gives you the cleanest edge on veneer and hardwood ply. A thin-kerf plywood/finish blade beats a general 24-tooth framing blade by a mile. This matters far more than which saw you own — the right blade on a cheap saw outcuts a dull blade on an expensive one. Our guide on how to cut plywood without splintering walks through specific blade and tool picks.
Add a guide. A clamp-on straightedge or a track accessory turns a freehand saw into a straight-cutting one. This is the single biggest upgrade to a circular saw for sheet goods.
Score the line first. Run one shallow pass (a couple of millimeters deep) along the cut, then the full-depth pass. That first pass severs the top fibers so they can’t chip.
Tape the line. A strip of painter’s tape over the cut line holds the surface veneer down and reduces surface chipping — cheap and effective.
Slow your feed rate. Pushing too fast is a top cause of tearout. Let the blade do the work.
Support the offcut. Sagging plywood pinches the blade and splinters the edge as the piece breaks away.
For clean plywood cuts, look for a sharp, fine-tooth blade with an alternate-top-bevel tooth pattern designed for plywood or finish work. The relationship between tooth count, grind, and tearout is well documented by woodworking authorities like Fine Woodworking. The principles apply whether the blade is spinning in a track saw or a circular saw.
Practical difference: A circular saw equipped with a fine-tooth blade and used with a straightedge can produce excellent results. A track saw makes comparable clean, straight cuts faster and more consistently.
When the track saw is genuinely worth it
You break down full sheets regularly and value your time.
You’re building cabinets, furniture, or built-ins where the visible edge matters and edge-banding won’t hide everything.
You work solo and need a full sheet handled without a second person or a big infeed setup.
You want dust collection at the cut (a real quality-of-life and lung-health upgrade).
You don’t own a table saw and want table-saw-clean rip cuts without the footprint.
If the visible edge is the whole point, it’s worth matching the saw to the panel — our guide to cabinet-grade plywood covers which sheets are worth protecting with a clean cut in the first place, and our plywood grades breakdown explains what those face grades actually mean.
When the circular saw is the smarter buy
You already own one and cut plywood occasionally.
Budget is the deciding factor, full stop.
You need one tool that also handles framing, demo, decking, and rough work — a track saw won’t do that.
You’re willing to spend two minutes on setup (guide, tape, scoring pass) to get a clean edge.
You’re still figuring out how deep you’re going into woodworking.
For finicky face veneers like the ones on Baltic birch plywood, the circular saw can absolutely deliver — the blade and the scoring pass do the heavy lifting, not the badge on the tool.
⚠️ Safety warning — plunge cuts and kickback: Track saws plunge into the middle of a sheet, and a rail that isn’t held down can shift under the plunge. Circular saws kick back hard when the offcut pinches the blade or the cut binds. Either way: support both sides of the cut, set blade depth to roughly a tooth’s height below the panel (not inches deep), keep the cord/battery clear, and never reach under the sheet. Thin, unsupported plywood flexes and grabs — that’s the classic kickback setup.
Blade depth and setup notes that apply to both saws
Cut depth matters more than people think. Set the blade so it clears the bottom of the plywood by only about a tooth — deep enough to cut through, shallow enough that fewer teeth are engaged and the exit fibers are supported. A blade buried far below the sheet chews a rougher edge and raises kickback risk.
If you’re matching blade and depth to different sheet thicknesses, it’s worth knowing your material — our plywood thickness guide covers actual (not nominal) panel dimensions, so you’re not setting depth by eye every time.
The tools worth buying (and where to get them)
Affiliate note for readers: some links below are Amazon affiliate links. If you buy through them it costs you nothing extra and helps support the site. Prices and availability change — always confirm current details on Amazon.
Painter’s tape for the scoring/no-tearout trick — you probably already have a roll.
Frequently asked questions
Do I really need a track saw to cut plywood cleanly? No. A circular saw with a fine-tooth blade (40–60T), a clamp-on straightedge, a scoring pass, and painter’s tape produces a clean, straight edge on plywood. A track saw mainly buys you speed and repeatability, not a cut you can’t otherwise get.
Which side of the plywood faces up when cutting? With a circular saw, cut with the good face down, because tearout appears on the top where the teeth exit. With a track saw, cut good face up, because the rail’s splinter strip protects the top surface.
What tooth count blade is best for plywood? A 40-tooth blade is the practical minimum; 60 teeth gives the cleanest edge on veneer and hardwood plywood. Blade quality affects the edge more than which saw you use.
Can a circular saw cut a straight line on a full sheet? Yes, but not freehand. Use a clamp-on straightedge or track guide. Without a guide, long plywood cuts drift and wander — the guide is what makes it repeatable.
Is a track saw worth it for a home DIYer? It’s worth it if you cut sheet goods often, build cabinets or furniture, or work solo on full sheets. For occasional cuts, a circular saw plus a guide is the smarter spend.
Why is my plywood splintering even with a new blade? Usually feed rate is too fast, the good face is up on a circular saw, blade depth is set too deep, or the offcut isn’t supported. Fix those before blaming the tool.