Panel doors significantly improve the richness of a home’s interior wood trim. Considering that the trim is one of the defining characteristics of finer homes, upgrading the trim is an excellent way of making a house look more valuable than it originally was.
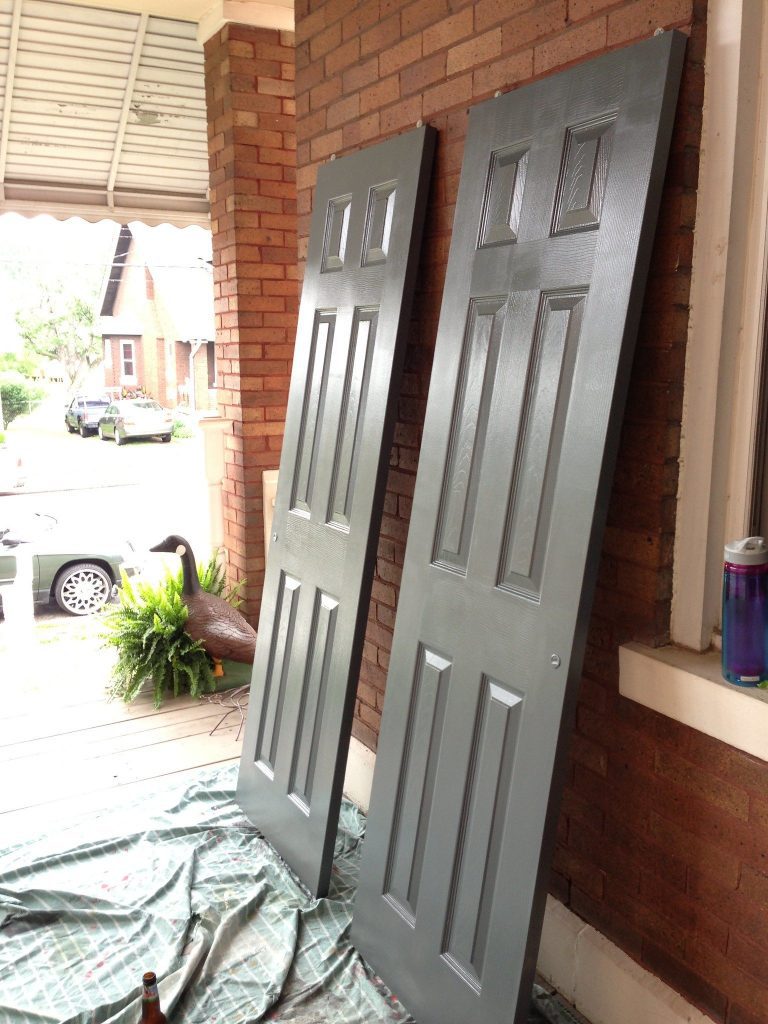
One of the best ways to upgrade a home’s woodwork is to change out solid slab doors for panel doors, usually six-panel ones. But that can get expensive, and one six-panel interior door can range from $80 to almost $300. It’s much cheaper to remake the existing doors into faux panel doors; most people can’t tell the difference.
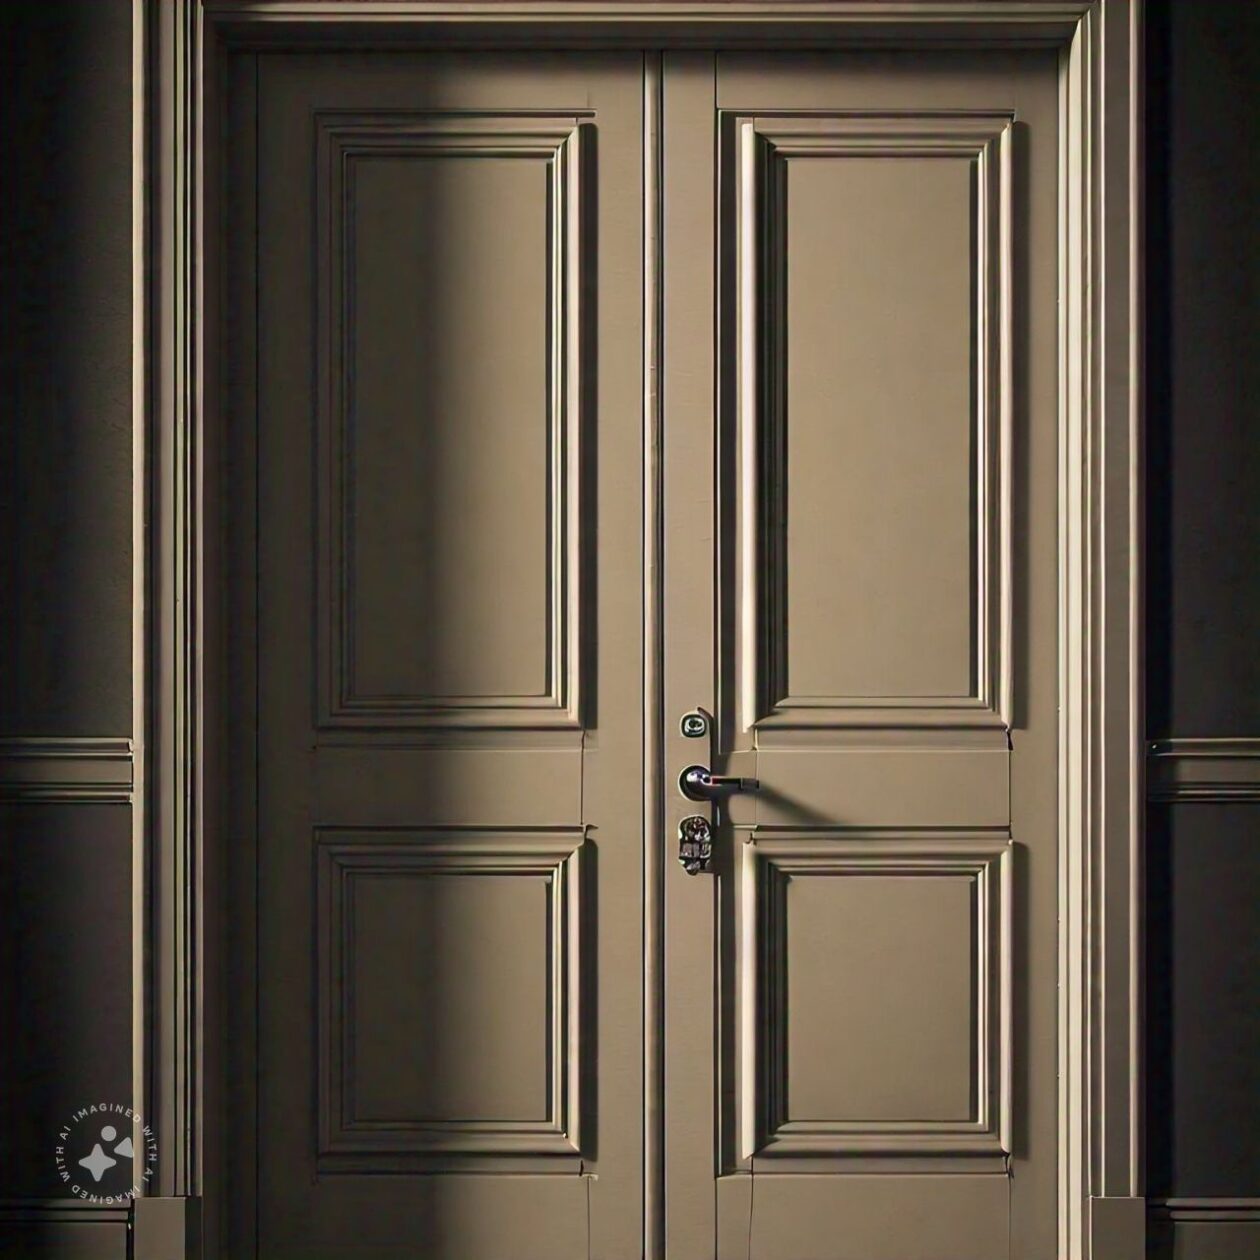
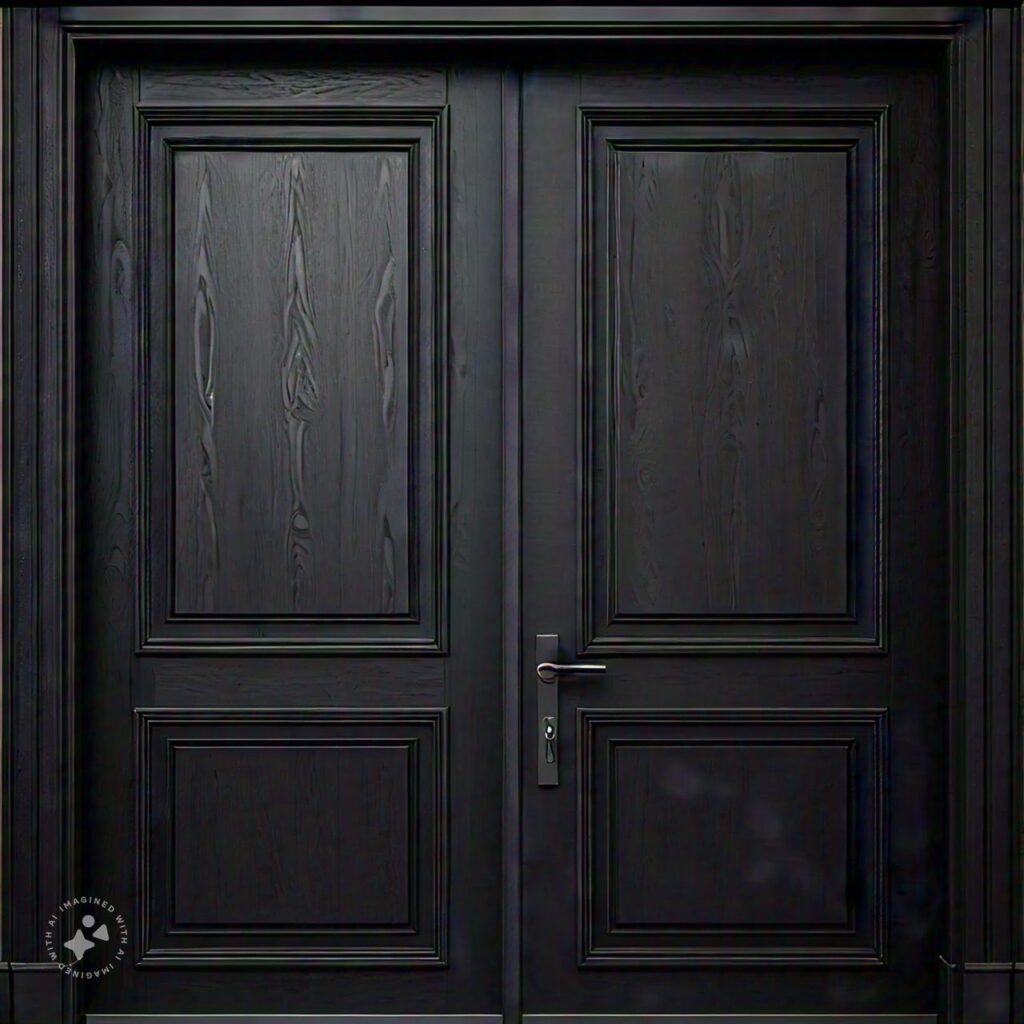
Panel doors get their name from the way they are constructed. The door consists of a series of panels held in a solid wood framework. Those panels can be flat or “raised panels.” The raised panel doors are more complicated to make, requiring a shaper. The door panels are cut along the edges so that the center part of the panel sticks up while the edges of the door are recessed.
Panel doors had existed for centuries and were common during Victorian times when carpenters made the doors for a home rather than buying pre-hung ones. Most of the time, they were built back at the carpenter’s shop, but they could be built on-site as well. These didn’t require the large presses to make today’s commercially manufactured hollow-core doors.
Depending on the look that one desires, hollow core doors can be turned into faux panel doors in several ways.
Dealing with Fake Wood Grain Doors
If the home has hollow core fake wood grain doors, turning them into panel doors is a bit harder. First, the wood grain must be hidden before adding the frames necessary to make the door have panels. This is accomplished by covering the door with wood veneer. Either peel-and-stick or regular veneer can be used, both of which are available in sheets up to 4’ x 8’.
Regardless of whether using either peel & stick veneer or gluing, the most important thing is to avoid allowing the veneer to touch the substrate before it is appropriately positioned. Thin strips of wood or dowel rods can be placed on the door as spacers as the veneer is placed. Then, once properly aligned, the strips can be removed one at a time, allowing the adhesive on the veneer to make contact with the door’s surface. The veneer should then be pressed down with either a smooth pad (such as a bundle of rags) or a roller (a short-nap paint roller will work).
If the wood veneer is not peel-and-stick, it will need to be attached to the door with adhesive. Contact cement is most often used for this, just like mounting laminate on a kitchen countertop. Both the backside of the veneer and the face of the door will need to be coated with contact cement; a paint short nap roller works well for this. Once the adhesive becomes tacky, the two pieces can be put together and pressed down.
There is some possibility that the veneer will bubble after installation. That’s from the wood expanding due to the moisture in the adhesive. Allow enough time for the adhesive to dry fully, and those spots will disappear.
It’s always a good idea to cut the oversized veneer for installation, trim it down, and flush with the edges once properly located and dry. Edges can be effectively trimmed with a utility knife and then sanded to form a slope or a small router with a laminate bit, which can be used to trim the veneer flush with the edges of the door. An angle can be put on the veneer with a chamfer bit.
Once the veneer has been installed, the hole for the lockset will need to be recut with a hole saw. Cutting from the backside, where the hole is visible, is best. To avoid splintering and tear-out and to protect the surface of the workbench, be sure to use a backing block of scrap wood.
Stick-on Faux Door Panels
There’s faux brick, faux stone, and even faux wood trim, so why not faux door panels? Yes, that’s a thing, and there are a number of different styles available. These can either be frames for the panel, made out of architectural trim, or raised panels. They come with the adhesive already on the back and are installed much like veneer.
To mark the door without leaving pencil lines behind that can bleed through the paint, use masking tape to make lines for the panels to align. It’s unnecessary to run the tape the entire panel length; a couple of small pieces make a very effective line.
To install the panel, start by placing wood strips or dowel rods to act as spacers over the area the panel is to be installed. Then peel the adhesive off and locate the panel, taking extreme care to find it square with the edges of the door. Then, remove the wood strips one at a time, pressing the panel down onto the door.
Making Simple Faux Door Panels
Several panel door styles can be made from nothing more than wood strips. The basic idea here is to add the strips to represent the door framing and allow the existing door surface to be the panels, looking like they are inset into the door frame. This can be done to make anything from two panels (upper and lower panels) to five horizontal panels to six-panel doors. It’s just a matter of attaching the wood strips in the same pattern as the framing if the door was an actual panel door.
For the wood strips, all that’s needed is a sheet of ½” Luan plywood. Cut it into four-inch wide strips and then sand the edges smooth. If it is necessary to have the sheet of plywood ripped on the panel saw at the lumberyard, realize that it will need to be ripped again on a table saw at home, as the cuts may not be straight on the panel saw. They do not guarantee precision cuts.
Depending on the style, a wider strip, about 8”, might be needed for the bottom horizontal strip. This is typical for two-panel and six-panel doors, although it is not always done on all other panel doors.
The strips are then cut to length and attached to the door with glue and a brad nailer. Nailing the strips eliminates the need for a clamp while the glue dries. For any panel door, the vertical strips at the hinge and lock sides should be installed first. Then, the horizontal pieces can be cut and installed. Finally, the vertical center strips for six-panel doors can be attached.
If the door is to be painted, the joints between the strips can be caulked. However, if it is going to be stained and varnished, a matching wood putty will need to be used for these seams and the nail holes. Caulking the seam between the wood strips and the door face is unnecessary unless an antique-painted look is desired. In that case, adding caulking will make the corner between these pieces less sharp, as would typically happen through the years as additional layers of paint are added.
Making Panel Doors Using Molding
A slightly more complex way of making panel doors is to use molding to frame the panels. This provides a “richer”-“-looking door without much more expense or the need for raised panels. This molding is ordinary base cap or chair rail molding, costing anywhere from $0.95 to $2.00 per linear foot.
The molding is cut at a miter, forming the frame sides. These are then laid on the door and glued and nailed in place with the brad nailer. It is unnecessary to nail the corners of the frames together before nailing the frames to the door. However, it is a good idea to nail them together as part of nailing the frame to the door, as that will help ensure tight corners.
Before painting or staining the door, the nail hole will need to be puttied. Hopefully, the corners of the frames will fit tightly enough together to eliminate the need to putty or caulk the corners. In the case of painted doors, caulking the edges of the molding where it meets the door surface can help the door look older by giving the appearance that it has been painted over several times.
Making Panels Using Molding and Paneling
A variation of this design can be formed by using wood paneling, wood paneling strips, or beaded panels to make them themselves. The idea is to give the panel some texture. In this case, the door panels will be higher than the frame around the edges. While that is technically incorrect, if a thin paneling is used, it won’t be noticeable.
In this case, the molding used to frame the panels will need to be slightly different, using something like a ply cap rather than a base cap or chair rail. Another option would be to cut a recess on the back edge of either of those types of molding to allow the inner edge of the frame to overlap the panel, making a tight seam.
Any door that has had veneer applied or to which the panel effect was created by adding wood strips will be thicker than it originally was. The door stop will need to be removed and reinstalled in order to hang the door in the same frame.
To remove the door stop, first cut the paint wherever it makes contact with the door frame. This paint acts as an adhesive, holding the trim in place. With that cut, the door stop can be carefully pried off the door, taking care not to break it so that it can be reused.
With the door stop out of the way, use a razor scraper or plane to trim off the ridge of paint and possibly caulk on both sides of where the door stop was installed. This needs to be removed so that the door stop can be reinstalled flush to the frame. Trim off any excess paint and caulking from the edges of the door stop as well.
The nails may come out with the door stop or stay in the door frame. Either way, they should be removed and discarded, and new nails should be used to reinstall the trim.
Once the door is hung, the door stop can be reinstalled, taking care to get the pieces back on the same side they were removed from. The door stop will be moved from its original location, so if there is a lot of paint buildup on the door frame, it may be necessary to ship one side of the door stop to make it lay flat on the frame. If the door frame is to be painted, caulk the edges of the trim.
Related Posts:
How to Install Door Trim (Step-by-Step DIY Guide) by Admin November 18, 2025 DIY Beginner-friendly instructions, real-world tips, and the tools I actually use. Installing door trim looks simple from a distance—just a little molding around the doorway, right?…
Maple Plywood DIY Guide: Projects & Finishing Tips by Admin August 23, 2025 Hardwood My First Experience With Maple Plywood When I first started messing with plywood, I honestly didn’t care what I was buying. Pine was cheap, easy…


")

")

