There are many cabinet styles to choose from today; but that hasn’t always been the case. Back before cabinetmaking was industrialized, the carpenters working on a home would build the cabinets. This limited the styles available to what tools, specifically molding planes, the carpenter had available in his workshop. Due to their ease to make, simple shaker cabinets or flat slab doors were common. While inset doors, such as raised panel doors were available, they were more expensive, limiting their use mostly to more expensive homes.
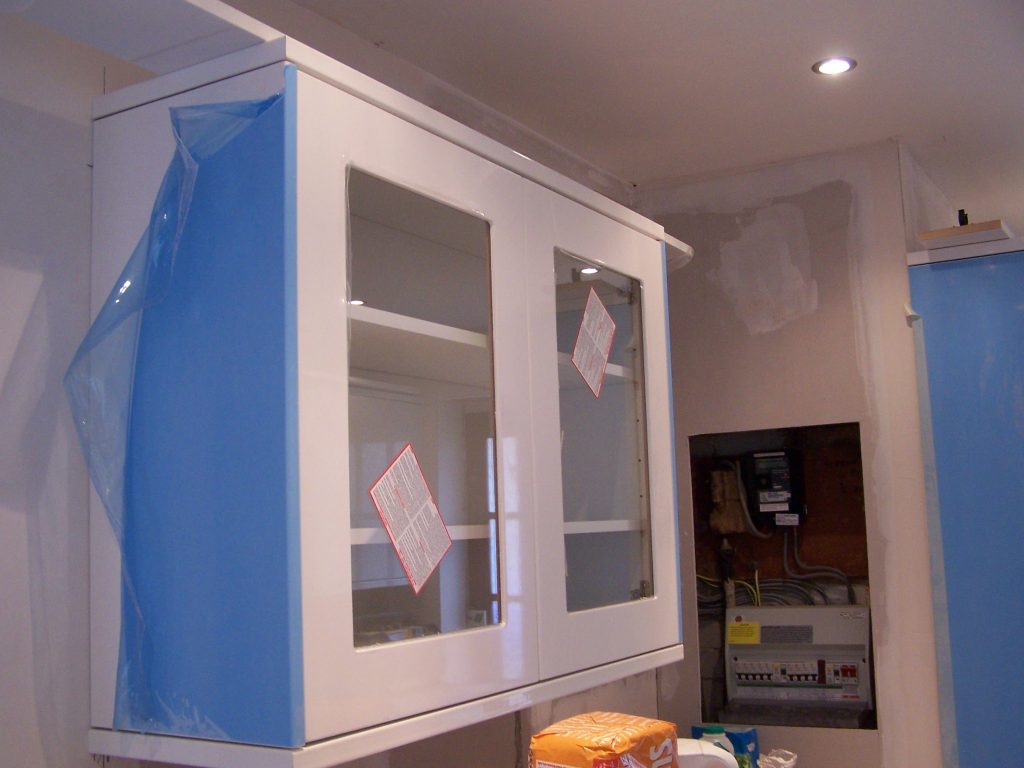
One of the ways that those carpenters added beauty to their cabinets was to put glass doors in some of them. If we were to go back 100 years, we would find that most kitchens had at least some wall cabinets with glass doors and some might even have a whole wall of glass doors, allowing the woman of the house to show off her fancy plates and serving dishes. While slightly more expensive than wood panels in the doors, glass doors add a lot to a kitchen.
Glass cabinet doors, more properly called “mullion cabinets” for the frames that divided the glass, have gone in and out of popularity through the years. Currently they are in style, although there are some signs that they are gradually fading in popularity once again. They are most popular with people who want a “country kitchen” style in their home.
A hundred years ago, mullion kitchen cabinets were almost always painted white. Once again, this is something that has changed in popularity through the years. Regardless of whether mullion cabinets are going to be installed in a kitchen, one of the ways of making it timeless, rather than quickly going out of style, is to stick with neutral colors. Mixing shaker cabinets with mullion cabinets, along with a farmhouse sink, neutral colors, vintage appliances and beadboard detailing will provide a look that should stay in style, even while other styles come and go, for years.
Neutral colors are important, because they provide a great background for the decorative elements of the kitchen. Rather than installing appliances and countertops that are a trendy color, smaller, easier to be replaced items can be added on the neutral background, providing the color. Then, when styles change, all it takes is replacing those small inexpensive items to keep the kitchen in style.
While mullion cabinets may not be the “in thing” today, they are still a widely accepted addition to pretty much any kitchen and especially to larger kitchens with more cabinets. A single cabinet can be installed with a glass door, they can be installed on corner cabinets, every other cabinet could have a glass door or one entire wall could be done that way. The thing to keep in mind is how things will be stored in those cabinets. While it looks good to have glass doors on cabinets that hold glasses, dishes and other crockery, it doesn’t look so good to have those glass doors on cabinets that are holding food. It can look especially bad if the food cabinets aren’t neatly arranged or are nearly empty.
What are Out Options?
Remodeling or updating a kitchen doesn’t require replacing the cabinets. A set of kitchen cabinets is an expensive investment and one that should last the life of the home. But those cabinets can be updated, either by replacing the cabinet facing, doors and drawer fronts, just replacing doors or even just painting the existing doors. A lot depends on the condition of the existing doors, drawer fronts and facing.
Just to be sure we’re clear on what we’re talking about here; the cabinet face is the frame around the front of the cabinet, which the door closes against. It is typically made of hardwood to match the door, although hardwood plywood is sometimes used for lower-cost cabinets. The door consists of five basic parts:
The rails, which are the top and bottom pieces that make up a door frame
The stiles, which are the vertical pieces that make up the two sides of the door frame
The panel, which fills the area created by the rails and stiles; this can be of glass
The term “outside edge” refers to the outside of the rails and stiles, giving us the overall size of the door
The term “inside edge” refers to the inside of the cabinet frame, where the panel begins. Some inside edges are beaded or otherwise shaped to make the cabinet door fancier
The term “joint” refers to where the stiles and rails meet; they can either be “cope and stick” which means that they are cut at 90 degrees, or “mitered” at 45 degrees
While flat transparent glass is the most common glass used for glass cabinet doors, there are several other options available that could be considered. These include:
Frosted glass – provides a distorted “ghostly” view of what’s in the cabinet. Combined with puck lights, it can provide a very nice effect. Frosted glass also has the advantage of hiding fingerprints and splashes well.
Muntin window – several smaller pieces of glass are installed in the door, with wood strips between them, making the window look much like the old paned sash windows.
Textured glass – a variety of different textures exist, with different patterns and designs. As with the frosted glass, this gives a more distorted view of what is inside the cabinet, while still showing it off. This sort of glass helps provide an antique appearance, as it is more common in older homes.
Seeded glass – seeding is a particular texture which looks much like sand or seeds sitting spread out on a table. The texture comes in different sizes and provides a natural appearing fit for most kitchens. For those looking for the mid-century modern look, seeded glass is popular.
Leaded glass – for an elegant kitchen, it’s hard to beat leaded glass. Made of multiple pieces of glass, which have beveled edges, the pieces are held together with lead strips, much like the decorative windows in ancient cathedrals. But this glass doesn’t make a picture and is all clear.
Etched glass – transparent glass that has a design sandblasted or acid etched into it. This design can either be a frame around the entire opening, filigree in the corners or something floral. Etched glass is probably the second most elegant choice that can be made.
Adding Glass Doors to an Existing Kitchen
One of the nicer upgrades that can be made to existing kitchen cabinets is to add glass doors to some of them. The simplest way to go about this is to buy custom-made replacement doors. These are available for anywhere from about $25 to $100, depending on the size, from a variety of suppliers. They are available in a wide variety of styles, matching pretty much every cabinet style on the market.
The other option is to modify the existing cabinet doors, so that a glass panel can be inserted into them. How this is done depends on whether the existing doors have a frame or are slab doors.
Slab Doors
By definition, slab doors don’t already have a panel in them, as the door is one solid piece, whether that solid piece is made of hardwood plywood or by laminating strips of hardwood together. Some doors, which were originally painted rather than stained and varnished, might be made out of MDF.
In this case, a rectangular opening will have to be made in the existing door, so that the glass can be inserted. Measure and mark a line two inches in from the edges of the door. Then measure the size of the rectangle this provides; the glass should be ordered 1/16” to 1/8” smaller than that. Keep in mind that the kitchen cabinet doors may not be the same size; so it is necessary to measure each door’s opening.
Drill roughly ½” diameter hole through the door near each corner of the area to be cut out. Starting from those points, use a jigsaw to cut out the opening for the glass. The opening does not need to be perfect, but it is important that there not be any places where the opening is not large enough for the glass to fit in. Sand or file the inside of the opening, as needed, to ensure a good fit; but don’t worry about making it perfectly neat, as any waviness in the cut will be hidden.
To make a place for the glass to be set into, attach an architectural trim molding, such as a door casing; making a frame out of it that overlaps the edges of the hole towards the inside. The exact position of the molding is not critical, as long as there is at least ¼” of material available for the window to sit against and the molding is not so far out towards the edge of the door that it will interfere with the smooth operation of the door. Other than that, make sure that all doors being modified have the same amount of frame left around the molding. The molding should be glued and nailed to the door with a brad nailer.
Once the glue has had sufficient time to dry, lay the door(s) on the workbench and set the glass into the opening, allowing it to rest up against the trim molding. Then use ½” quarter round as a molding to hold the glass in place, mitering the corner and very carefully nailing the quarter round in place, ensuring that the nails don’t come anywhere near hitting the glass and breaking it.
If so desired, the mitered corner and seams in the molding and quarter round can be caulked before painting the door.
If glass is being added to already framed cabinet doors, such as shaker doors, then the procedure is different. In that case, the door’s existing rails and stiles will be used and only the door’s panel will be removed. The inside edges of the rails and stiles will need to be carefully preserved in this case, as they will become the frame for the glass.
Start by drilling ½” holes near the corner of the panel and then using those holes as a starting point to insert a jigsaw blade to cut up the panel. The idea here isn’t so much to cut around the frame neatly, as it is to break up the panel and remove it. These panels are normally not glued in, leaving them a little bit of “float” room for expansion and contraction. So if the majority of the panel is cut out, the remaining material around the edges should be able to be broken out, without damaging the rails and stiles. Don’t put too much crosswise pressure against the groove in the rails and stiles as this could cause them to break.
With the panel removed, what remains on the inside of the rails and stiles looks like the groove part of a tongue and groove joint. This is where the glass is going to be set; but in order to do that, the back or inner side of the groove needs to be removed (the side which will not be visible with the door closed).
A router with a straight bit and an edge guide is used. The straight bit does not need a bearing and should be adjusted so that it will not remove any of the material from the front half of the groove. Rather, it just needs to be able to remove the back part. Set the edge guide so that the router bit will be cutting off the back side up flush with the bottom of the groove. Rout it out slowly and carefully, especially when reaching the ends of the cut, so that too much material is not removed.
It may be necessary to clean up the corner of that cutout with a chisel, but the cut should be fairly neat otherwise. If it turns out that not enough material was removed, the cut can be repeated, adjusting the cutting depth of the bit or the spacing of the edge guide. Ideally, we want the edge of this cut to align perfectly with the groove that is already in the rails and stiles.
As earlier, we want the glass to be 1/16” to 1/8” smaller in both directions than the opening, as measured from the inside of the door. Set the glass in place, using glazing push points, pressed into the rails and stiles with the edge of a putty knife, to hold it in place. Ideally, at least two points should be used on each side. In the case of exceptionally long doors, three or even four points should be installed on the long side of the glass.
Caulk all the way around the inside of the glass with silicone caulk, sealing it and the points to the door frame. This works acceptably as a replacement for glazing putty, which is what used to be used. The big advantage of the silicone caulk over the glazing putty is that it dries fully, fairly quickly, whereas the putty is supposed to stay soft.
How to Install Door Trim (Step-by-Step DIY Guide) by Admin November 18, 2025 DIY Beginner-friendly instructions, real-world tips, and the tools I actually use. Installing door trim looks simple from a distance—just a little molding around the doorway, right?…


")


")
