There’s something satisfying about bringing old wood back to life. Whether it’s barn siding, an antique door, or a weathered cedar plank, wood has a story. But sometimes, that story is hidden beneath layers of grime, peeling paint, or old varnish. When hand sanding just won’t cut it, sandblasting wood might be your best bet.
I’ve personally used sandblasting in my shop to clean reclaimed wood, prep furniture for staining, and create that beautiful raised-grain effect you often see in high-end rustic design. This guide covers everything I’ve learned—what works, what to avoid, and what tools you’ll need to do it right.
What Is Sandblasting and Why Use It on Wood?
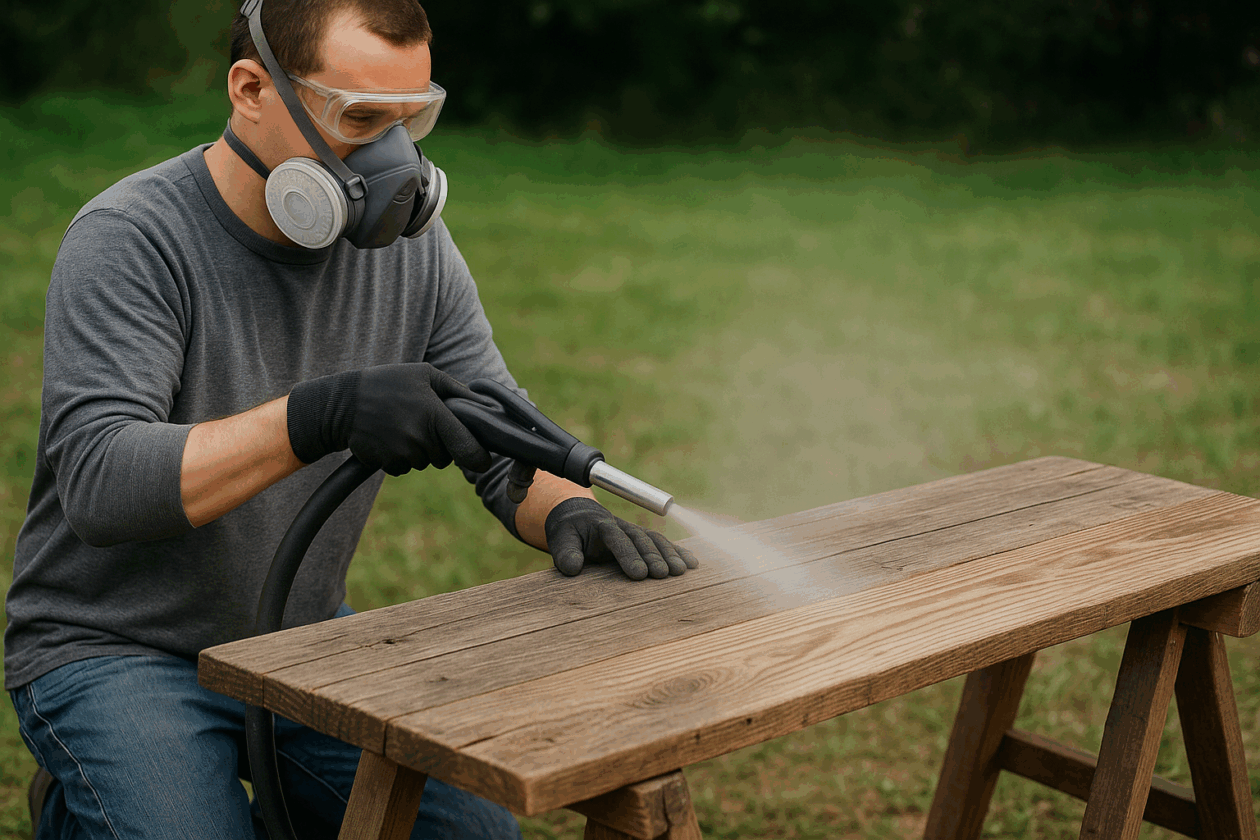
Sandblasting, also known as abrasive blasting, uses compressed air to shoot fine grit or media at high speed toward a surface. While it’s often used on metal, it’s surprisingly effective on wood too—especially when you’re dealing with difficult finishes or want to create a rustic, weathered look.
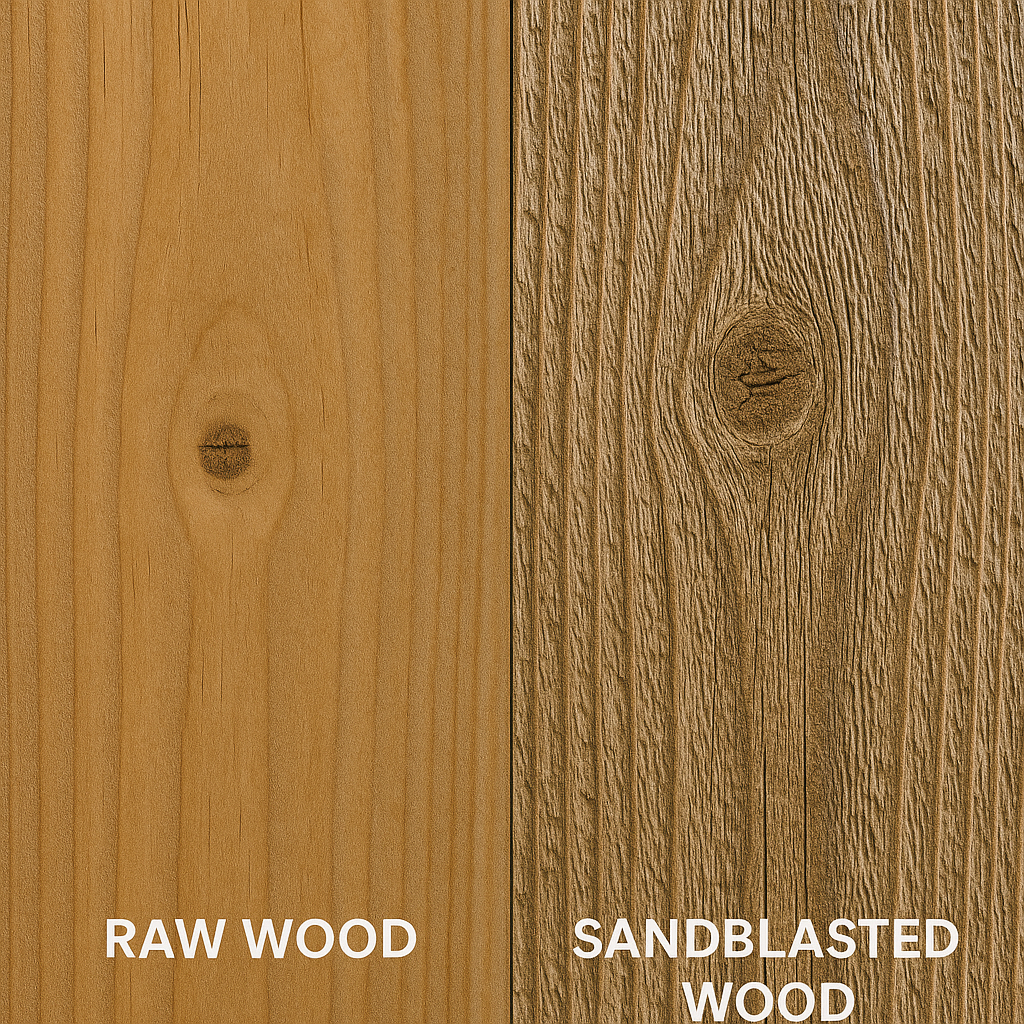
Unlike sanding, which smooths everything out, sandblasting selectively removes the soft parts of wood grain, leaving the harder ridges behind. The result? A natural texture that pops without damaging the overall structure of the wood.
When Is Sandblasting a Good Idea?
In my experience, sandblasting wood is incredibly useful when:
You’re trying to remove stubborn old paint or varnish
You want to reclaim barn wood or fencing without chemicals
You need to prep siding or decking for restaining
You’re going for a weathered or rustic texture
You want to clean carvings, signs, or hard-to-sand crevices
However, it’s not always the right tool. We’ll talk more about the types of wood to avoid a bit later.
Best Types of Wood for Sandblasting
Not every species responds the same way. Some blast beautifully and reveal gorgeous textures. Others? Not so much.
Top Picks:
Cedar: A favorite of mine—blasts clean, creates deep grain texture.
Pine: Widely available, affordable, and easy to work with.
Oak: Strong and rugged, it’s slower to sandblast but produces a bold grain pattern.
Douglas Fir: Great for siding or framing wood with tight grain patterns.
Reclaimed Lumber: Barnwood, old fence boards, and beams all respond well.
What to Avoid:
Plywood & MDF: These engineered woods can delaminate or fray.
Rotted Wood: Fragile and will disintegrate under pressure.
Extremely soft woods (like balsa): Too delicate for even mild blasting.
Gear & Tools You’ll Need (With Amazon Picks)
Setting up for sandblasting doesn’t have to cost a fortune. If you already own an air compressor, you’re halfway there.
1. Using too much pressure It’ll tear into the wood. Start around 60–90 PSI and adjust as needed.
2. Blasting plywood or engineered boards You’ll destroy the veneer or cause layers to peel.
3. Not testing first Different woods react differently. Always use scrap first.
4. Inhaling media dust Use proper filtration. Grit particles are dangerous, especially indoors.
How to Finish Sandblasted Wood for Long-Lasting Results
Once you’ve completed the sandblasting process and brushed away the grit, you’re only halfway done. The newly exposed wood fibers are highly porous and can absorb finishes unevenly if not treated properly. After sandblasting, you should decide whether to highlight the natural beauty of the raised grain or seal it for durability, and in many cases, you’ll want to do both.
Start by wiping the surface with a tack cloth or blowing it clean with compressed air. Do not use water-based cleaners, as the newly opened wood pores will absorb moisture rapidly, causing warping or swelling. If you plan to stain the wood, test a small area first—blasted wood tends to soak up pigment quickly, so a little goes a long way. For rustic effects, penetrating oil-based stains work beautifully because they bring out the grain without sitting on top of it. I like to use a product like Minwax Penetrating Stain, which enhances the depth and richness of wood tones, especially on cedar and oak.
After staining, wait at least 24 hours before applying a protective topcoat. For outdoor projects, choose a marine-grade spar urethane or an exterior-grade wood sealer to guard against moisture and UV damage. For indoor use, a matte polyurethane or tung oil will protect the wood without compromising the tactile feel of the texture. If you’re using the wood for high-traffic surfaces like countertops or benches, consider applying multiple thin coats and sanding very lightly between them with a fine-grit sanding pad to preserve the raised grain while still sealing it effectively.
Some advanced woodworkers even take it further by mixing finishing techniques—like applying dark stain in the grain lines, followed by a light sanding to highlight ridges, then sealing it with a clear finish. This layered approach creates a rich contrast and works well for custom furniture, wall panels, and signage.
Whichever finish you choose, remember that sandblasted wood is more delicate than it appears. With proper sealing and care, it can last decades, aging gracefully while retaining that character-rich texture that makes it such a standout material in woodworking.
Final Thoughts
If you’ve got reclaimed wood sitting in your shop, or if you want a shortcut to that beautiful aged look, give sandblasting a try. It’s messy, sure—but incredibly rewarding. With the right media, gear, and patience, you can uncover wood’s natural beauty and create something unique.
How to Restore Old Hardware by Admin March 20, 2025 Tools Over time, the hardware on your doors, windows, and cabinets will naturally wear out, corrode, or lose its shine. This often leads to people replacing…
How to Clean Old Unfinished Wood Floors by Admin May 20, 2025 More About Cleaning old unfinished wood floors can feel intimidating—after all, they’re raw, porous, and prone to staining or warping. But the good news is: with the…