Wood slab tables, bars and countertops have had a resurgence in popularity in recent years. While wood slabs have been in use for years, they were mostly considered a fringe style, used by hippies and other non-conformists. But today, “live edge” slab furniture is found in corporate boardrooms and the homes of the wealthy. That has caused it to become more popular amongst the up and comers, as well as others who just like the beauty of natural wood.
The one problem with this style of furniture is the cost. Looking online, it’s easy to find live edge slab tables running into the thousands of dollars. While there are a few more reasonably priced examples around, those are generally smaller units, which make up for the cost of the wood by using inexpensive metal bases. They also tend to use lower cost slabs of wood which are less-highly figured.
Part of the problem is that the price of wood has gone up considerably. That would be bad enough; but these slabs are massive hunks of wood, generally over 2 inches thick. Wider ones go at a considerable premium, especially for species of wood which don’t typically grow to old trees with thick trunks that make for those wide slabs. Add to that the cost of milling the lumber and then a woodworker, actually it’s usually a team of woodworkers, turning that into a table, and no wonder they’re so expensive.
The other option, of course, is to make a DIY slab table… all the way. That means starting out by cutting the slabs from a tree trunk. If there just happens to be an old tree on the property, which has recently died or is in the process of dying, then this is an ideal time to cut some slabs, so that they can later be turned into tables and other pieces of furniture.
Three Types of Slabs
When we talk about wood slabs, everyone seems to know what we’re talking about. But everyone may not actually be thinking the same thing. That’s because there are actually three types of slabs that we can cut from a tree trunk.
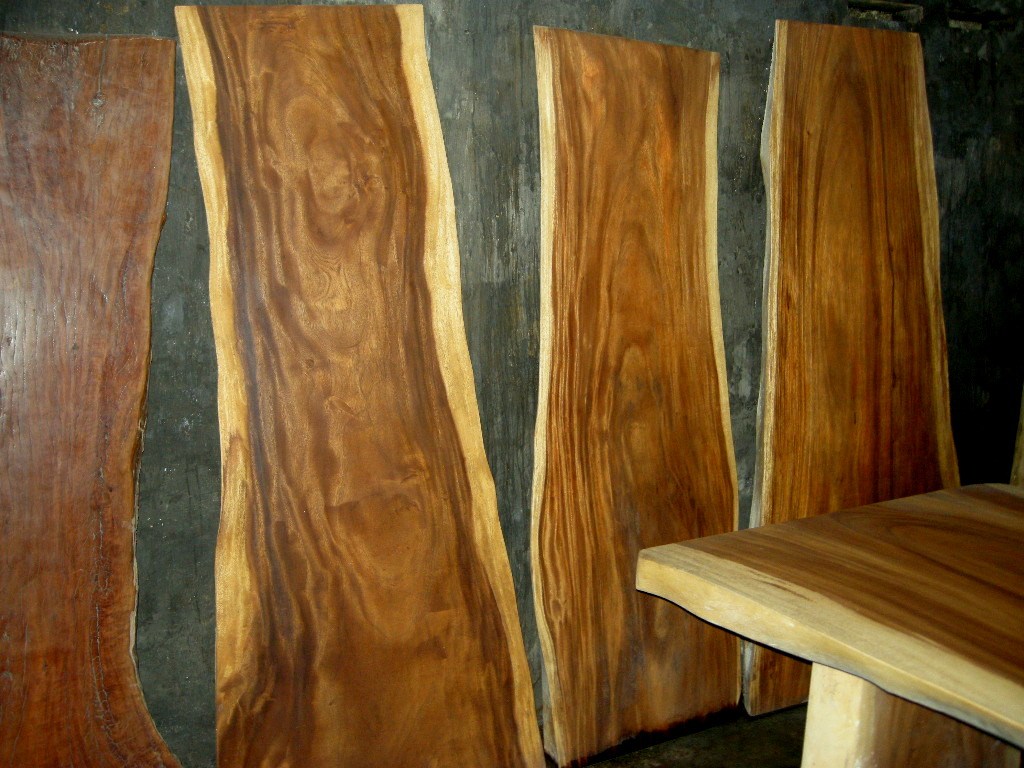
Longitudinal Slabs – This is the classic wood slab used for either a counter top or long table, like a dining room table or conference table. It is cut the length of whatever log is available. Some are split, because of using the part of the log including the crotch of the tree.
Round Slab or “Rounds” – This is made by cutting across the trunk, perpendicular to its length. Larger round slabs are used for making end tables and sometimes coffee tables. While the easiest form of slab to cut, this is also the least popular.
Oval Slabs – These can only be cut on a sizable sawmill, not one of the portable ones, as it requires propping up the log at an angle, rather than having it sit flat on the ways of the mill. This is the one type that is more or less impossible for the average home sawmill to handle.
Regardless of the type of slab that is going to be cut, it’s usually best to cut it when the wood is green. As the log dries, the ends will tend to split. By cutting it while it is green, then coating the end grain with latex paint while drying, the tendency to split can be minimized, although probably not eliminated altogether.
Let’s Talk Sawmills
Obviously, not all sawmills are created equal. The big commercial jobs are way beyond the needs and the budget of the average home woodworker. So we’ll avoid that in our discussion.
The types of sawmills which DIY woodworkers are likely to buy use either a band saw or chain saw. Of the two, the band saw is superior, due to the much narrower blade kerf, reducing considerably the amount of wood turned to sawdust in the act of cutting it. These start at about $2200 dollars, making them enough of an investment that they’re really only worth buying if one has land to harvest trees off of and will need to be milling a lot of logs.
The least expensive sawmill option is to use a chainsaw sawmill. These are actually attachments that are mounted to a standard chainsaw, allowing the chainsaw to be used as the power and “blade” for cutting.
In a very real sense, chainsaw sawmill attachments are a fence attachment for a chainsaw, much like a fence might be attached to a circular saw or jigsaw to cut strips off of a piece of plywood. The main difference is that the chainsaw is cutting slabs, rather than strips.
A Couple of Keys to Using a Chainsaw Sawmill
There are a couple of important things to know, before attempting to use a chainsaw sawmill. Even though it’s really just a fence for the chainsaw, it has to be used correctly. Not only will it be difficult to cut the log into slabs if it is used incorrectly, but it could be dangerous.
To start with, make sure that the chain saw being used is large enough for the logs to be cut. The bar on the chain saw needs to be a minimum of three to four inches longer than the diameter of the log being cut. That doesn’t just mean that the chain and bar should be changed out, as all chainsaws have a maximum size bar that can be used on them. If too long a bar and chain are used, the saw will probably stall and could jam in place, because the engine isn’t powerful enough to drive it through the wood.
The chain that comes with the chainsaw is for crosscutting and should be traded out for one that is specifically intended for ripping. Just as with other saws, a chainsaw chain for ripping is more aggressive than a crosscut one. As there is a lot of wood to be cut out, that extra aggressiveness is necessary. Keep in mind that the chain is working hard in this configuration. So the chain will become dull quickly. It should be sharpened after every three slabs or so. Watch the oil reservoir, as the chain will go through a lot of oil in this configuration.
Most chainsaw sawmills come without any sort of motor or winch to pull the saw through the wood. The idea is that the woodworker pushes it through, as the chain cuts the wood. This is doable, but can be tiring. If a lot of wood slabs are going to be cut, it can be helpful to buy the winch option for the sawmill.
Cutting Longitudinal Slabs
To cut longitudinal slabs with a chainsaw sawmill, the first step is to attach the sawmill attachment to the saw. These are fairly inexpensive, often between $100 and $200. When buying one, make sure that it will work with the size chainsaw available, specifically that it will work with that bar length.
It’s a good idea to strip the bark off the log, before milling it. However, there are some projects which might require the bark in place. In that case, care should be taken to preserve the bark, but also to ensure that the bark doesn’t slip off, throwing the rails off while cutting.
It can be helpful to have a stand to hold the logs in place while working on them. This can be something as simple as a couple of wedges or rocks that sit on the ground. If a lot of milling is going to be done, it might be useful to make a specific stand for use when milling. Making “X”s out of 2”x 6”s and then spanning them with another 2”x 6” to hold them in place works well, much like what they used in pioneering days for bucking logs for the fire.
The first thing that has to happen is that a flat surface must first be created on the side of the log. This means having something that can be used as a reference for the sawmill attachment to ride on. This can either be the guide bars available from the same company that the sawmill attachment came from, a pair of very straight 2”x 4”s, or a couple of pieces of angle iron. Regardless of what is used, it is important that it not only be straight, but also rigid enough that it will not flex while the saw is guiding over it to cut the wood. Any irregularities in the rails will result in the same irregularities in all the slabs cut from that log.
If 2”x 4”s are being used for rails, it will be necessary to rough cut a couple of pieces of scrap plywood to attach to the ends of the logs and hold them in place. These are essentially brackets, with two notches in the top for the 2”x 4”s to sit into. Cut them at the same time, to ensure that the notches are even. Attach them to the opposite ends of the log, making sure that the bottoms of the notches are level with the other pair. Any twisting here will result in cutting slabs that have a twist built into them.
In the case that factory-made rails are used, there will be spikes to attach the rails to the sides of the log. Set them in place, then use the adjustment screw to level them, ensuring that they are not only level, but that there is no twist in the rails.
With the rails in place, the sawmill attachment will need to be adjusted for a deep enough cut to cut below the rails. The idea is to end up with a flat surface that’s 8” to 10” wide, depending on the log’s diameter. The wider the better, as it will help ensure a good surface to guide off of for the remainder of the cuts. At the same time, cutting off too much, just to get that width, can cause a waste of material.
Cut the long the entire length, using the rails as the guide. Then remove the cut off skin and the rails. The sawmill can now guide along this flat surface for cutting the remainder of the slabs. Readjust the depth of the cut for the sawmill and start making slabs.
As the chainsaw is cutting through the log, wedges should be inserted into the saw kerf every couple of feet. This will help keep the weight of the slab from causing it to pinch the chain and the bar, jamming the saw. If possible, have someone else do this, so that the saw doesn’t need to be stopped. While the chainsaw can be stopped mid-cut, it will likely leave extra milling marks if it is.
Wood slabs must be dried, before they can be used. This should be done inside a building or under a shed roof, where rain can’t get to the wood. If the slabs get rained on, it will slow the drying time. Wood must always be stacked over a level floor, preferably concrete, as any unevenness in the floor could end up causing twisting warping of the wood, if it is not completely level while drying.
Stack the wood slabs with 3/4” or 1” strips of wood between them, to act as spacers and keep everything level and even. The weight of the slabs is useful, as it will help hold down the lower pieces, keeping them flat. Adding weights above the top piece, such as cement blocks, can provide the same benefit for those slabs.
As mentioned earlier, painting the end grain with latex paint will help keep the ends from drying faster than the rest of the wood, helping to mitigate against splitting. It’s not a perfect solution, but it does help. Freshly cut green wood should be allowed to air dry for one year per inch of thickness. So 2” slabs will need a good two years to dry, before they are made into anything. thicker slabs could take considerably longer.
Rounds are theoretically much easier to cut than cutting slabs. Theoretically, they can be cut freehand, just as long as the chainsaw‘s bar is longer than the diameter of the log. However, few people can cut a log exactly perpendicular consistently. In that case, using a guide of some sort is a good idea.
A simple guide can be made out of a couple of pieces of 2”x 4”, a piece of scrap plywood and a couple of pieces of bracing. The idea is to make a square out of the plywood and two pieces of 2”x 4”, with other pieces of wood attached, as needed, to ensure that the pieces remain square to each other. The plywood goes under the log while it is being cut, and the vertical 2”x 4”s act as a visual guide to run the chainsaw down. Don’t allow the chainsaw’s chain to make contact with the 2”x 4”s, as it will damage them; merely use it as a visual guide.
Rounds tend to be thicker than slabs, which works out to longer drying times. It’s also all but impossible to keep them from splitting, as the pitch of the log is part and parcel of the slab. Nevertheless, even split rounds can be used in making furniture or for serving platters. The split offers an opportunity to inlay a bow-tie across the gap or to fill the gap with tinted epoxy.

")

")
")
