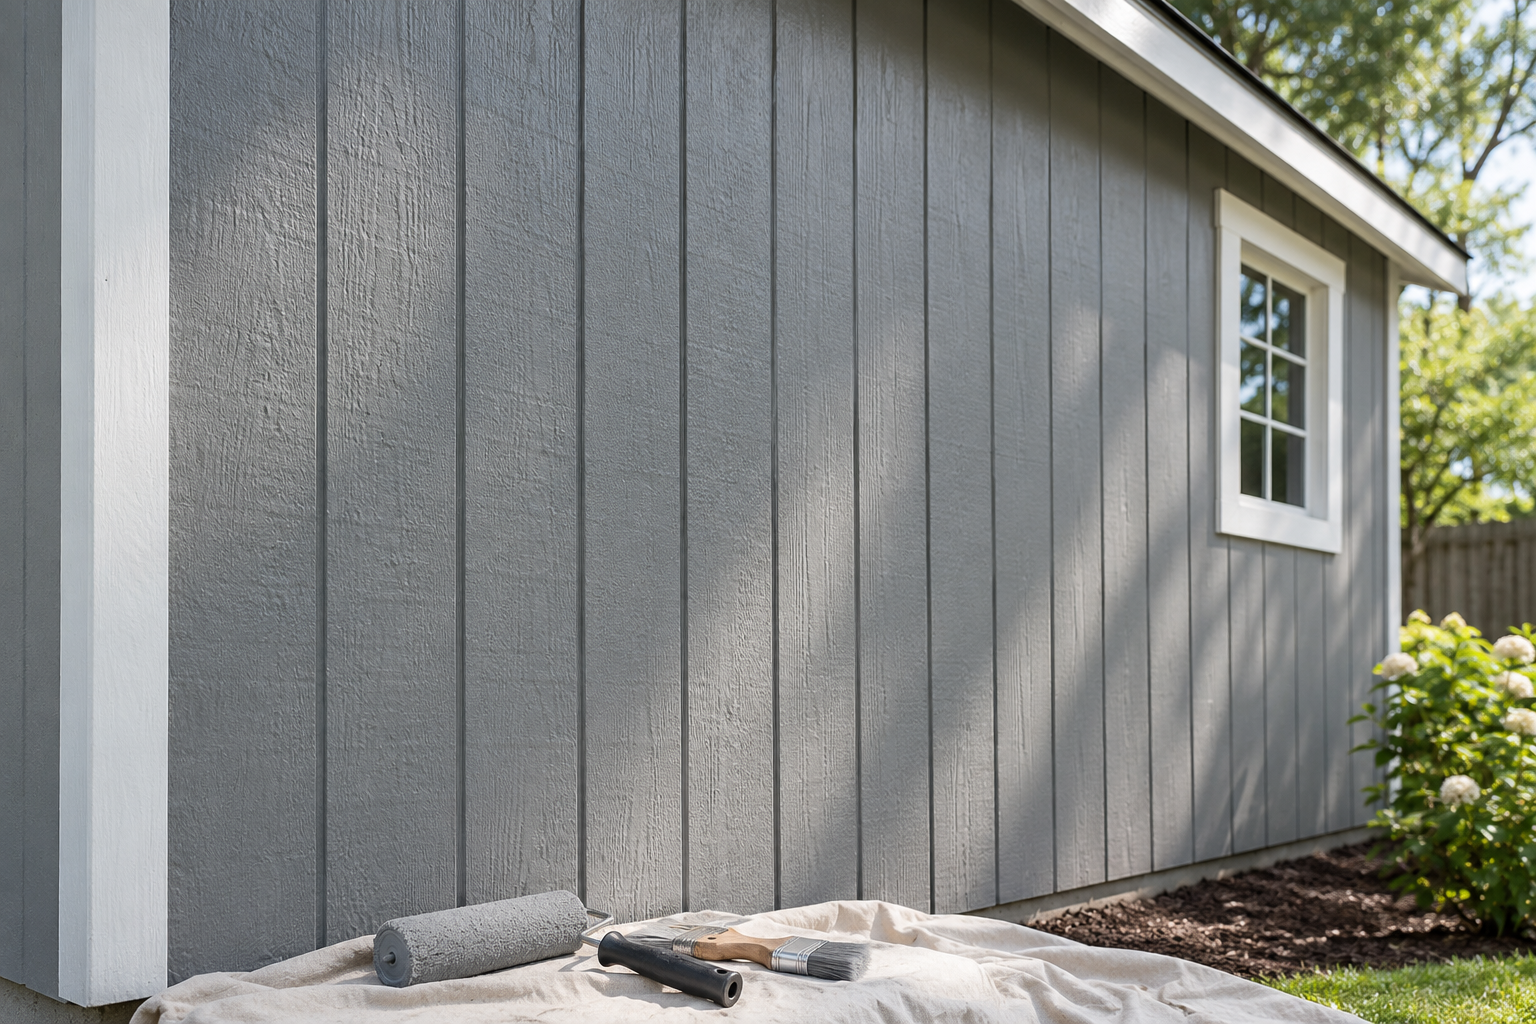
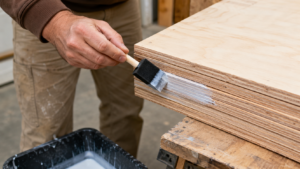
Quick answer: For many unfinished T1-11 panels, a compatible acrylic exterior primer followed by a high-quality 100% acrylic-latex exterior paint in flat or satin is a durable system. Many products call for two topcoats, but follow the paint label and the siding manufacturer’s finishing instructions. Good coating cannot overcome damp wood, failed flashing, rot, or improperly treated cut edges.
That’s the short version. Below is the part that saves you a repaint.
The one mistake that costs people a whole repaint
Here’s the trap almost everyone falls into: they treat T1-11 like a smooth wall.
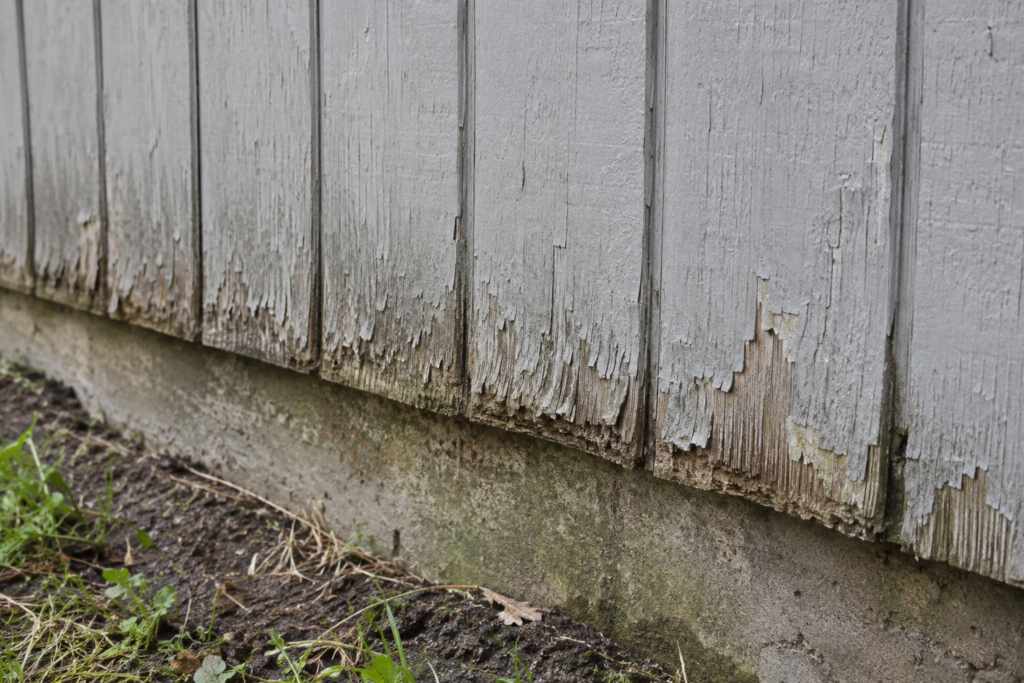
T1-11 isn’t smooth. Its rough-sawn face and vertical grooves require careful coating, while panel edges and field cuts need the treatment specified by the manufacturer. If moisture reaches vulnerable wood, the siding can swell and the coating may lift along grooves and edges.
According to Chapter 16 of the USDA Forest Products Laboratory’s Wood Handbook, exterior plywood can develop face checks—small surface cracks caused by repeated wetting and drying. A flexible exterior coating can better accommodate that movement, although no coating can correct water intrusion, failed flashing, or deteriorated siding.
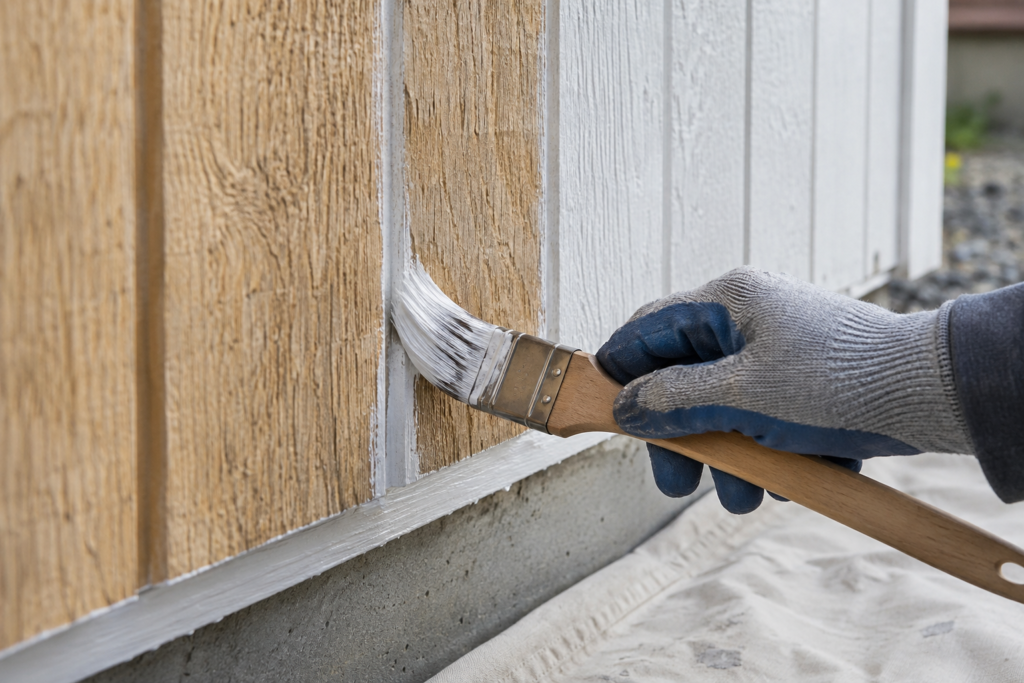
⚠️ Warning: Pay close attention to groove bottoms, panel edges, fastener locations, and field-cut edges. Coat or seal them as directed by the siding manufacturer, but remember that paint is not a substitute for correct flashing and water management.
Do you need to prime T1-11?
Most bare, unfinished T1-11 needs a compatible exterior primer before topcoating. Factory-primed panels are different: follow the siding manufacturer’s instructions, approved coating types, and required painting window. Previously painted T1-11 generally needs spot-primer wherever bare wood shows through.
Prime T1-11 when:
The panel is new, bare, and not factory-primed, and its manufacturer calls for field priming.
Any bare wood is exposed after scraping, sanding, or repair.
You see tannin or knot bleed — reddish-brown stains weeping through old paint (common on fir and cedar-faced panels).
The old finish is chalky or glossy — degloss and prime for adhesion.
You can skip full priming only when the existing paint is sound, clean, dull, and the same base chemistry as your new coat.
Best primer for T1-11 siding
This is where the internet gives bad advice, so read this part twice.
Acrylic versus oil-based primer
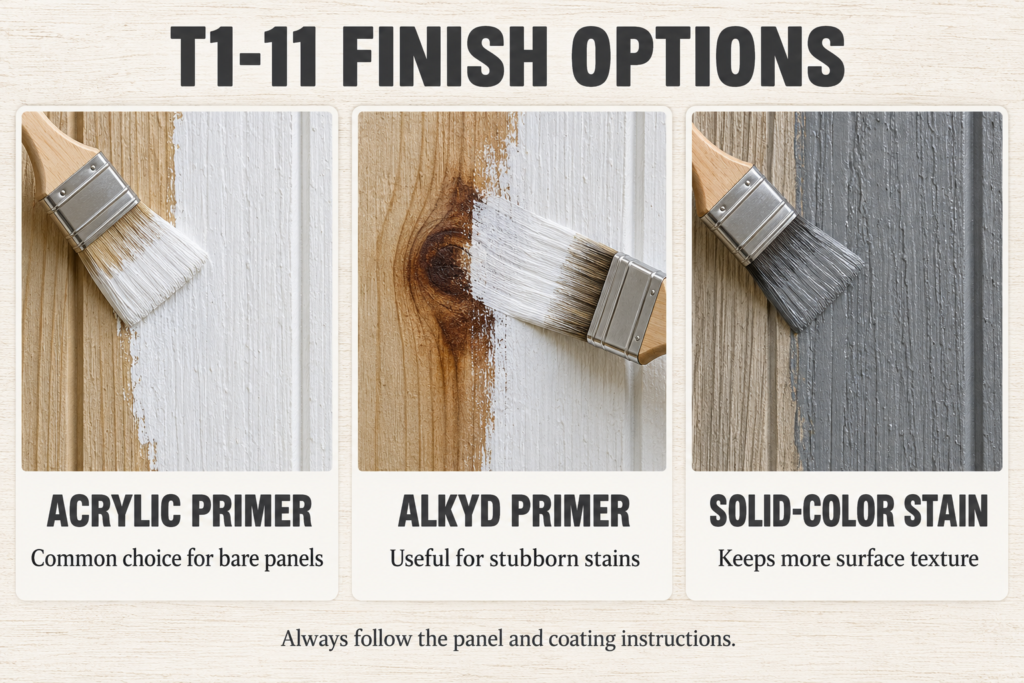
For many unfinished T1-11 panels, a high-quality acrylic exterior primer is a practical default because it remains flexible as the siding moves. But oil-based or alkyd primer is not automatically wrong. Some siding and coating manufacturers permit or recommend it for particular substrates or stain-blocking situations.
The reliable rule: check both the siding manufacturer’s finishing instructions and the coating label. Use a compatible exterior primer rated for your specific wood panel. An oil-based stain-blocking primer can also be useful on persistent tannin bleed, knots, and water stains before applying a compatible acrylic topcoat.
What to look for on the label
100% acrylic binder (says so on the can)
Stain-blocking / bonding exterior primer
Rated for exterior wood siding and compatible with the selected topcoat
Good hide so the topcoat isn’t fighting to cover raw grain
You can find solid acrylic bonding primers and the occasional oil-based stain-blocker to keep on hand for problem spots. I’ve collected specific picks in the recommended-products section below — both the everyday acrylic primer and the oil-based spot fixer.
Best paint for T1-11 siding
Once the primer’s right, the topcoat choice is simpler:
Two coats of 100% acrylic-latex exterior paint, in flat or low-sheen satin.
Why this specific formula:
100% acrylic flexes. It expands and contracts with the panel, so it bridges face checking instead of cracking along it. Vinyl-acrylic and cheaper blends are stiffer and give up sooner.
Flat or satin, not gloss. The rougher the sheen, the more forgiving it is of the textured face — and lower sheens hide surface checking better. Higher-gloss finishes telegraph every imperfection and show lap marks on rough-sawn wood.
It breathes. A vapor-permeable acrylic film lets incidental moisture escape rather than trapping it and blowing the paint off.
🧪 Follow the panel instructions: APA – The Engineered Wood Association advises builders to follow the siding manufacturer’s finishing requirements. Its Technical Document Library provides guidance for wood structural panels and siding. Product-specific instructions take priority over a general recommendation because factory coatings and approved finish systems vary.
Solid-color stain: the underrated option
If you like the wood texture showing through and you’re comfortable recoating a little sooner, a solid-color acrylic exterior stain is a legitimate choice for T1-11. It penetrates the rough face well, hides less texture, and tends to fail by fading rather than peeling — which is far easier to recoat than scraping lifted paint.
Paint generally provides a more uniform, opaque appearance, while solid-color stain may preserve more of the surface texture and simplify future preparation. Service life varies by product, preparation, climate, exposure, and the siding manufacturer’s requirements, so neither option is automatically more durable in every application.
New T1-11 vs. previously painted — and plywood vs. engineered
The plan changes depending on what you’re standing in front of.
New / bare T1-11 (plywood face)
Let it acclimate and make sure it’s dry (see moisture note below).
Back-prime and seal cut edges before installation when recommended by the panel manufacturer. Follow its instructions rather than applying a universal six-side sealing rule.
Acrylic bonding primer, full coverage including groove bottoms.
Two coats acrylic topcoat.
Engineered / OSB-core T1-11 (e.g. panel siding with a resin overlay)
Engineered panels behave differently from traditional plywood: the OSB substrate swells aggressively and permanently if water reaches an unsealed edge. Many products ship with a factory primer — respect the manufacturer’s recoat window and use their approved topcoat. The edges are everything here. Seal every cut edge before it goes on the wall.
😬 The regret file: One of the most expensive mistakes on engineered panel siding is leaving cut edges unprotected when the manufacturer requires sealing. Once moisture reaches an exposed OSB edge, swelling can be difficult or impossible to reverse.
Previously painted T1-11
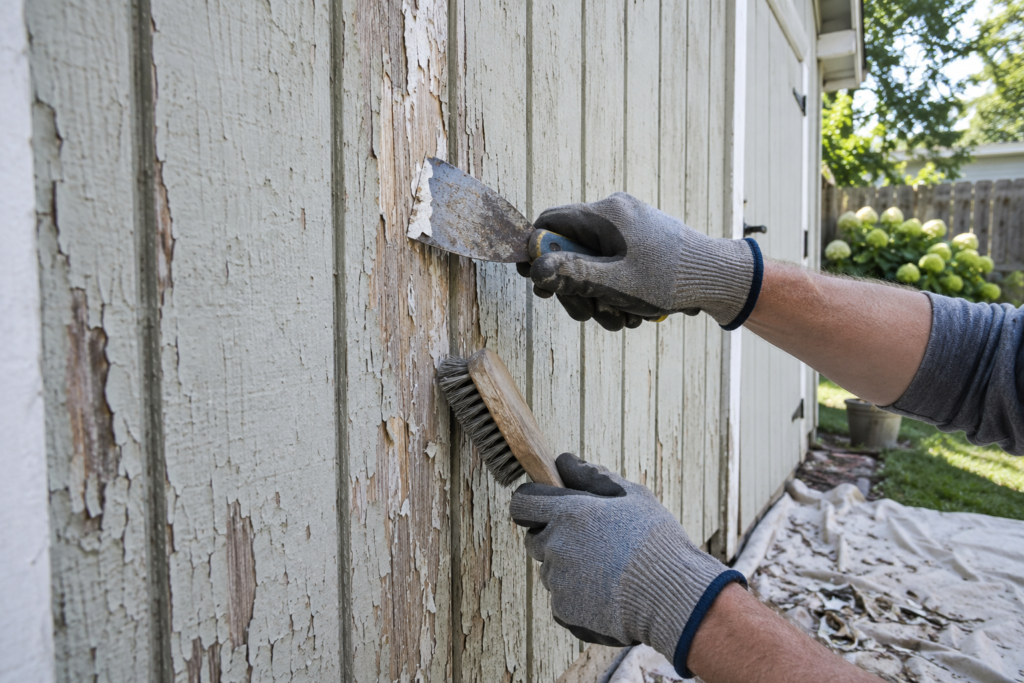
Scrape and sand all loose/peeling paint back to sound edges.
Wash off chalk and dirt; let it dry fully.
Spot-prime bare wood and stains.
One to two topcoats depending on color change and how faded the old paint is.
If your panels are already showing swelling, delamination, or soft spots, paint won’t save them—that’s a repair-or-replace decision. Review how long exterior plywood actually lasts before investing in a finish over a failing substrate.
How much paint does T1-11 need?
Rough-sawn siding is thirsty. Plan for noticeably lower coverage than a smooth wall, because the texture and grooves eat product.
Surface
Typical coverage per gallon
Smooth drywall or trim
~350–400 sq. ft.
T1-11 rough face, primer coat
~200–250 sq. ft.
T1-11 rough face, topcoat
~250–300 sq. ft.
Buy for two topcoats plus primer, and buy a little extra so your batches match — running short mid-wall and grabbing a fresh can with a slightly different tint is a classic way to end up with visible panel-to-panel color shift. Treat manufacturer coverage numbers as best-case and round down for texture.
How to paint T1-11 the right way (step by step)
Check moisture and weather. Wood should be dry to the touch and dry inside. Paint between roughly 50–85°F, out of direct blazing sun, with no rain in the forecast for 24 hours. Painting damp T1-11 is the fast track to peeling.
Clean. Remove dirt, chalk, mildew, and loose paint. Let it dry completely.
Repair and caulk. Set popped nails, fill suitable gouges with exterior filler, and caulk joints only where the siding manufacturer’s installation instructions call for sealant. Do not assume every groove should be caulked or left open; T1-11 profiles and wall assemblies differ.
Seal the edges and bottoms. Prime cut edges, the bottom edge, and groove bottoms first, by brush. This is the step people skip.
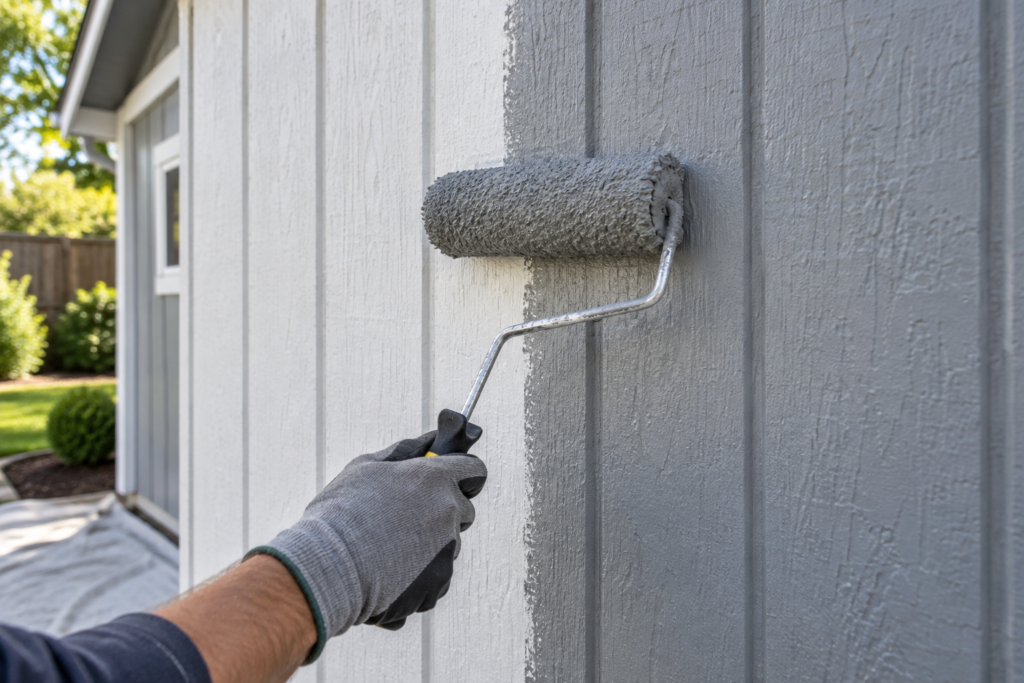
5. Prime the face. Use a 3/4″–1″ nap roller to push primer into the texture, then back-brush to work it in. Spraying is fine and fast if you back-roll or back-brush behind the spray so it actually keys into the wood.
6. Two topcoats. Full coverage, respecting the recoat time on the can. Don’t rush the second coat onto a not-quite-dry first coat.
❌ Mistake to avoid: Do not substitute one excessively heavy coat for the coating schedule on the label. Thick application can dry unevenly, while recessed texture may still receive inadequate coverage.
Cheap paint vs. premium: the real cost difference
This is the number that changes minds. The paint is never the expensive part — the labor and the repaint cycle are.
Cost factor
Budget coating system
Premium acrylic system
Material price
Lower upfront
Often higher upfront
Coverage and film build
Product-dependent
Product-dependent
Expected service life
Depends on preparation, exposure, and product quality
May be longer when the full system is properly specified and applied
Next repaint
May require more preparation if the coating fails early
May delay repainting, but performance is not guaranteed
💸 The math that matters: Material price is only part of the project cost. Preparation, access, labor, coverage, and the length of the repaint cycle can outweigh the difference in price between coating products. Compare the complete coating system and warranty—not just the price per gallon.
Not priming bare wood. Topcoat over raw plywood won’t bond or block stains.
Sealing the face but not the grooves, edges, and bottom cut. Water finds the gap.
Choosing primer by reputation instead of compatibility. Acrylic and alkyd primers can both be appropriate in specific systems; follow the panel and coating manufacturers’ instructions.
Using interior paint outside. It isn’t formulated for UV and moisture cycling; it fails fast.
Painting damp or in bad weather. Trapped moisture blows the film off.
One thick coat instead of two. Thin, unprotected texture and grooves.
Ignoring required cut-edge sealing or back-priming before installation. Check the panel manufacturer’s instructions before the siding goes on the wall.
Panels that are already swelling or delaminating are past a finish fix. If you’re seeing soft, punky wood at the base, read about repairing T1-11 siding before the damage spreads rather than painting over it.
Recommended products and tools
Use this checklist to compare products at a paint store or home center. Confirm that every primer and topcoat is approved for exterior wood siding and compatible with the existing finish.
Follow with back-rolling or back-brushing when required
If you’re choosing panels for a new shed and haven’t bought siding yet, review the T1-11 shed guide before selecting a panel. And if anyone has told you to “just use marine plywood,” see how marine and exterior plywood compare before you overspend.
Frequently asked questions
Do I have to prime T1-11 before painting? Most bare or newly exposed T1-11 needs a compatible primer, but factory-primed panels should be finished according to the manufacturer’s directions. Sound, clean, dull existing paint may need only spot-priming, depending on the new coating’s label.
What’s the best paint for T1-11 siding? A high-quality 100% acrylic-latex exterior paint in flat or satin is a strong choice for many T1-11 panels when paired with a compatible primer. Its flexibility can reduce checking-related coating failure, but correct flashing, dry siding, sound wood, and proper preparation remain essential.
Should I use oil-based or latex primer on T1-11? A compatible acrylic exterior primer is a practical choice for many unfinished panels. However, some manufacturers permit or recommend alkyd primers for specific siding products or stain-blocking needs. Follow the panel and coating instructions.
Can I use solid-color stain instead of paint on T1-11? Often, yes, if the stain manufacturer approves it for the panel and any existing coating. Solid acrylic stain may retain more surface texture and can simplify future maintenance, but performance varies by product, preparation, and exposure.
How many coats of paint does T1-11 need? Many systems call for primer plus two topcoats on bare siding. Use the number of coats specified by the siding and coating manufacturers rather than applying one excessively heavy coat.
Why does my T1-11 paint keep peeling? Common causes include painting damp or dirty siding, incompatible coatings, skipped preparation, unsealed cut edges where sealing was required, water intrusion, failed flashing, and deteriorated panels. Identify and correct the moisture or substrate problem before recoating.
Related Posts:
Best Paint for Exterior Plywood: What Actually Lasts Outdoors by Admin August 27, 2026 DIY The best paint for exterior plywood is a high-quality 100% acrylic latex exterior paint applied over an exterior-rated primer. Just as important, every exposed plywood edge…
How to Paint T1-11 Siding the Right Way by Admin September 2, 2026 DIY T1-11 is one of the cheapest ways to side a shed, garage, or house — and one of the easiest to ruin with a bad…
How to Seal Exterior Plywood: Edges, Primer & Sealers by Admin August 18, 2026 DIY To seal exterior plywood, seal all four edges first with the same primer you're using on the faces (or a paintable water-repellent preservative if you're…