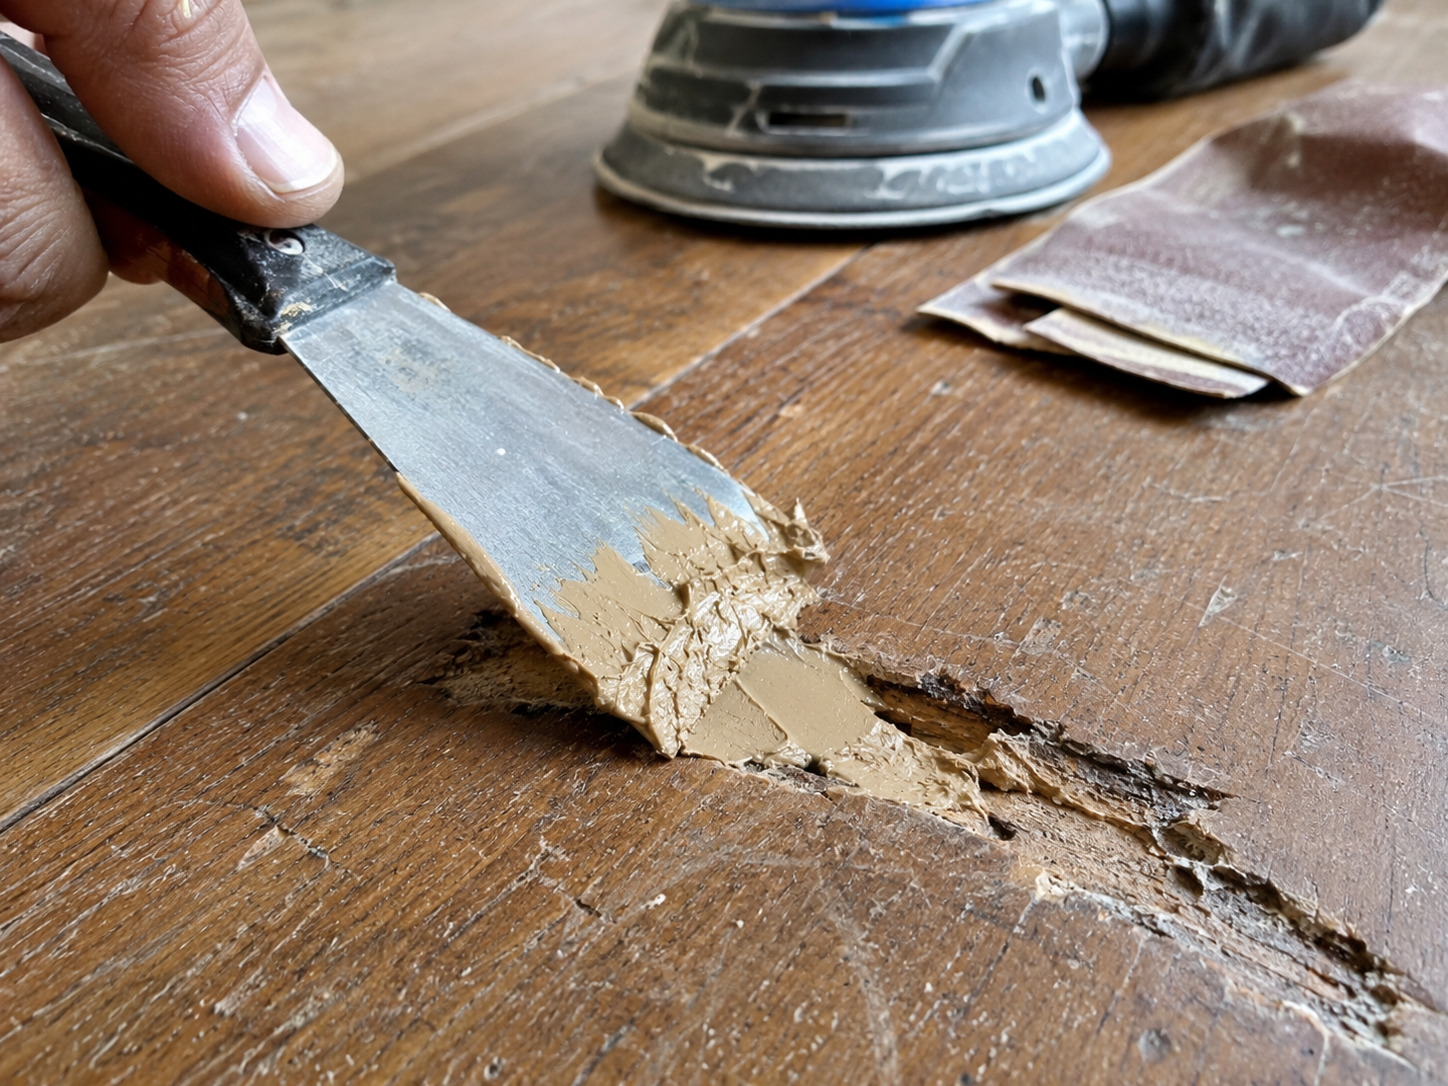
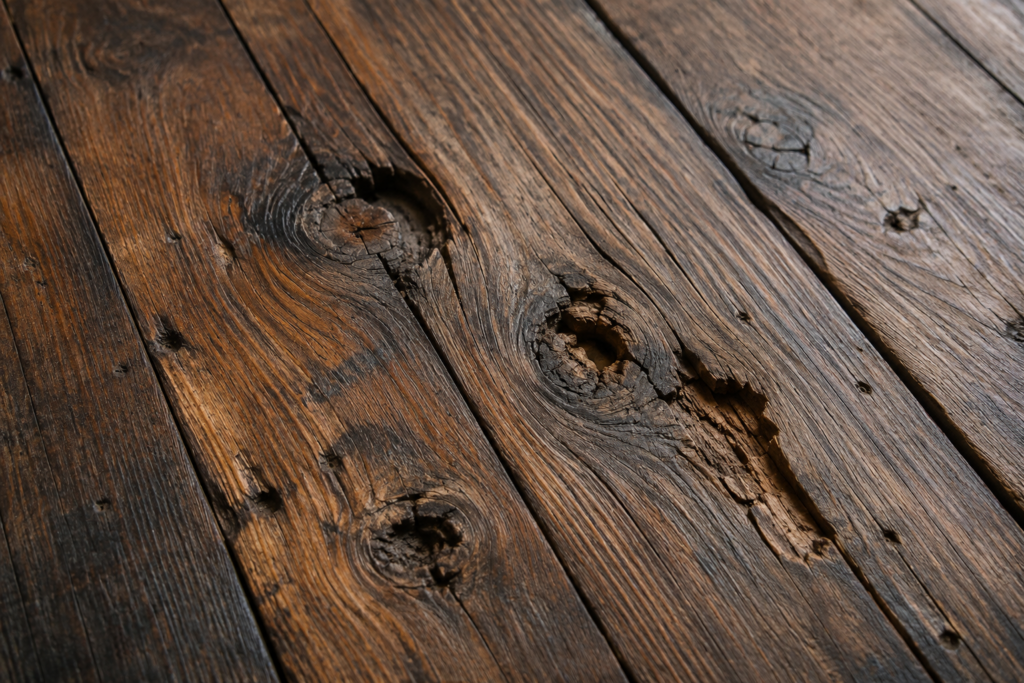
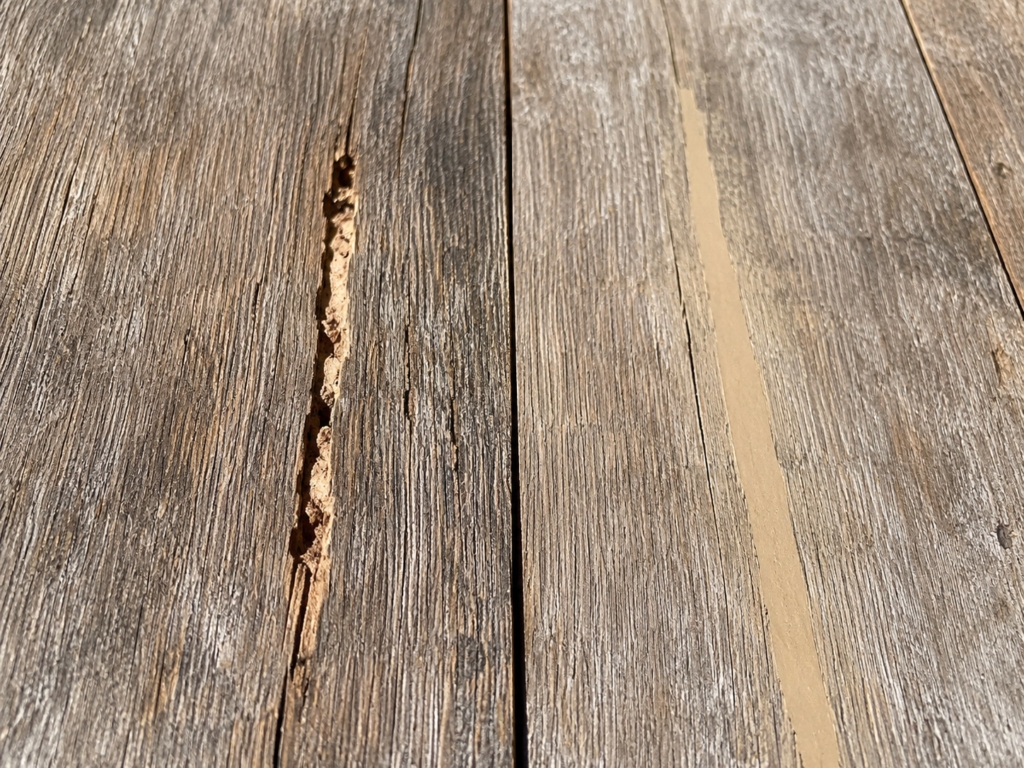
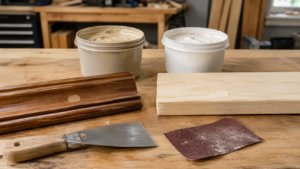
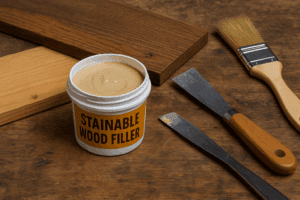
Bondo Wood Filler can work on wood floors when the damage is cosmetic and the boards are stable. It is useful for deep knots, gouges, missing chunks, burned grain, and distressed flooring where regular wood putty may shrink or crack. If you prefer a more traditional finish alternative for lighter touch-ups, choosing a high-quality stainable wood filler can also yield excellent cosmetic results. But it is not a structural floor repair. If the board moves, flexes, rots, or has moisture problems, the floor needs to be repaired before any filler is applied.
When I first committed to a dramatic rustic-modern aesthetic in my home, I fell hard for the Shou Sugi Ban (charred wood) look. The deep char, the gorgeous, undulating grain definition, and the moody, iridescent charcoal tones were exactly what I wanted.
However, heavily burning wood planks or finish flooring comes with a massive, frustrating catch: the charring process creates profound surface voids, deep checking, weak ash pockets, and split knots.
If you try to patch these massive, deeply distressed cosmetic gaps with standard water-based wood putties, you are setting yourself up for an absolute nightmare. They shrink, crack, turn into a crumbly mess under foot traffic, and can pull away from the sides of the repair.
That is when I pulled a classic heavy-duty restoration trick out of my bag: two-part polyester filler. Specifically, 3M Bondo Wood Filler. While 3M explicitly states that it is intended for non-structural repairs, it is highly effective for filling deep cosmetic damage, deep grain splits, and missing chunks of wood.
In this field guide, I am going to break down everything you need to know about using Bondo on wood floors, document my real-world testing, detail the critical mistakes that cost me time and money, and show you exactly how to execute this process without any regrets.
Quick Comparison: Bondo Wood Filler vs. Standard Wood Putty
Before we dive deep into the application mechanics, let’s look at the manufacturer specs and practical differences. This comparison table highlights why a two-part chemical system performs better than standard putty in deep cosmetic repairs when you need to fill gaps in wood that are subjected to major aesthetic damage or deep, distressed grain.
Feature
Bondo Wood Filler (Two-Part Polyester System)
Standard Wood Putty (Water or Solvent-Based Acrylic)
Curing Mechanism
Exothermic Chemical Reaction (Triggered by benzoyl peroxide hardener)
Evaporation (Relies on air drying and moisture loss)
Cure Time
Sandable in ~15 mins; Paintable/Stainable in ~25 mins
2–8 hours (Can take up to 24 hours for deep voids)
Volumetric Shrinkage
Non-shrinking formula
Can shrink noticeably in deeper repairs (Requires multiple coats)
Can be built up in layers for deep non-structural repairs
Maximum 1/4-inch per layer (Deep applications crack)
Color Profile
Cures to a neutral light wood tan; absorbs stain differently than real wood
Comes pre-tinted; often repels or absorbs stains unevenly
Working Window
3–4 minutes (Extremely fast chemical setup)
20–45 minutes (Relaxed, open working time)
The Real Test: Can Bondo Handle Burned Wood Flooring Voids?
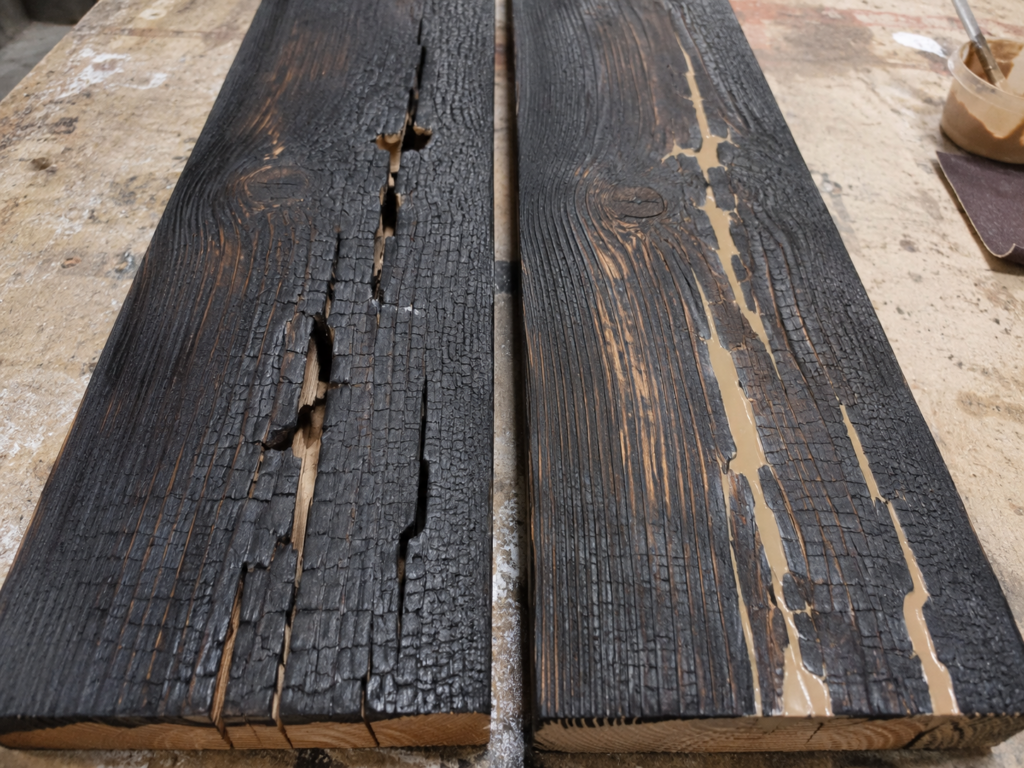
To find out if Bondo could hold up under actual household conditions over deeply charred grooves, I ran a strict side-by-side trial on a few experimental planks of burned Southern Yellow Pine flooring. Pine is notoriously unstable; it expands and contracts significantly with seasonal humidity changes, making it the ultimate torture test for any wood repair product.
[ Test Setup: Burned Southern Yellow Pine Flooring ]
-------------------------------------------------------------------------
Plank A: Cleared of loose ash -> Packed with Premium Water-Based Latex Putty
Plank B: Cleared of loose ash -> Packed with Mixed 3M Bondo Wood Filler
-------------------------------------------------------------------------
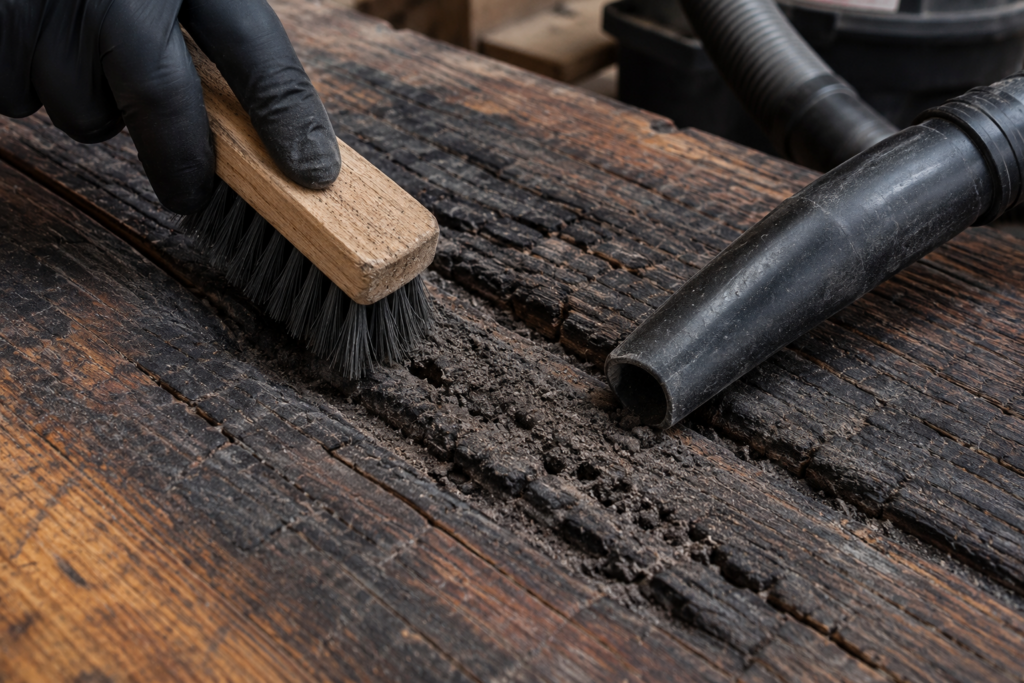
First, I prepared the wood with a stiff wire brush to clean out the loose, friable ash from the deep cracks, ensuring I was down to sound, charred wood. I then wiped down the channels to remove any fine dust particles that could compromise adhesion.
The Putty Plank (Plank A)
I packed the standard latex filler into the deep crevices using a standard flexible putty knife. Right away, the issues began. Because the gaps were nearly 1/2-inch deep in certain checking zones, the putty struggled to stay put. After 4 hours of drying time, my fears were confirmed: the standard putty had sunk deep into the cracks in the wood, like a deflating cake.
It required a second application, which took another 4 hours to dry. The real failure occurred when I subjected the plank to a simulated foot-traffic test. When I walked across the plank, the natural structural flexing of the pine caused the brittle latex filler to crack immediately in a hairline. Within forty-eight hours, micro-chunks of white putty were flaking out onto the floor.
The Bondo Plank (Plank B)
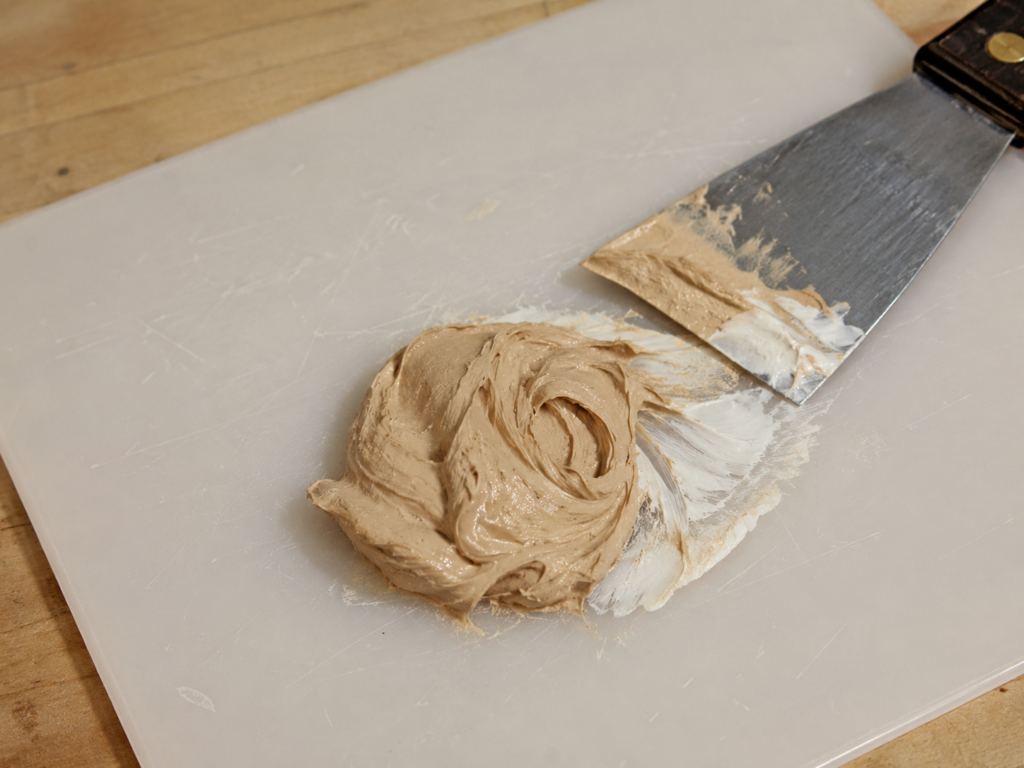
I mixed a small batch of Bondo Wood Filler with its accompanying cream hardener and pressed it firmly into the charred voids of the second plank. The material spread smoothly under pressure but didn’t sag or run out of the cracks.
Within 15 minutes, the exothermic reaction was complete, and the patch was cool to the touch and perfectly ready for sanding. Because it hardens through chemical reactions rather than by evaporation, it did not noticeably shrink. It sat completely flush with the top of my charred grain.
I used a random orbital sander on it, leveled the surface, and applied a dark charcoal stain, then blended it with a topcoat. When stepped on, the Bondo didn’t budge, crack, or delaminate. While it does not add load-bearing, engineered strength to a building’s structure, it perfectly filled the empty non-structural voids and transformed a split, rough plank into a flat, smooth finish layer.
Before applying any type of filler product, always verify that your timber is completely free of fungal decay. If you suspect deeper issues with your floorboards or joists, determining whether can rotting wood be saved should be your immediate first step before proceeding with cosmetic patches. For more comprehensive material breakdowns regarding your structural floor layers, check out our baseline floor repair guide.
Critical Safety Warning: Essential Hazards & PPE
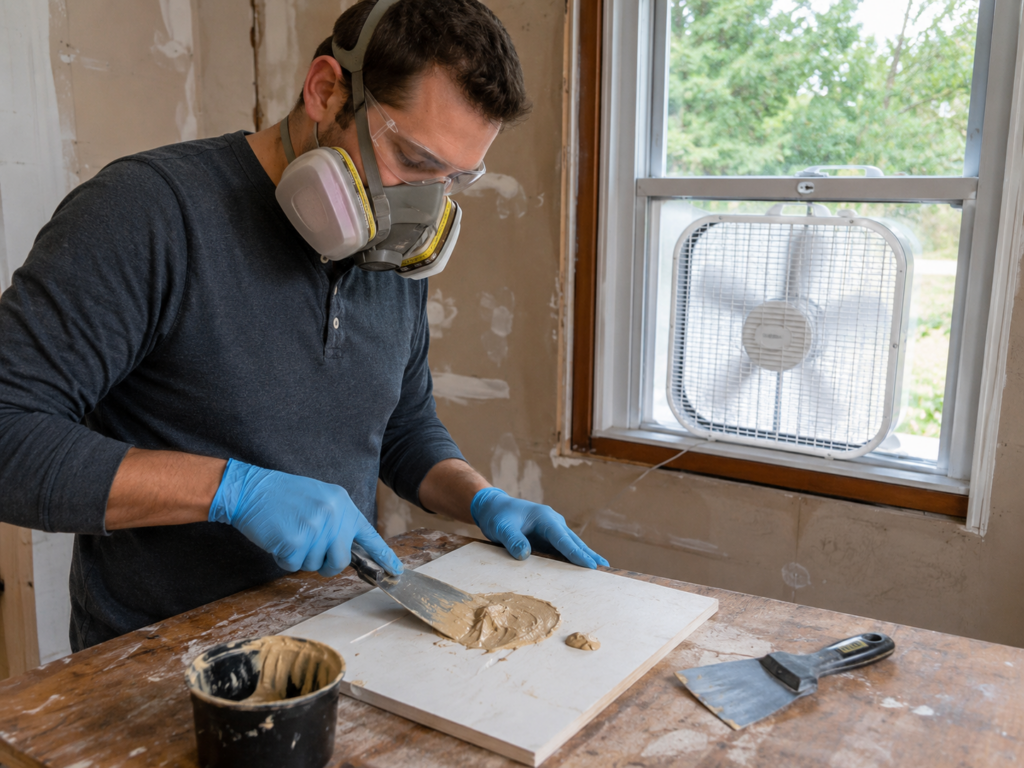
Before you open a can of Bondo Wood Filler, you must understand that this is a professional-grade chemical system. It is not standard, low-odor hobby glue. According to its Safety Data Sheet (SDS), Bondo releases flammable vapors and carries significant health hazards, including respiratory irritation, dizziness, drowsiness, and possible cancer risk from prolonged chemical exposure.
Protecting yourself is completely non-negotiable:
Respiratory Protection: Use strong ventilation, and use respiratory protection if ventilation is not adequate or the work area is enclosed. A paper dust mask does not protect against organic vapors; a proper respirator equipped with organic vapor cartridges is required if ventilation drops below safe exposure limits.
Ventilation: Work in a highly ventilated area. Open all windows and set up heavy-duty box fans to actively exhaust air out of the room.
Skin & Eye Safety: Wear chemical-resistant gloves (such as nitrile) and protective safety glasses. Skin contact can cause irritation or allergic reactions.
If you are dealing with deeper subfloor decay alongside surface cosmetic damage, using the best epoxy wood filler for rot repair may require similar high-level chemical precautions, so keeping your workspace completely safe is paramount regardless of the specific paste compound you choose.
Warning: The Multi-Coat Mistake and the 3-Minute Panic
If you have never worked with a two-part polyester system before, you need to mentally prepare for the working speed. Traditional wood fillers allow you to casually work your way down a long board. Bondo will not tolerate procrastination.
The moment you mix that cream hardener into the light tan base paste, a molecular countdown clock starts. You have a working window of exactly 3 to 4 minutes before the mixture transforms from a smooth cream into a sticky, rubbery, completely unworkable glob.
The Regret Note
On my very first attempt, I fell victim to the ultimate beginner mistake. Eager to speed up the project, I scooped out a massive pile of Bondo onto a large mixing board, squeezed a long line of hardener, and mixed up a giant batch.
Within four minutes, before I had even filled a quarter of the designated gaps, the pile began to stiffen and take on the consistency of old chewing gum. I tried to force it into the next crack, but it pulled away from the edges, leaving massive air pockets beneath it.
I ended up with a ruined, rock-hard plastic chunk sitting on my mixing tool and a half-filled gouge on my floor that took me hours to grind back out. It was a complete waste of expensive material and caused a massive amount of unnecessary physical frustration.
The Bondo Curing Lifecycle:
[0-3 Mins: Liquid Cream] -> [3-4 Mins: The Gummy State] -> [15 Mins: Sandable] -> [25 Mins: Stainable]
       ^                           ^                            ^                      ^
  Best time to               Perfect time to               Time to use a          Ready for topical
  apply to wood              shave with a razor            power sander           finishing/stains
The Lesson: Never mix a batch of Bondo larger than a golf ball at any one time. It is far better to mix ten tiny batches sequentially than to watch a massive batch turn into useless plastic right on your putty knife.
The True Cost Difference: Is It Worth the Premium?
When you are walking down the aisles of your local home improvement center, it is easy to experience a bit of sticker shock when looking at heavy-duty restoration chemicals. Let’s do a realistic financial breakdown of the cost difference between these two project pathways.
Standard Wood Filler Financials
A standard 8-ounce tub of high-quality water-based wood putty usually costs between $6 and $12. On paper, this seems incredibly economical. However, if you are filling deep cracks or wide knots across an entire room of rustic or burned wood flooring, you have to account for volumetric shrinkage.
Because many water-based putties can shrink noticeably as they dry, you will need to apply at least two, and often three, coats to achieve a flush finish. This means you are buying twice as much physical product as you originally estimated, bringing your actual material investment closer to $24 to $36, not to mention the massive cost of your wasted time over multiple days of drying.
Bondo Wood Filler Financials
A full 3M Bondo Wood Filler Kit, which includes a generous quart can of the base paste and a tube of cream hardener, generally runs between $15 and $25.
While the upfront cost is higher than a single small tub of putty, the cost difference completely evaporates when you factor in real-world application efficiency:
One-Pass Filling: Because it uses a non-shrinking formula, a single pass fills the deep void completely to the top. You use less physical material by volume.
Time Savings: Instead of waiting 24 hours across three separate drying cycles, your floor patch is cured and sandable in about 15 minutes, and ready for stain in about 25 minutes, or according to the product directions and conditions.
Durability: Bondo chemically bonds to the repair surface and cures hard. Because of this bond, the repair can last a long time if the floor stays dry and stable.
If you find that structural decay has gone too deep into structural floor layers and the damage cannot be resolved with surface pastes, your overall budget could increase significantly. Reviewing a realistic wood rot repair cost guide can help you evaluate whether a cosmetic patch is sufficient or if a larger architectural intervention is required. If you are evaluating whether your entire layout needs a complete overhaul or just strategic surface filling, review our extensive Bondo wood filler review.
Gear Up: Monetization & Recommended Supplies
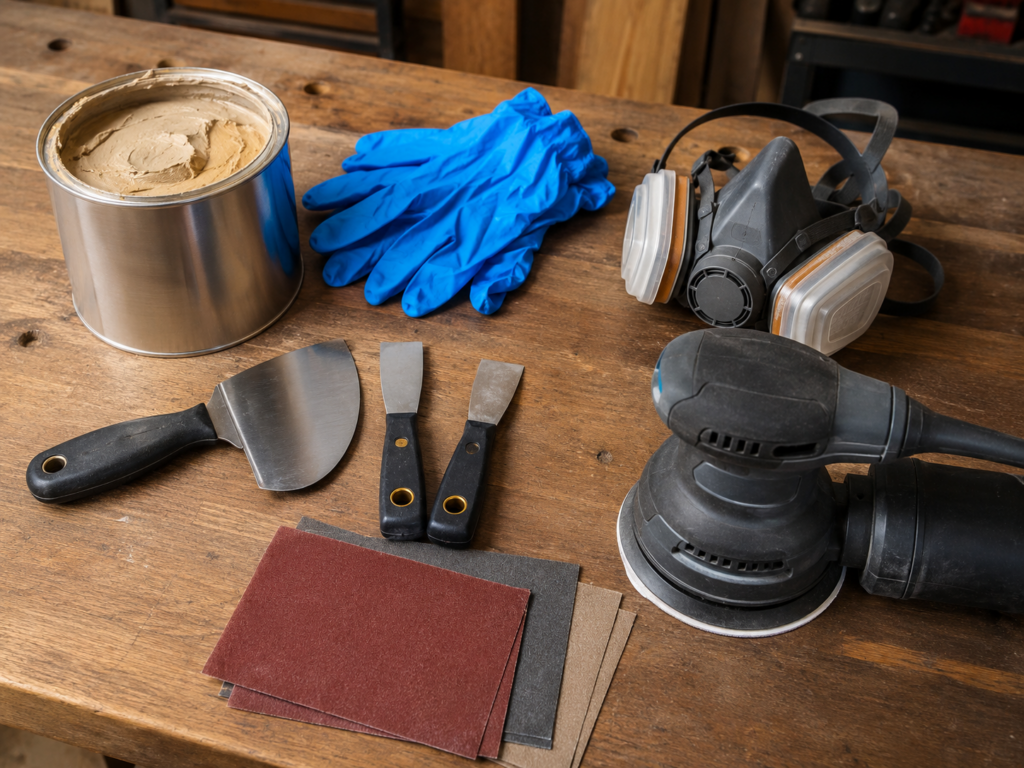
To execute a high-level Bondo floor restoration without interruption, you need to have your tools prepped and laid out before you open the can. Here is the exact toolkit I use on my residential renovation projects:
The Core Repair Compound:3M Bondo Wood Filler (Quart Can with Hardener) – This formula is optimized specifically for woodworking, designed to repair damaged or missing wood while maintaining high durability.
Mixing and Application Tools:6-Pack Flexible Stainless Steel Putty Knife Set– You need flexible knives to press the compound deep into wood voids, and rigid knives to cleanly scrape up excess material before it sets.
Surface Abatement Power Tool:SKIL Random Orbital Sander – Once Bondo cures completely, it is incredibly dense. Attempting to sand a large floor patch smooth using a manual hand-sanding block will leave you with raw blisters. You need mechanical power.
Personal Protective Equipment:3M Rugged Comfort Half Facepiece Respirator– Recommended to protect against respiratory irritation, dizziness, and vapor hazards if your working environment is enclosed or lacks adequate ventilation.
Before embarking on this process, it is useful to learn basic strategies for material preparation. If your subfloor layer consists of engineered panels, taking some time to read about how to repair plywood will ensure that your underlying base layer is sound enough to hold your finish boards securely.
Step-by-Step Field Guide for Burned & Distressed Wood Flooring
This is the exact operational framework I developed after refining my process across multiple rooms. Follow these steps meticulously to ensure a flawless finish.
Before any chemical bonding can take place, the wood must be pristine. If you are dealing with charred wood from a Shou Sugi Ban process, the surface will be covered in loose carbon dust.
Take a stiff-bristled wire brush and drag it firmly along the direction of the wood grain through every split, crack, and crater. Your goal is to dislodge the soft, flaky ash until you expose the sound wood underneath.
Vacuum the entire area thoroughly using a shop-vac.
Wipe down the interior of the wood channels with a cloth dampened with denatured alcohol. This flashes off rapidly, leaving a perfectly dry, oil-free, dust-free surface that maximizes adhesion.
Step 2: The Art of the Mixing Ratio
The mixing stage is where most DIYers fail. If you add too much hardener, the batch will “hot mix”—curing in under 90 seconds. If you add too little, the polyester will remain permanently tacky.
Scoop out a dollop of the base paste roughly the size of a golf ball onto a clean, smooth, non-porous mixing surface.
Squeeze a thin ribbon of the cream hardener directly across the center of your golf-ball-sized puddle from edge to edge. This represents roughly a 50:1 paste-to-hardener ratio by volume.
Using a plastic spreader or a small putty knife, mix the two components using a folding motion. Do not whip it, as whipping introduces micro-air bubbles into the paste which will manifest as pinholes in your final floor surface. Mix for roughly 30 to 45 seconds, until the streaks disappear and the paste reaches a uniform color.
Step 3: Pressing and Overfilling the Voids
Now, your 3- to 4-minute application window opens.
Load a small amount of mixed Bondo onto the edge of your flexible putty knife.
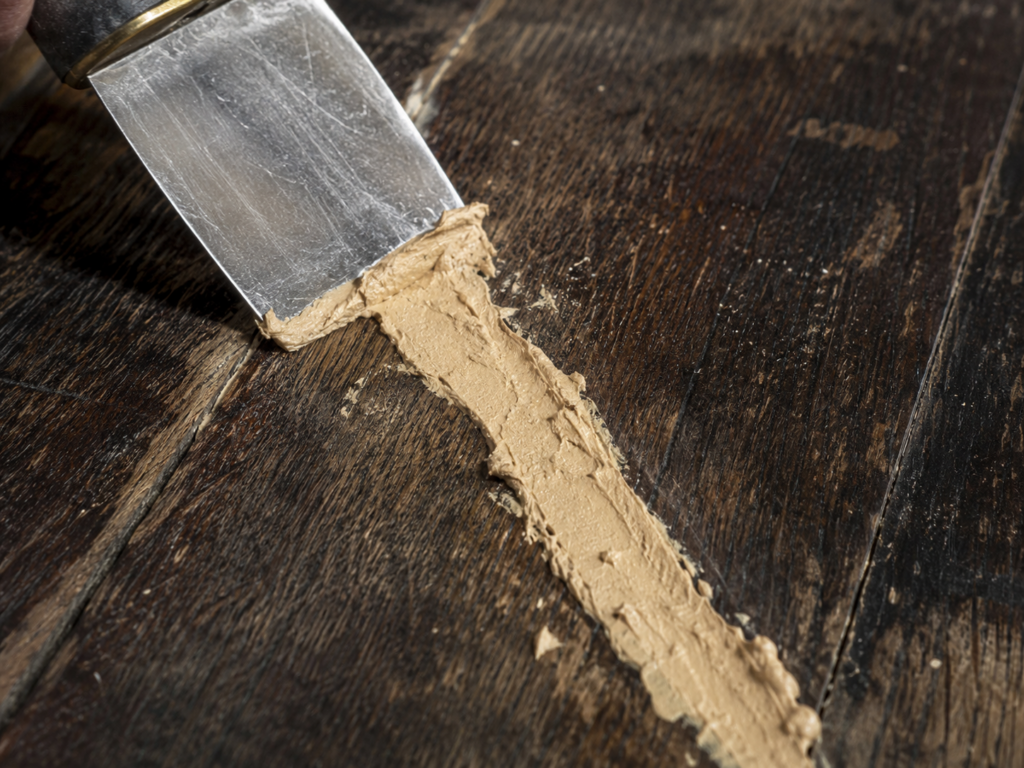
Hold the knife at a 45-degree angle to the floorboard and press down firmly as you drag it across the crack. You want to force the air out of the deep valley and ensure the compound completely wets out the raw wood grain inside the void.
Reverse your direction and pull the knife across the area at a 90-degree angle to clean up the excess on the surrounding boards.
Leave the patch slightly proud—roughly 1/16-inch higher than the surrounding wood surface. Since it does not shrink, this slight hump ensures you have enough material to sand down to a completely flush finish. For deeper non-structural gaps, apply additional layers as needed rather than attempting to fill massive cavities in a single unmanaged pass.
Remember that if your floorboards are bouncy, sagging, or structurally moving, no amount of cosmetic paste can resolve the underlying issue. In scenarios where heavy foot traffic causes shifting, reinforcing joists under the house must be completed first to eliminate the mechanical flexing that would otherwise ruin any cosmetic patch. Furthermore, if you notice dips or waves across your room, taking the time to properly level an uneven plywood floor ensures a completely rigid, flat surface before you ever start filling surface blemishes.
Step 4: The Strategic “Sweet Spot” Razor Scrape
This is a game-changing professional trick that saves hours of grueling mechanical sanding. As Bondo passes from its liquid phase to its final rock-hard plastic phase, it enters a brief, temporary intermediate phase known as the “rubbery” or “cheesy” state. This happens roughly 8 to 12 minutes after mixing.
Touch the excess Bondo with a gloved finger. If it feels firm but yields like a block of hard cheddar cheese without sticking to your glove, it is ready.
Take a sharp, heavy-duty utility knife blade or a sharp 2-inch wood chisel, and hold it completely flat against the surrounding floorboard.
Carefully slice away the protruding humps of excess Bondo. In this state, the material shaves off cleanly like cold butter, leaving a nearly perfectly level surface. Doing this prevents your sander pads from instantly loading and getting gummed up with excess hardened plastic.
Step 5: Flush Sanding and Transition Profiling
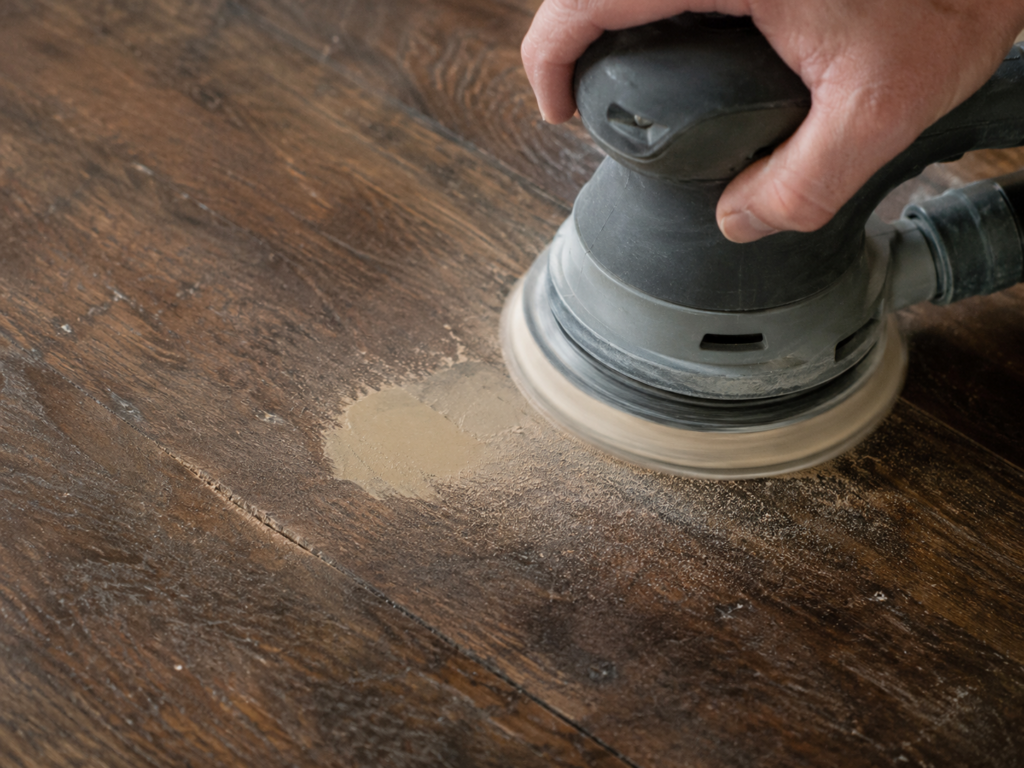
Once you pass the 15-minute mark, the Bondo will be fully sandable.
Equip your random orbital sander with a coarse 80-grit sanding disc. Run the sander smoothly over the repair zone, keeping the tool perfectly flat against the floor. Do not tip the sander on its edge, or you will create gouges in the surrounding soft wood.
Watch the transition line between the Bondo and the natural wood grain. As soon as the Bondo patch is flush, swap your sanding disc for a medium 120-grit disc, then finish with a fine 180-grit disc over the repair zone.
Wipe away the fine sanding dust. The patch should feel completely seamless to the touch.
Step 6: Custom Color Matching and Advanced Finishing
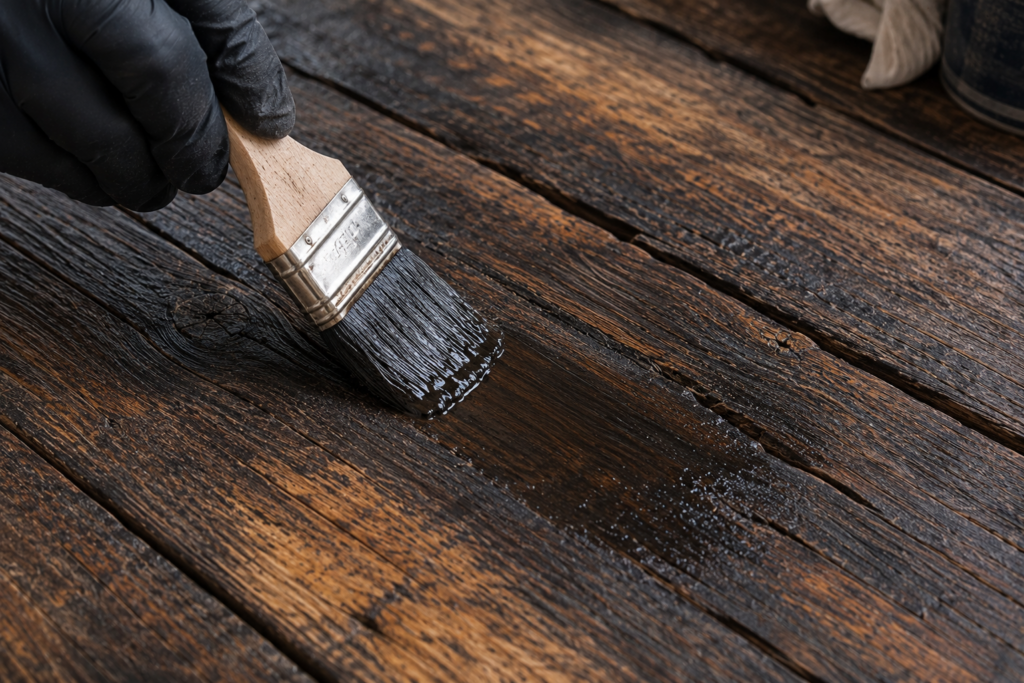
3M specifically warns that Bondo Wood Filler may absorb stain differently than natural wood. Because it cures to an opaque, uniform tan plastic state, it lacks natural wood-grain pores and can look like a glaring flat spot when treated with basic penetrating stains. To blend it seamlessly into a scorched, rustic, or dark charred floor design, you must tint it:
Pre-Tinting Method: If you want deep color throughout the patch, mix a tiny drop of universal oil-based tint or dry black iron oxide pigment powder directly into the tan base paste before adding the cream hardener. This ensures that even if the floor gets scratched deeply over years of foot traffic, the interior of the patch remains jet black or dark brown.
Topical Gel Stain Method: Because penetrating stains will bleed off cured polyester, use a high-quality gel stain after about 25 minutes, or according to the product directions and conditions when the product is fully ready to be painted or stained. Gel stains contain heavy pigments suspended in a thick varnish base, allowing them to sit on top of non-porous surfaces like plastic. Brush the gel stain over the patch, dry brush the edges to create simulated grain lines that mimic the surrounding burned wood patterns, and allow it to dry completely.
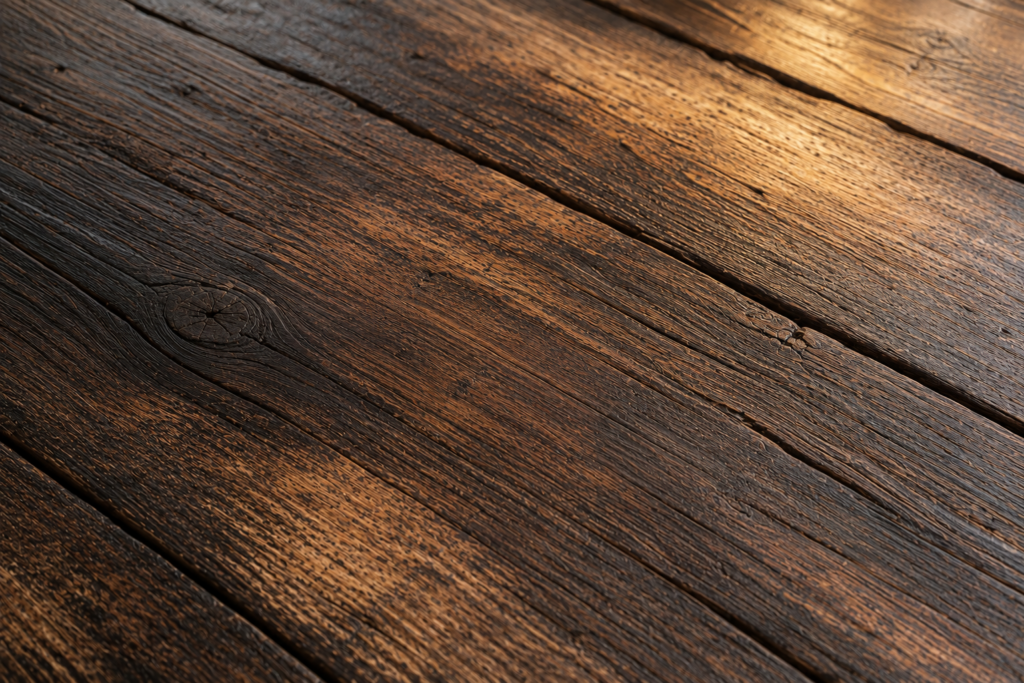
Final Sealing: Seal the entire floor with a high-durability coating like an oil-based or water-borne polyurethane finish. For deeper aesthetic floor restoration projects or general floor building frameworks, you can reference further design schematics on theplywood.com.
Frequently Asked Questions From the Field
Can I use automotive Bondo instead of Bondo Wood Filler?
While you can technically use regular grey automotive Bondo (they are both chemically similar polyester resins), it is not recommended for interior home restoration. Regular automotive Bondo is bright grey, which makes it incredibly difficult to hide under translucent wood stains or gel coats. The specialized wood formula uses a modified wood filler base that more closely matches natural timber tones and accepts topical finishes far more predictably.
How long does Bondo Wood Filler last on a high-traffic floor?
Because it forms a tight chemical bond with the repair surface and cures hard, it provides an exceptionally long-lasting cosmetic patch. It does not degrade, rot, or shrink over time. Ultimately, the repair can last a long time if the floor stays dry and stable and doesn’t experience shifting subfloors or severe foundation flex.
Will Bondo ruin my planing or woodworking tools?
Once cured, it has a density similar to that of hard acrylic or dense maple wood. It can be planed, routed, drilled, and cut using standard carbide-tipped woodworking tools without damaging them. However, avoid running high-speed steel tools over it at excessive speeds, as the high density can dull cheap steel blades faster than normal softwoods like pine or cedar.
Final Pro-Tips for a Flawless Floor Renovation
To wrap up this extensive guide, let’s go over a few quick, high-impact tips that will elevate your results from an amateur DIY look to an architectural-magazine finish:
Keep Your Scraps: Always keep a few scrap cut-offs from your specific flooring boards. Use these scraps to run a quick test burn, mix a test batch of Bondo, and try out your gel stain combinations before laying a single drop of chemicals onto your actual finished floor.
Clean Your Knives Immediately: The moment your 3- to 4-minute application window closes, wipe down your metal putty knives with a rag soaked in acetone. If you let the Bondo fully cure on your tools, you will be forced to use an angle grinder or a cold chisel to scrape your blades clean again.
Related Posts:
Wood Putty vs Wood Filler: The $40 Mistake to Avoid by Admin August 21, 2026 DIY Here's a repair failure that plays out on fences, decks, and exterior trim all the time: someone patches a weathered cedar post with an interior-only…
Stainable Wood Filler: A DIY Guide to Smooth Repairs by Admin September 24, 2025 Repairs Woodworking projects rarely go perfectly. Even the most careful craftsman ends up with nail holes, gaps, dents, or minor cracks in their boards. That’s where…