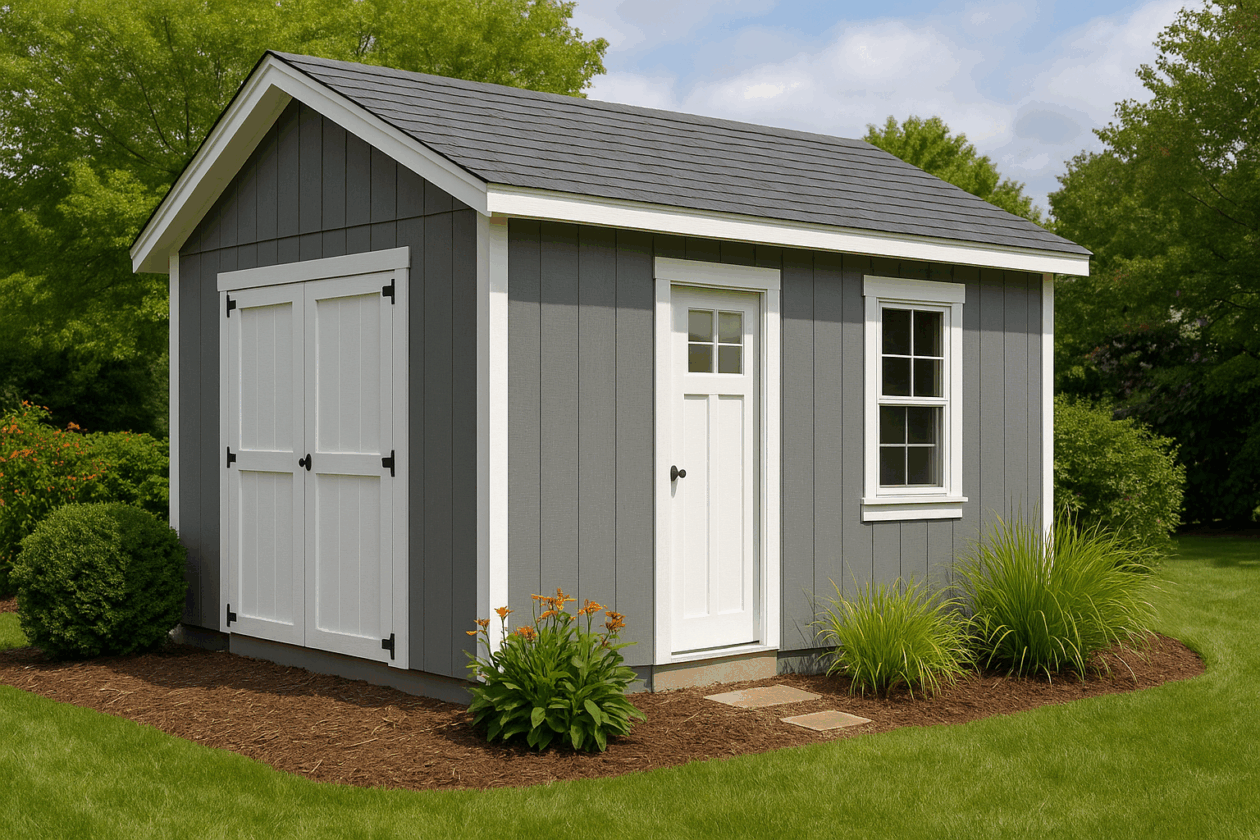
If you’ve ever built a shed, barn, or even a rustic cabin, you’ve probably run across T1-11 siding. I’ve worked with it for over a decade on everything from small garden buildings to large workshop walls. While it doesn’t have the instant curb appeal of high-end cedar shingles or fiber cement, it has something those options often lack — a mix of durability, DIY-friendliness, and affordability.
This isn’t just a “budget” siding; when installed right and maintained regularly, T1-11 can hold up for decades while giving your project that classic vertical-groove look.
In this guide, I’ll walk you through exactly what T1-11 siding is, how to choose between plywood and OSB versions, step-by-step installation, my best tips for keeping it in great shape, and a few lessons I’ve learned (the hard way) along the way.
What Exactly Is T1-11 Siding?
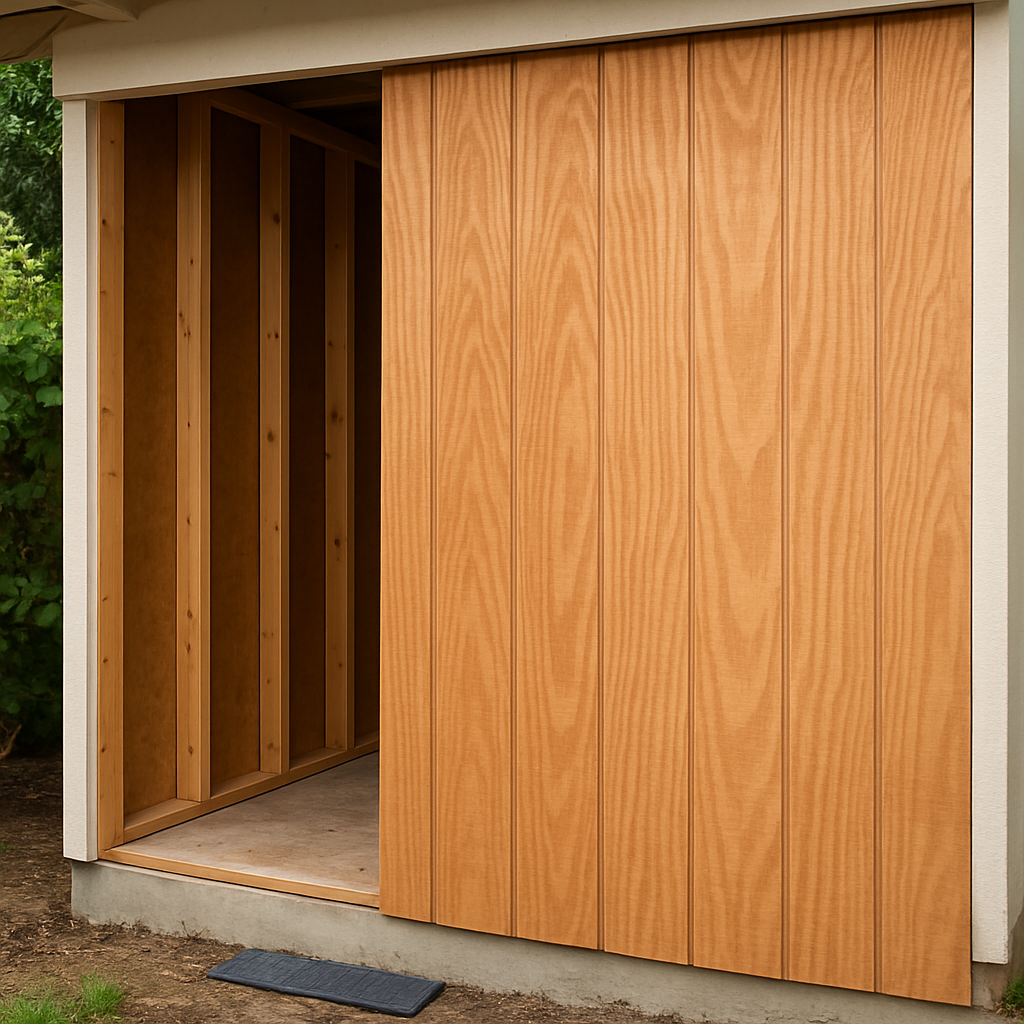
T1-11 siding is a plywood or OSB panel with evenly spaced vertical grooves cut into its face. It was especially popular from the 1960s through the 1980s, and it’s still a go-to for sheds, barns, workshops, and cabins.
The name breaks down like this:
T – Textured
1 – One side grooved
11 – Grooves spaced 11 inches apart
There are two main types:
Plywood T1-11 – Made from layered wood veneers. Stronger, more impact-resistant, and better handles moisture.
OSB T1-11 – Made from compressed wood strands and resin. More affordable but more vulnerable to water damage.
Internal link suggestion: Link plywood to your Types of Plywood and Their Uses article.
Why Choose T1-11?
Why Choose T1-11?
Over the years, I’ve worked with plenty of siding options — from cedar shingles that smell amazing when you cut them, to heavy fiber cement boards that test your shoulder strength after a full day’s work. Yet I keep coming back to T1-11 siding for certain projects. It’s not because it’s the most glamorous or the trendiest, but because it delivers a balance of price, performance, and practicality that’s hard to beat.
1. Affordability Without Feeling “Cheap”
Even the best plywood T1-11 panels cost far less than premium siding options. You’re getting full 4×8 sheets that cover a lot of wall space in one shot, which means fewer seams, fewer fasteners, and less installation time. Those savings add up if you’re siding a large shed, workshop, or cabin. In my own builds, I’ve often spent less than half of what vinyl or fiber cement would have cost — and with proper finishing, you’d never guess it was the budget option.
2. True DIY Friendliness
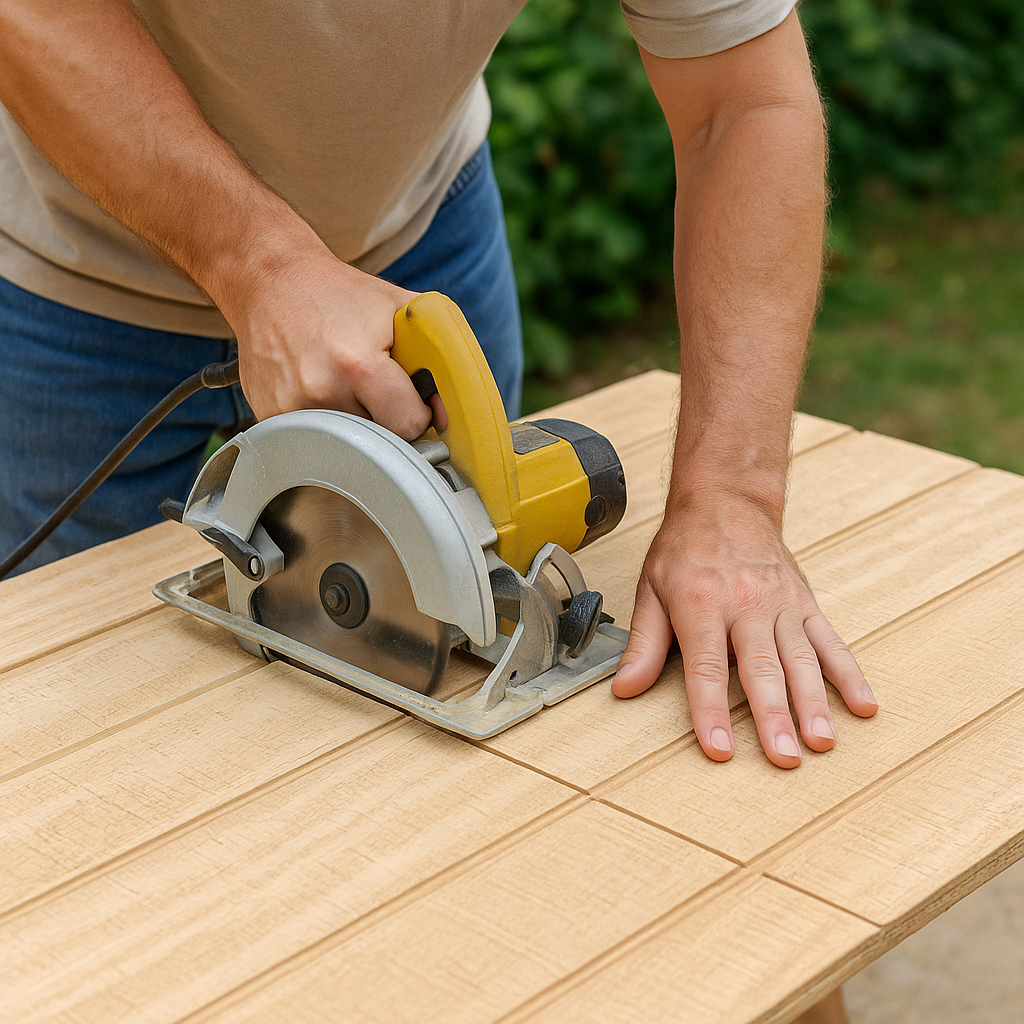
You don’t need fancy tools or special training to work with T1-11. A circular saw, hammer or nail gun, level, and tape measure are pretty much all you need. The panels are lighter than many other siding materials, so you can handle them alone if you have to. The vertical grooves give you a built-in layout guide, making it easier to keep everything straight. On weekend projects, that’s a lifesaver.
3. Built-In Structural Strength
Plywood T1-11 can double as both siding and sheathing, which means you can skip an entire layer of OSB or plywood behind it. This not only saves money, but also makes the build faster. In small structures like sheds or garden offices, this is one of the biggest time-savers.
The One Trade-Off: Maintenance
T1-11 siding will not forgive neglect. Without proper sealing, it will absorb moisture, swell, and eventually rot. That’s why I always seal every edge, prime thoroughly, and either paint or stain immediately after installation. If you treat it right from day one — and keep up with inspections and recoating — it can last decades. I’ve seen my own shed stand strong for over 15 years now, with nothing more than a repaint every six years and occasional caulk touch-ups.
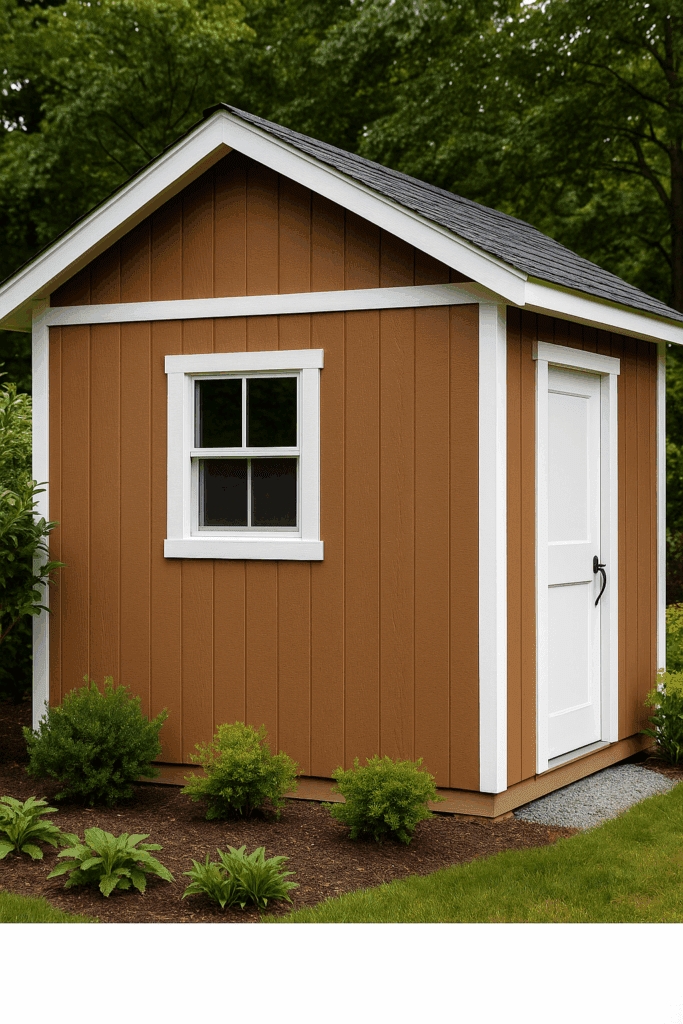
Best Uses for T1-11 Siding
T1-11 is at its best in these applications:
Sheds and barns
Detached garages
Tiny houses
Cabins and vacation cottages
Workshops and studios
It can be used for houses, but most homeowners choose it for outbuildings where rustic charm is a plus.
T1-11 Plywood vs. OSB: Side-by-Side Comparison
Feature
Plywood T1-11
OSB T1-11
Cost
Higher
Lower
Water Resistance
Better
Weaker
Weight
Lighter
Heavier
Strength
More impact-resistant
Good, but not as tough
Grain Appearance
Natural wood look
More uniform, less “woodsy”
My rule of thumb: If the siding is exposed to weather, choose plywood. If it’s for an indoor wall or a well-protected building, OSB can save you money.
Tools & Materials Checklist
I keep this list on a clipboard before I start a siding job:
I’ve hung a lot of T1-11 over the years, and the trick is to take it slow in the beginning so the rest of the job falls into place. Here’s the process I’ve come to rely on when siding a shed, garage, or workshop.
1. Prep the Wall
Before a single panel goes up, I make sure the wall framing is square, level, and in good shape. Any rotted studs or bottom plates get replaced right away — siding won’t hide structural problems, and it certainly won’t fix them. If you’re using T1-11 as both siding and sheathing, you can skip installing a separate layer of OSB or plywood. Just remember, you’ll be fastening directly to the studs, so your framing has to be right from the start.
2. Cut to Size
Walls aren’t always perfectly even, so I measure at several spots instead of trusting a single number. A circular saw with a sharp, fine-tooth blade makes clean cuts. Here’s a habit that’s saved me from ugly splinters: always cut with the finished side facing up. If I need to trim off just a sliver, I’ll clamp a straightedge guide to the panel so the cut stays perfectly straight.
3. Start at the Corner
The first panel is the one you’ll notice every time you walk past the building, so I take the time to get it right. I set it in place with the grooves facing out, check it with a level, and leave about an eighth-inch gap at the bottom so water can’t wick up from the ground. If the siding will sit close to the soil, I like to slip a strip of metal flashing behind the bottom edge for extra insurance against moisture.
4. Fasten Securely
I fasten into the studs every eight inches along the edges and about a foot apart in the middle of the panel. My go-to is galvanized ring-shank nails — they bite deep and don’t back out over time. If you prefer screws, use exterior-coated ones made for decking. They cost more, but if you ever need to swap a panel, they make the job much easier.
5. Stagger the Joints
Long walls mean multiple panels, and I never line up two vertical seams right above each other. Staggering joints adds strength and looks cleaner. Before I set each sheet, I check that the grooves line up so the wall has a consistent rhythm.
6. Seal the Edges and Gaps
Moisture is the enemy of T1-11, so I run a bead of high-quality exterior caulk anywhere water might sneak in — especially where panels meet, around windows and doors, and along the top and bottom edges. It only takes a few minutes, but it can add years to the siding’s life.
7. Finish with Paint or Stain
I’m a believer in sealing every cut edge before the panel goes up. Once the walls are covered, I prime the entire surface and follow with two coats of exterior paint or solid-color stain. If I’m going for a rustic look, I’ll use a penetrating stain instead — just know it’ll need more frequent touch-ups.
Maintenance: The Key to Longevity
If you take care of T1-11, it will take care of you. Here’s my schedule:
Annual check – Look for peeling paint, cracked caulk, or water stains.
Repaint every 5–7 years – In coastal or wet climates, every 3–4 years.
Keep plants away – Don’t let vines grow up the siding.
Gently clean – A garden hose and brush work better than a pressure washer.
Common Problems & Fixes
Warping
Warping is usually caused by moisture getting into the panels — often from poor drainage or prolonged exposure to wet conditions. If you spot a panel bowing, first check your gutters, grading, and splash-back from the roof. Sometimes you can flatten a panel by re-securing it once it’s dried out, but if it’s badly distorted, replacement may be the only fix. Always reseal the new piece thoroughly.
Rotting Edges
The edges of T1-11 are the most vulnerable spots because they soak up water quickly. I seal every cut edge with primer before installation and add caulk where panels meet trim or flashing. If edges have already started to rot, cut out and replace the affected section before it spreads.
Peeling Paint
Peeling almost always means the surface wasn’t primed properly or the old paint failed. Scrape, sand, prime with a high-quality exterior primer, and repaint with two coats.
Insect Damage
Carpenter ants and termites sometimes target untreated wood. Keep shrubs trimmed back, avoid storing firewood against the wall, and do a yearly inspection so you can act before they cause serious damage.
Cost Breakdown
Typical prices (per 4×8 panel):
Plywood T1-11: $42–$55
OSB T1-11: $32–$40
Fasteners, caulk, primer, paint: $75–$120 for a small shed
You can build a small 8×12 shed for under $500 in materials.
Alternatives to T1-11 Siding
Engineered wood siding – Pre-primed and treated against rot.
Fiber cement – Low maintenance, fire-resistant.
Vinyl board-and-batten – Maintenance-free but lacks a real wood feel.
Final Thoughts
T1-11 siding is proof that practical, affordable materials can also be attractive — as long as you give them the attention they need. I’ve seen sheds with T1-11 hold strong for over 25 years simply because the owner kept up with sealing, repainting, and inspecting for small issues before they became big ones. On the flip side, I’ve also seen it fail in under five years when it was installed without primer, left unpainted, and exposed to constant moisture.
The key is respecting the material. Treat every cut edge, choose the right fasteners, keep vegetation clear, and commit to a maintenance schedule. Do that, and you’ll have siding that looks good, holds up to the elements, and protects your structure for decades.
If you’re looking for a siding option that’s DIY-friendly, budget-conscious, and durable, T1-11 remains one of the smartest choices — especially for sheds, barns, and workshops where character and function matter most.
Precast Concrete Steps: Costs, Benefits & Installation Guide by Amy Reed March 21, 2025 More About Precast concrete steps are ready-made cement stairs, staircases, or hollow cement steps that can be installed outside existing staircases on a property or business premise.…