Starting in the 1930s and continuing through the 1950s, there was a major change to how homes were built. Interior walls, which had previously been made of lath and plaster went through a transformation, with the preferred material of choice becoming plasterboard or drywall.
Although these might seem like two different materials, they are actually one in the same. The term plasterboard is preferred throughout most of Europe, while drywall is the American name for the same material.
In either case, plasterboard or drywall are considered an easier material to install, saving time and money. Even so, the bigger reason for the change was to accommodate electrical wiring.
As electricity became more commonplace and its uses for it increased, there was more need for access inside the walls of homes and offices to make changes to the wiring. This is much more easily accomplished with drywall than with lath and plaster.
But while this may have helped motivate the change from lath and plaster to plasterboard, it is rare today to find plasterboard removed for rewiring.
Techniques and the necessary materials
Techniques and the necessary materials have been developed, which allow for easier means of making changes to wiring, without having to remove drywall in most cases.
Nevertheless, there are always those odd cases, when it might be necessary to remove drywall to modify a home’s plumbing, electrical wiring or heat ducts, especially during a remodeling project.
Those aren’t the only reasons one might remove the drywall wall skins from a wall though. Simple damage, whether water damage or physical damage could make it necessary to cut out and remove a section of drywall or even remove an entire wall.
Regardless of how big a section of plasterboard needs to be removed, it is necessary to ensure that there are structural members around the edges of the hole, for the new piece to be attached to.
Drywall doesn’t have enough structural integrity to be installed in any place where the edges are not properly supported by structural elements behind it, that the drywall is attached to with either screws or nails.
Leaving excess drywall hanging over, past the last stud, to meet up with the next sheet between studs merely ensures that the joint will come apart, with the joint compound cracking. That’s because all that plasterboard is, is two sheets of paper, with gypsum extruded out between them. While it can span small distances, such as the distance between studs, and remain rigid, its limited strength needs to be backed up by some sort of structure.
Preparing to Remove the Old Plasterboard
The very first thing to do when doing any demolition work is to turn off the circuit breakers for the rooms to be worked on.
Keep in mind that the opposite side of that wall may be on another circuit, which will also need to be shut off.
Before removing any plasterboard from the home, it’s important to take a good look at the room or rooms it is going to be removed from and determine if there is anything that can be damaged during the process. As plasterboard breaks, it leaves behind a white powder, which is not very different from chalk powder. That powder really shouldn’t get into the carpet, between boards of hardwood flooring or into the grout of tile. To rot the flooring, it’s a good idea to cover it with plastic or with cloth drop-cloths. Be sure to tape them down, so that they aren’t accidentally kicked out of the way.
But there’s much more that can be damaged by removing drywall. That’s because drywall is usually the first thing put onto the outside of the studs.
Any trim, whether baseboard, casing, corner molding, wainscoting, chair rails, cove molding or cornice work is installed over the drywall, meaning that it can be pulled loose or damaged when the drywall is removed.
This means that before the plasterboard can be removed, it is necessary to determine what of that trim needs to be retained and what needs to be replaced. There’s usually a plan for the room; but this is where that plan has to be put into action.
If, for example, there’s some fancy 100-year-old cornice that needs to be kept, then it may be necessary to cut through the drywall, leaving the old drywall in place, behind the trim to be salvaged. In cases like this, cut through the plasterboard with a reciprocating saw.
Before removing the plasterboard, it is necessary to remove whatever trim is not being salvaged. It can be helpful to cut through any corner seams in the trim, just as with the drywall itself. With painted trim, these corners will typically be caulked and in any older home they will be covered with several layers of paint. Failure to cut through the corner with a utility knife can lead to peeling of some number of layers of paint, which will be hard to hide.
It is unlikely that the trim can be removed intact, so that it can be reused.
Typically the wood is so dry that it cracks easily and the nails will usually pull through, leaving hole that can be hard to fill. However, it is generally worth trying to pry it off carefully, as it is often possible to cut shorter pieces out of what is removed.
It is also necessary to cut through the drywall tape at corner and other joints between what is to be removed and what is to be left behind.
Cutting through the tape in these places prevents the finish from being torn off the drywall that is to be left behind.
While that can usually be repaired while finishing the new drywall, having to repair such damage just makes things more complicated. At a minimum, cut through the tape at the inside corners and where the drywall meets the ceiling.
Removing the actual drywall is extremely easy, albeit a rather messy job. It is best to remove it in large sections, but different people have different opinions as to how large. Some will try to remove the entire wall as one piece, while others cut it down into more manageable pieces.
Drywall comes in 4’ x 8’ sheets, which are installed on the wall horizontally. The horizontal seam will be four feet down from the ceiling, as that piece is installed first. Vertical seams will be staggered, usually by half a sheet or four feet.
Determining just how far the first vertical seam is from the end of the wall can be tricky, as some drywall hangers work from left to right and others work from right to left.
Still, if only one sheet needs to be replaced, finding the end of the sheet can be helpful, making it easier to remove it in a way that leaves a clean edge.
A good minimal size for cutting drywall to remove it is four-foot square. A reciprocating saw is usually used for this.
Take care as to not allow the blade to go farther through the plasterboard than necessary, so as to reduce the risk of cutting through wiring. Vertical cuts can be made between studs, so as to avoid damaging the studs while cutting. On horizontal cuts, the reciprocating saw’s blade will encounter the studs, but damage to the studs themselves can be minimized by angling the saw so that the blade is just barely cutting through the drywall and not really through the stud.
Find a corner that can be pried loose by hand or with the aid of a pry bar and start pulling the drywall loose at that point. The nails or screw used to hang the drywall will pull through the board, remaining in the studs.
The sheet should come off more or less intact, although there may be some small pieces which remain in the corners.
Some people prefer going around to the other side of the wall to kick the drywall loose, when working on the second side of the wall. Of course, that only works when the drywall is being removed from both sides of the wall. Nevertheless, it is faster and easier to remove most drywall that way.
Once the plasterboard is removed from the entire wall, go back through with a pry bar to remove nails and screw. A good way to ensure that none are missed and left in place is to run the pry bar down the length of each stud. It will stop when reaching a fastener, as if it were a particularly bad speed bump.
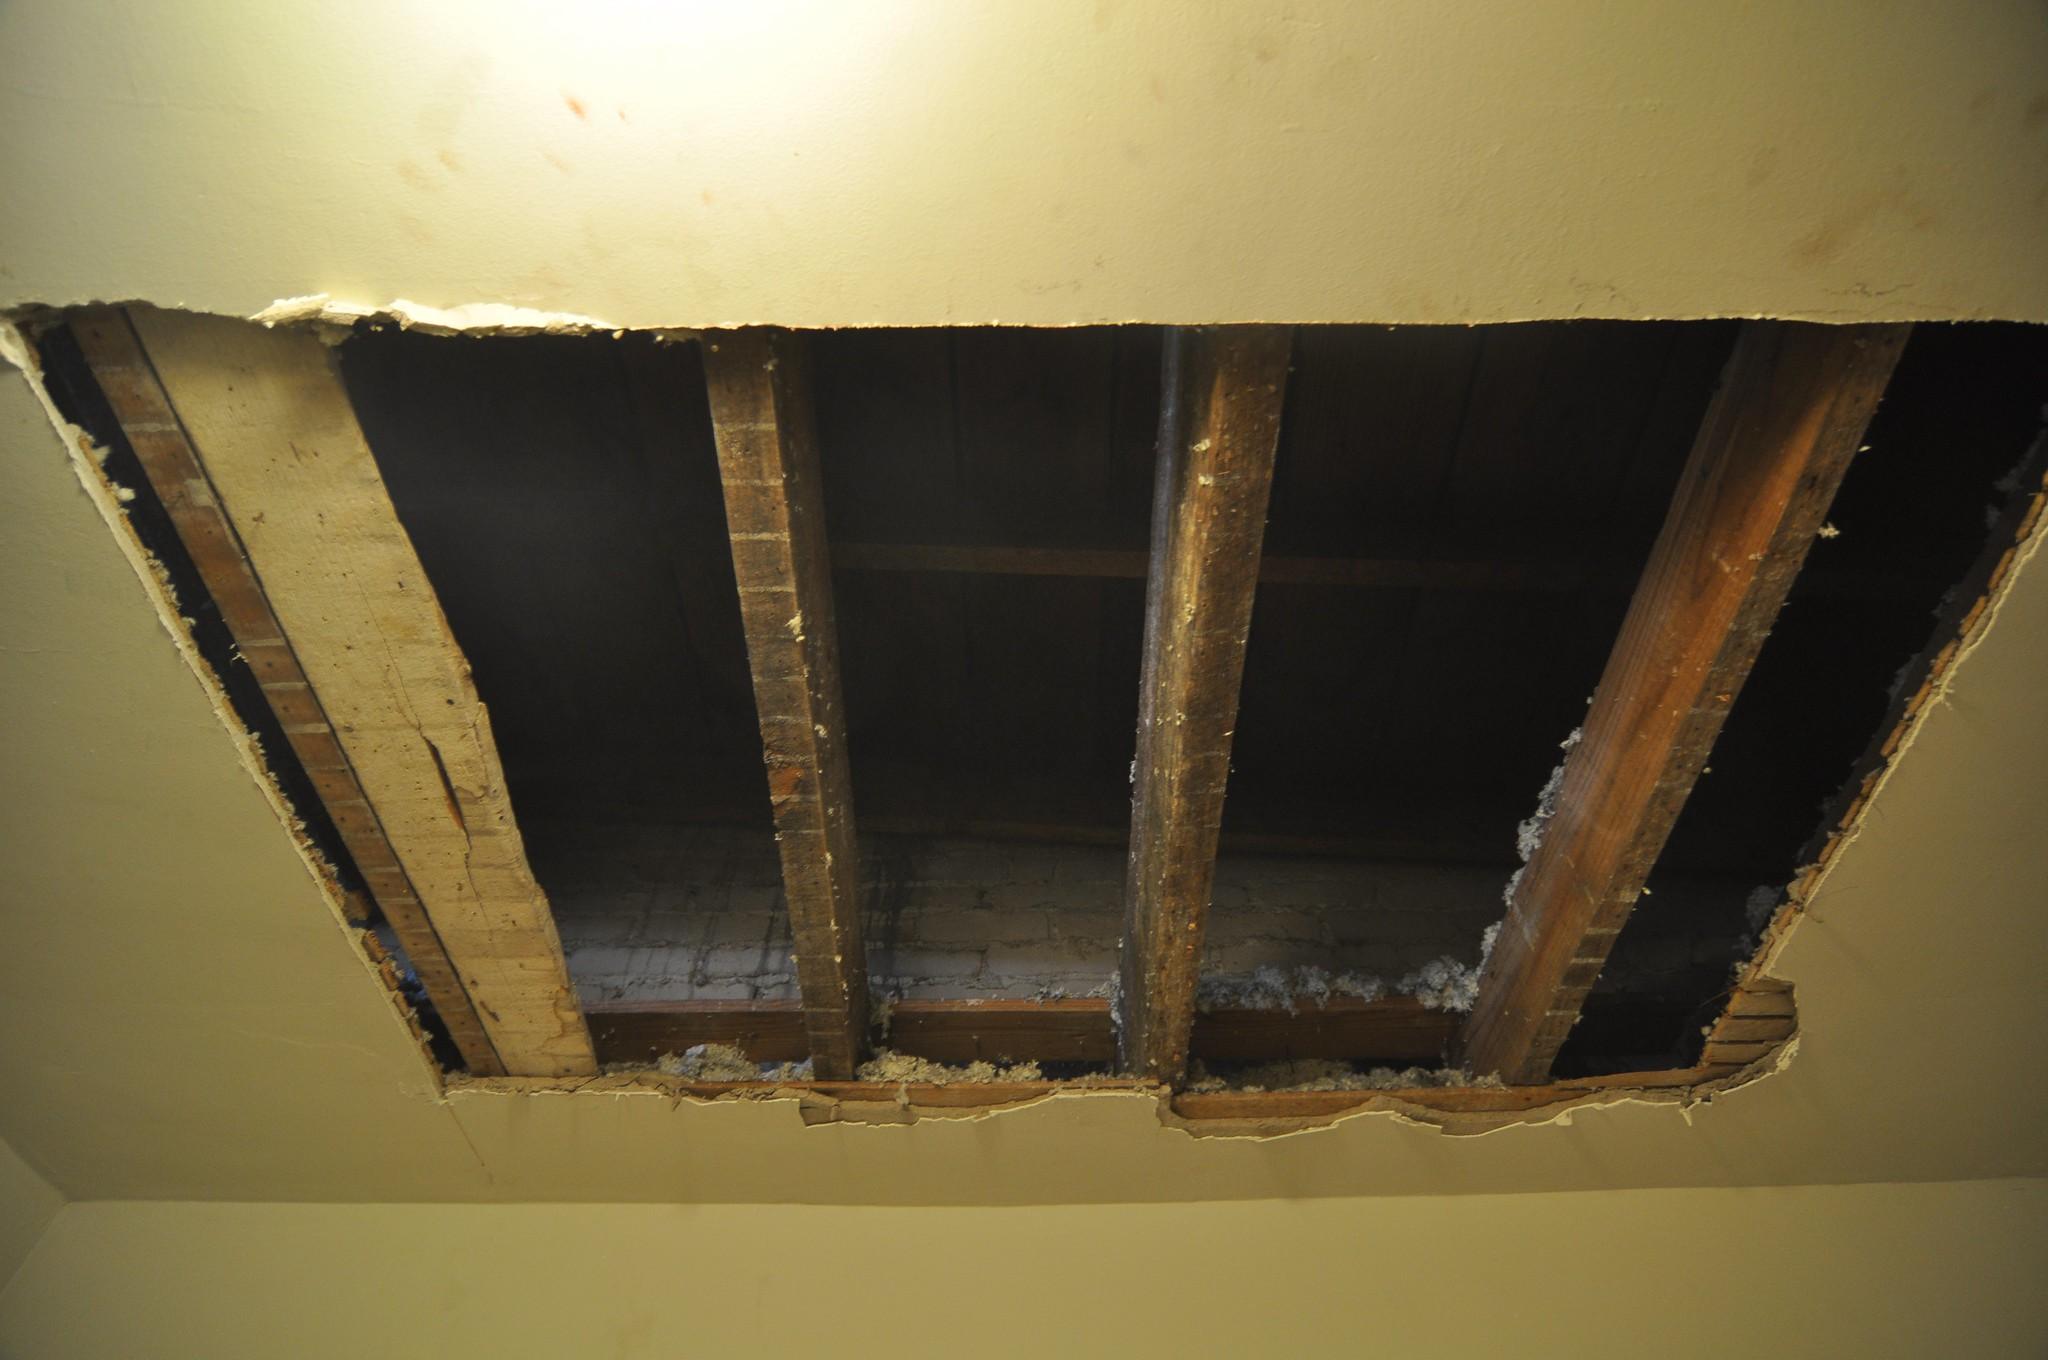
Before installing new plasterboard, be sure to check the condition of everything inside the wall, especially electrical wiring, to ensure that no inadvertent damage occurred while taking the old drywall off.
It’s a good idea to check the edges of adjacent pieces, such as the drywall on the ceiling, for water damage as well. No sense leaving damaged drywall in place, when it is already being worked on.
Removing the Studs
In some cases, those plasterboard walls may be being removed because the entire wall is being removed, turning two smaller rooms into one larger one. If that is the case, the next step in the project will be removing the studs and plates that make up the structure of that wall.
This is the type of work where the reciprocating saw really shines. In most cases, walls are assembled laying down on the floor and then tipped up into place. In that case, the nails are pounded through the plates and into the ends of the studs. All it takes to disassemble those walls is to cut the nails. Install a bi-metal blade in the saw and use it to cut through the nails. In many cases, there will be just enough gap between the end of the stud and the plate for that blade to fit into. When it encounters a nail, it will go through them easily. Be careful when the last nail holding a stud is cut, as the stud may be loose enough to just fall on its own.
With the studs removed, it will take a pry bar to remove the floor and ceiling plates. Once removed, either pull the nails out or hammer them over for safety. Too many people have stepped on nails in discarded boards like this, driving those nails into the bottom of their foot.
The Ultimate Guide to PlywoodPaneling for Walls by Amy Reed March 23, 2025 Installing Want to give your walls a fresh, custom look without blowing a paycheck? Plywood wall paneling might be your new best friend. It’s cheap, pretty…
Best Plywood for Bathroom Walls, Subfloors & Vanities by Amy Reed November 24, 2025 Installing Plywood is ideal for bathrooms because of its strength, moisture resistance, and adaptability to any residential construction project. Choosing the best plywood for bathrooms depends…


")

")

