Home styles change through the years. While there are classic styles which stay with us forever and there are people who are specifically trying to capture the style of a particular era, that’s not the majority of people. Most people would rather go for something modern, following the trends of style to have their home built or remodeled to whatever the current style is.
In kitchens, much of the styling trend has been in countertop materials used. While there are always less common materials that are used, there have been trends through the years, with different materials becoming the most popular for a time.
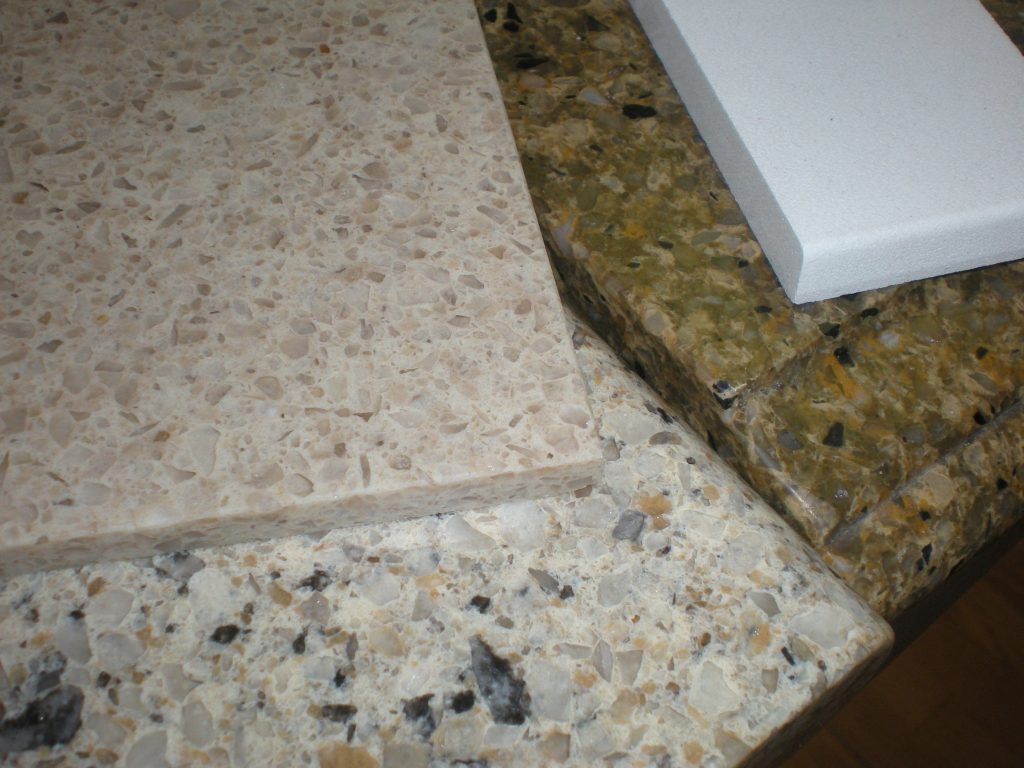
Formicalaminate became the most popular countertop material after the end of World War II and retained that coveted position for half a century. It wasn’t until Corian countertops came along, that Formica lost its spot as the number one countertop covering. But the superior durability of Corian, along with the ability to sand it down and refinish it, allowed Corian to take over from Formica in the 1990s.
At about the same time that corian became popular, granite came along, competing with it, along with marble and other more exotic materials. But the big advantage Corian had was cost. Over time the trend has been more to granite, with it becoming so popular that the major home improvement centers all offer it as an option.
In more recent years, another competitor has taken the place as the trend-setter, quartz. Since about 2004, quartz has been climbing and is now considered the way to go. Slightly more expensive than granite, quarts is more on the order of the cost of marble, making it one of the more costly options available. Today’s quartz countertops are actually engineered quartz, allowing for a much broader variety in appearance. Today’s engineered quartz countertops can take on the appearance of almost any mineral desired.
Quartz is a mineral, making it extremely hard and non-porous. That means that it doesn’t scratch and won’t stain. Unlike granite, the surface doesn’t have to be sealed.
Some people mistake engineered quartz countertops for corian, thinking they are both the same, as both use a combination of minerals and polymers. However, Corian uses roughly 66% mineral content, with the rest being Acrylic plastic. Quartz, on the other hand, is over 90% mineral, with less than 10% rosins and polymers. In side by side comparisons, quartz looks more like real stone, while Corian tends to have an artificial look. But then, Corian never intended to look like a real stone.
Quartz is normally thought of as being heat-resistant, able to withstand temperatures up to 400°F. However, even though this is true, there is something called “thermal shock.” The rapid change of temperature caused by setting a hot pan or bag of ice on the counter could put enough strain on the material that it will cause cracking.
Quartz Countertop Thicknesses
Not all quartz countertops are equal; a lot depends on the thickness of the material. Manufacturers supply it in 1cm, 2 cm and 3 cm thicknesses, with some replacing the 1 cm thickness with a 1.2 cm version. The various thicknesses are an attempt to reach potential customers at different price points.
The thinner quartz is basically only found in prefabricated countertops. Most of these come from overseas factories and have a laminated edge which has already been smoothed, making the countertop ready for installation. The “laminated edge” is made by cutting a thin strip of the same material that the countertop is made of and gluing it to the bottom of the main body of the countertop, then finish off the edge smoothly. This is also done at times with 2 cm countertops, giving them a 4 cm thick edge.
These thinner countertops always require a layer of plywood underneath them for support. The maximum distance the countertop material itself can span, without support, is 12”.
There is a grade of quartz that is referred to as vertical quartz, which is essentially identical to the 1 cm countertop material. This thickness is fine for vertical applications, as it is always installed up against plywood or drywall, which will support it.
Better quality prefab countertops use 2 cm quartz, either with or without a laminated edge. The added thickness means that the countertop can span up to 24” without support. A plywood backer is not required, unless the countertop is going to span areas wider than that. But since most base cabinets are wider than 24”, it is usually a good idea to put a layer of plywood under the countertop. In this case, a laminated edge is used, to hide the plywood.
Home builders looking to provide an upscale appearance, while still controlling cost will often use 2 cm quartz to save money. This gives a high end look, while saving on the overall material costs. Since most people don’t know the difference they are able to get away with it.
However, the best quartz countertops are 3 cm thick. The added thickness provides a more massive appearance, without having to resort to a laminated edge. Due to the strength of the thicker material, plywood backing is not normally needed.
The biggest thing to consider when installing quartz countertops is the span between supports. As mentioned in the last section, the norm is to add plywood support for spans over 24”.
But what about installing countertops with overhangs? Adding an eating area to a countertop or creating a wide countertop to provide extra work area, especially on islands, has become quite popular. But the material used has to be able to support it.
By and large, overhangs cannot extend more than 1/3 the total countertop depth, without support, up to a maximum extension of 15”. Should a greater overhang be desired, the addition of corbels will be required. These need to be designed to be appropriate to support the weight of the countertop and be attached to something which will provide the necessary structural support, such as a 2×4. The maximum spacing between corbels is 36”. With corbels, the countertop can have an overhang of up to 24”, but the overhang past the end of the corbels must still be less than 1/3 the total counter depth, with a maximum of 15”. Beyond 24”, the addition of posts is required, along with a full plywood substrate. These posts cannot be more than 36” apart.
Before the new quartz countertops are installed, the existing countertops and sink and stove top (if installed) need to be removed. This also means disconnecting the sink plumbing; both the feed lines and the drain line. The countertop is usually installed witH clips, holding it to the base cabinets.
The new countertop will need to be cut by a stone countertop supplier. This is typically done off of a template, rather than just dimensions. If dimensions are provided, they usually don’t take into account any curved areas in the wall or angles which aren’t true. By making a template out of strips of Luan plywood, glued together with hot melt glue, the exact size needed can be determined, allowing the fabricator to make the countertop fit exactly.
Actual cutting of the countertop, including cutting out for the sink and making hole for the faucet is done with a wet saw, making it impossible for most people to do themselves.
Before installing the countertop, the top edge of the cabinets needs to be checked to ensure that it is level and smooth. Any high or low points in the edge should be leveled out, either by cutting them down or shimming. If a plywood support is required, it should be installed before the countertop arrives.
The countertop itself is actually installed with adhesive, either an acrylic adhesive or silicone caulking. The shop which prepared the countertop may have also glued some metal clips on the bottom of the countertop, allowing screws to be inserted, attaching the countertop in place, while the adhesive cures. If a matching quartz backsplash is installed, it will also be installed with silicone caulking as the adhesive.
These countertops use an undermount sink, rather than one with a flange that overlaps the countertop on the top side. The undermount sink provides a cleaner overall appearance, while eliminating one of the biggest bacteria traps in the kitchen. The undermount sink is installed with a combination of silicone caulking and clips, just as the countertop is.
The countertop and sink needs to be left 24 hours for the adhesives to cure, before using.
Related Posts:
Installing a Floating Mirror by Admin September 1, 2021 Installing The idea of a piece of furniture or home décor “floating” is a bit of a misnomer. We can’t call up Dr. Strange or the…
Installing Garage Wall Cabinets: A Complete Guide by Amy Reed February 28, 2023 Installing Installing garage wall cabinets is a great way to free up floor space, create extra storage, and boost the aesthetics of your garage. In some…