I’ll be straight with you — the first time I messed around with Formica, it was kind of a disaster waiting to happen. I kept imagining bubbles popping up everywhere, glue sliding off the edges, and that uneven, wavy finish that screams “rookie mistake.”
But here’s the funny thing — once I slowed down and figured out the rhythm, it wasn’t bad at all. Formica’s actually pretty forgiving. It cuts easily, sands smoothly, and once it’s glued right, it looks like you paid someone to do it. Durable too — I’ve spilled coffee, paint, even a bit of stain on mine, and it still looks fresh.
If you’ve got a Saturday, a few simple tools, and a bit of patience, you can pull this off. No fancy gear, no pro workshop. Just you, some plywood, and a sheet of laminate that’ll surprise you once you see the finish.
🪵 What Makes Formica So Great for DIYers
The first time I messed with Formica, I wasn’t sure what I was looking at. Thin sheet, floppy, kind of stiff. I dragged it across my workbench and thought, No way this stuff turns into a countertop. Then I brushed the dust off, ran my hand over it, and yeah — smooth, cold, a little slick. Hard to describe, but it felt solid.
Formica’s wild when you think about it — paper and resin baked together until it’s tough as nails. You glue it to a piece of plywood, trim the edge, and suddenly it looks like something straight from a cabinet shop. I’ve done a few tops now — kitchen, garage, laundry room — and they all held up way better than I expected.
It’s simple, it’s cheap, and it just works.
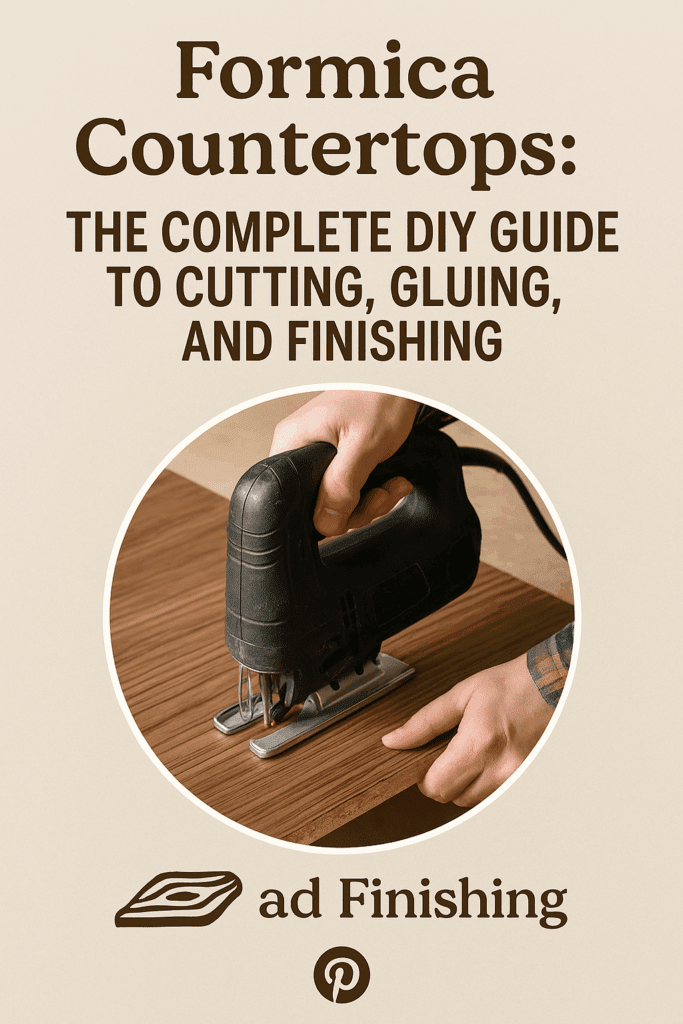
💵 Cheaper than stone or quartz. Once it’s down, nobody’s guessing the price tag. ✂️ Cuts with whatever you’ve got. Jigsaw, router, utility knife — all fair game. 🎨 Comes in every style possible. I’ve used fake walnut, matte black, and even one that looked like concrete. 🧽 Wipe and done. Coffee spills, glue drips — it shrugs them off.
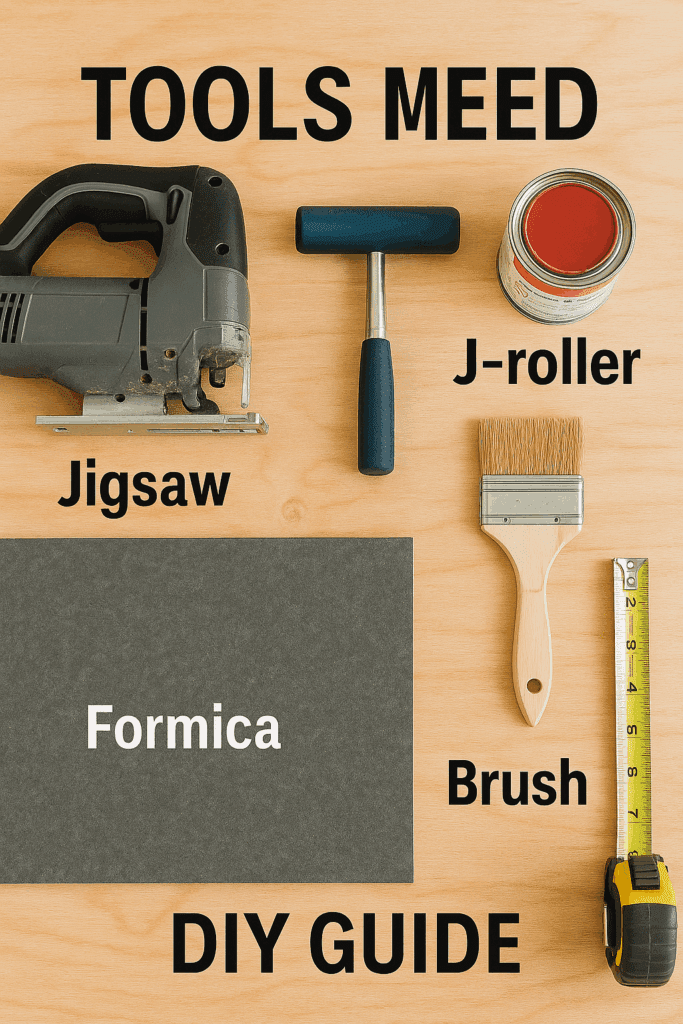
🧰 What You’ll Need
Before you start, set up a clean, well-lit space. Formica dust is super fine, so a garage or outdoor setup is ideal.
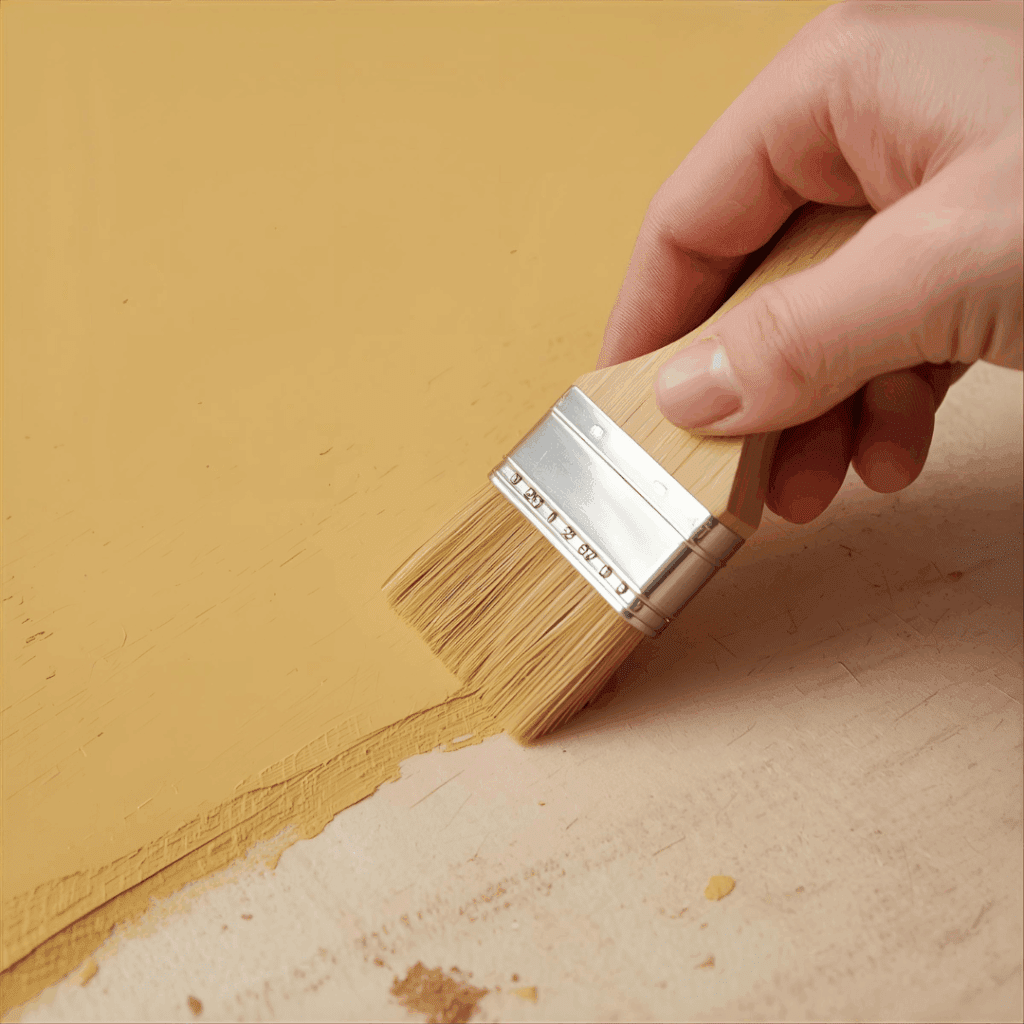
This is the step where things start to smell like a real project. The glue has that sharp, sweet scent that lets you know it means business, so crack a window or kick on a fan before you start.
I use an old brush or one of those cheap foam rollers—whatever’s handy. Pour a little cement into a pan, then roll it out thin on the plywood. Not thick, not puddled, just enough to shine a bit under the light. Then flip the Formica over and give the back the same treatment.
Now, walk away for a few minutes. Grab water, check your phone, anything. You want both sides to dry until they’re tacky, not wet. When you tap them with your knuckle, they should feel sticky but not leave glue behind. That’s when you know it’s ready.
Some folks skip the second coat, but I’ve learned the hard way—it’s worth it. That extra layer makes the bond solid, especially around the corners, where it likes to lift later on.
💡 Here’s the trick: slow down. If you slap the laminate on too soon, you’ll lock in bubbles that never come out. Once it grabs, it’s not letting go, so take your time. You only get one shot at a clean stick.
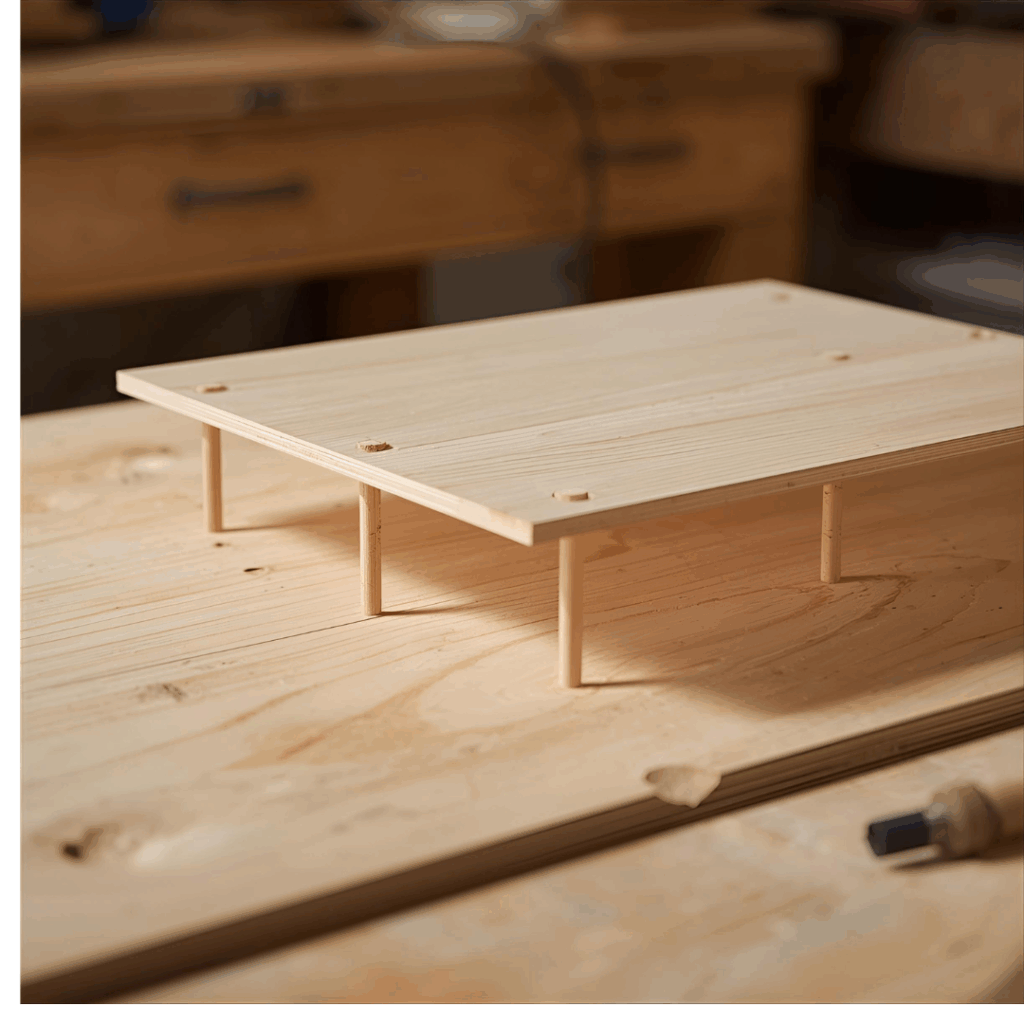
🪚 Step 4: Set It in Place Without Gluing Your Hands
Because contact cement sticks the instant it touches, you’ll need a little trick here:
Lay a few wooden dowels or strips across the plywood, spaced evenly.
Position your Formica sheet on top — it’ll rest safely on the dowels without bonding yet.
Starting from one side, remove one dowel at a time while pressing down on the laminate.
Use your J-roller to press from the center outward.
That first satisfying thunk when it grabs? That’s when you know it’s working.
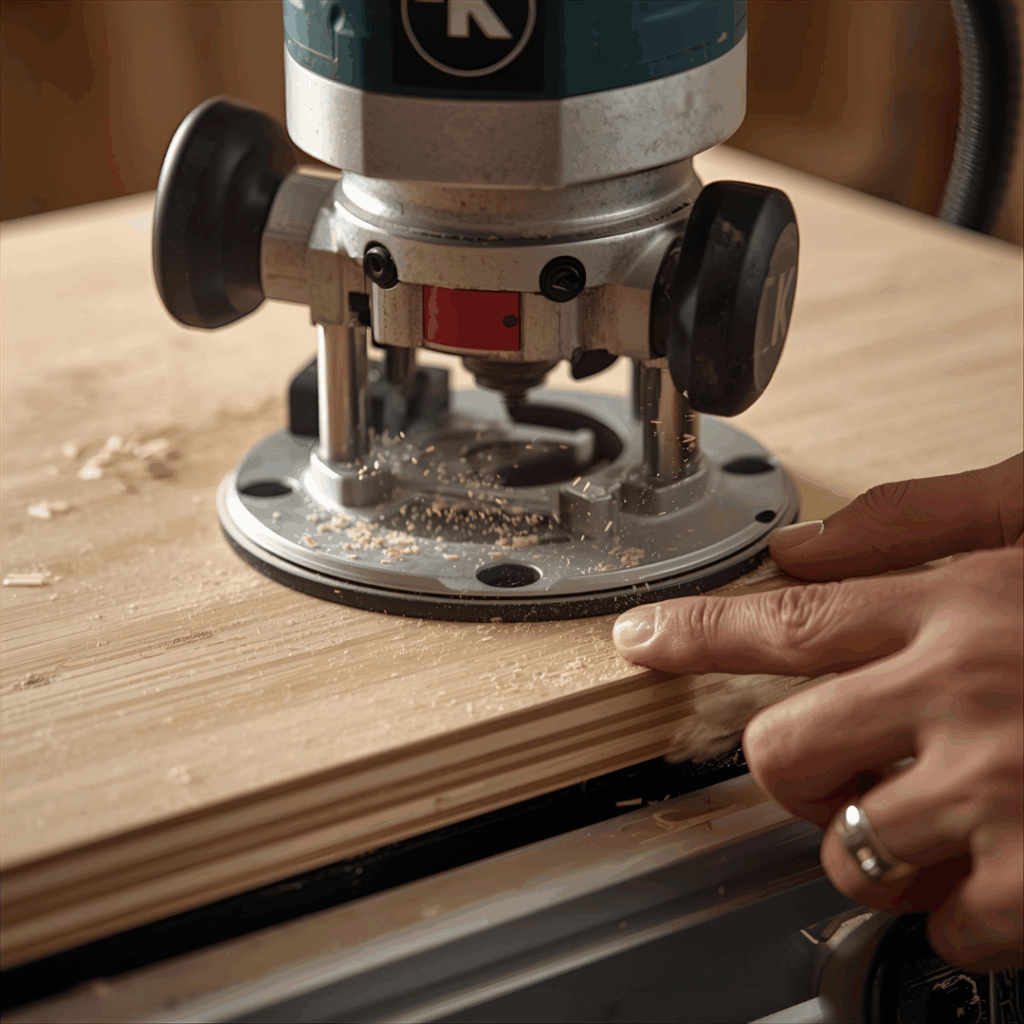
💡 If you don’t have a router, sand the edge gently with 220-grit and patience. It’ll get you there.
🩹 Step 6: Add Edge Banding (Optional but Worth It)
Edge banding gives the countertop that “factory-finished” look. You can buy pre-glued rolls that iron on, or cut strips from your leftover Formica sheet.
Your countertop looks fantastic — but we’re not done yet.
Run a thin line of clear silicone along any seams or backsplash joints.
Buff the surface with a soft cloth.
Avoid abrasive cleaners. Warm water and mild dish soap work perfectly.
💡 If you ever scratch it, a little paste wax or laminate polish can hide minor marks.
🏡 Where Else to Use Formica
I’ve used leftover laminate pieces in so many projects that it’s practically my signature now. Try these:
☕ Coffee bar surface — easy to wipe clean
🛠️ Garage workbench top — oil-resistant
💻 Desk surface — stylish and durable
🧺 Laundry area counter — moisture-proof
👉 If you like repurposing materials, you’ll love my ideas for DIY plywood furniture.
💡 Troubleshooting Real-World Mistakes
I’ve had plenty of little disasters with Formica. The smell of contact cement in a cold garage, music humming somewhere in the background, and I’m thinking, what did I mess up this time? The good part is—almost everything can be fixed.
🫧 Bubbles They always show up right after you finish bragging that the surface looks perfect. I notice one, take a breath, grab a pin from the corkboard, and poke the smallest hole I can. A drop of cement on a toothpick goes in, then the roller presses it flat. You can hear it stick if the shop’s quiet.
📐 Corners Lifting Happens near the sink or in any damp area. I use an old clothes iron that’s seen better days—paper between the iron and laminate, low heat, a little patience. When the glue softens, I roll it down hard and hold it for a bit. Still flat months later.
🔧 Scratches The first scratch always hurts. Mine came from drilling too fast. I wiped it, stared at it, then dabbed a little nail polish that matched the pattern. Let it dry, buffed with a rag. You’d have to go hunting for it now.
🎨 Seams Showing Long counters mean seams—no way around that. I buy filler that’s close in color; sometimes I mix two shades until it looks right. I rub it in with my fingertip and wipe away the excess. It’s never invisible, but it blends enough that nobody else notices.
🧩 How Long It Lasts (and Why It’s Worth It)
It’s funny — I built my first Formica countertop thinking it would be a short-term fix. That was years ago, and it’s still solid. The edges haven’t peeled, the surface still shines, and the only real wear is a few tiny scuffs that remind me of where I dropped a drill bit once.
If you seal the seams properly, these tops can last for decades. And when you finally get tired of the color or want a different pattern, you can glue a new sheet right over the old one. No demolition, no dust storm.
I’ve watched friends drop serious money on granite and then treat it like glassware. My Formica? It’s been through spilled paint, coffee rings, and my kid’s “slime experiments.” I wipe it down, and it keeps on going.
There’s something really satisfying about it — clean lines, easy cleanup, and a price that doesn’t sting. Once you finish one of these projects, it’s hard not to start looking around the house for another surface to cover.
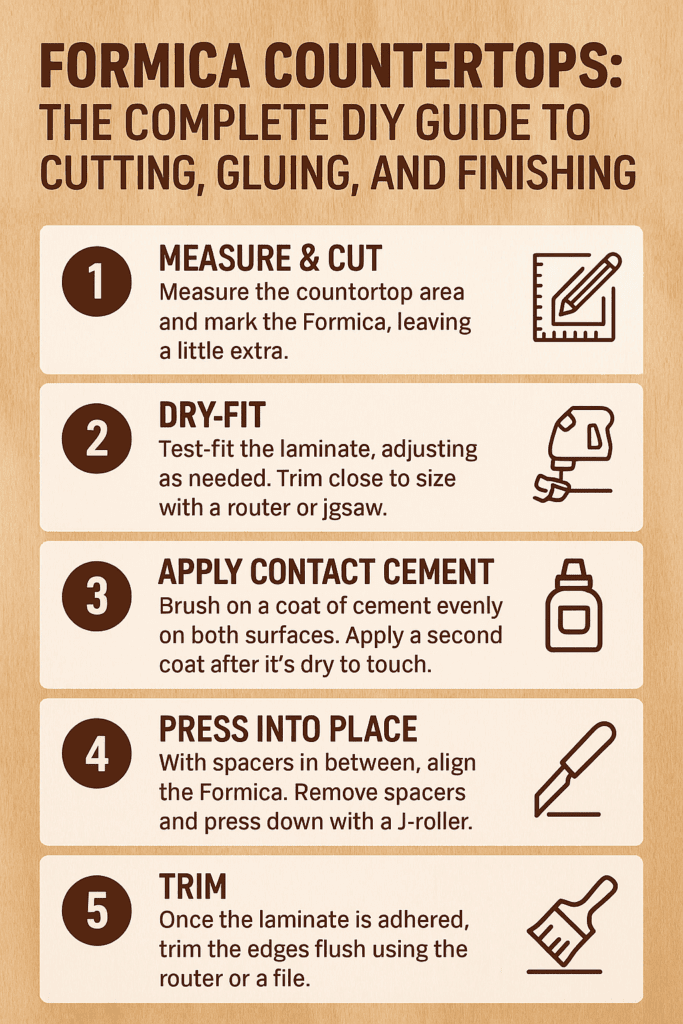
If you’re giving your kitchen a facelift, building a workbench, or need a solid craft table, Formica’s worth a try. The rhythm’s simple: measure, cut, glue, press, trim, seal. Do that once and you’ll catch yourself running your hand over the surface, thinking, I actually made this.
After that, you won’t look at store-bought countertops quite the same again.


")

")
")
