A Complete Professional Guide to Building Strong, Clean, and Long-Lasting Cabinet Doors
Building Kreg jig cabinet doors is one of the fastest and most reliable ways to create professional-quality cabinetry at home. Pocket-hole joinery allows DIY builders to assemble strong cabinet door frames with minimal tools while maintaining excellent alignment and durability.
Over the years, the Kreg Jig system has transformed how both professionals and serious DIYers build cabinets, face frames, and furniture.
In this complete guide, you’ll learn exactly how to build cabinet doors using a Kreg Jig, including setup measurements, drilling techniques, frame assembly, panel installation, and finishing tips.
In this in-depth guide, we’ll cover:
What the Kreg Jig really does
Why pocket joinery works
How it compares to mortise & tenon
Exact setup measurements
Step-by-step cabinet door construction
Router details, raised panels, and finishing
Pro-level accuracy tips
Recommended Amazon tools
Internal woodworking resources
Authoritative outbound learning resource
This is written for serious DIYers who want professional results.
What Exactly Is the Kreg Jig?
The most popular models — like the Kreg K5 Pocket-Hole Jig and Kreg 720 Pocket-Hole System — are precision drilling guides that allow you to drill angled pocket holes into wood stock.
Those pocket holes let you:
Drive screws at a shallow angle
Join wood at 90 degrees
Hide the fasteners inside the frame
Create tight, mechanical joints
Pocket joinery itself is not new. Examples of furniture over 100 years old exist. What changed was consistency. Before jigs, skilled craftsmen angled drill bits manually — a difficult skill to master.
The Kreg Jig removes guesswork.
It uses hardened steel bushings to guide a stepped drill bit at a precise angle. A collar on the bit controls depth so the screw exits exactly at the center of the adjoining board.
That precision is what makes Kreg jig cabinet doors reliable.
Why Use a Kreg Jig for Cabinet Doors?
There are traditionally three methods for joining cabinet frames:
Mortise and tenon
Doweling
Biscuit joinery
A mortise-and-tenon joint is extremely strong but requires advanced tooling and skill. Doweling demands precision alignment. Biscuit joints rely heavily on clamping pressure and glue strength.
Pocket hole joinery provides:
✔ Mechanical strength from screws ✔ Immediate clamping force ✔ Minimal skill requirement ✔ High repeatability ✔ Clean face appearance
For kitchen cabinet doors, where strength and square alignment matter most, pocket joinery performs exceptionally well.
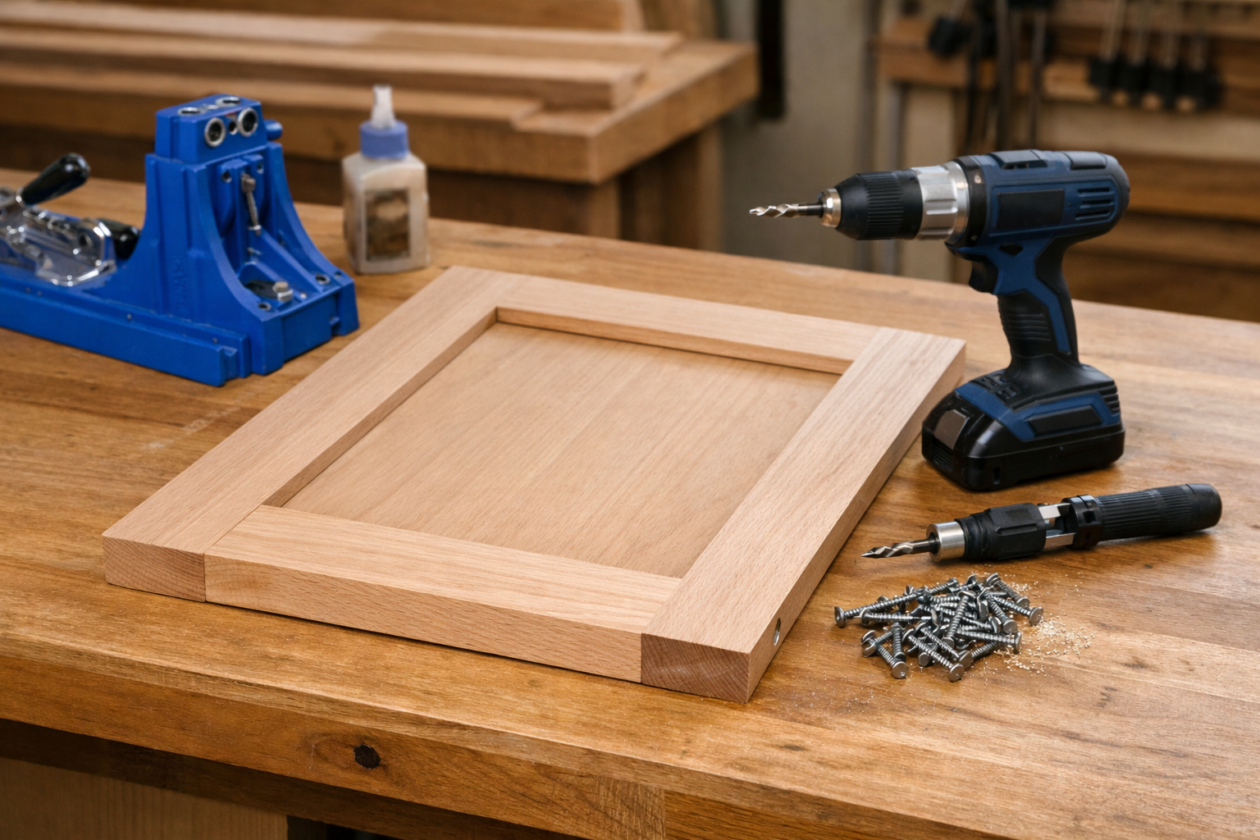
Understanding Cabinet Door Construction
Most traditional cabinet doors consist of five parts:
Two vertical stiles
Two horizontal rails
One center panel
This applies to:
Shaker doors
Raised panel doors
Decorative routed styles
Modern slab doors (single-piece plywood or MDF) do not use this construction method.
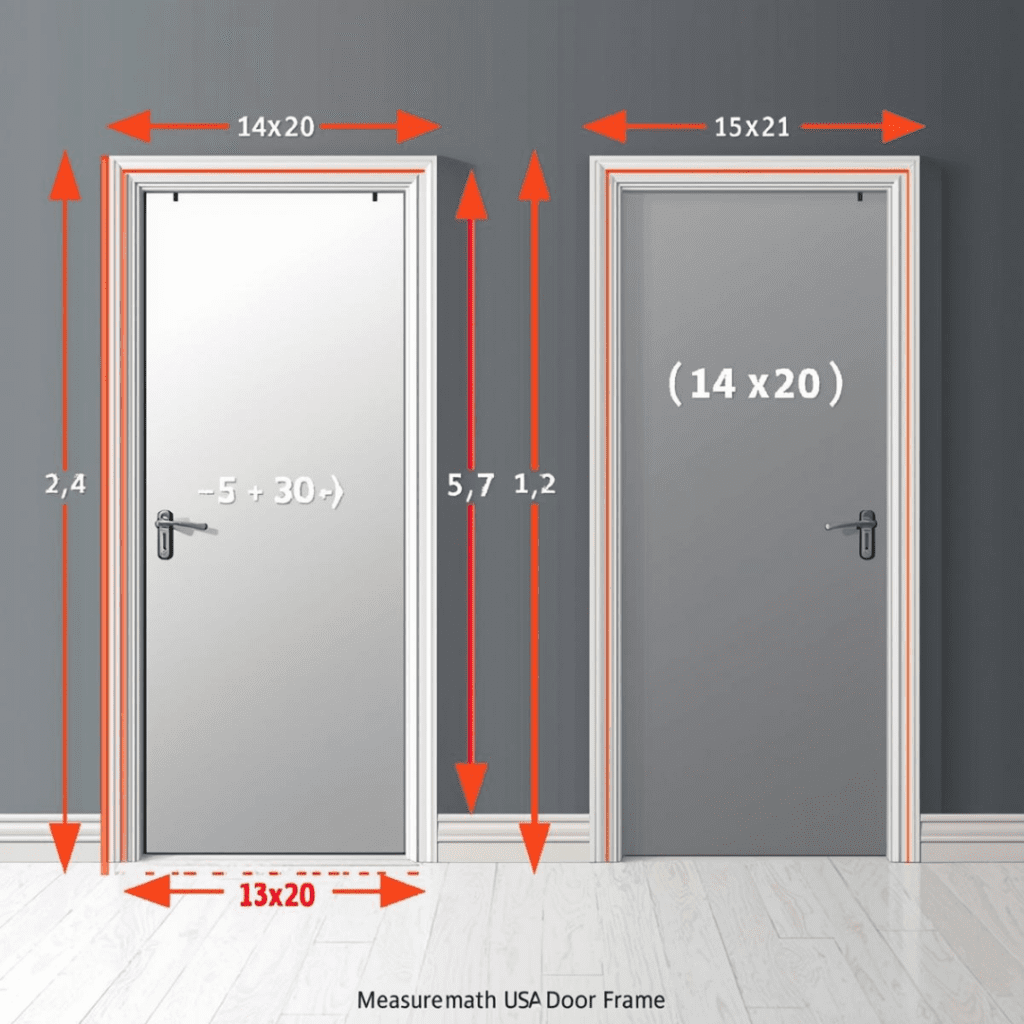
Measuring for Perfect Fit
Cabinets are typically built first. Doors are sized afterward.
For standard ½” overlay cabinet doors:
Door Width = Opening Width + 1” Door Height = Opening Height + 1”
Example: Opening = 14” × 20” Door = 15” × 21”
Stiles (vertical pieces) are cut to full door height.
Rails (horizontal pieces) are shortened to account for stile thickness.
If using ¾” thick, 2-1/4” wide stiles:
Rail Length = Door Width – (2 × Stile Width)
Precision here prevents frustration later.
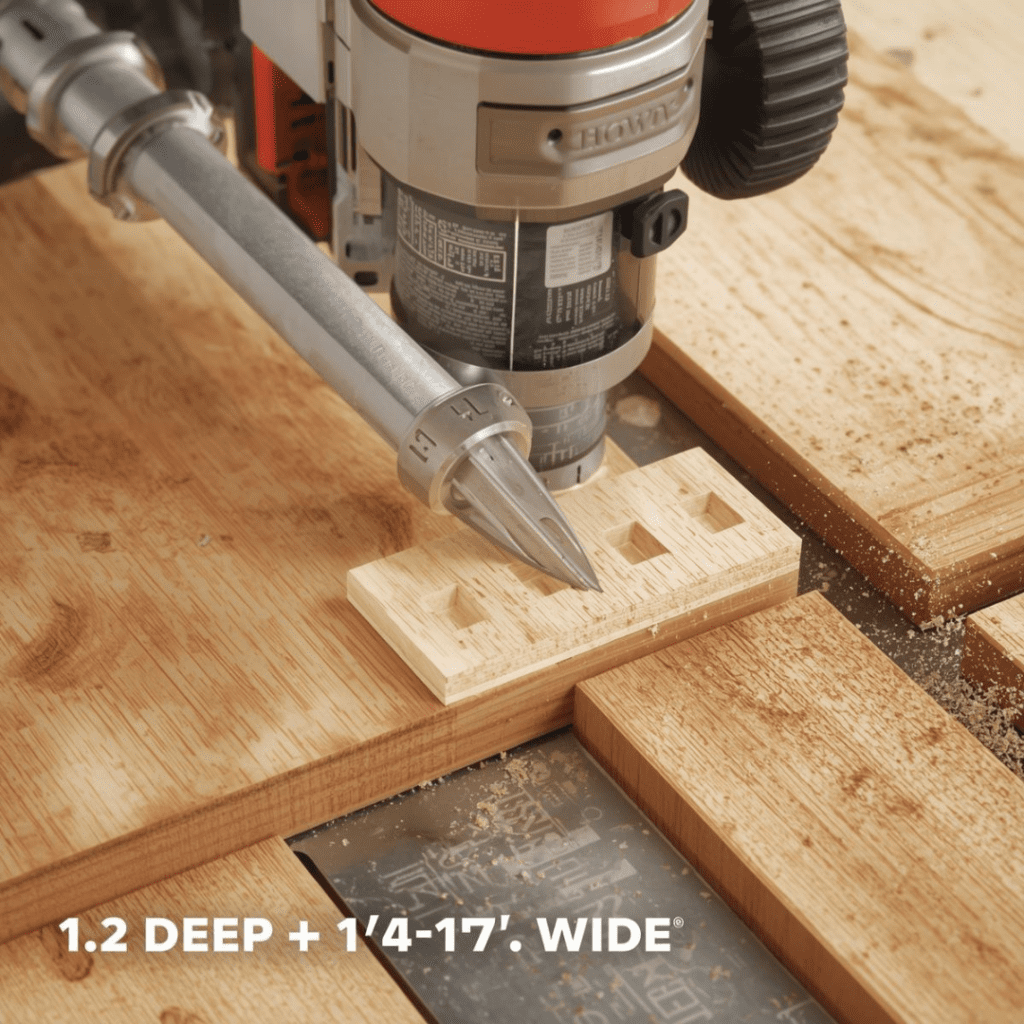
Jig Setup and Drill Stop Settings
Proper setup is everything.
Below is the professional setup chart:
Material Thickness
Jig Position
Drill Stop Position
½”
¼” overhang
3-5/16” from step
¾”
Flush with end
3-1/2” from step
1-1/2”
1-1/4” back
4-1/4” from step
Most cabinet doors use ¾” stock.
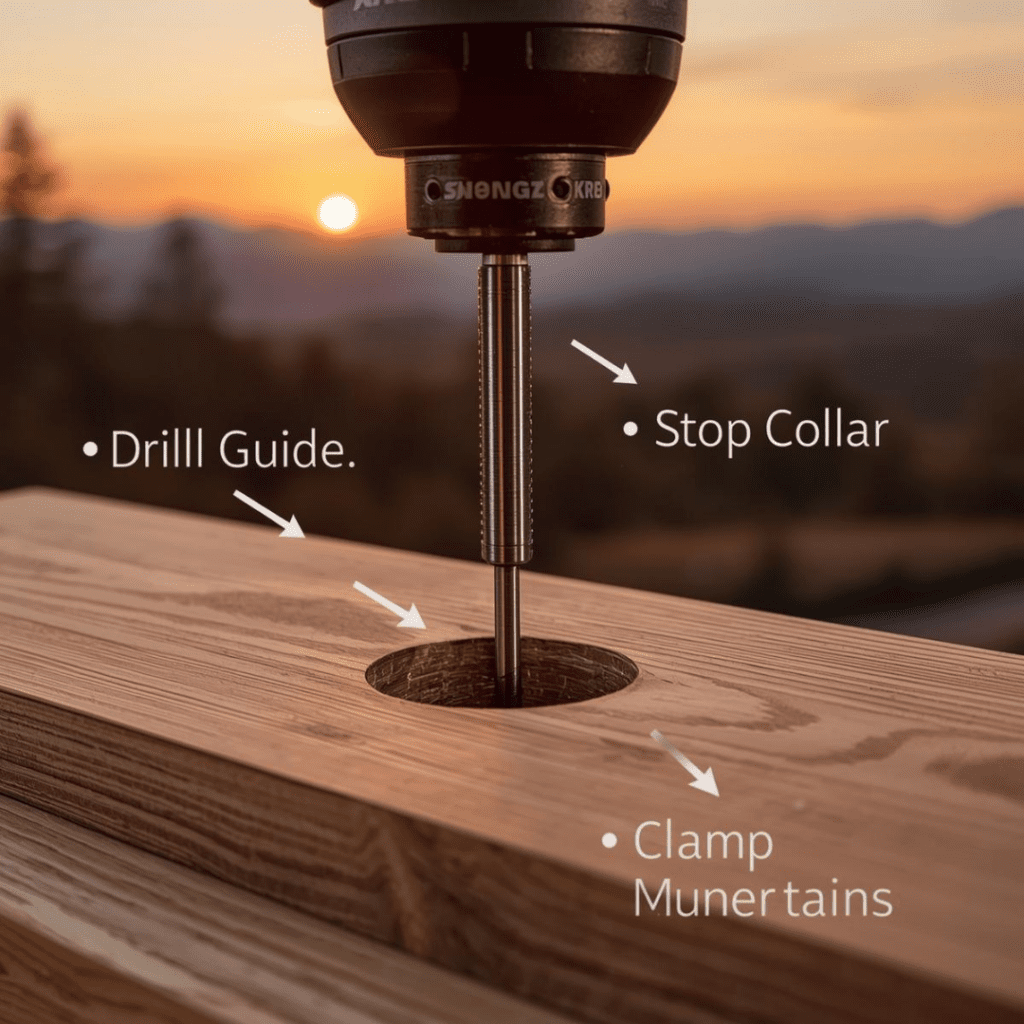
The stepped drill bit must have its collar secured tightly using the provided hex key. Always test on scrap before drilling your actual frame.
Drilling the Pocket Holes
Pocket holes are typically drilled into the rails or stiles (depending on workflow preference).
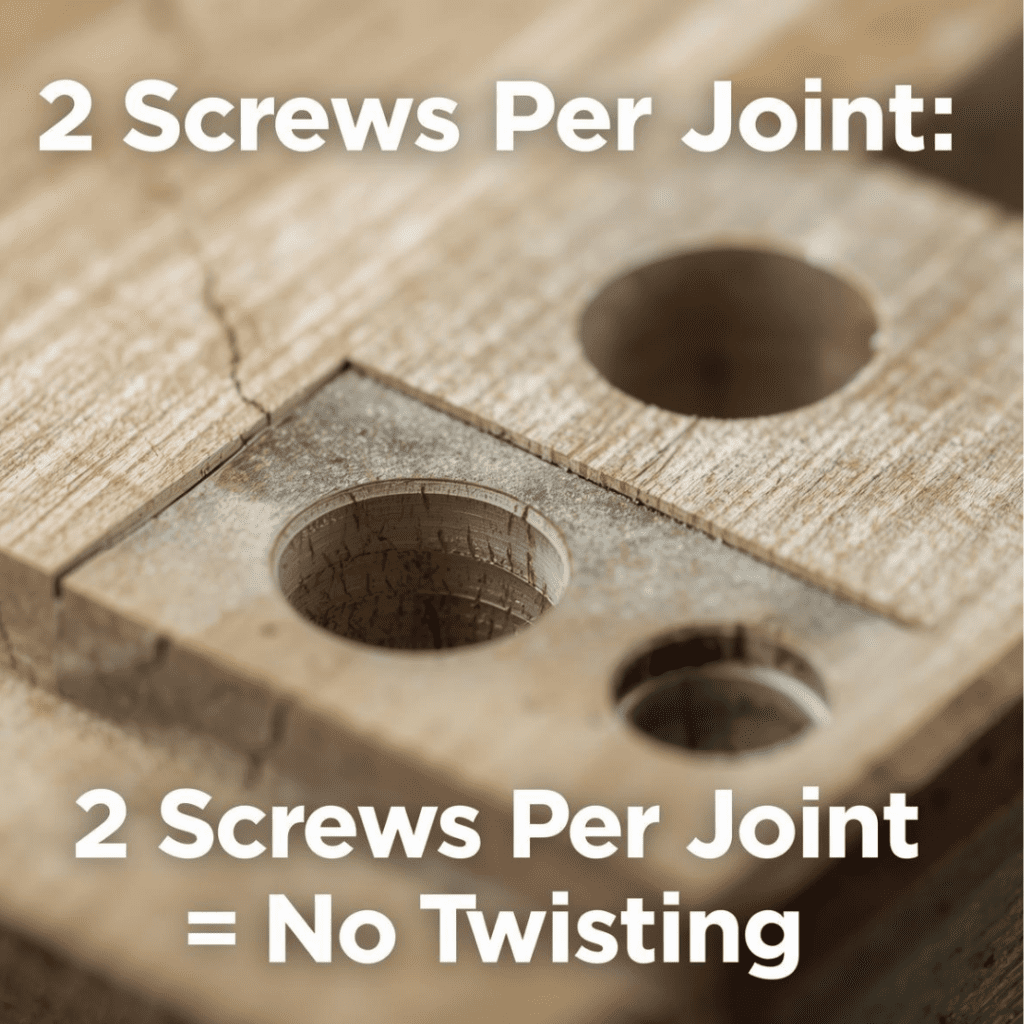
Professional builders often drill two holes per joint to prevent twisting.
Tips:
Use a corded drill (2,000+ RPM recommended)
Drill steadily until the collar hits the jig stop
Clear chips frequently
Maintain firm clamping pressure
The pocket holes do not require precise centering along the width — only proper depth alignment.
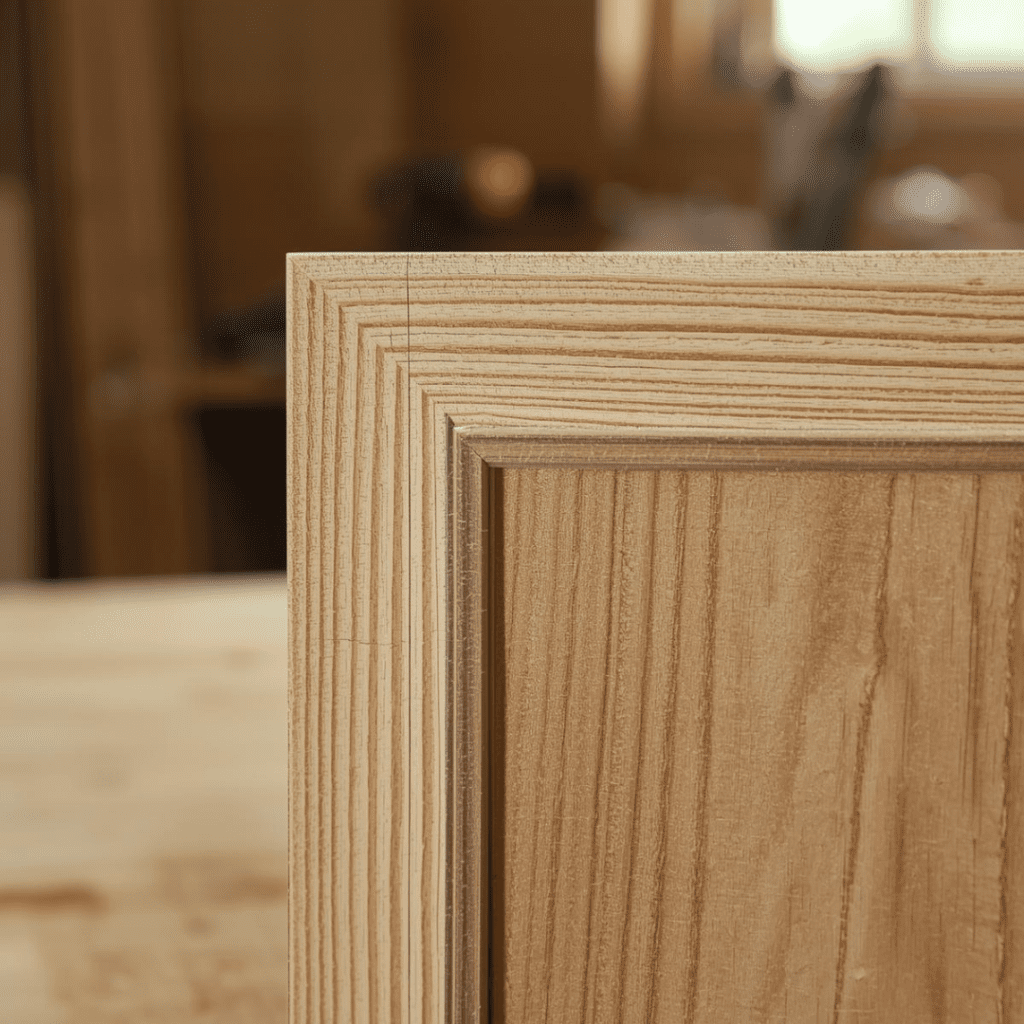
Assembling the Cabinet Door Frame
Apply glue to the rail end grain
Align the rail flush with the stile
Clamp tightly
Drive screws using a square drive bit
Even though the glue in the end grain is weaker, the screws provide the primary mechanical strength.
Measure diagonals after assembly. If both measurements match, the frame is square.
The screws act as clamps — no need to wait for glue to dry before moving on.
Routing the Panel Rabbet
Once the frame is assembled:
Place the frame face down
Use a router with a bearing-guided rabbet bit
Cut ½” deep × ¼”–½” wide rabbet
Corners will be rounded. Clean them with a chisel.
If adding decorative profiles:
Cut the inside profile first
Cut the outside profile second
Take multiple light passes
When routing across the grain, remove the minimum material per pass to prevent tear-out.
Set panel into rabbet, leaving ~1/16” clearance around all sides.
Cut retaining strips (½” × ¼”) from frame material.
Secure strips with 5/8” brads.
Do NOT glue the panel — it must float.
For flat panels, use ¼-inch cabinet-grade plywood, which is stable, lightweight, and ideal for floating panels inside door frames. If you’re unsure which sheet material works best for cabinetry, see my guide on best plywood for cabinets.
Screw Selection and Fastener Strength
Pocket hole screws are not standard drywall screws.
Crafting cabinet doors with a Kreg Jig transforms what used to require years of apprenticeship into something a careful DIYer can achieve.
The system:
Simplifies angled joinery
Provides mechanical strength
Speeds up production
Maintains accuracy
If your goal is professional-quality cabinet doors without expensive shop equipment, Kreg jig cabinet doors are one of the most efficient ways to go.
With accurate measuring, proper jig setup, and careful routing, you can build doors that rival factory-made units — at a fraction of the cost.
Frequently Asked Questions About Kreg Jig Cabinet Doors
Are Kreg jig cabinet doors strong enough for kitchen use?
Yes, properly built Kreg jig cabinet doors are absolutely strong enough for kitchen and bathroom cabinetry. Pocket hole joinery creates a mechanical joint where the screw pulls the rail and stile tightly together. When combined with wood glue, this produces a durable bond that can last for decades. Most modern DIY and semi-professional cabinet shops use pocket hole joinery for face frames and cabinet doors because it is fast, repeatable, and structurally reliable. The key is to use the correct screw type and ensure your jig is set properly for ¾-inch stock.
What size screws should I use for cabinet doors with a Kreg jig?
For most cabinet doors built with ¾-inch hardwood, use 1-1/4” pocket hole screws.
Use coarse-thread screws for softwoods like poplar or pine.
Use fine-thread screws for hardwoods like maple or oak.
The correct screw length ensures that the tip enters the center of the adjoining board without breaking through the face. Always test on scrap material before assembling your final door frame.
Can beginners build cabinet doors with pocket holes?
Absolutely. One of the biggest advantages of building cabinet doors with a Kreg jig is that the system reduces much of the complexity of traditional joinery methods, such as mortise-and-tenon. As long as you measure carefully, clamp properly, and set the drill depth correctly, even beginners can produce professional-looking results. The jig guides the drill bit to the correct angle and depth, dramatically reducing the margin for error.
Do pocket hole cabinet doors require glue?
Yes, glue is strongly recommended. While pocket screws provide mechanical strength, wood glue reinforces the joint and prevents long-term movement. Even though glue on end grain is weaker than face-grain glue, the combination of glue plus screw tension produces a very strong joint. Skipping glue may not cause immediate failure, but it reduces long-term durability.
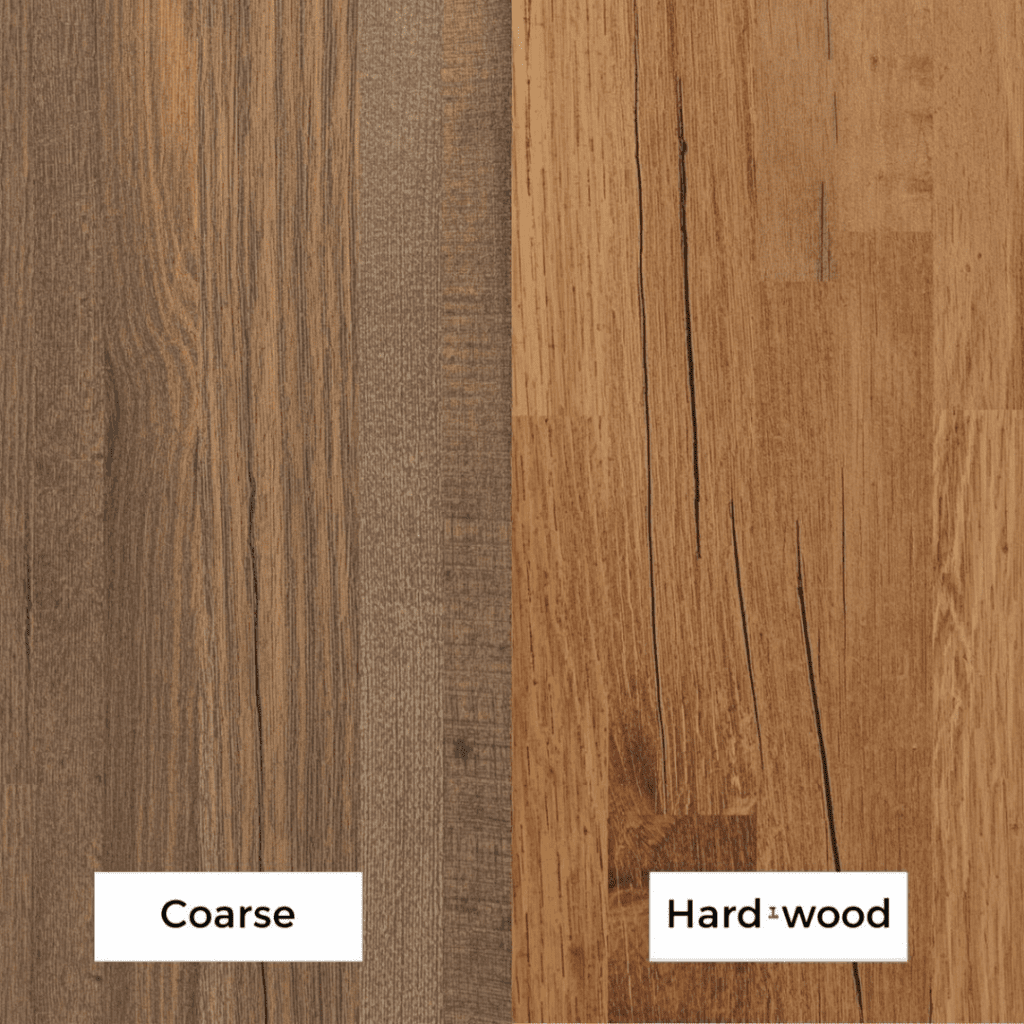
What type of wood is best for Kreg jig cabinet doors?
For painted cabinet doors, poplar is one of the best choices due to its smooth grain and affordability. For stained finishes, maple provides a tighter grain and greater durability. Oak works well for traditional styles but requires grain filling before painting. Avoid low-density construction pine for cabinet door frames, as it dents easily and may not hold screws as securely over time.
How do you prevent cabinet doors from going out of square?
The most important step when building pocket-hole cabinet doors is to check the diagonals during assembly. After clamping and driving screws, measure from corner to corner both ways. If both measurements match, the frame is square. If they differ, adjust with clamp pressure before tightening fully. Using two screws per joint also prevents twisting.
Can you build raised panel doors using a Kreg jig?
Yes. The frame of a raised-panel cabinet door can be assembled using pocket-hole joinery. After the frame is built, a routed rabbet or groove is cut into the back of the frame to hold the raised panel. The panel should float inside the frame without glue to allow seasonal expansion. The pocket-hole system works perfectly for the outer frame, even with decorative door styles.
Are pocket hole joints better than dowels for cabinet doors?
Pocket hole joints are generally faster and easier to execute than dowel joints. Doweling requires extremely precise hole alignment and careful glue-up timing. Pocket hole cabinet doors provide immediate mechanical clamping force from the screw, making assembly simpler and more forgiving. For most DIY applications, pocket holes offer a better balance of speed and strength.
Sliding Cabinet Doors, Easy Guide by Admin June 7, 2023 DIY Sliding cabinet doors aren't used much in modern cabinetry, but they were a big part of mid-century modern furniture and cabinetry. With the resurgence of…