Attic insulation is critical to keeping a home warm in the winter and cool in the summer. More heat radiates out of the house through the roof in the wintertime and in through the roof in the summertime than it does through the walls. Heat loss in the winter is due to heat rising up through the attic. Heat gain in the summer is due to the sun beating on the roof, heating it and the attic below. That heat radiates slowly into the home, robbing the efficiency of the air condition unit.
According to the US Department of Energy, proper attic insulation can make a 15% difference in energy used for heating and cooling. Yet most home attics are not properly insulated. To start with, builders don’t take as much care with installing attic insulation as they should, often leaving gaps for heat to pass through. Then over time the insulation packs down, reducing its effectiveness. A home which was originally insulated to R-38, which is minimal per building code, could end up with an effective R-19 after a decade. Many older homes were only built with R-19 insulation, putting them in even worse shape.
Making matters worse, many people use their attic for storage space, making it impossible to add more insulation in the area where things are stored. Even if they add blown-in insulation, it is only around the edges, leaving the part in the middle to only have the original insulation, located between the 2”x 6” ceilingjoists and covered up by plywood.
That’s not to say that blown-in insulation is a bad idea. On the contrary, adding blown-in insulation to an attic can reduce energy consumption, even if part of the attic is being used for storage, preventing it from being added there. But we can do better. Adding blown-in insulation often blocks necessary vents.
One way that we can improve attic insulation is by adding foam board insulation. Foam board is highly efficient, having a higher R-value per inch than most other forms of insulation. It’s considerably less expensive than sprayed-in foam insulation and can be installed by the do-it-yourselfer, saving even more money. There’s no way that it can pack down with time, like either insulating batting or blown-in insulation are prone to do.
While foam board insulation can be used to cover the entire attic, many people use it successfully to cordon off a part of their attic, such as one used for storage. Areas outside the cordoned off attic may be insulated with blown-in insulation, while the cordoned off area relies on the foam board to provide insulation, protecting the living space below, while not interfering with the need for storage space.
One big advantage of installing foam board insulation, over installing fiberglass insulation, is that it is not necessary to suit up to protect yourself from the fiberglass getting into skin pores.
Types of Foam Board Insulation
While it may seem that foam board insulation is foam board insulation, not all foam board insulation is the same. Nevertheless, they all share some characteristics in common, such as being sold in 4’x 8’ sheets. Due to the nature of the foam board, it isn’t as flexible as fiberglass insulation, so it is harder to fit it around existing wiring, ductwork and any odd-shaped walls that may exist. There are three basic types:
Molded Expanded Polystyrene Board (MEPS)
Also called “beadboard” due to its appearance, this type of foam board insulation is made from polystyrene beads, which are much like the foam packing peanuts we’re all accustomed to. Beads are placed in a container and heated, causing them to expand. They are then transferred to a mold, where they are further heated and put under pressure, causing them to fuse together.
While all made the same, the density of MEPS can vary. Denser variants of this board are used for ceilings and other places where construction workers might end up walking on it, while a less dense version is often applied to walls. It can be used for both above-ground and below-ground applications, as they have good moist resistance. This type of board is typically white and has a silver facing. It’s r-value can range from 3.8 to 4.4 per inch of thickness.
Extruded Expanded Polystyrene Foam Board (XEPS)
As with MEPS, this type is also made from polystyrene beads. However, instead of being heated and then poured into a mold, the material is extruded through a die. Because of the manufacturing method, it tends to have a more uniform density and is less prone to being pressed down. This makes it an excellent choice for roofs. It is also highly moist resistant, more so than MEPS.
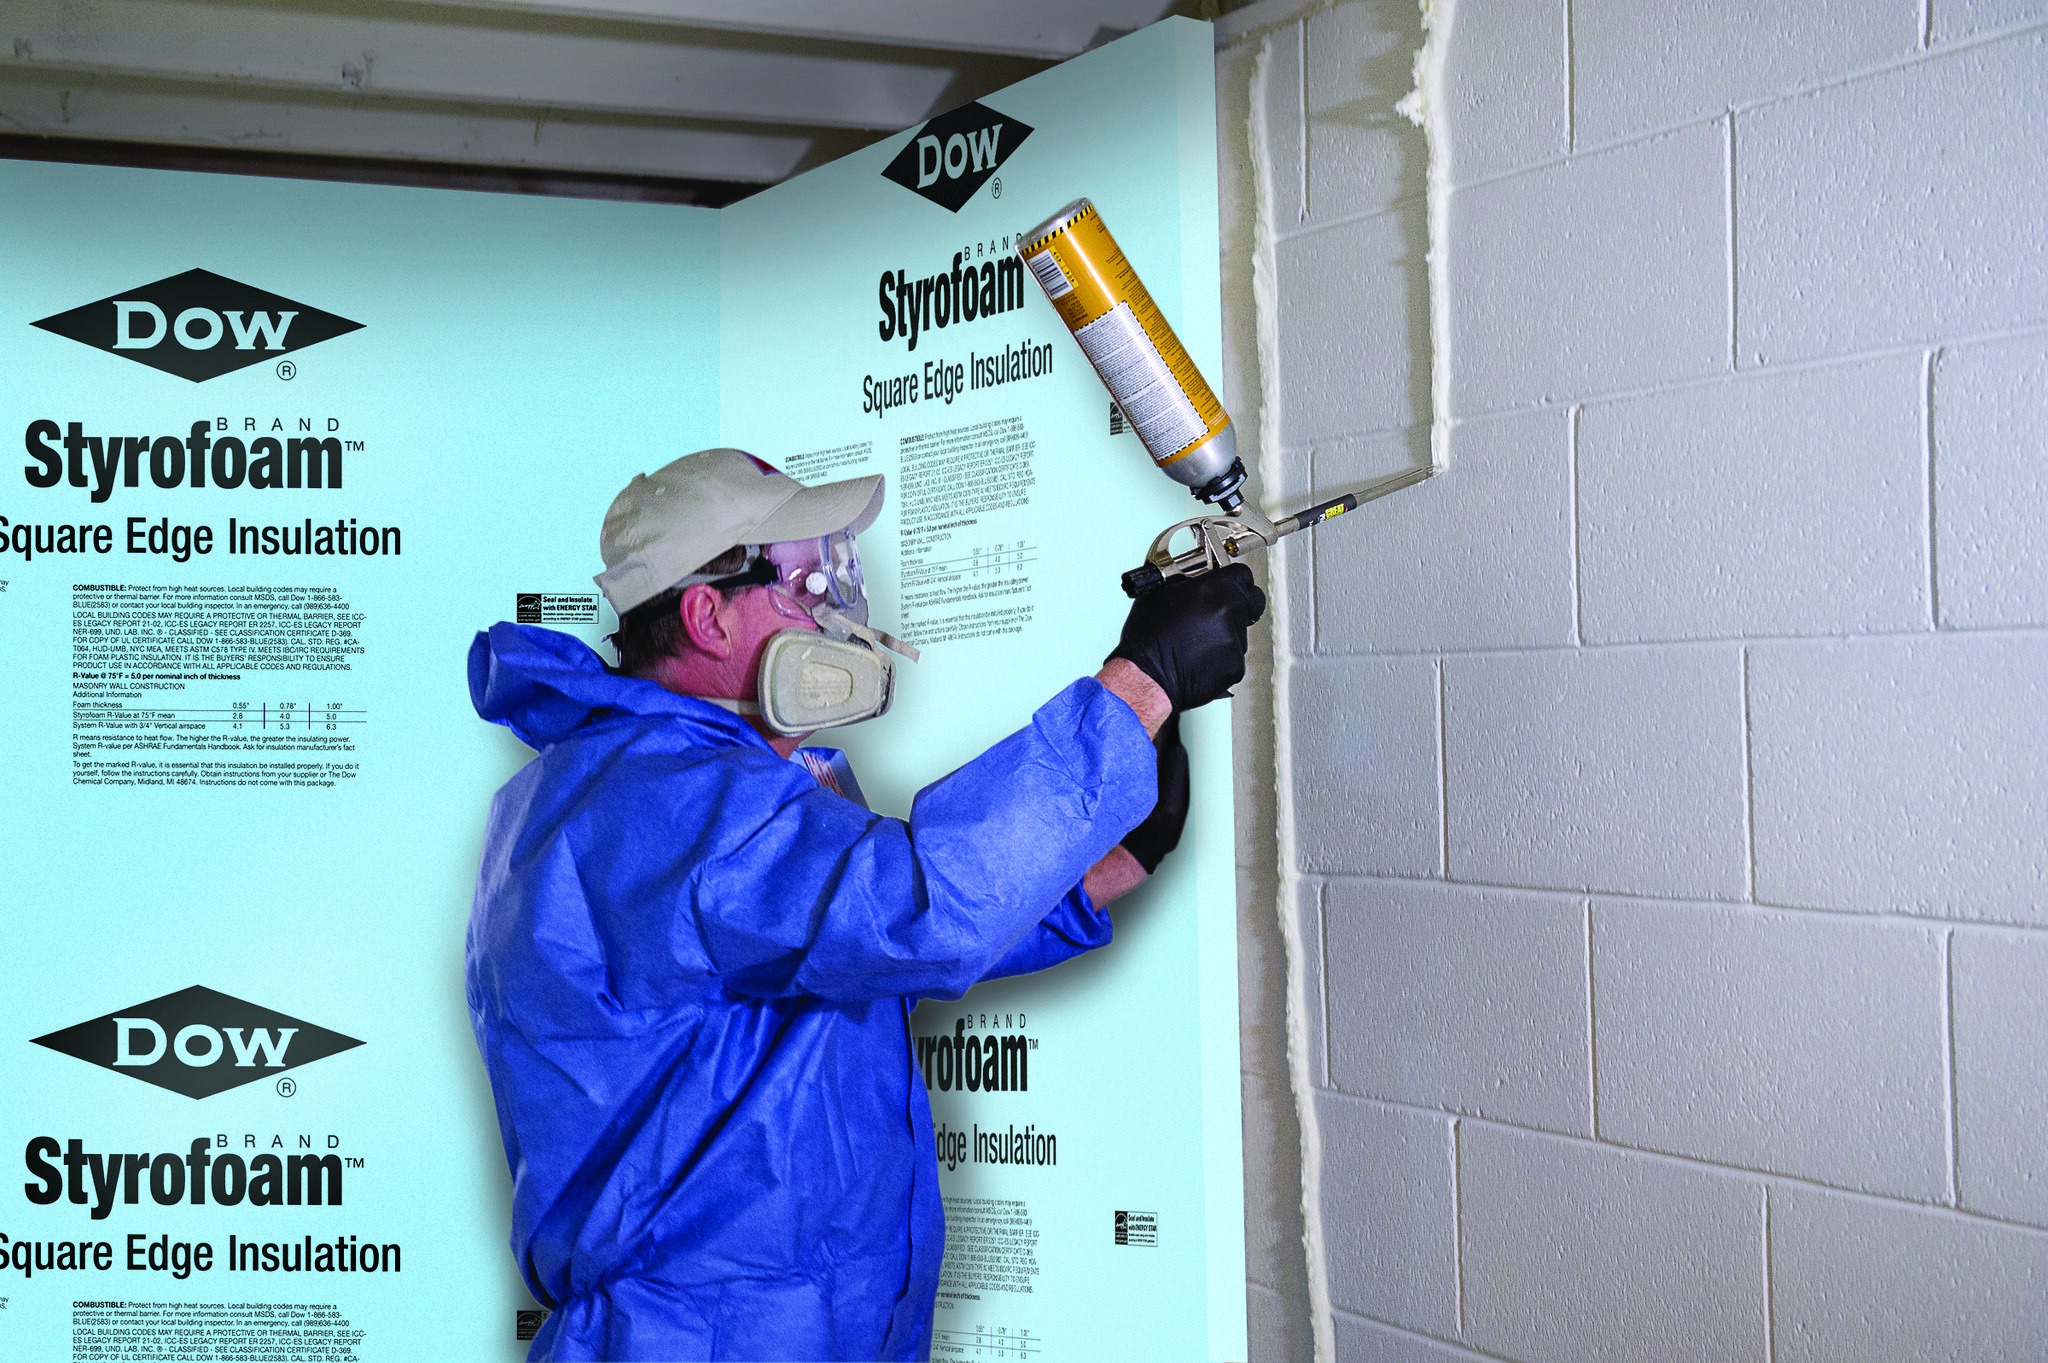
Both Pink Owens Corning foamular and Dow Styrofoam (which is blue) are XEPS. They are more expensive than MEPS, but have an increased r-value of 5 per inch of thickness.
Polyisocyanurate and Polyurethane Foam Board
These are two different types of urethane based foam boards. Due to the material used, they are thinner than the previously described boards. However, a single inch of these boards provide an insulating value of R-6 to R-8. These boards come with an aluminum vapor barrier on one side. This is necessary, because these materials absorb water easily. For that reason, they are not recommended for below-ground use, although they are ideal for attics, especially when space is limited. They are highly stable over a wide variety of temperatures.
Selecting the Right Board
All of the abovementioned foam boards will work to meet your needs. Selection is mostly a personal choice, based upon the budget for the project and the space available. When trying to build a room in the attic, it might be necessary to go for the more expensive urethane-based boards, so as to not take up a lot of room with insulation. But if the project is about improving the home’s overall insulation or making storage space in the attic, then the lower cost boards are more appropriate.
There are two basic ways of installing foam board in an attic; installing it between the rafters or installing it over the rafters. Unless there is a need to maintain access to the edge of the rafters, leaving the rafters available to attach drywall to, it usually makes more sense to install the foam board to the edges of the rafters, like drywall would be installed. This is the faster and easier installation method.
In either case, space must be left between the foam board and the underside of the roof sheathing, so that moist is not trapped between them. Ventilation is essential, with the soffit vents and the roof vents both being on the roof side of the foam board, with a minimum of ½” of gap to allow for airflow.
Installing Foam Board Between the Rafters
When installing foam board between the rafters, it is necessary to start by installing spacers to keep the foam board away from the roof sheathing. Lath or furring strips can be used for this, attaching them along the sides of the rafters themselves. Then cut the foam board to just fit between the rafters. It can be cut with a utility knife, using a drywall T-square to assist in making straight cuts.
The foam board should be installed with the aluminum or other vapor barrier facing in towards the attic, not facing the roof. When installing the foam board in this manner, it’s not a good idea to use nails, as those nails might go through the roof sheathing and shingles, causing a leak in the roof. Rather, use a foamboard adhesive to glue it into place. This is available in caulking tubes, making it easy to apply.
It is possible that there will be some gaps which can’t be filled with foam board. These can be filed with spray-in foam, of the type sold in cans for insulating. Caulking may also be applied, sealing gaps to prevent airflow. Seal off all gaps, seams and edges with foil tape, such as that used for installing HVAC ducting.
Installing Foam Board Over the Rafter
If the attic is not going to be finished, it is much easier to install the foam board over the rafters, just as drywall would be. The big advantage here is that there is much less cutting and fitting involved in installing the foam board. That means that there are also less places where gaps are likely.
When cutting the foam board, make sure that each piece is cut so that the edges will fall on rafter, providing support, just as would be done when installing drywall. Just as when installing the foam board between the rafters, the board should be installed with the foil moist barrier facing it.
Cap nails or screw, which come with a metal plate to spread out the clamp force, can be used to attach the foam board, running the nails or screws through the board and directly into the edges of the rafter. Fasteners should be attached every 12”. As with installing the foam board between the rafters, seal joints between the sheets of foam boards with foil tape.
Related Posts:
Best Attic Stair Insulation by Admin July 9, 2023 Installing Attic stairs are a great convenience, making it easy to go up into the attic at any time and utilize the space up there for…
Attic Insulation Removal: Complete Guide for Homeowners by Admin August 6, 2025 Repairs Rising energy bills and drafty rooms often mean the attic isn’t doing its job. Attic insulation removal can help. Warm air naturally travels upward, and…