Quick answer: To install T1-11 siding, fasten a water-resistive barrier over the studs, set the first panel plumb with the grooved face out, and nail into every stud following the panel manufacturer’s fastening schedule and local code. Leave a gap between panels for expansion, seal all field-cut edges, and flash every horizontal joint.
Get that sequence right and T1-11 is one of the fastest, most affordable ways to side a wall. Get one detail wrong — a nail in the groove, an unsealed cut, a skipped flashing — and you can be repainting or replacing panels far sooner than you should. This guide walks the whole job in order and flags the specific mistakes that most often lead to callbacks.
What Is T1-11 Siding?
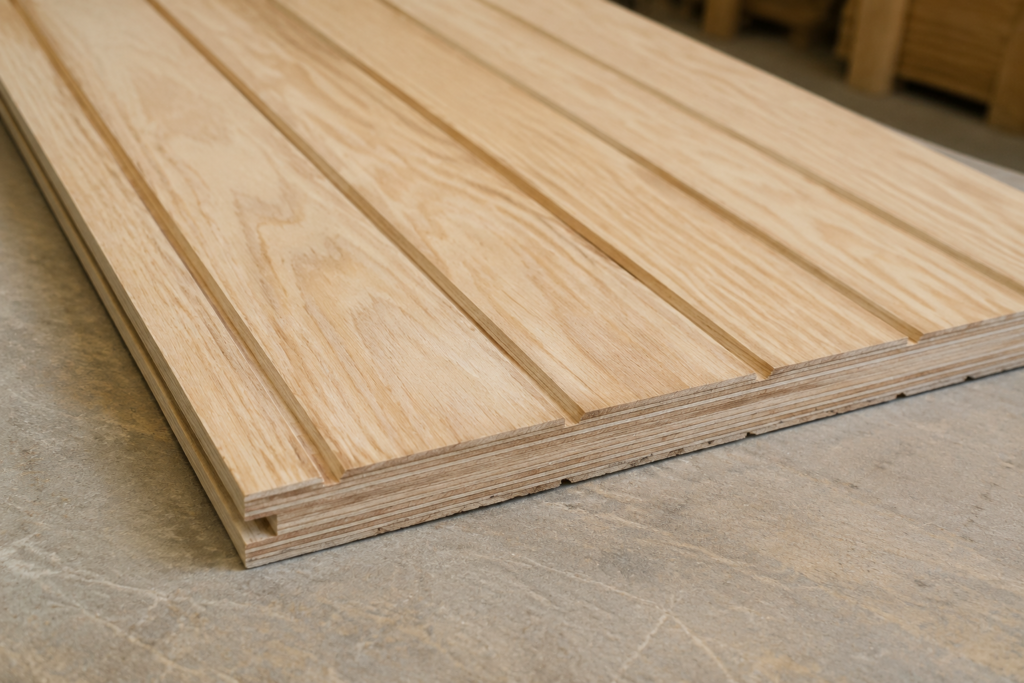
T1-11 is a grooved wood panel siding, sold in 4-foot-wide sheets (commonly 8, 9, or 10 feet long) in both plywood and OSB versions. The vertical grooves are usually spaced 4 or 8 inches on center to mimic board-and-batten. Under the APA 303 siding specification, true T1-11 is a five-ply panel with a nominal thickness of 19/32 inch or more measured in the ungrooved areas, with 3/8-inch-wide grooves. Panels come with either a shiplap long edge that laps the next sheet or a square edge meant to butt together.
One point worth keeping straight, because it trips people up: a panel’s bond classification (whether it’s rated Exterior or Exposure 1) tells you how well the glue line survives moisture — it does not mean the wood is rot-proof. Even an Exterior-rated panel will decay if water sits in unsealed end grain. Durability comes from the panel rating plus your detailing and finish, not from the panel alone. If you want the background on how panel ratings actually work, that’s covered in more depth in our guide to reading a plywood grade stamp.
Tools and Materials You’ll Need
As an Amazon Associate, we earn from qualifying purchases.
Materials:
T1-11 panels (plywood or OSB — see the cost comparison below)
House wrap or Type 1 building felt (water-resistive barrier)
1. Confirm framing and install the water-resistive barrier
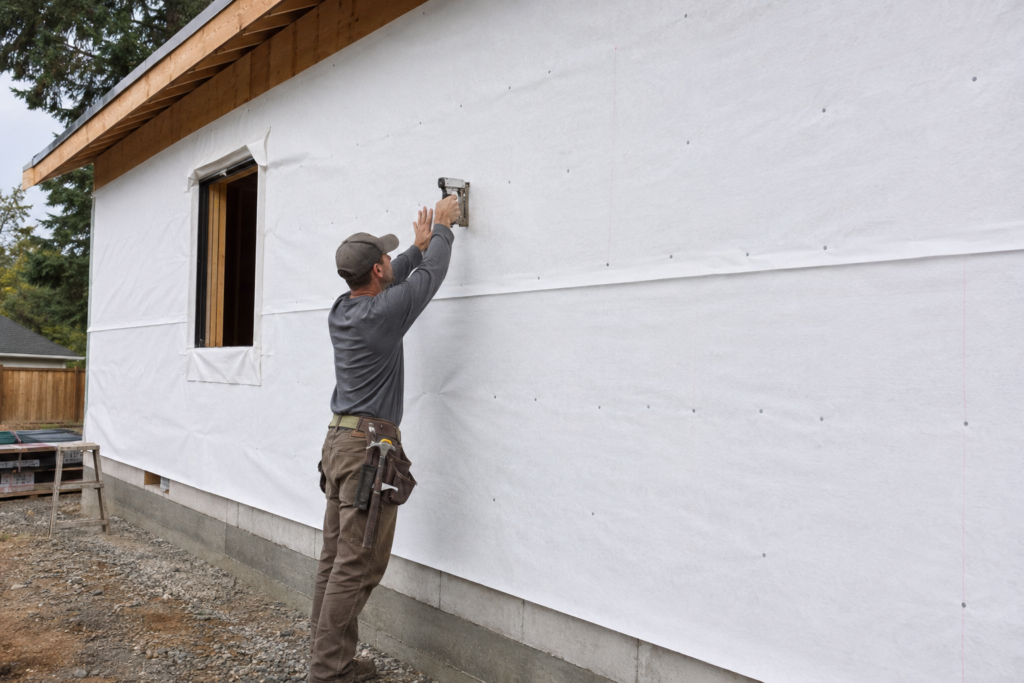
Check that your studs are a consistent 16 or 24 inches on center and that your panel and its fastening schedule suit that spacing. Wrap the wall with house wrap or felt as a water-resistive barrier, lapping upper courses over lower ones so water sheds down and out. Tape any tears. Most residential installations require a code-compliant water-resistive barrier, but the complete wall assembly must follow the adopted local code and manufacturer’s instructions; the current IRC contains requirements for exterior wall coverings and water management, and local amendments and approved assemblies can differ — see the ICC residential wall-covering requirements.
Snap chalk lines over the wrap at every stud so you can hit framing without hunting for it later.
2. Set the first panel plumb, with clearance at the bottom
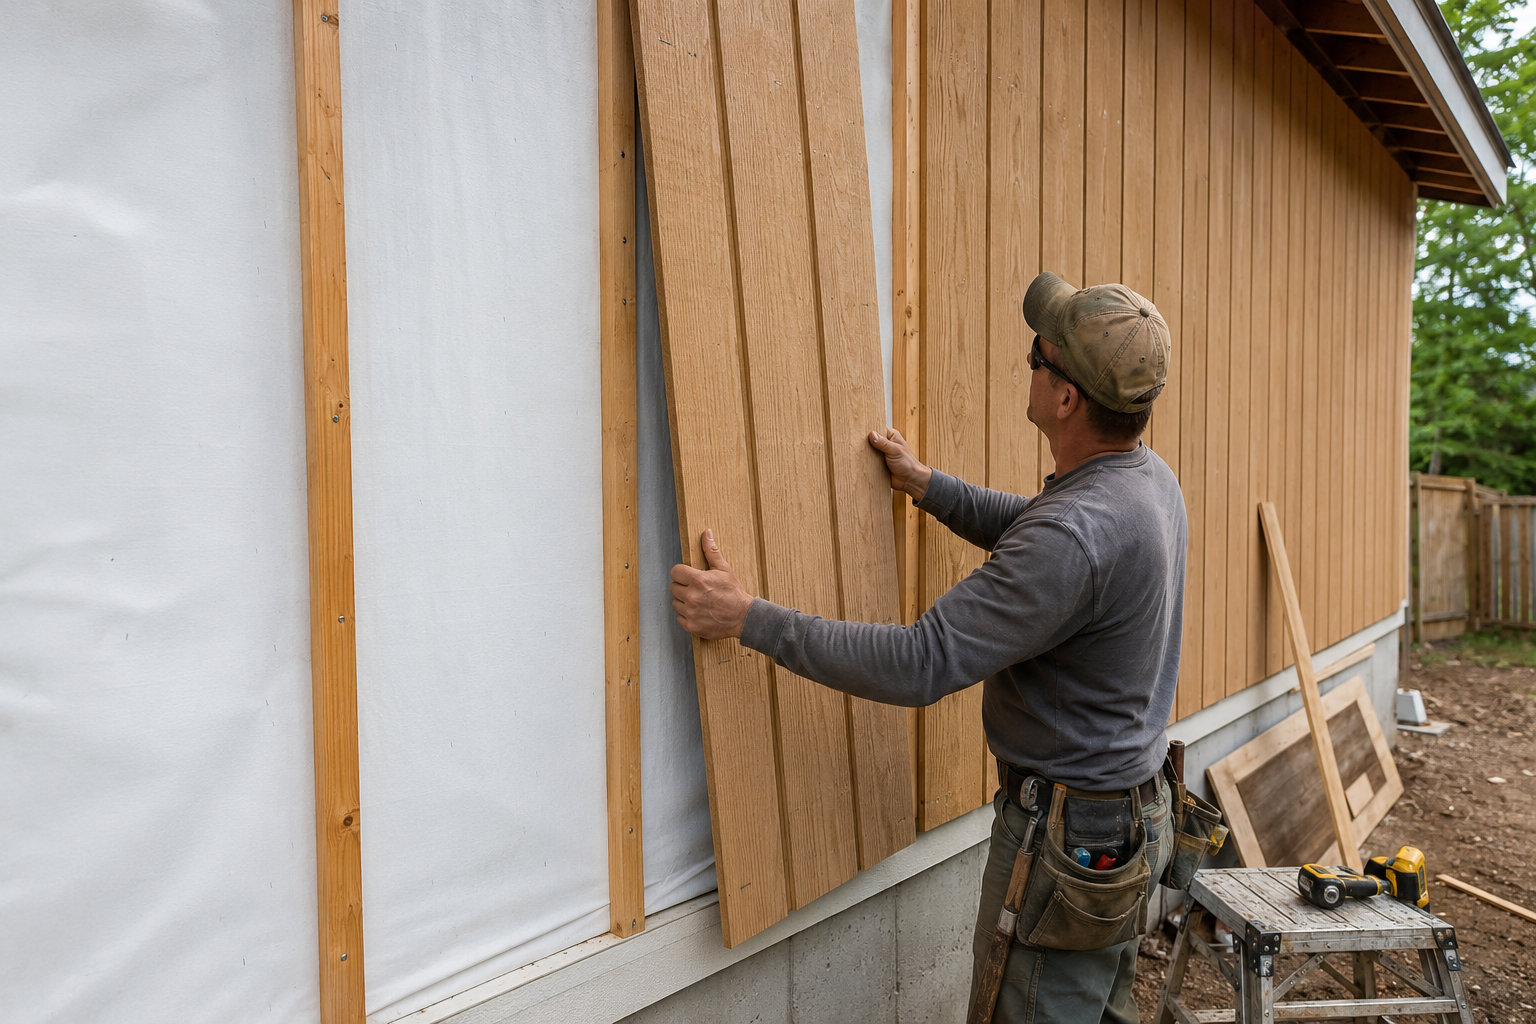
Cut panels to height and seal or finish all field-cut edges according to the panel manufacturer’s instructions before the panel goes up. Dry-fit the first panel, grooved face out, and check it dead plumb with a level; the first panel sets the line for the whole wall.
Keep the bottom edge up off the ground. A common minimum is roughly 6 inches above soil and about 2 inches above paved or impervious surfaces, but clearance requirements vary — confirm your manufacturer’s instructions and local code before you commit the first sheet. Tack the panel with two nails near the top, then check plumb one more time before you nail it off.
3. Nail the panel off — the part most people rush
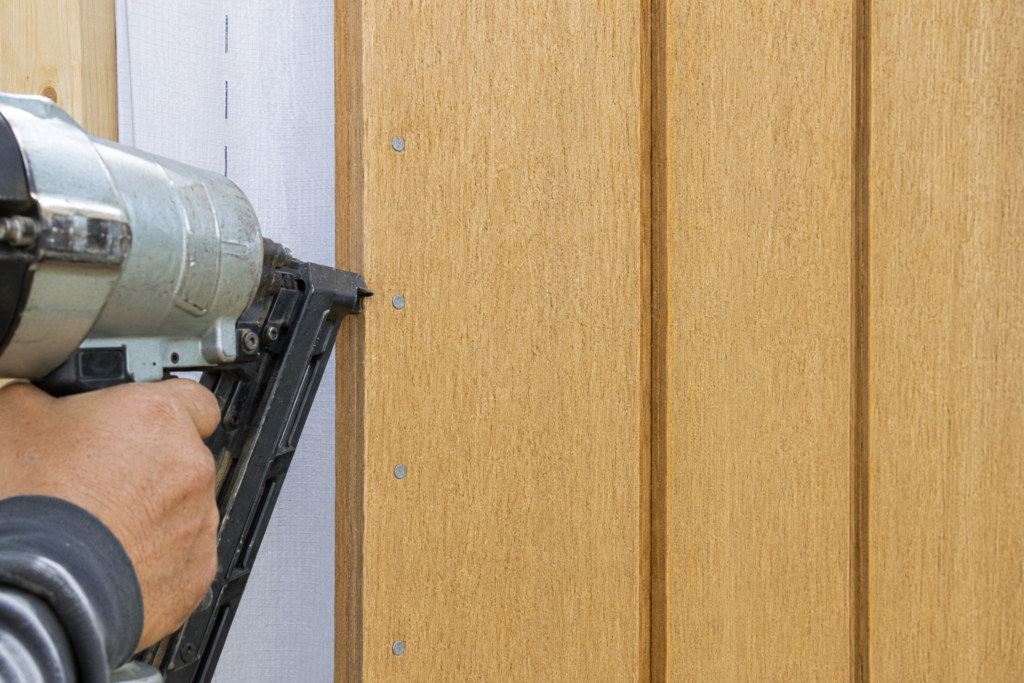
This is where installs are won or lost. Follow the panel manufacturer’s fastening schedule and local code. A common schedule is 6 inches on center at panel edges and 12 inches in the field, but nail size, length, penetration, and spacing may vary by panel thickness, stud spacing, wind requirements, and whether the panel is doing structural duty.
Fastener detail
Specification
Nail type
Galvanized (hot-dipped) or stainless; ring-shank often preferred for holding power
Nail size and length
Per manufacturer’s schedule and local code
Spacing at panel edges
Commonly 6 inches on center (verify per panel)
Spacing in the field
Commonly 12 inches on center (verify per panel)
Distance from panel edge
Per manufacturer’s schedule
Gap between panels
Per manufacturer’s expansion-gap spec
Drive nail heads flush — not sunk through the face veneer, which breaks the surface and invites water. Where a groove happens to land on a stud, fasten through the solid wood beside it rather than in the bottom of the groove; a nail head buried in a groove is nearly impossible to seal and is a classic leak point.
4. Flash and gap the joints
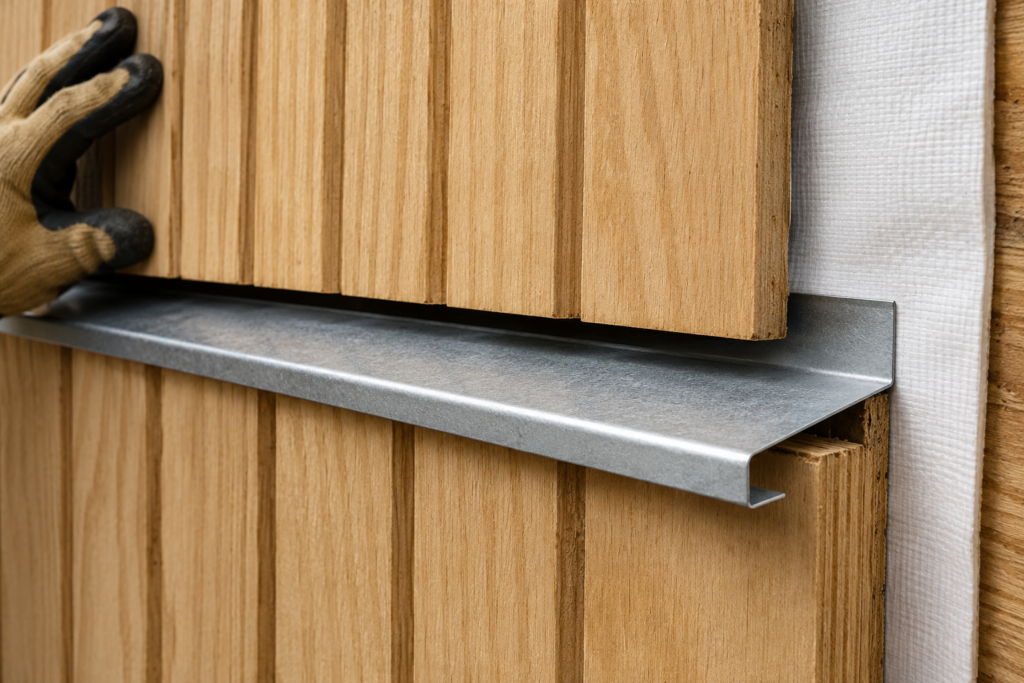
If you’re stacking panels vertically to reach wall height, install Z-flashing at every horizontal joint so water is kicked out over the lower panel instead of running behind it. This single piece of metal prevents one of the most common rot failures on tall T1-11 walls.
For vertical joints, follow that panel’s joint-detail instructions. Shiplap edges are generally designed to lap and shed water; some products call for them to be left uncaulked so they can drain, while others specify sealant or a batten — check the manufacturer’s detail rather than assuming. Caulk around windows, doors, and penetrations per the manufacturer’s guidance.
5. Seal, prime, and finish
Prime and finish the face and exposed edges as required by the panel manufacturer. Back-priming may be recommended for some plywood siding, but it should not be applied when the manufacturer instructs otherwise. Finish with a quality 100% acrylic latex exterior paint or a solid/semi-transparent exterior stain. Non-overlaid plywood faces will show fine surface checking over time even when painted — that’s normal for the product; if you want a glass-smooth face, an overlaid (MDO) panel is the fix. Finishing every exposed edge is not optional. For the full finish breakdown, see our guide to waterproofing plywood for outdoor use.
The Most Expensive T1-11 Mistake (and How to Avoid It)
The costliest error isn’t cosmetic — it’s water management. In order of how often they cause real damage:
Nailing into the grooves. The head can’t be sealed and it sits at the low point where water collects.
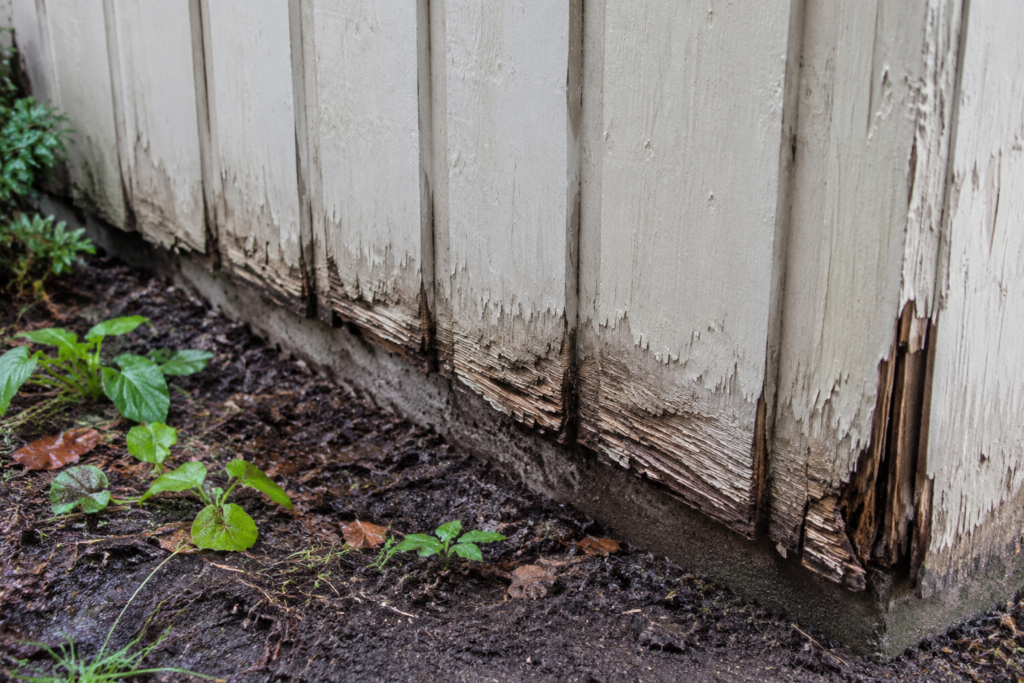
Leaving cut edges and end grain unsealed. Bare edges wick water into the core; this is where decay starts, regardless of the panel’s bond rating.
Skipping Z-flashing at horizontal joints. Water runs behind the wall instead of over the panel below.
No expansion gap. Panels absorb moisture and grow; butted tight, they can buckle.
None of these are obvious the day the wall goes up. They tend to surface later as swollen edges, peeling paint, and soft corners — which is exactly why they get skipped in the moment.
T1-11 Cost: Plywood vs. OSB (and Where the Price Gap Bites Later)
T1-11 comes in two flavors, and the cheaper one isn’t always cheaper over the life of the wall.
Feature
Plywood T1-11
OSB T1-11
Upfront cost per sheet
Higher
Lower
Edge/moisture tolerance
Better at resisting edge swell
Edges swell faster if water gets in
Holds fasteners
Excellent
Good
Best use
Higher-exposure walls, long-term
Budget builds, well-protected walls
The price difference per sheet is real, but so is the difference at the edges: OSB that takes on water tends to swell and stay swollen, while plywood recovers better. If the wall sees a lot of weather, the money you save on OSB sheets can come back as earlier edge failure. Check today’s spread yourself before deciding — compare T1-11 panel prices on Amazon. For a deeper look at how long these panels last outdoors, see our exterior plywood guide, including lifespan.
A Warning About Ground Clearance and End Grain
Two details cause more T1-11 rot than most others: siding that runs too close to grade, and unsealed bottom edges. Water splashes up, wicks into the exposed core, and the panel can rot from the bottom up — often hidden behind landscaping until it’s serious. Keep the bottom edge clear of the ground per code, and seal that bottom cut edge like your wall depends on it, because it does. If you’ve already got soft or swollen panels, our guide on how to stop and treat wood rot covers what’s salvageable and what has to come off.
Skip This and You’ll Regret It at Repaint Time
Properly finishing the panels and exposed edges can feel like extra work, but skipping the manufacturer’s requirements can lead to premature finish failure. When panels aren’t sealed as the manufacturer specifies, they move with humidity swings, and that movement can telegraph through your finish as cracking and peeling. The regret shows up at the first repaint, when the paint won’t hold because the substrate never stopped moving. Follow the manufacturer’s priming and finishing instructions once, up front, and you spend less time fighting the same wall.
Recommended Tools and Materials for a Clean T1-11 Install
Everything here is what the job actually calls for, in one place:
Can you install T1-11 siding horizontally? Standard T1-11 panel siding is intended for vertical installation. Do not install it horizontally unless the specific manufacturer provides an approved horizontal installation detail.
What nails do you use for T1-11 siding? Use galvanized or stainless siding nails sized and spaced according to the panel manufacturer’s fastening schedule and local code. A common schedule is 6 inches on center along panel edges and 12 inches in the field, but nail size and spacing can vary by panel thickness and wind requirements.
Do you nail T1-11 in the grooves? No. Fasten through the solid face next to a groove, not in the bottom of the groove. A nail head buried in a groove can’t be properly sealed and becomes a leak point.
Does T1-11 need house wrap behind it? Most residential installations require a code-compliant water-resistive barrier behind the siding, but the full assembly must follow local code and the manufacturer’s instructions. The panel is your first line of defense, not your only one.
How far off the ground should T1-11 siding be? Keep the bottom edge clear of grade — commonly a minimum of about 6 inches above soil and 2 inches above paved surfaces — but always confirm your manufacturer’s instructions and local code, since requirements vary.
Is plywood or OSB T1-11 better? Plywood costs more per sheet but resists edge swelling and recovers better after getting wet, which matters on high-exposure walls. OSB is cheaper up front and fine on well-protected walls but tends to swell faster at the edges if water gets in.
How long does T1-11 siding last? Lifespan depends heavily on installation, detailing, and finish maintenance. Well-detailed and maintained panels can last a long time; poorly sealed panels, or panels installed too close to grade, can fail much sooner.
How to Install Door Trim (Step-by-Step DIY Guide) by Admin November 18, 2025 DIY Beginner-friendly instructions, real-world tips, and the tools I actually use. Installing door trim looks simple from a distance—just a little molding around the doorway, right?…