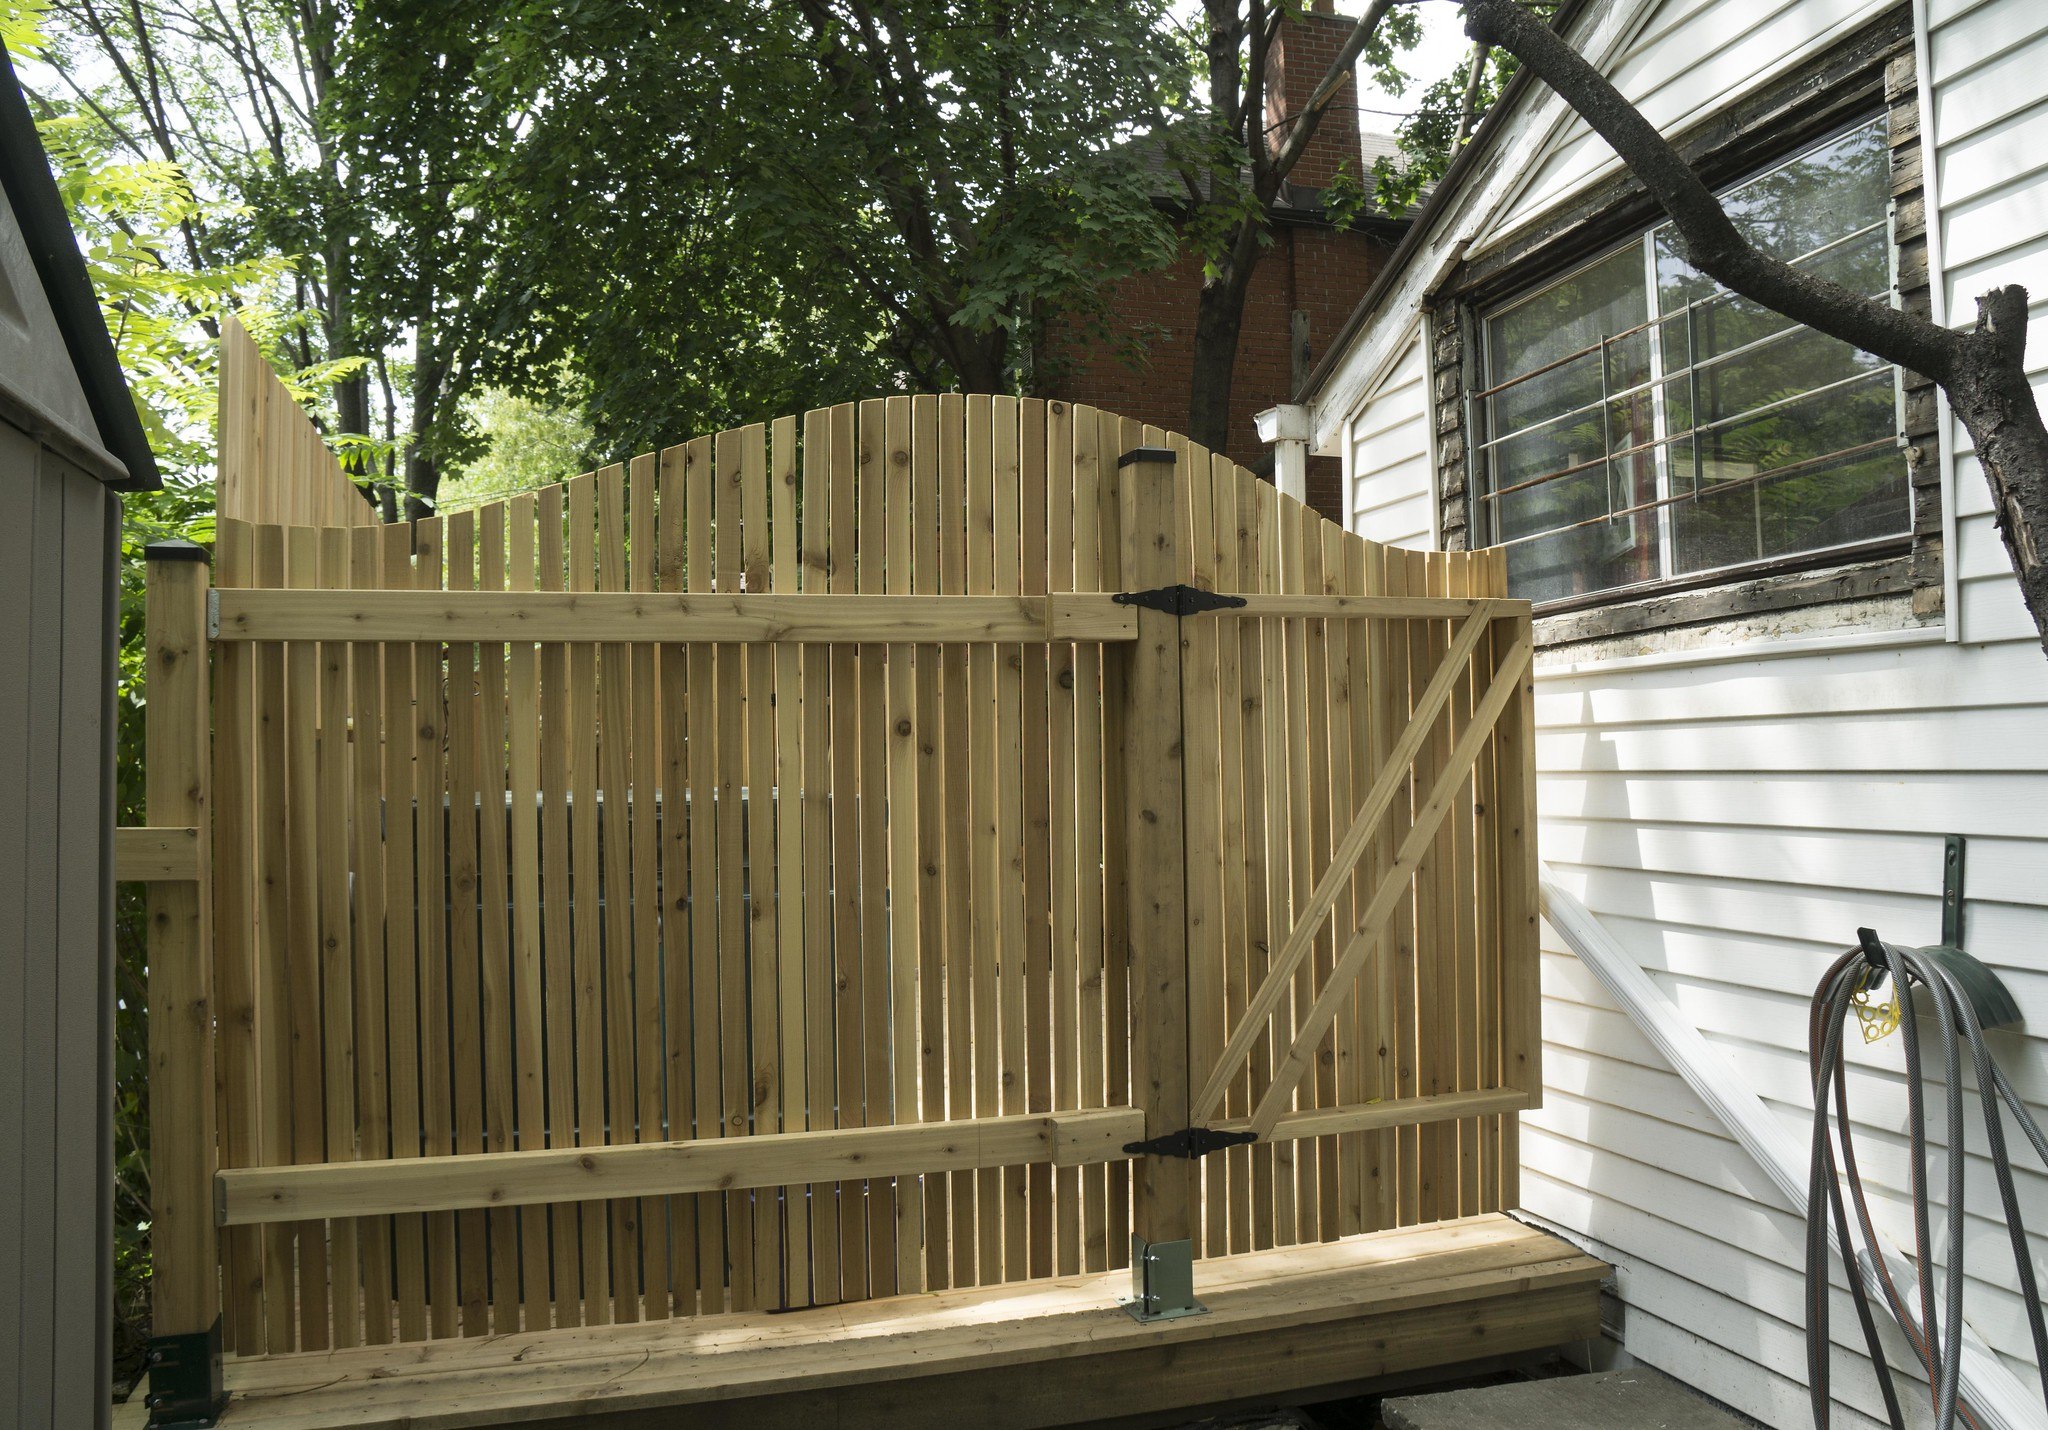
Building any style of wood fence pretty much requires using wood fence posts. These are usually pressure-treated 4”x 4”s, sunk into the ground and often anchored by concrete. While a smaller cross-section might be able to be used, especially for a low picket fence, 4”x 4”s are still the standard, offering strength and resiliency against the wind, degradation of the wood and minor impacts from neighborhood kids and passer-bys. This is especially important for a privacy fence, which offers a huge sail area to the wind.
While 4”x 4s can and are used for other purposes, their use for building fencing has become so common that it is difficult to find 4”x 4”s which are not pressure treated at the major home improvement centers. While the rest of a fence doesn’t need to be pressure treated, the fence posts should be, to the point where it’s almost senseless to build a fence without using pressure-treated posts. Pressure treating them allows the fence to last longer.
Pressure Treating Lumber
Lumber or wood in general, naturally decomposes once it is separated from a living tree. There are several steps in this process, but the one that concerns us the most is the one that is most commonly referred to as “dry rot.” This part of the decomposition process is not in fact dry, but requires moisture to allow the fungi which eat at the wood to survive and eat at the wood.
These same fungi are found pretty much everywhere, in the upper six inches of the ground. They can’t live lower than that, because not enough oxygen passes that far into the soil to sustain them. Being located in that first six inches explains why most wood rot that attacks fence posts happens just above or just below the surface. But that’s bad enough to destroy almost any untreated wood, other than a few species which are naturally resilient to fungi. Fence posts which break almost always break just below ground level, where these fungi are able to be the most effective in eating the wood.
One of the more common means of protecting wood from rotting involves the use of chemicals that kill off fungi trying to eat the wood. While there are several different commercial compounds that are used in this process, they are all based upon the metals chromium, copper and arsenic, along with a few others. Some formulations may also add rosin, clogging the pores of the wood and creating a barrier to the fungi.
The most common means of pressure treating lumber is not so much by applying pressure, but by applying reverse pressure. The lumber is loaded into a tank, which is then sealed. Air is extracted from that tank, creating a vacuum. After leaving the lumber in the tank for enough time to allow the pressure in the wood to equalize with the pressure in the tank, the tank is flooded with the chemical solution, allowing the chemicals to penetrate deep into the wood. With some brands of pressure treated wood, the wood posts are actually pierced to facilitate the chemicals penetrating into the wood.
An Alternative to Pressure Treated Fence Posts
There is an alternative on the market for pressure fence posts. It consists of a waterproof sleeve that is installed around the post, from just above ground level down to just below the level at which the fungi operate. This effectively blocks out the fungi, keeping them away from the wood. In doing this, they make it possible to use non-pressure treated wood for fence posts, but they cost more than pressure treated posts, making them impractical for use with 4”x 4” fence posts.
Where these post wraps become most useful is in cases where non-standard size fence posts are being installed, especially those larger than 4”x 4”. The various sizes accommodate posts which are up to 8”x 8” square or 10” in diameter.
Erecting Pressure Treated Fence Posts
Erecting a fence with pressure posts starts with buying the right posts. Some people try to build fences with posts which are too short, pretty much ensuring that their fence will end up leaning to one side before long, especially if the prevailing wind is perpendicular to the face of the fence. For fence posts to be long enough, somewhere between one-third and one-half of the post should be in the ground. That means for a 6’ privacy fence, the posts should go at least 2 feet into the ground. For any fence taller than that, the posts should go at least 3 feet into the ground. There really is no case where it makes sense to use fence posts that go less than 2 feet into the ground.
Fence posts can be set directly into the soil, but shouldn’t be. In the case of pressure fence posts, they will last five to ten years if set directly into soil alone. But if the same fence posts are set into either gravel or concrete, they will last as long as 30 years.
Regardless of how the fence is to be anchored, it’s a good idea to hold off on anchoring until the entire fence structure is in place, including the fence rails. Additional 2”x 4”s or other sticks of lumber can be used to hold the fence posts plumb while the gravel or concrete is being poured into the hole. Double check that they are still plumb after pouring, as it is possible to bump a post and move it off center.
Please note that any time pressure treated wood is used, it must be installed for at least six months, before paint or any other finish can be applied. Pressure treated wood will often be wet when it comes from the lumberyard, as it is not dried again after pressure treating. The six months is necessary for the wood to fully dry and the chemicals to wash off the surface. Failure to wait these six months result in the finish flaking off, rather than sticking.
The choice of using either gravel or concrete is largely a personal one. Both will hold the fence post equally well. As gravel packs down, the various pieces lock against each other, making the mounting just about as strong as concrete. Gravel also has the advantage of providing drainage, so that the water doesn’t just sit there and try to soak into the wood. Should the fence post need to be moved at some future date, it’s much easier to remove a fence post from gravel and then remove the gravel from the ground, than it is to remove concrete.
The real difference comes in cases where the soil is not solidly packed. In those cases, it is best to use concrete, as that will create a stronger base. Gravel can’t lock together, mimicking the strength of concrete, if it doesn’t have something solid to press against. However, in the case of dense soil with a lot of clay, gravel is just as good as concrete.
Some people like to install fence posts with the concrete or gravel left a couple of inches below the surface, covering them with a couple of inches of soil. This is a bad idea, creating a point at which fungi can attack the fence post and ultimately destroy it. The concrete or gravel must come up to ground level or slightly above it, keeping soil away from the wood. In the case of concrete, the top surface should be shaped into a slight hill with a trowel, facilitating water runoff, away from the wood post.
Regardless of whether gravel or concrete are used, it is best to put a few inches of gravel in the hole, below the fence post, so that the fence post is not sitting directly on the soil. This will help prevent fungi having access to the end grain of the fence post, even though the end of the post is below the level they normally live and operate at.
Ideally, the hole for the fence post should be three times the width of the fence post. This means for a standard 4”x 4” fence post, which is really 3.5”x 3.5”, the hole should be a minimum of 10.5” in diameter. That will require just over 1 cubic foot of concrete. Since a bag of concrete typically yields 0.6 cubic feet, that works out to just shy of 2 bags of concrete per hole. By the time the top is mounded to help with drainage, it is best to figure on 2 bags per post hole.
Does Lattice Make a Good Fence? by Amy Reed July 26, 2023 DIY Lattice fence panels are an excellent choice for many homeowners. These types and styles of fences are: affordable easy to install last a long time…
Table Saw Fence by Admin June 29, 2023 DIY Through the years, I've worked with several table saws, from my dad's venerable Craftsman to a Delta Unisaw to the portable table saw I used…