Installing any fence can be a lot of work. Many people avoid it because of that. Even more, they’ll avoid putting in wire fences, whether chicken wire, livestock wire, bar fire, or chain-link fences. That’s not because those wire fences are more complicated to build than wood privacy fences; they don’t have a fence puller. Somehow, we’ve all understood that pulling a fence taut is difficult.

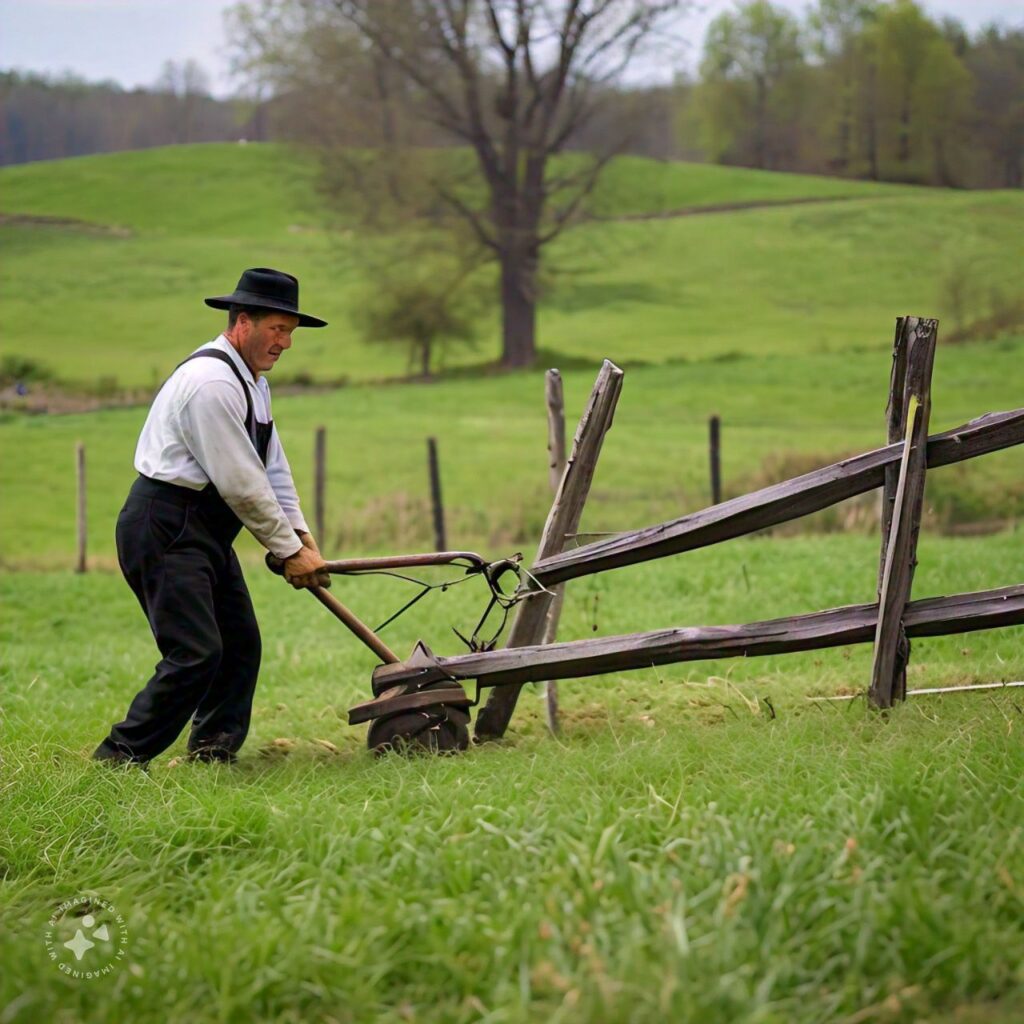
Fortunately, the Amish people don’t think that way. As a people, the Amish are attractive because of their unique lifestyle. They’ve decided to leave many modern conveniences aside, opting for a more straightforward way of life. So, in many cases, they do things the old way or devise ways of doing them. Many of those are unique, easy to work with, and just as applicable for us as for the Amish people who use them daily.
When you always have to do things by hand, it’s natural to look for simple ways. That’s an essential part of what makes the Amish ways of doing things so good. Just because electric motors and gasoline engines might not drive their tools doesn’t mean they aren’t good. When all you’ve got is muscle power to get the work done, efficiency counts for a lot.
Hence, the Amish fence Puller is the most straightforward way to pull any wire fence. The same tool will work pretty much just the same, regardless of the kind of fence you are using. The only thing that might cause a need to make a different fence puller is if a different size fence material is being used.
Building the Amish Fence Puller
The Amish fence puller is simplicity itself. Made from two pieces of 2”x 4”, it does the job with no fuss. The two pieces of 2”x 4” should be cut slightly shorter than the height of the fence material used. So if 5’ fencing is installed, the 2”x 4”s should be cut to 4”- 6”. This will keep the puller from dragging on the ground and getting in the way of helping to stretch the fence.
The two pieces of 2”x 4” will need to be bolted together via a line of Carriage bolts down the center. Anything from ¼” to ½” diameter bolts can be used, but 4” long, 3/8” diameter bolts are just about perfect. Several bolts are needed, spaced about 8” apart, down the centerline, so that they can be used to clamp the 2”x 4” around the wire fence. Drill the holes with the boards together to ensure that the holes are aligned. Before separating the boards, make alignment marks on one side with a permanent marker to help prevent attempting to put the fence puller together out of alignment.
Ideally, the 2”x 4” that the head of the carriage bolts will be installed into must have a snug fit on the bolts to keep them from falling out. So, drill both boards with a drill bit to match the bolts’ diameter. Then, take the boards apart and drill through the hole in the second board (the nut side) with a 1/16” to 1/8” more significant bit, giving the bolts more clearance on that side. That will make it easier to assemble the fence puller when using it.
The final step in making the puller is to pound the carriage bolts into the first board so that the square neck of the bolt presses into the wood around the hole, locking the carriage bolts into place.

Using the Amish Fence Puller
As with the construction of the Amish fence puller, the use of this ingenious tool is simplicity itself. Besides the fence puller, a come-along winch is needed, along with a two- to three-foot chain with a hook and something to be used as an anchor. This anchor can be a tree, a large rock, another post in the ground, or a vehicle, whatever is readily available, to which the come-along can be attached. It should be far enough from the corner post that the fence is being stretched so that a large portion of the cable in the come-along can be spooled out.
Start by unrolling the fence material alongside the fence posts to which it will be attached. The roll can be laid down on the ground and unrolled if correctly done. It may be necessary to weight it down on the ends to keep it from rolling back up. Then, wrap one end of the fencing material around the corner post and attach it with four or five hammer-in staples.
Going to the other end, cut the fencing material off the square roughly a foot past the corner post. Fold over this end, giving it a double thickness of material. Then, place this over the bolts in the first piece of the fence puller so that the bolts stick through the holes.
Place the other 2” X 4” half of the fence puller over the first, capturing the wire fence cloth between them. Then, put ashes and nuts onto the bolts, tightening them down snugly so that the fence puller has a good grip on the fence.
If the hole in the fence cloth is too large for the chain to fit through, cut the fence cloth up close to the fence puller, on the fence side, right about in the middle. Once the fence is stretched, this part of the fence cloth will be pulled off, so there’s no reason to be concerned about making this hole. Wrap the chain twice around the fence puller, through this hole, and fasten it to itself with the hook, leaving a tail sticking out for the come-along to connect to.
Attach the hook on the short side of the come-along to the chain wrapped around the fence puller and the longer side to the anchor. Then, start ratcheting the come-along to tighten up the fence.
While the fence needs to be tight, care must be taken to avoid over-tightening it. Too much tension can cause the fencing cloth to deform and break, causing a severe safety hazard as the broken ends of the fence whip back from the tension. Ideal tension is about that of guitar strings.
Staple this end of the wire fence fabric to the corner post, relieve the tension on the fabric, and cut off the excess material.


