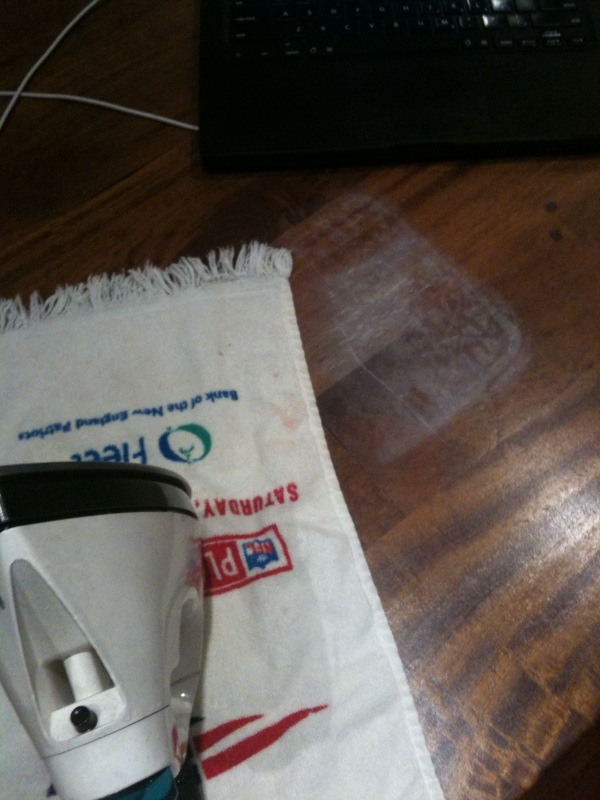
One of the most common types of damage to finished wood furniture is what are usually referred to as “heat stains.” These cloudy white stains mostly happen on lacquered wood but can also happen on varnish at times, although that is rather rare.
Before going any further, let’s be sure we know what we’re talking about and how it happens. While this damage is called “heat stains,” it’s not all about heat. Heat alone is much more likely to cause a burn mark, which will look brown to black. The damage we’re talking about here is caused by a combination of heat and moisture and looks milky white.
These stains happen because heat opens the wood’s pores, allowing moisture to get into the pores and the finish. As the wood cools, the moisture becomes trapped underneath the finish, causing the stain. So, the trick to solving the problem is to get the moisture out of the finish.
By the way, moisture can cause this, even without the hot container. It happened to an antique table that had belonged to my former mother-in-law. We used it to hold the communion elements at my daughter’s wedding.
Because it was a hot day and the wine was cold, condensation formed on the outside of the wine decanter, leaving this same stain in the finish, as it had been a hot bottle sitting on there. Fortunately, it was easy to get it out.
What are Heat Stains and How to Prevent Them
What causes heat stains on wood?
- Heat stains form when hot objects cause wood pores to expand and trap moisture and debris.
- Heat creates steam, causing wood pores to expand and absorb moisture, which gets trapped when the wood cools.
How to prevent heat stains on wood furniture
- Use coasters, placemats, and trivets for all warm objects.
- Look for specific varnishes that can protect against heat.
Preparing the Wood Surface for Heat Stain Removal
Clean the wood surface
- Wipe down the wood furniture surface to remove dust and debris.
- This step is crucial for the effectiveness of the heat stain removal methods.
Dry the stain
- Use a hair dryer on the lowest setting to slowly pan back and forth over the stain.
Removing Heat Stains from Wood
Heat It Again to Remove Heat Stains
- Using heat on a new heat stain can reverse the marks by releasing the moisture trapped in the wood’s surface.
- Before starting this method, clean the furniture’s surface to prevent anything else from becoming trapped in the wood’s pores.
- Use a hair dryer or iron on the lowest heat setting with a clean towel as a barrier.
Using Toothpaste and Baking Soda to Remove Heat Stains

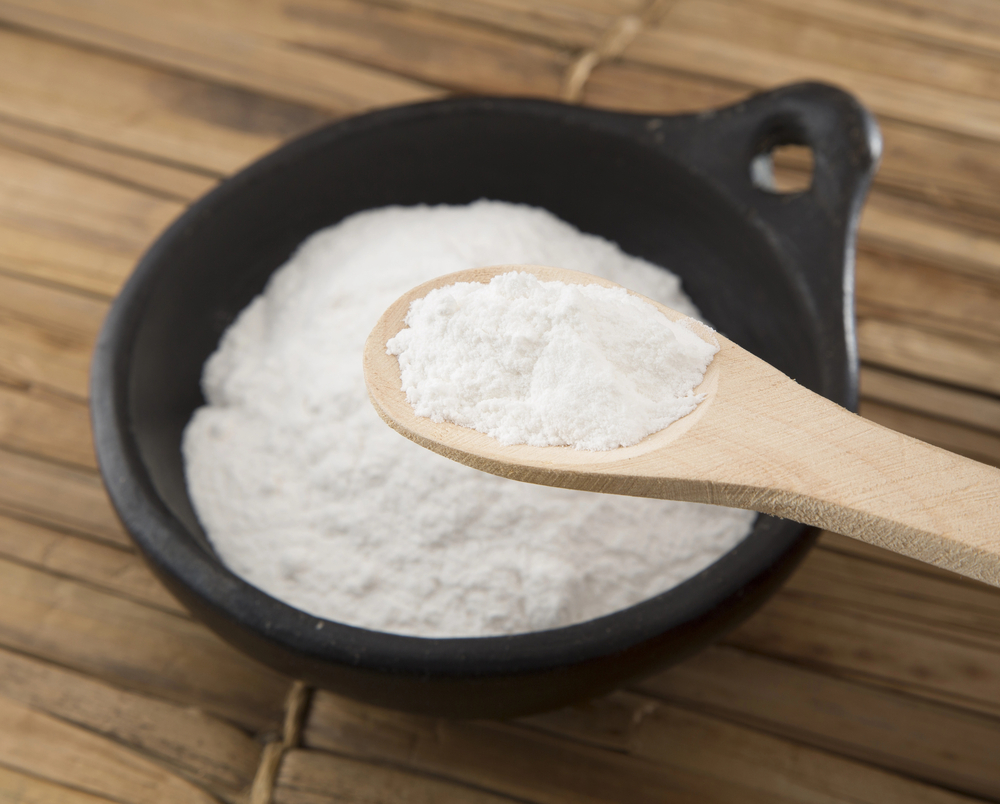
- Applying a mixture of toothpaste and baking soda can often do the trick on pesky heat stains.
- Mix one part toothpaste with two parts baking soda to create a paste.
- Apply the paste to the stain, avoiding other surfaces, and let it sit for about five minutes.
Alternative Methods for Removing Heat Stains
Mayonnaise or Petroleum Jelly
- The oils in mayonnaise (or petroleum jelly) can seep into the wood’s pores and help release the moisture trapped beneath the surface.
- Apply a thin layer of either product to the stain and let it sit for a few hours.
Salt Paste
- Add a paste using salt and olive oil to the stain, and let it sit for about an hour.
- The salt helps absorb the stain while the oil nourishes the wood.
Vinegar and Olive Oil

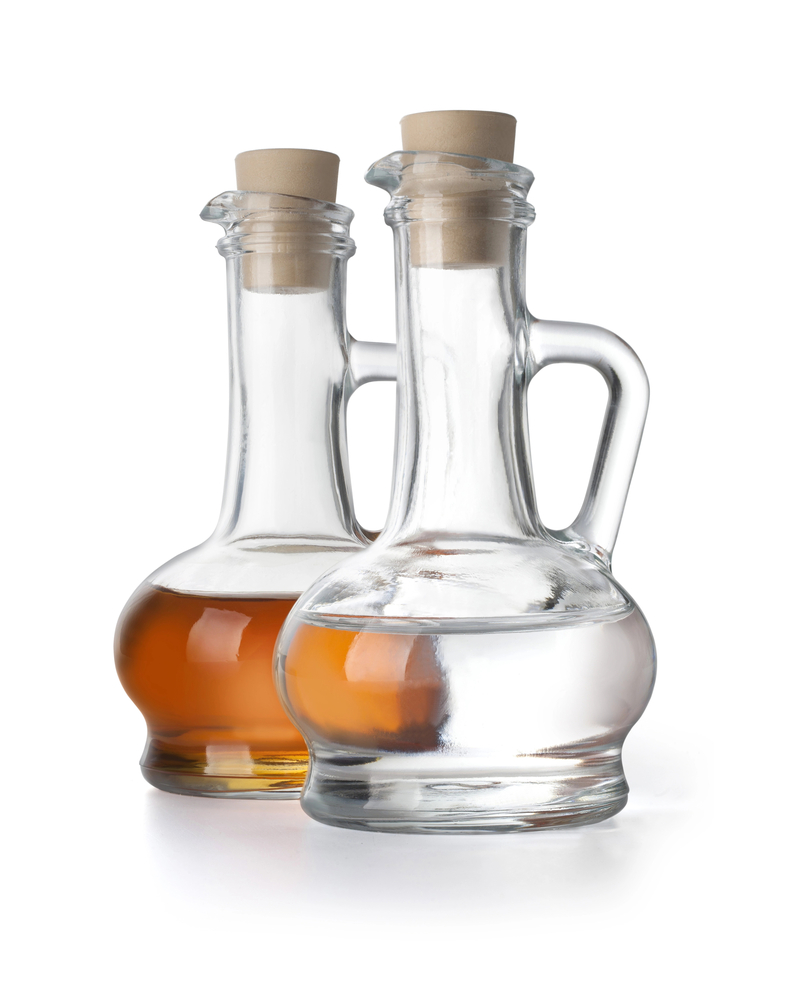
- A vinegar and olive oil mixture can remove heat stains due to its natural stain-fighting properties.
- Mix olive oil and vinegar in equal parts and apply it to the stain, letting it sit for about an hour before wiping off the excess.
When All Else Fails
Sanding
- The damage might reach too far down into the wood’s pores rather than just being captured in the finish. In that case, it will be necessary to refinish the wood rather than just remove the stain.
- Sanding can be used to remove heat stains, but it should be a last resort due to the risk of damaging the finish.
- Use a handheld sanding block to grind the stain down gently.
Refinishing requires first removing the existing finish. This can be done either with a chemical finish remover or mechanical removal. Chemical removers are convenient but hard to control. If only the top of the table needs to have the finish removed and the table has a carved or molding edge, the chemical remover will also damage that finish. However, that finish will be much harder to remove due to the uneven surface.
Sanding is the most common method of removing finish from wood table tops. While the finish tends to gum up sandpaper, causing the use of a lot of sandpaper, it is a method that provides a lot of control over how much finish is removed and where it is removed from. Just be sure to use the appropriate sandpaper grit so that not too much is removed.
Take special care if the furniture is veneered. Most veneer table tops are only 1/40” thick, so it is easy to sand right through the veneer. If that happens, replacing the veneer is much more work.
A cabinet scraper can be used as an alternative to removing the finish with sandpaper. This method is slow, just like sanding, but it has the advantage of not plugging the sandpaper. That saves money while giving excellent results.
This same method can be used when the table’s surface is burnt, leaving a brown or black charred area. The risk of going through the veneer and into the underlying wood products is greater, as the burn will probably be deeper into the wood rather than just harming the finish. But it’s still worth trying to salvage the table by sanding through the burn, hoping there will still be good wood below that can be refinished.
Finish sanding the table with fine sandpaper, 320 grit or finer, then clean off the surface with a damp cloth to remove any lingering sanding dust. Then, refinish the surface with at least two coats of varnish, sanding lightly with extra-fine sandpaper between coats.


