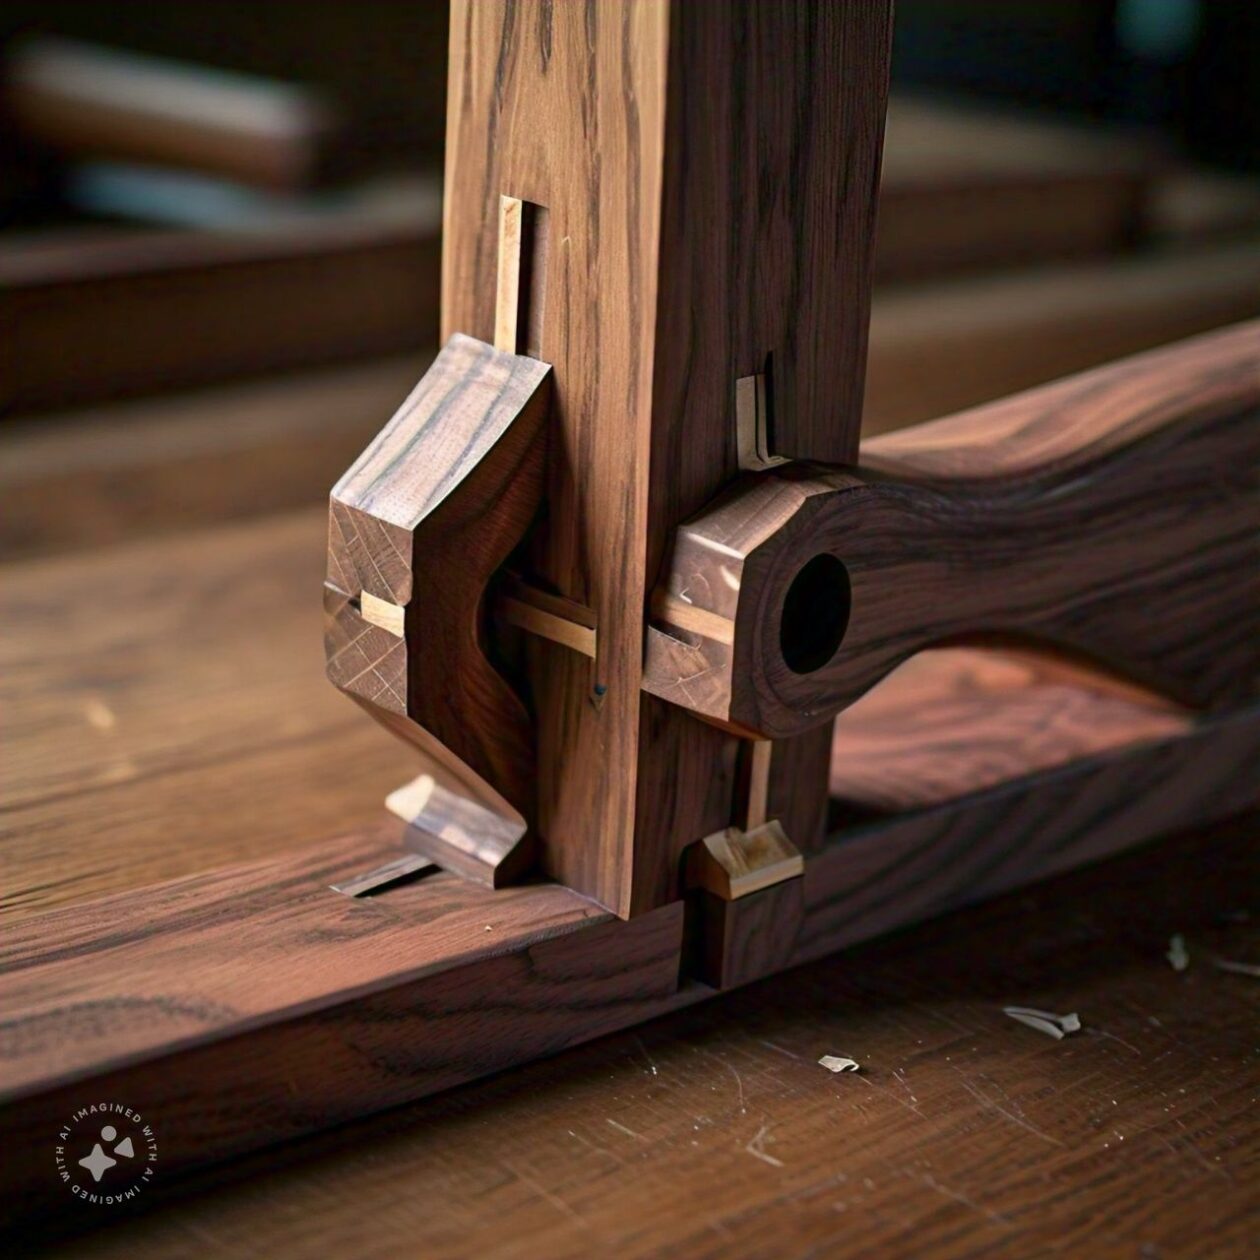
When you look at a well-made wooden chair that’s still solid after fifty years, or an antique cabinet that hasn’t wobbled once, you’re probably looking at the quiet strength of a mortise and tenon joint. It’s one of those classic woodworking techniques that has stood the test of time — simple in concept, yet unmatched in durability.
This joint is older than nails. Ancient Egyptians used it in chariots and furniture. Shaker craftsmen used it to build tables that still stand in museums. And today, hobbyists and professionals alike still rely on it because nothing else combines strength, beauty, and tradition quite like it.
If you’ve been building with screws and glue, the mortise and tenon joint might seem intimidating at first. But once you cut your first perfect fit, you’ll understand why it’s the heart of fine woodworking.
What Is a Mortise and Tenon Joint?
A mortise and tenon joint joins two boards at a right angle. One piece holds a square or rectangular opening — the mortise — while the other has a tenon, a shaped tongue that fits snugly inside. When they come together, they form a tight, mechanical bond that can handle heavy stress without pulling apart.
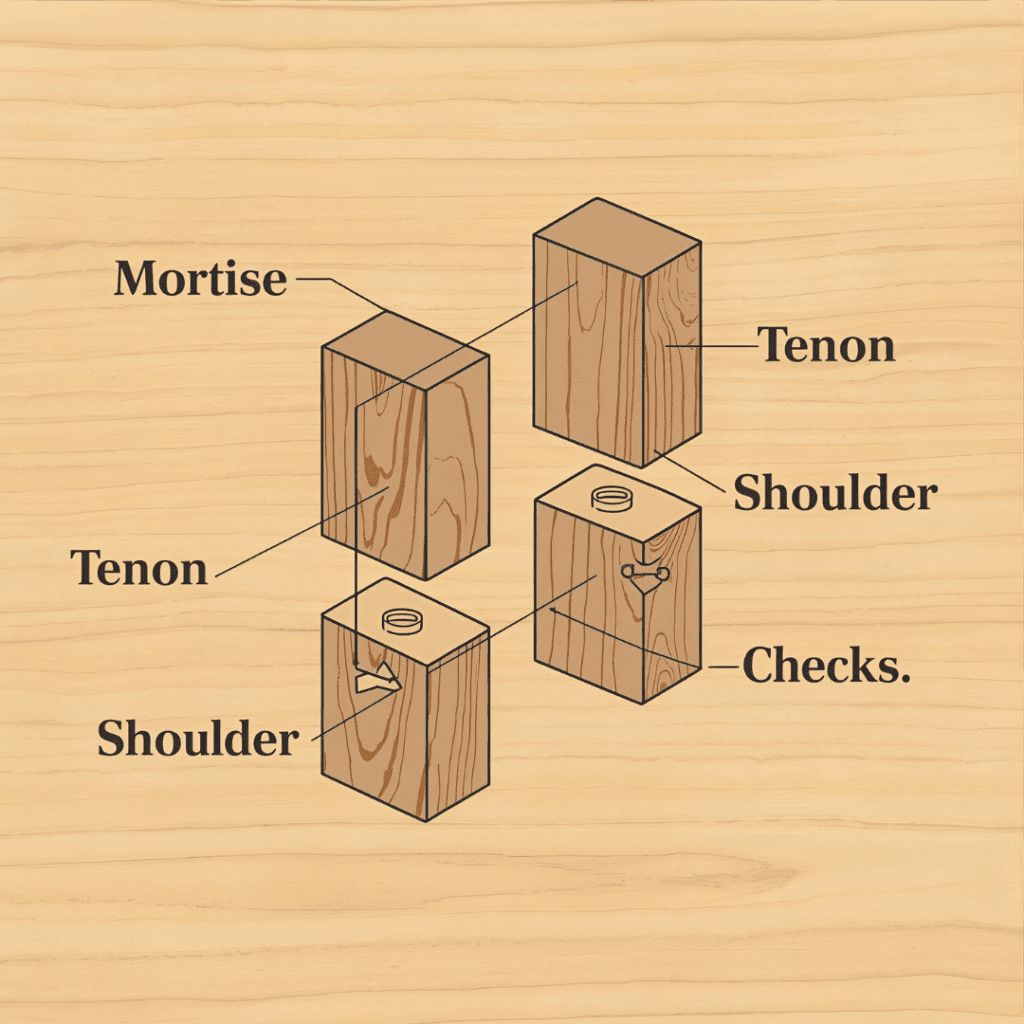
Anatomy of the Joint
Mortise: The slot or hole cut into one piece of wood. Tenon: The tongue on the end of the other piece that fits into the mortise. Shoulder: The flat edge where the tenon meets the main board, keeping everything square. Cheeks: The sides of the tenon that rest against the mortise walls.
A well-cut joint slides together smoothly — firm but not forced. That precise fit is what gives the mortise and tenon its lasting strength.
Why Woodworkers Still Love the Mortise and Tenon Joint
Ask ten woodworkers what their favorite joint is, and at least half will mention this one. That’s because it offers everything a craftsman could ask for:
Exceptional Strength: The joint locks into the wood fibers, handling both compression and tension loads.
Timeless Aesthetics: The connection is invisible once glued — clean, flush, and elegant.
Longevity: Properly fitted mortise and tenon joints can last for centuries.
Sustainability: No metal fasteners or plastic plugs — just wood, glue, and craftsmanship.
It’s also more forgiving than you’d think. A well-glued joint distributes stress evenly across the grain, meaning your project stays solid even under seasonal wood movement.
Types of Mortise and Tenon Joints
Every project calls for its own version of this classic joint. These are the ones you’ll run into most often:
1. Through Mortise and Tenon The tenon extends all the way through and is visible on the other side. It’s tough, dependable, and looks great when you sand it flush and finish it clean.
2. Blind (Stub) Mortise and Tenon Here, the tenon stops short inside the mortise, keeping the surface unbroken. You’ll see this a lot in cabinet frames and panel doors.
3. Haunched Mortise and Tenon A small haunch or shoulder helps stop twisting—handy for rails, stiles, and doors that need perfect alignment.
4. Twin or Double Tenon Instead of one wide tenon, you cut two slimmer ones. It gives more glue area and adds strength where it counts.
5. Wedged Mortise and Tenon Once assembled, a wedge drives into the tenon’s end, locking it tight against the mortise. It’s common in Craftsman and Mission-style furniture.
6. Drawbored Mortise and Tenon This one uses a wooden peg through an offset hole to pull the joint tight. Even without glue, it stays rock solid—perfect for timber frames and heavy work.
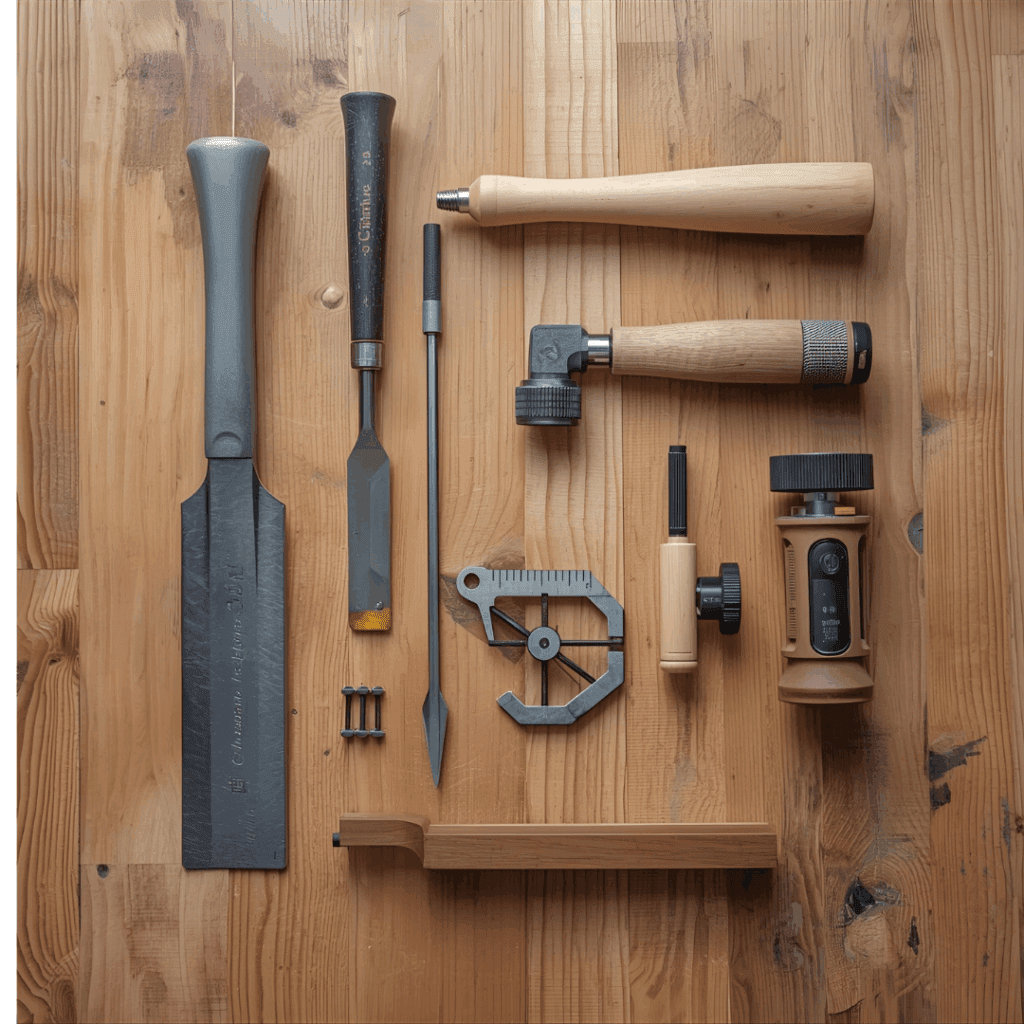
Step-by-Step: How to Make a Mortise and Tenon Joint by Hand
Hand-cutting a mortise and tenon is where you truly feel like a craftsman. Here’s how to do it right:
Step 1: Mark the Layout
Use a marking gauge to transfer the tenon thickness to both boards. Always mark from the same reference edge to ensure perfect alignment.
Step 2: Cut the Mortise
Secure your workpiece in a vise. Chisel or drill out most of the waste, then pare the sides clean with a sharp chisel. The mortise should be perfectly square and slightly deeper than your tenon’s length.
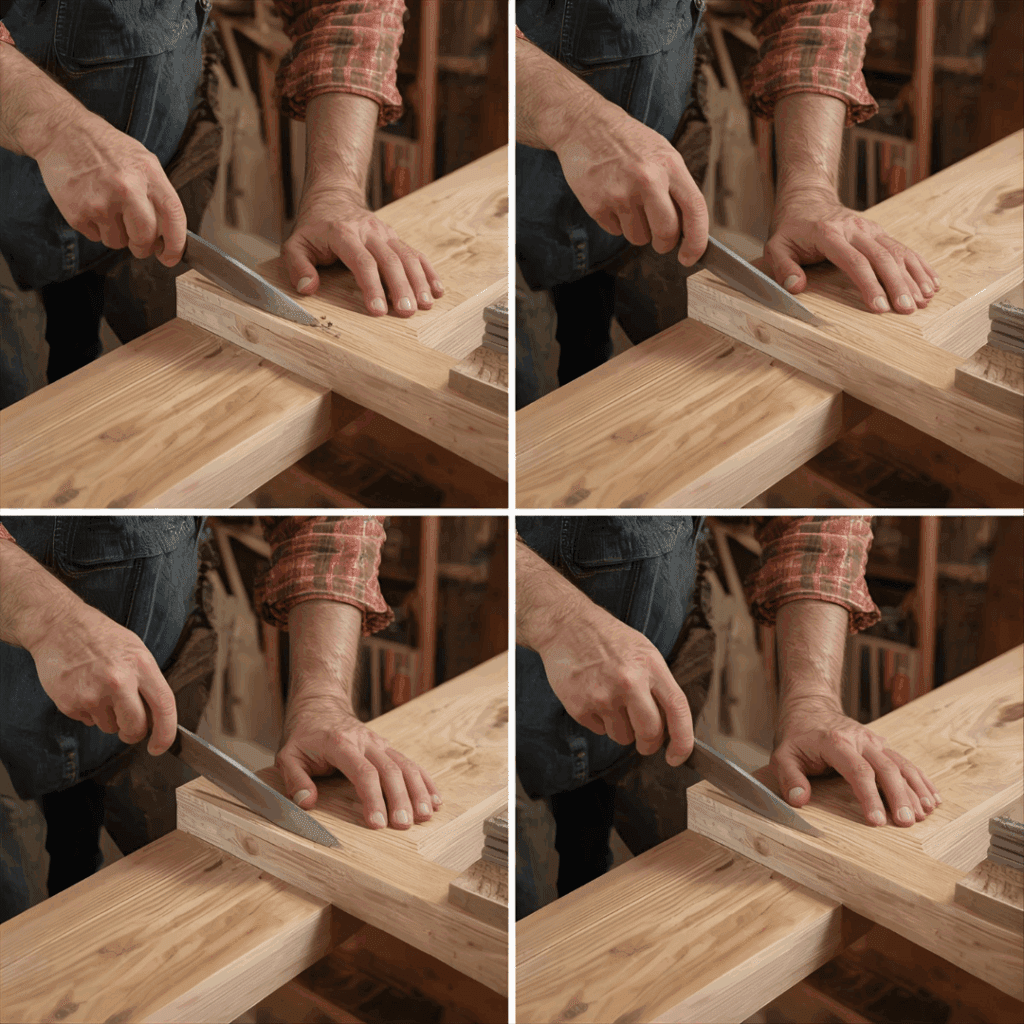
Step 3: Cut the Tenon
Saw the shoulders first, then the cheeks. A tenon saw or fine back saw gives clean control. The fit should be snug but not forced.
Step 4: Test Fit
Slide the tenon into the mortise. If it’s too tight, shave off tiny slices with a chisel. If too loose, consider shimming with veneer or re-cutting.
Step 5: Glue and Clamp
Spread PVA wood glue or liquid hide glue evenly on the tenon surfaces. Assemble, clamp, and check that everything is square.
💡 Pro tip: Always perform a dry-fit before applying glue. Once glued, adjustments are nearly impossible.
Router That router of mine has seen better days—dusty, a few dents—but it still cuts true. I set a guide, ease the bit in, and stop when the tone changes. You can smell the warm wood before the pass is done.
Table Saw For tenons, I work slowly. A little off each side until the piece fits clean. When it clicks into place, you just know it’s right—no need to measure twice.
Drill Press The drill press moves at its own pace. I line up the marks, drill through, then square the edges with a chisel. Sawdust piles up on my sleeves, and for a minute, the whole shop goes quiet.
🪚 Shop Tip: Always try the setup on scrap first. I skipped that step once and ruined a gorgeous piece of walnut.
Common Mistakes (and How to Fix Them)
Every woodworker has botched a joint or two. Here’s how to save your work:
Problem
Likely Cause
Fix
Loose Tenon
Over-sanding or incorrect marking
Add a thin veneer shim and re-fit.
Mortise Too Wide
Chisel drift or dull blade
Square sides, then use thicker glue.
Misaligned Shoulders
Saw drift
Re-cut shoulders with a knife-guided line.
Gaps After Clamping
Uneven pressure
Use multiple clamps and cauls for even squeeze.
🪵 Learn which adhesive suits each project in our PVA Glue Guide.
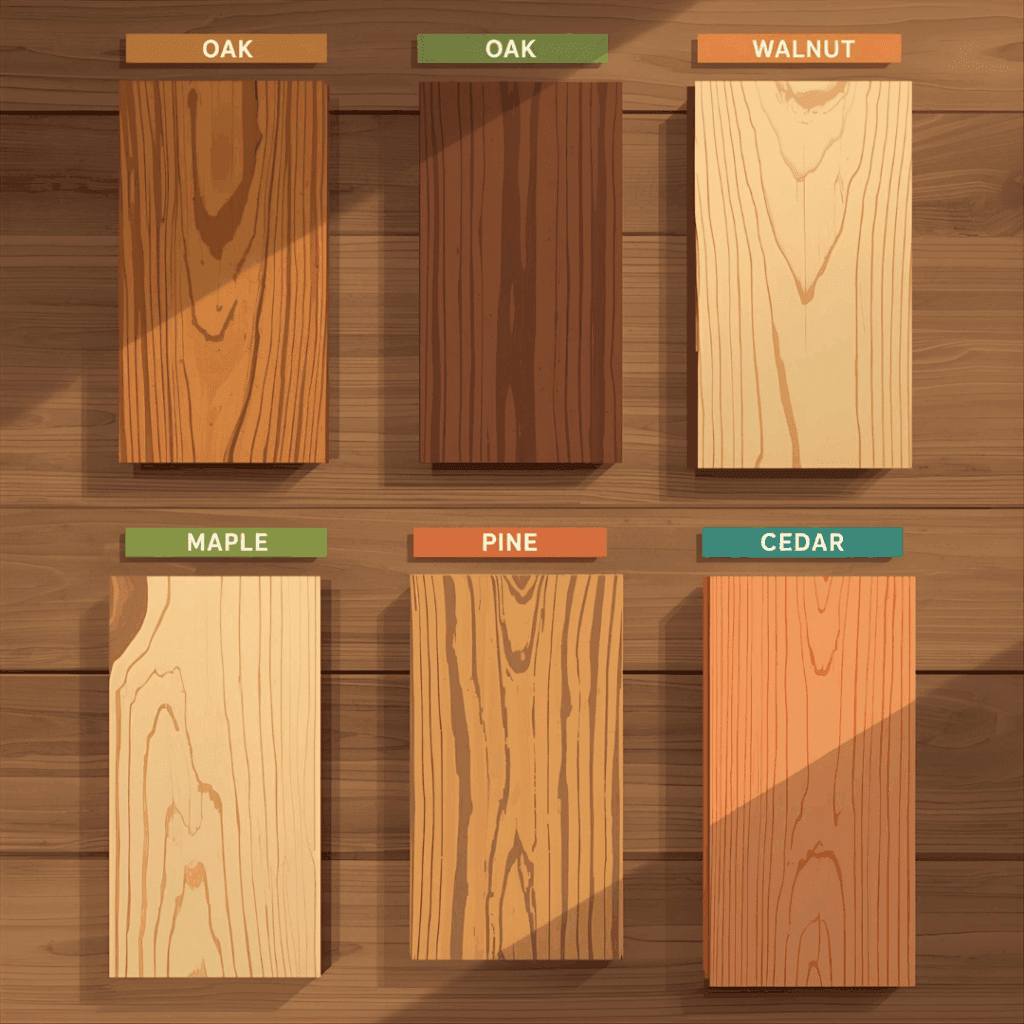
Best Woods for Mortise and Tenon Joints
Not all woods behave the same. For tight, crisp joinery, grain consistency and density matter.
Hardwoods
White Oak: Dense and durable — perfect for furniture and frames.
Walnut: Smooth and easy to pare, adds luxury to visible joints.
Maple: Extremely strong, but can chip if tools aren’t sharp.
Softwoods
Pine: Easy to cut but compresses easily; use thicker tenons.
Douglas Fir: Common in timber framing; works beautifully with drawbore pegs.
Cedar: Lightweight, great for outdoor projects with proper sealing.
Finishing and Long-Term Durability
Even the best mortise and tenon joint needs a good finish to hold up over time.
Choose your glue wisely: Use hide glue for classic furniture, PVA for everyday builds, or epoxy when it has to face the weather.
Clamp with balance: Apply steady, even pressure across the shoulders so the joint curves straight and tight.
Seal it right: A coat of oil, shellac, or polyurethane keeps moisture out and the wood looking its best.
Real-World Projects That Use Mortise and Tenon
Once you start looking for mortise and tenon joints, you’ll see them everywhere — in old furniture, new builds, even in spots you never noticed before. They’re the quiet heroes of woodworking, hiding in plain sight and holding everything together long after the screws have loosened.
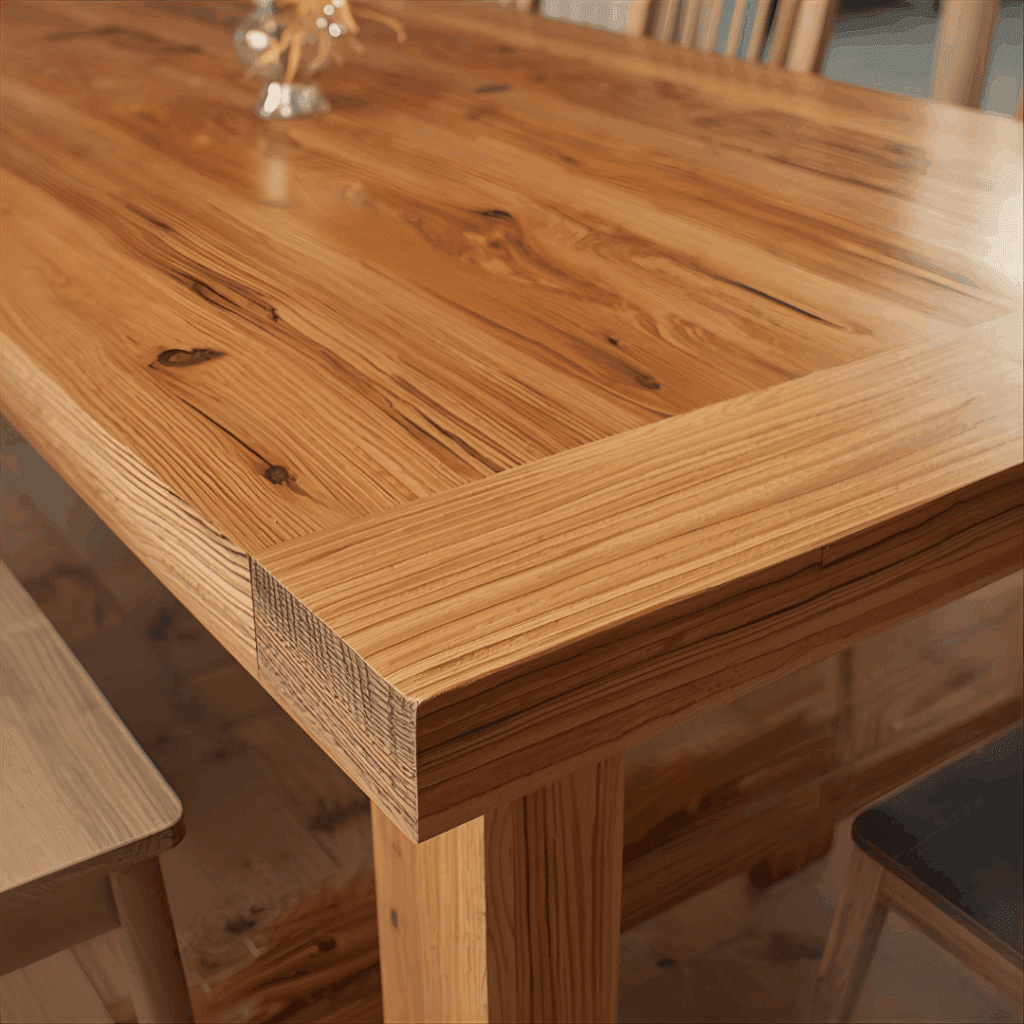
Dining Tables
Most sturdy dining tables rely on mortise and tenon joints to connect the legs to the apron. It’s what keeps them from wobbling every time someone leans on the edge. I built one for my own kitchen years ago — nothing fancy, just oak — and it’s survived countless family dinners, spilled drinks, and even a few kids climbing on top when they thought no one was looking. Still solid.
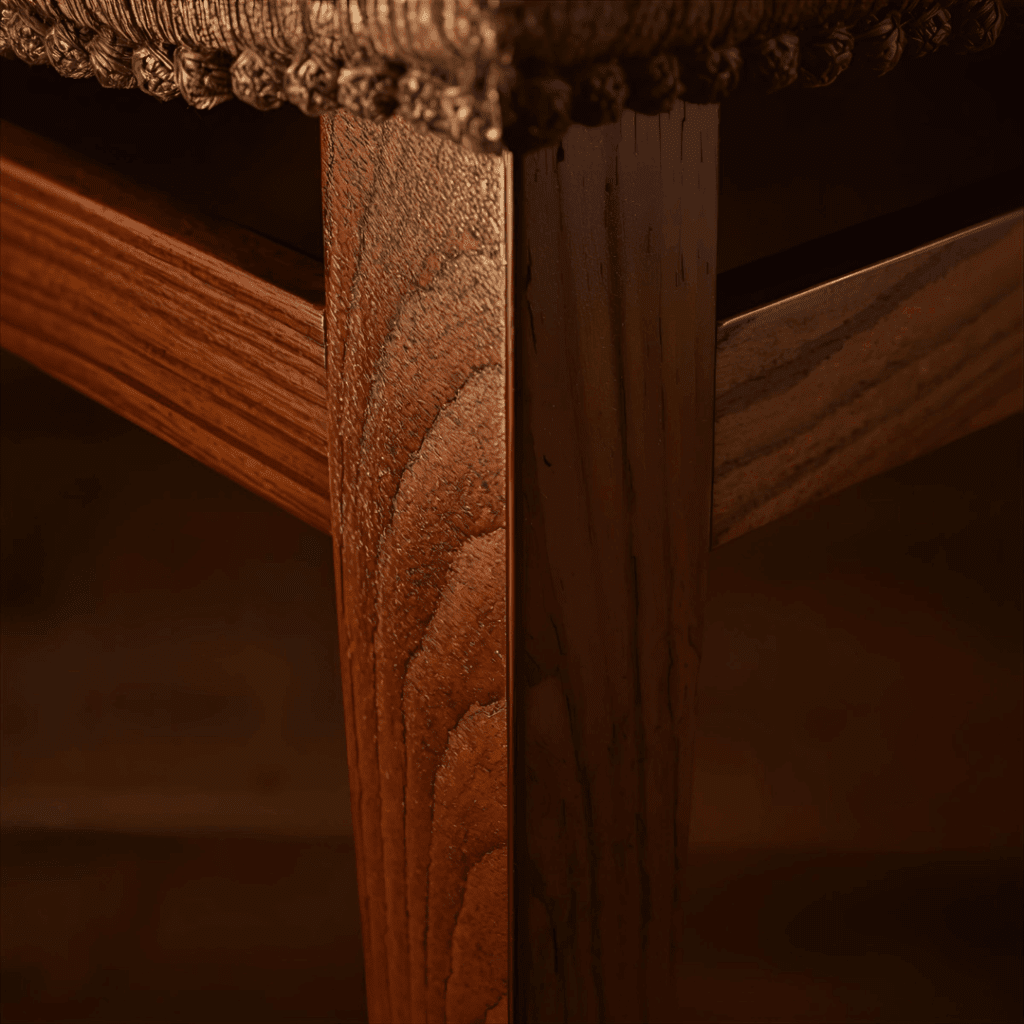
Bed Frames
A good bed frame shouldn’t squeak or sway. With mortise and tenon joinery, the joints pull tight and stay that way. No metal brackets, no weird creaks in the night. I like to add a little hide glue to the shoulders; once it cures, it feels like the whole frame is one solid piece.
Doors and Windows
If you’ve ever wondered how old wooden doors stay square after decades of slamming, this is the reason. The mortise and tenon keeps the corners from racking. It’s one of those joints that can take constant motion and seasonal wood movement without losing shape.
Cabinets
Inside a well-built cabinet, you’ll find mortise and tenon frames behind those pretty panels. They’re hidden from view, but they give the cabinet its backbone. I’ve built a few with birch plywood panels and solid poplar frames — light enough to hang, strong enough to last.
Outdoor Benches
This joint even works outdoors if you build smart. Use epoxy for glue, seal the wood properly, and a mortise and tenon bench can handle years of sun and rain. The first one I built sits under a maple tree in my yard. Every spring, I wipe on a fresh coat of oil, and it still looks the same as the day I made it.
💡 Want to try your first project? Check out our full DIY Bed Frame Guide — it’s a great way to practice mortise and tenon joinery without needing a full workshop.
Undersize First: Always cut the tenon slightly oversized — it’s easier to shave down than fill gaps.
Sharp Tools Only: A dull chisel causes tear-out that weakens edges.
Dry Fit Twice: Once before glue, once after adjusting.
Mark Faces: Keep consistent reference edges; even a 1/32″ error can show.
Finish Before Assembly: On complex projects, pre-finish interior parts to avoid trapped raw wood.
Conclusion: The Craft That Connects Generations
Funny thing about the mortise and tenon joint—it slows you down. You can’t rush it. I’ve tried. Every time I do, the chisel catches, or the fit’s sloppy, and I end up starting over. So now I take it slow. Measure, breathe, tap. The quiet stuff that no one sees—that’s the part that matters.
When it finally slides together, you feel it. Not just the fit, but the click of it being right. That sound is old. The same sound the joiners heard a few hundred years ago when they built doors that still swing straight.
We’ve got drills and screws and jigs now. All good tools. But this joint—this one asks for hands, not shortcuts. It reminds me of why I started building in the first place.
So yeah, grab a board, sharpen the chisel. Try one. You’ll nick your thumb, maybe split a piece. Happens to everyone. But the next one will fit better. And when it does, you’ll grin and think, that’s it—that’s the sound.
Drawer Slides Explained: Types, Installation & Buying Tips by Admin August 27, 2025 More About When you think about it, drawer slides don’t get nearly enough credit. They’re just strips of hardware, but without them a drawer is basically useless—scraping…