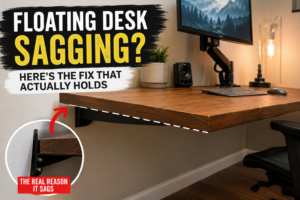
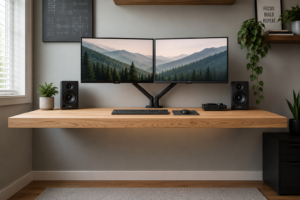
I built my first floating computer desk the wrong way. It looked great for about six weeks, then started dipping at the front edge every time I leaned on it to type. The second one I built has held a monitor, a laptop, and a full mug of coffee every day for two years without moving a millimeter. The difference wasn’t skill — it was knowing which materials and floating desk brackets actually carry weight versus which ones just look like they will.
This guide covers exactly what changed between desk one and desk two: the wood, the brackets, the wall anchoring, and the one mistake that almost put a hole through my drywall and my desk on the same afternoon. If your current desk is already showing the same dip mine did, our piece on a sagging floating desk walks through how to fix one that’s already failing before you build a replacement.
Quick Comparison: Floating Desk Ideas and Build Methods
Build Method
Weight Capacity
Cost Range
Difficulty
Best For
Plywood top + concealed steel floating desk brackets
If you only remember one row, remember the plywood-and-concealed-bracket combo. It’s the one I’d build again, and it’s the one that’s held up the longest in my own house.
❌ The Mistake That Almost Wrecked My Wall
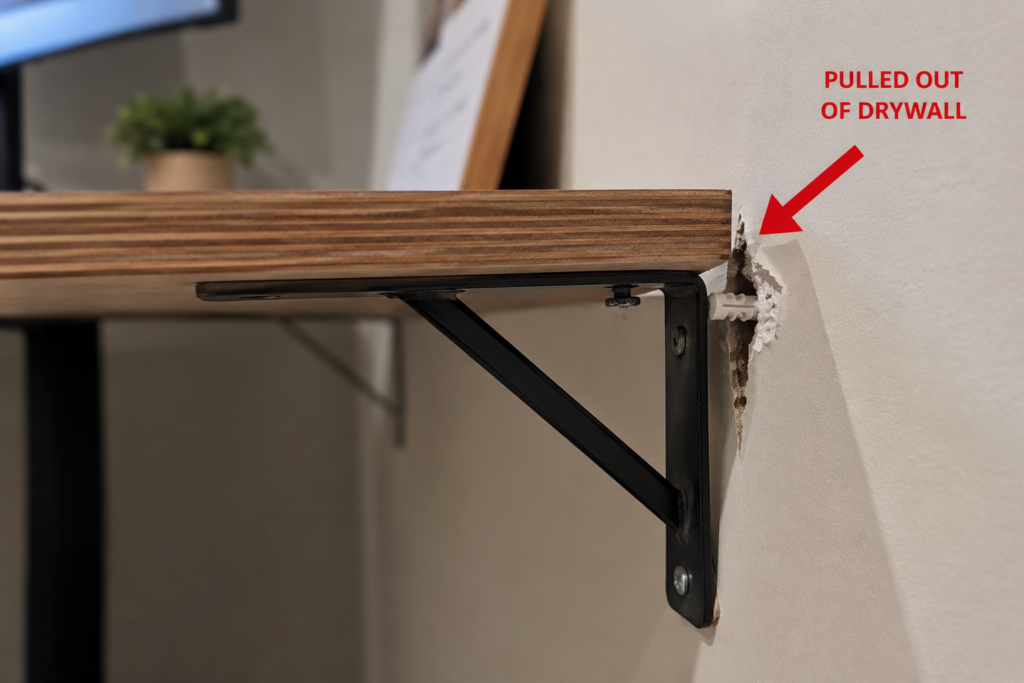
My first floating desk used decorative L-brackets I found at a big-box store — the kind meant for shelving knickknacks, not for supporting a desk someone leans on all day. I anchored them into drywall with plastic anchors instead of finding the studs. Within a month, the front-left bracket had pulled forward almost a quarter inch out of the wall. I caught it before it failed completely, but if I hadn’t, that desk — and everything on it — would have gone down.
The fix was simple in hindsight: a wall-mounted floating desk needs to be anchored to studs or to heavy-duty toggle bolts rated for at least double the expected load. Don’t trust drywall alone, and don’t trust hardware that wasn’t rated for furniture.
💸 What a Floating Desk Actually Costs to Build
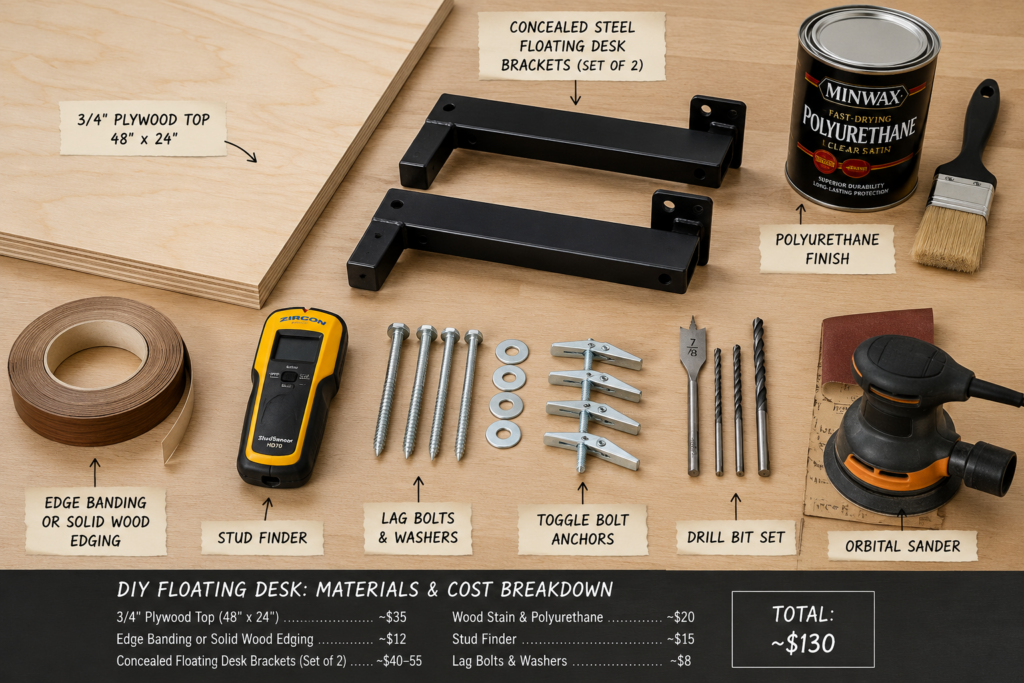
Here’s where I actually spent money on the second build, broken down honestly:
3/4″ plywood top (cut to 48″ x 24″): ~$35 if you buy a half sheet and have it cut at the store
Edge banding or solid wood edging: ~$12
Heavy-duty concealed floating desk brackets (set of 2): ~$40–55
Wood stain and polyurethane: ~$20
Stud finder (if you don’t own one): ~$15
Lag bolts and washers: ~$8
Total: roughly $130, compared to $250–400 for most comparable pre-made floating desks online. The labor was about four hours, most of which was finish drying time, not actual work.
😬 The Regret: Going Cheap on the Top Material
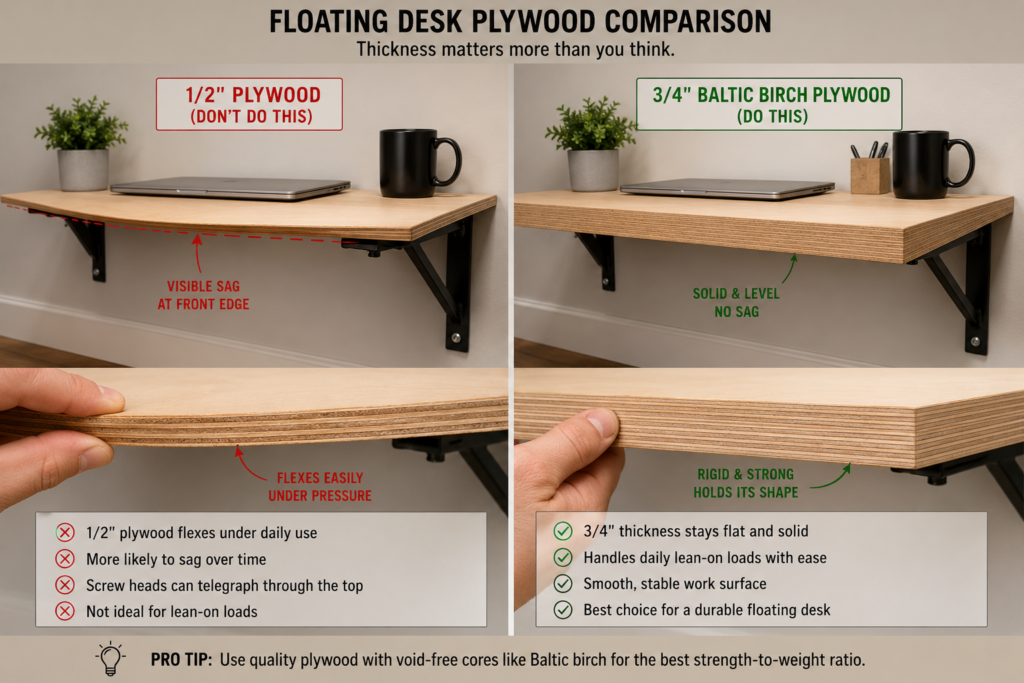
My first desk used a single layer of 1/2″ plywood, no edge banding, just painted. It looked fine in photos. In person, you could see every screw head through the thin paint, and the front edge flexed visibly when I rested my forearms on it. I regretted not spending the extra $15–20 on edge banding and a thicker 3/4″ sheet from the start. If you’re trying to decide between sheet thicknesses, it’s worth checking a plywood thickness guide before you buy, since not every “3/4 inch” sheet at the store actually measures full thickness. A void-free option like Baltic birch plywood also flexes far less than standard sheet goods at the same thickness, which matters a lot on a desk with no legs underneath it.
⚠️ Warning: Don’t Skip the Stud Finder
This is the step people skip because they’re excited to get to the fun part — cutting and finishing the wood. Don’t. A floating desk puts a constant, leaning-on-it kind of load on the wall, not just a static weight like a picture frame. If your studs don’t line up with where you want the desk, you have two real options: add a horizontal ledger board across multiple studs first, or use heavy-duty toggle anchors rated for the full expected load plus a safety margin. Skipping this step is how desks end up on the floor.
🧪 The Real Test: 30 Days With a Monitor, Laptop, and Daily Use
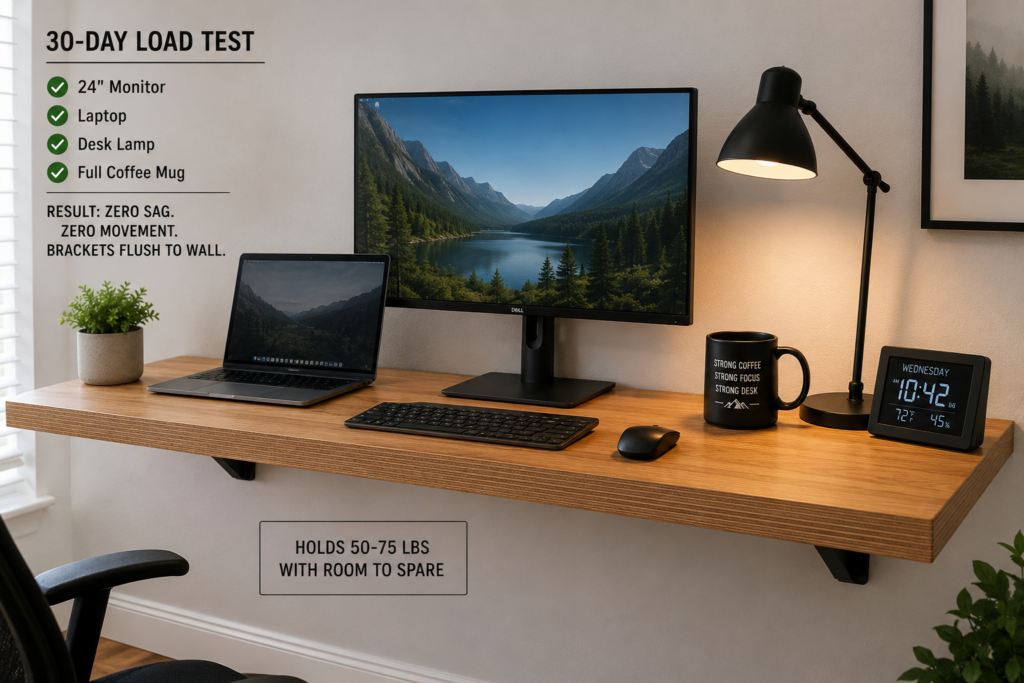
I didn’t just build the second desk and call it done — I tested it. For 30 days, I kept a 24″ monitor, a laptop, a desk lamp, and a full mug of coffee on it daily, and leaned on the front edge every morning while typing. Result: zero movement, zero sag, and the brackets were still flush to the wall when I rechecked them with a level at the end of the month. That’s the bar I’d hold any floating desk build to before trusting it with your actual work setup, and it’s the same bar I’d use to judge whether a sagging desk needs new brackets or a full rebuild.
Maximum Safe Size for a Floating Desk
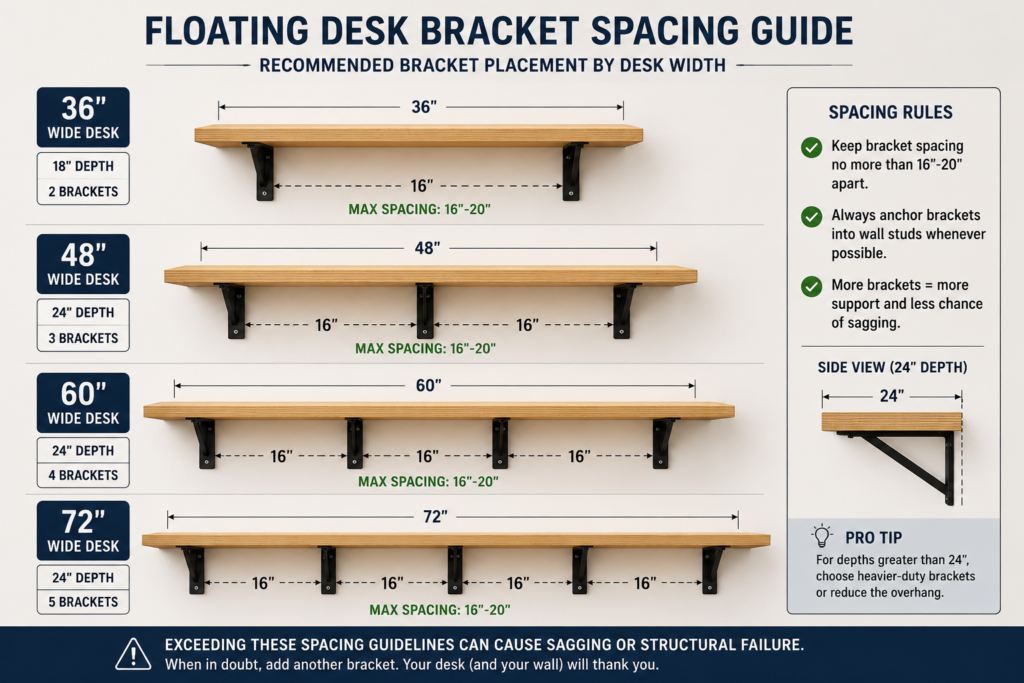
How wide a floating desk can be and how many brackets it needs depend directly on its depth and expected load. This is the spacing I’ve used and seen hold up without sagging:
Width
Depth
Recommended Supports
36″
18″
2 brackets
48″
24″
3 brackets
60″
24″
4 brackets
72″
24″
5 brackets
As a rule of thumb, floating desk supports should be spaced 16–20 inches apart across the width. Go wider than that between brackets, and even a strong plywood strength chart won’t save you from front-edge flex under daily use.
Step-by-Step: Building the Plywood + Concealed Bracket Floating Desk
Step 1: Choose and Cut Your Top
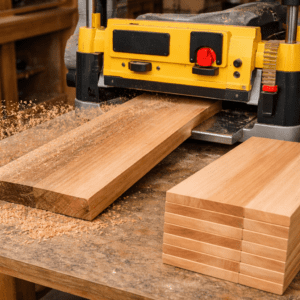
3/4″ plywood is the sweet spot between weight and strength. If you want a more polished feel, look at our guide to furniture-grade plywood before you buy, since not every sheet at the store is finished well enough to skip a veneer.
Step 2: Edge the Front and Side Edges
Iron-on edge banding or a thin solid wood strip glued and clamped to the front edge hides the plywood layers and makes the desk look like a solid slab from the front, which is the angle everyone actually sees.
Two coats of polyurethane minimum if this desk will see daily coffee mugs and laptop heat.
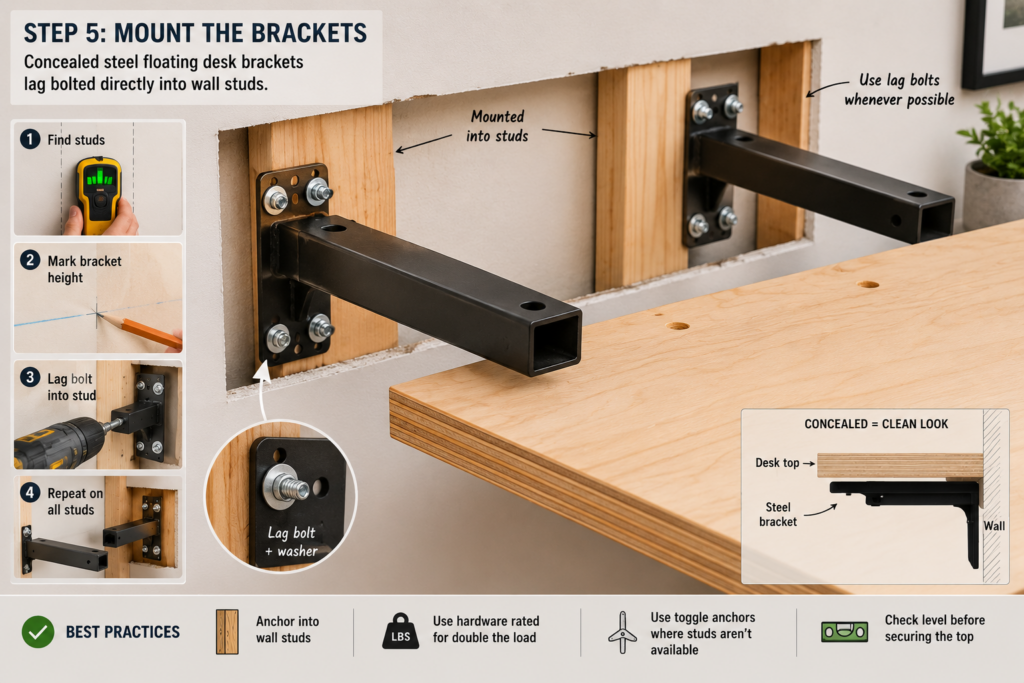
Step 4: Find Your Studs
Mark every stud across the desk’s width before you drill anything.
Step 5: Mount the Brackets
Use lag bolts directly into studs wherever possible. Where a bracket can’t land on a stud, use rated toggle anchors rather than plastic shield anchors. This is the step where concealed steel floating desk brackets earn their cost over decorative shelf brackets — they’re built to carry a continuous lean-on load, not just static display weight.
Step 6: Attach the Top and Load-Test It
Lean on it. Press down on the front edge. If it flexes more than a hair, you have a bracket or stud issue to fix before you put anything valuable on it.
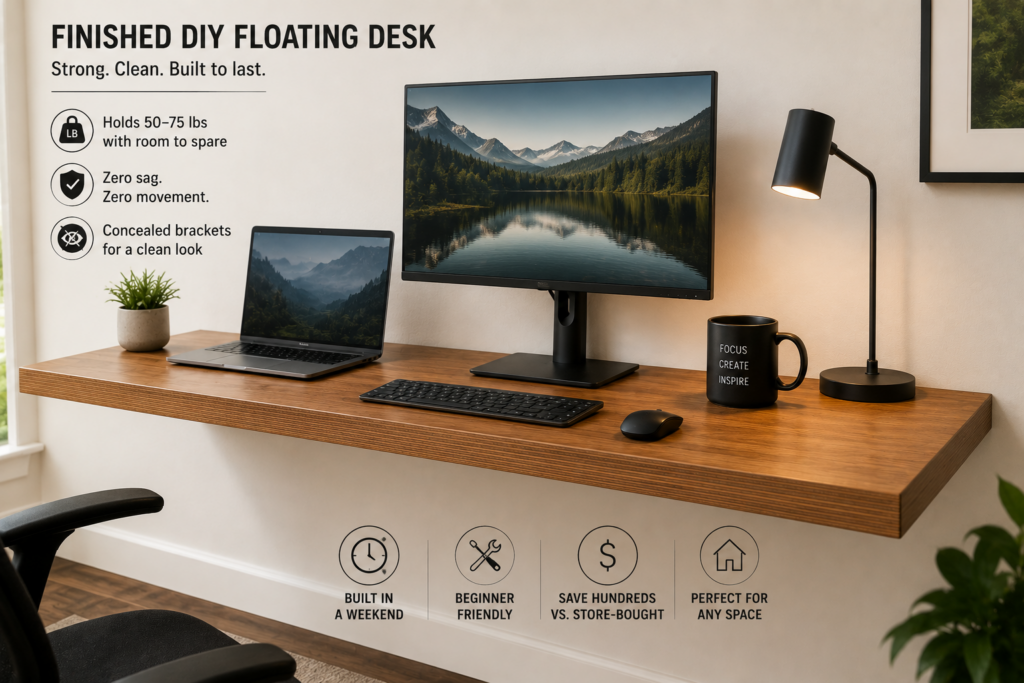
How much weight can a DIY floating desk hold? A properly built plywood floating desk with concealed steel floating desk brackets anchored into studs can typically hold 50–75 lbs evenly distributed, which covers a monitor, laptop, and everyday desk items with room to spare.
Do I need to hit a stud to mount a floating desk? Wherever possible, yes. If a bracket can’t land on a stud, use heavy-duty toggle anchors rated well above your expected load — never standard plastic drywall anchors.
How many brackets does a floating desk need? As a general guide, use 2 brackets for desks up to 36″ wide, 3 brackets for desks up to 48″ wide, and add roughly one more bracket for every additional 12–16″ of width beyond that, keeping spacing at least 20″ apart.
What’s the best wood for a floating desk? 3/4″ plywood with edge banding gives the best balance of strength, weight, and cost. Baltic birch plywood is the upgrade pick if you want less flex at the same thickness.
Can a floating desk work in a rented apartment? Yes, with a French cleat mounting system, which lets you remove the desk and patch just a few smaller holes instead of large bracket holes.
Why is my floating desk sagging? Usually it’s either brackets that aren’t rated for furniture, anchors that missed the studs, or supports spaced too far apart for the desk’s width — see our full breakdown on why a floating desk sags for how to diagnose which one is yours.
How long does it take to build a DIY floating desk? Plan for about 3–4 hours of active work, plus overnight drying time between finish coats if you’re staining and sealing the top.