Attic Hatch Insulation is important, considering that as much as 85% of a home’s heat loss occurs through the attic. This is a basic function of physics since heat tends to rise.
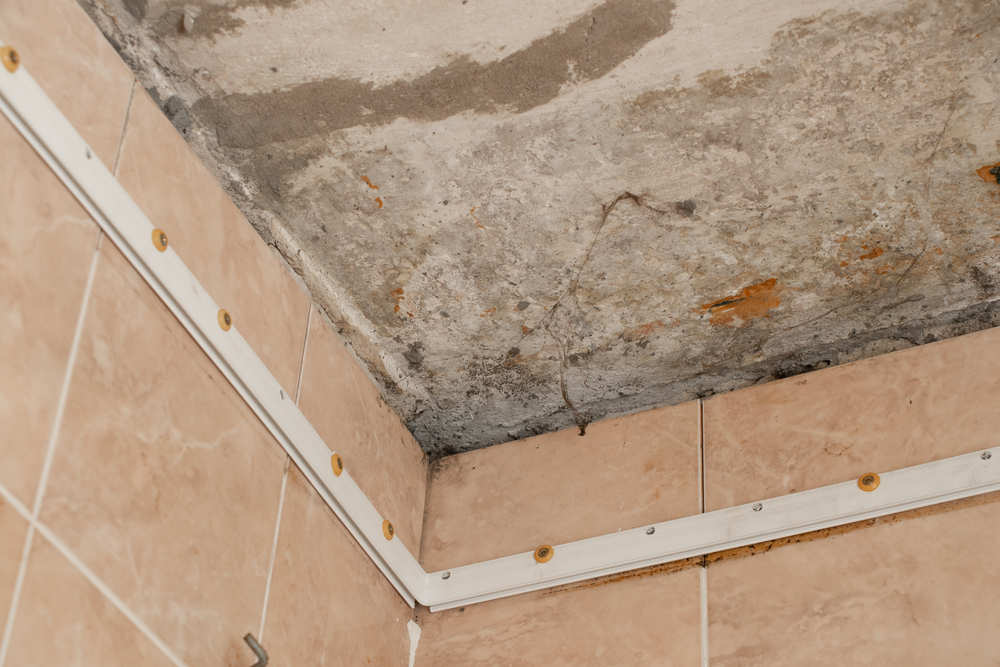
dismantling of the ceiling for renovation in the apartment, the old ceiling is concrete
The attic hatch or ladder only accounts for a small part of the total ceiling in the home but can cause a significant loss of heat since the contractor rarely insulates it. This hole, properly called a “scuttle hole,” might be located anywhere on the upper floor of a home but is usually in the ceiling of either a closet or the hallway.
It is also possible to have an attic hatch in a wall if part of the attic space has been converted into usable living space. Suppose some of the attic is still left unfinished. In that case, a scuttle hole may be added in, usually in a closet, to allow access to the unfinished part of the attic, but this is not common, as most people finish the entire attic if they choose to.
Fortunately, it isn’t all that hard for the homeowner to solve the problem of an uninsulated attic hatch. Adding insulation to an attic hatch is a project that shouldn’t take more than a couple of hours, even though it does require getting up on a ladder.
Per the building code, a scuttle hole must be at least 22 x 30 inches and have 30” of headroom clearance from the bottom of the ceiling to the rafters. If an attic ladder is installed, the normal opening size is 22.5” x 54”. Depending on whether or not an attic ladder is installed, the hatch cover mates up with the ceiling and seals off the hole significantly differently.
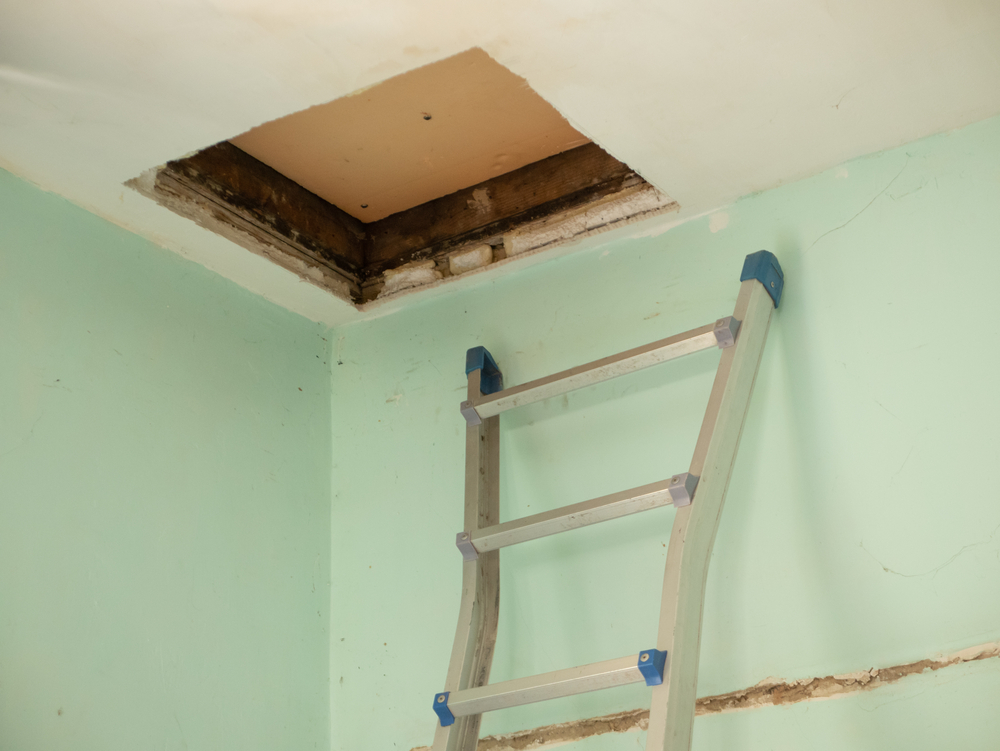
aluminum metallic ladder to closed attic at old house
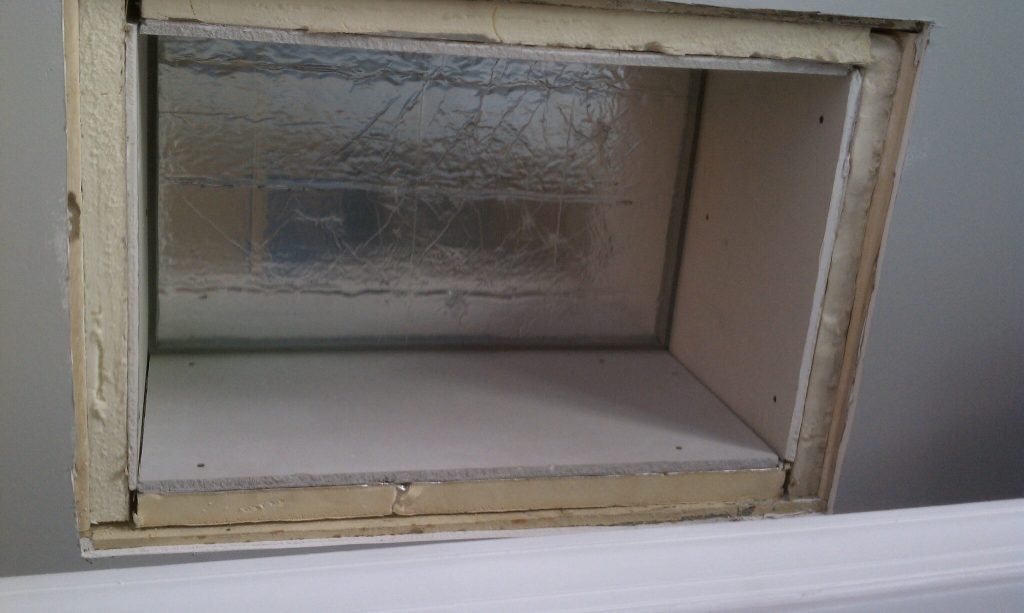
Typically, the attic hatch fills part of the space between two adjacent ceiling joists. There is no special requirement for framing this opening, so carpenters will usually use scrap 2”x 4”s or 2”x 6”s to match the size of the ceiling joists nailed between the ceiling joists for the other two sides of the opening. When loose-fill blown-in insulation is installed in the attic, spare pieces of OSB may very well be used to extend this opening farther up into the attic to prevent the insulation from falling out when the attic hatch is opened.
Most contractors will frame the ceiling around the attic hatch with door casing to cover the cut edges of the drywall. If there is no attic ladder, this trim will overlap the edges of the hatch slightly, providing a ledge all the way around for the hatch to sit on. The hatch can be made out of drywall, although it is much better to use plywood. The edges of a drywall hatch would become damaged after repeated opening and closing.
In the case of an attic hatch where an attic ladder is installed, the trim around the opening is installed after the attic ladder is installed. This allows the trim to bridge the gap between the edge of the drywall and the ladder’s mounting frame, leaving enough of the mounting frame exposed for the attic hatch (usually made of plywood) included with the ladder to sit against.
Polystyrene rigid insulation is the best material for insulating either a solo attic hatch or an attic hatch with a ladder installed. Multiple layers should be used to increase the insulating value and add weight, which will help the hatch seal against the frame.
Insulating your attic hatch can help prevent air leaks and improve your home’s comfort. Reducing energy bills and improving home comfort can be achieved through several effective strategies. Start by ensuring your home is well-insulated to minimize heat loss in winter and keep cool air inside during summer. Upgrade to energy-efficient appliances and lighting, as these consume less electricity while providing the same functionality. Consider installing a programmable thermostat to optimize heating and cooling schedules based on your daily routines. Regular maintenance of HVAC systems ensures they operate efficiently, reducing energy consumption. Lastly, sealing drafts around doors and windows prevents air leaks, maintaining a consistent indoor temperature and lowering energy costs. By implementing these measures, you can enjoy a more comfortable home environment while saving money on your energy bills.
Reduce Energy Bills and Improve Home Comfort
Properly insulate your attic hatch to prevent heat loss and save money on energy bills.
Insulating your attic hatch is crucial to maintaining a comfortable and energy-efficient home.
A properly insulated attic hatch can prevent heat loss and save you money on energy bills.
Choosing the Right Insulated Attic Access Door
Selecting the Best Door for Your Attic Hatch
Choosing the best door for your attic hatch involves considering several key factors to ensure functionality and efficiency. Opt for a door that provides a tight seal to prevent heat loss in winter and maintain cool air in summer.
Look for insulated wood or foam-core doors that offer good thermal resistance. The door should be sturdy enough to withstand occasional use and easy to open and close securely. Consider size compatibility with your attic opening to ensure a proper fit.
Select a door with effective weather-stripping to enhance insulation and energy efficiency further. Selecting the right door for your attic hatch can improve energy savings and ensure convenient access to your attic space.
Consider hiring a certified attic specialist if you’re not confident insulating your attic hatch.
Look for an insulated attic access door with a high R-value to ensure maximum energy efficiency.
Choose a door designed for easy integration into vintage and modern attics.
Consider a door with a triple gasket system to prevent draft airflow and limit the diffusion of dust, debris, and other contaminants.
Insulating Your Attic Hatch
Insulating your attic hatch is crucial for maintaining consistent indoor temperatures and reducing energy costs. Begin by choosing an insulation material such as foam board or fiberglass batts that provide adequate thermal resistance. Cut the insulation to fit snugly around the perimeter of the hatch opening, ensuring there are no gaps where air can escape. Use weather-stripping around the edges of the hatch door to create a tight seal when closed. This barrier helps prevent heat loss in winter and keeps cool air inside during summer, improving overall energy efficiency. Regularly check and maintain the insulation to ensure it remains effective over time. Insulating your attic hatch can significantly enhance home comfort while lowering heating and cooling expenses.
Air-Sealing All Edges
Air-seal the trim and enclosure around the attic door to prevent indoor air from escaping and outdoor air from entering.
Use caulk and foam insulation to seal gaps between drywall and attic door framing.
Install weather stripping on your attic door to ensure a tight seal.
Consider using attic door gaskets for a more durable seal.
Attaching Foam Board Insulation
Attach rigid foam board insulation to the back of the attic door to insulate the hatch.
Use multiple layers of foam board to achieve the recommended R-value for your attic space.
Cut the foam board to fit the hatch size and attach it using foam-compatible construction adhesive.
Top the foam board with a layer of fiberglass batt insulation for added insulation.
Securing the Attic Door with a Hook-And-Eye Latch
Install hook-and-eye fasteners to close off the attic securely and adequately.
This will make it easy to pull down the attic door and compress the gasket, ensuring a tight seal.
Use multiple secure latches to ensure the attic door is properly closed.
Final Touches and Maintenance for Attic Hatch Insulation
Inspecting and maintaining your insulated attic hatch is essential for ensuring its effectiveness in preserving energy and home comfort. Regularly check the integrity of the insulation around the hatch opening to ensure there are no gaps or signs of wear that could compromise its thermal efficiency. Verify that the weather-stripping around the hatch door is intact and provides a tight seal when closed to prevent air leaks.
Periodically clean the hatch and surrounding area to remove dust and debris that could hinder insulation performance. Consider applying additional insulation or upgrading to a more efficient hatch, especially if you notice increased energy costs or inconsistent indoor temperatures. By staying proactive with inspections and maintenance, you can prolong the lifespan of your insulated attic hatch and maximize its energy-saving benefits.
Inspecting and Maintaining Your Insulated Attic Hatch
Regularly inspect your attic hatch for air leaks and signs of wear and tear.
Check the hatch perimeter for gaps and seal them with caulk or foam sealant.
Ensure the hatch frame is properly secured to the attic access points.
Consider hiring a certified attic specialist for regular maintenance and inspections.
Related Posts:
Mastering the Art of Finishing Plywood for Stunning Results by Admin March 18, 2025 Finish Applying a finish to a woodworking project can be intimidating. A well-executed finish enhances the wood’s natural beauty, highlights craftsmanship, and gives the piece a…
Attic Insulation Removal: Complete Guide for Homeowners by Admin August 6, 2025 Repairs Rising energy bills and drafty rooms often mean the attic isn’t doing its job. Attic insulation removal can help. Warm air naturally travels upward, and…