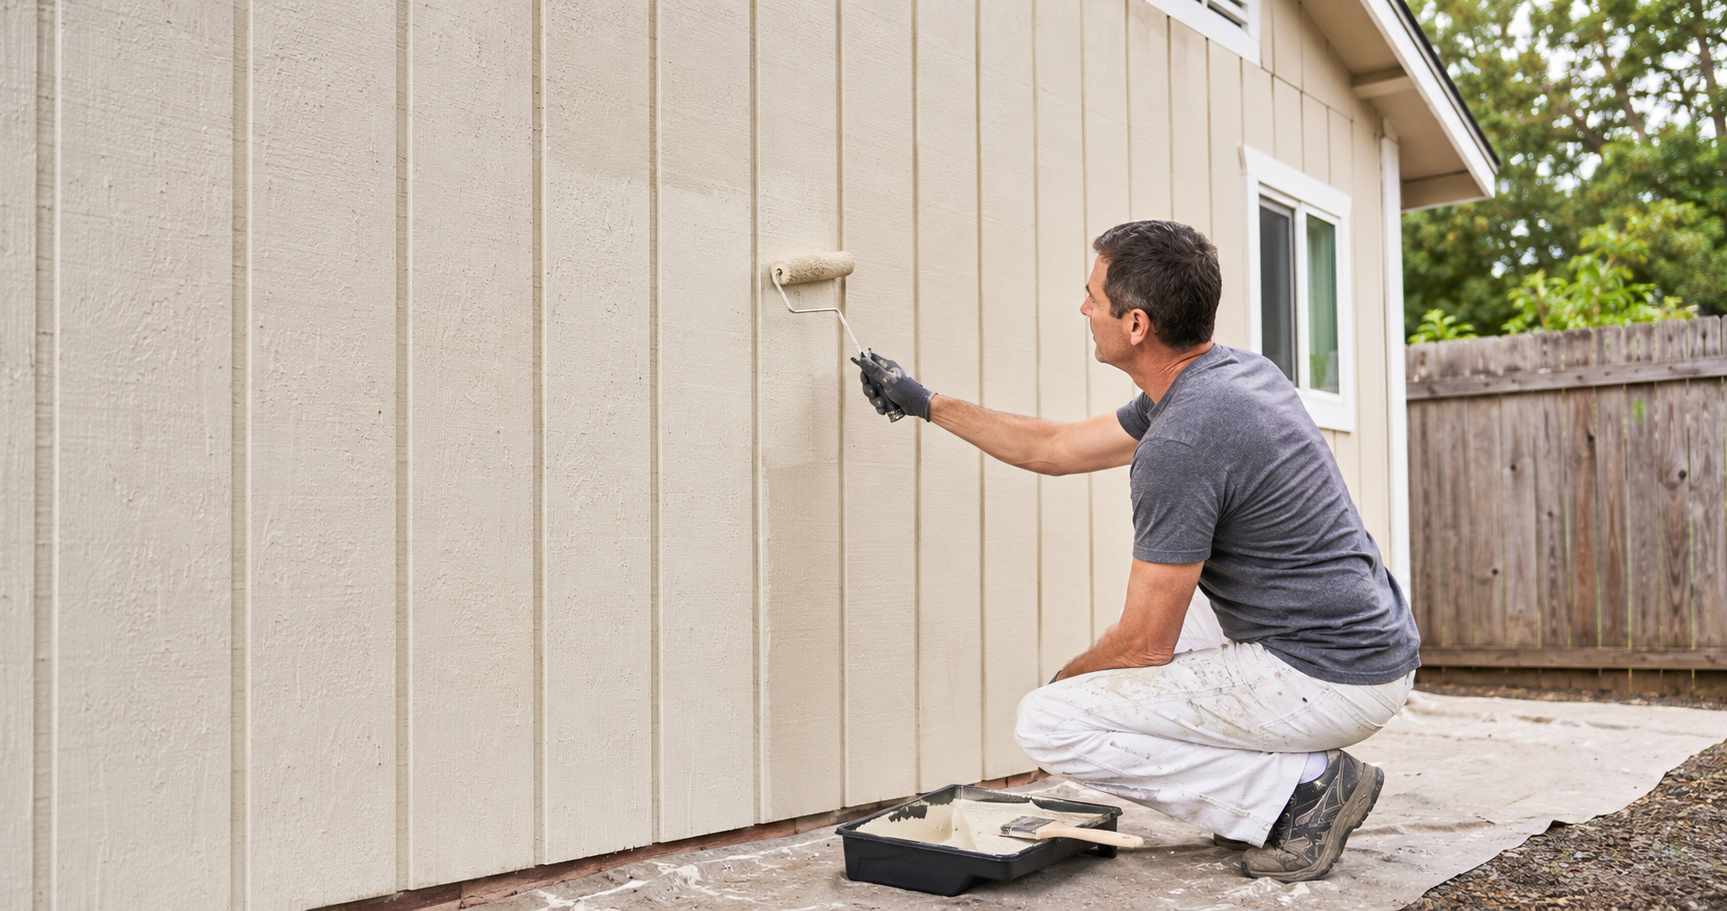
T1-11 is one of the cheapest ways to side a shed, garage, or house — and one of the easiest to ruin with a bad paint job. Get the prep right and paint can protect the panels and help them last longer. Rush it, and you may be scraping peeling paint out of the grooves before long.
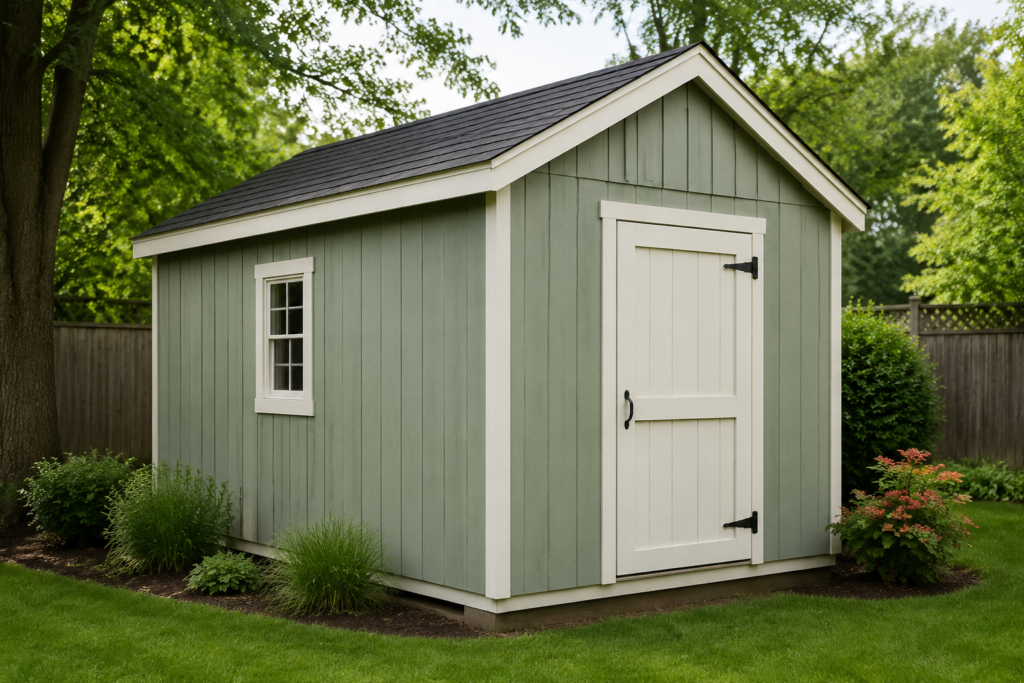
This guide walks through exactly how to paint T1-11 siding the right way: what to buy, how to prime, how to get paint into the grooves and edges where paint tends to fail first, and the specific mistakes that cost people a full repaint. It’s written for the person doing it once and wanting it done right. T1-11 is most common on sheds and outbuildings, so if you’re working on one of those, it’s worth knowing how exterior panels hold up in that setting — see exterior plywood for sheds.
Short answer: Clean it, let it dry, prime every bare surface (face, grooves, edges, and end grain), then apply the coats your paint calls for — usually two over primer — spraying and back-rolling so paint is pushed into the grooves, not just laid over them. Seal the exposed edges. That’s the whole game.
What Is T1-11 Siding (Plywood vs. OSB)
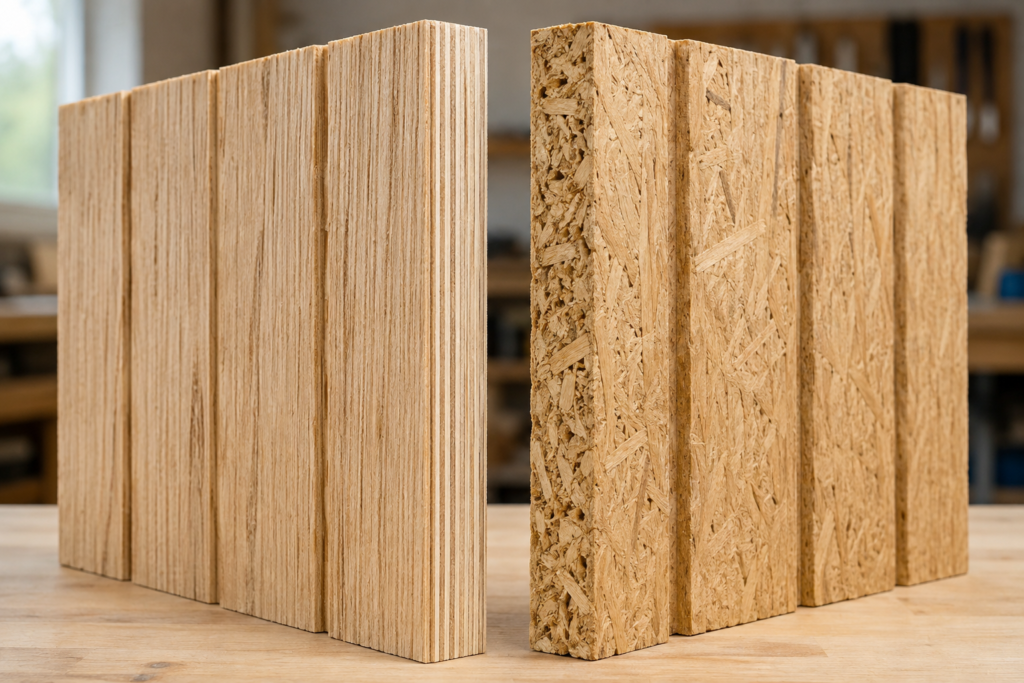
T1-11 (also written T-111 or “texture 1-11”) is a grooved exterior siding panel. It comes in two very different materials, and this matters more than almost anything else in this article:
Plywood T1-11 — made of cross-laminated wood veneers. More stable, handles moisture better, and generally holds paint longer.
OSB T1-11 — made of compressed wood strands. Cheaper, but the edges are more prone to swelling if water gets in, and it’s less forgiving of a lazy paint job.
The grooves are usually cut 4 inches or 8 inches on center, and the panels are typically 5/8″ or 19/32″ thick. If you’re not sure which material you have, look at a cut edge: plywood shows distinct layers; OSB shows a mash of flat wood chips.
Knowing your panel type changes your prep. If you want the deeper breakdown of how these two hold up outdoors, that’s covered in how OSB compares to plywood.
Warning: OSB-based T1-11 is not plywood. Its edges are especially vulnerable to water and, once they swell, paint can’t undo the damage. If you have OSB panels, sealing the edges (covered below) matters even more.
Step 1: Check the Panel Before You Buy a Drop of Paint
Paint is a coating, not a repair. Anything wrong with the wood underneath gets worse under the paint, not better.
Walk the whole wall and check for:
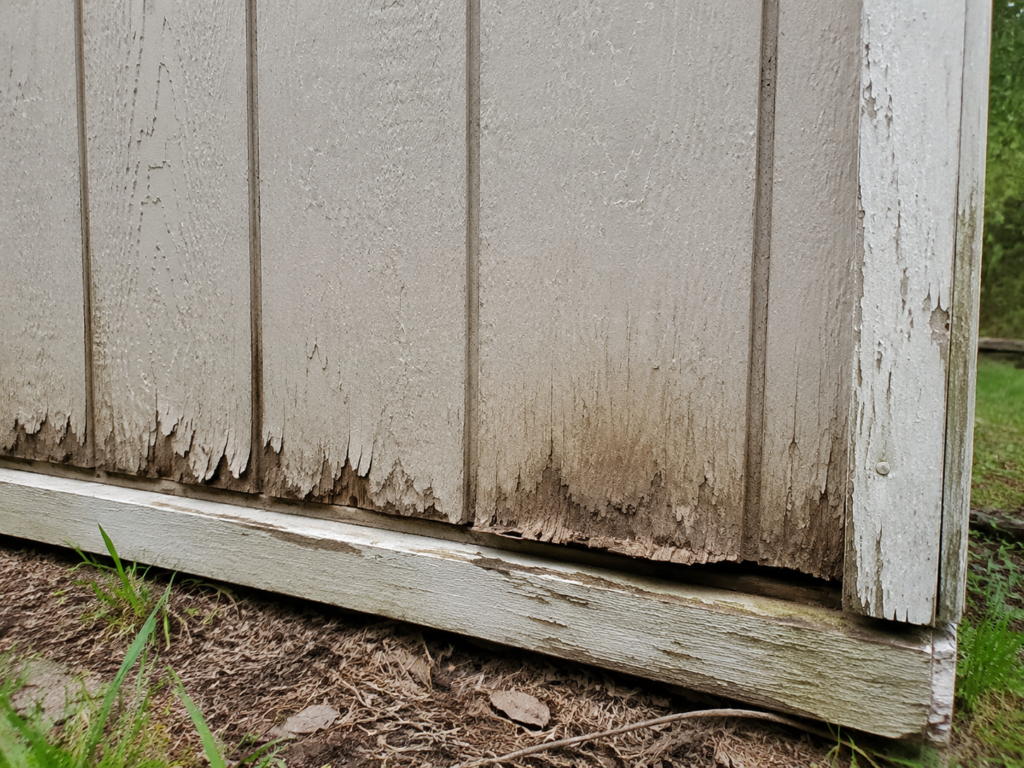
Soft or spongy spots — press a screwdriver into suspect areas. If it sinks in, that’s rot, and paint won’t stop it. Repair or replace first.
Swollen or delaminating edges and bottoms — common on older panels and especially on weathered OSB.
Loose or missing panels and popped nails — refasten before painting.
Old failing paint — scrape anything loose. You’re not painting over peel; you’re painting over sound surface.
If you find rot, deal with the cause before anything else. Repairing and pricing that out is its own project — see how long exterior plywood lasts for what drives premature failure so you don’t just paint over a problem that comes back.
The Two-Minute Test That Tells You If You Need Primer
Before you decide whether to prime, do this. It’s one of the most useful checks on the whole job:
The water-drop test. Flick a few drops of water onto the T1-11 in a couple of spots.
Water soaks in fast and darkens the wood → the surface is porous and bare. It should be primed, or it will drink your topcoat and leave you with a thin, blotchy, short-lived finish.
Water beads up and sits → an existing finish is still sealing the surface. You may be able to scuff-sand and repaint without full priming (spot-prime any bare patches).
Also check the existing finish for peeling, chalking and gloss; water beading alone does not prove that it is ready for repainting.
Pair that with a pinless moisture meter. As a general target you want the wood in the low-to-mid teens (percent) or lower, but the real limit is the maximum moisture content specified by your paint or primer manufacturer. Keep in mind that pinless meters can read inaccurately on thin siding, on OSB, over nails, or on layered wall assemblies, so treat a reading as a guide, not gospel.
Step 2: Clean and Dry the Siding
Paint sticks to a clean, dry surface and nothing else.
Start with the gentlest method that works: a garden hose, a soft brush, and a cleaner made for exterior siding. Pressure washing can damage wood siding and drive water behind it — LP, for example, advises against pressure washing its engineered siding. Only pressure wash if both your siding manufacturer and your coating manufacturer permit it, and then use low pressure and a wide tip.
Treat any mildew or green growth (a diluted cleaning solution made for exterior siding) and rinse.
Let it dry completely. This is where impatient people lose. Give washed T1-11 a couple of dry days, longer in humid weather, and re-check with the moisture meter before priming.
Warning: Do not paint over damp siding. Paint forms a film, and moisture trapped behind that film has nowhere to go — it can push the paint off from underneath. Painting wet wood is a common cause of early peeling.
Step 3: Prime Every Bare Surface
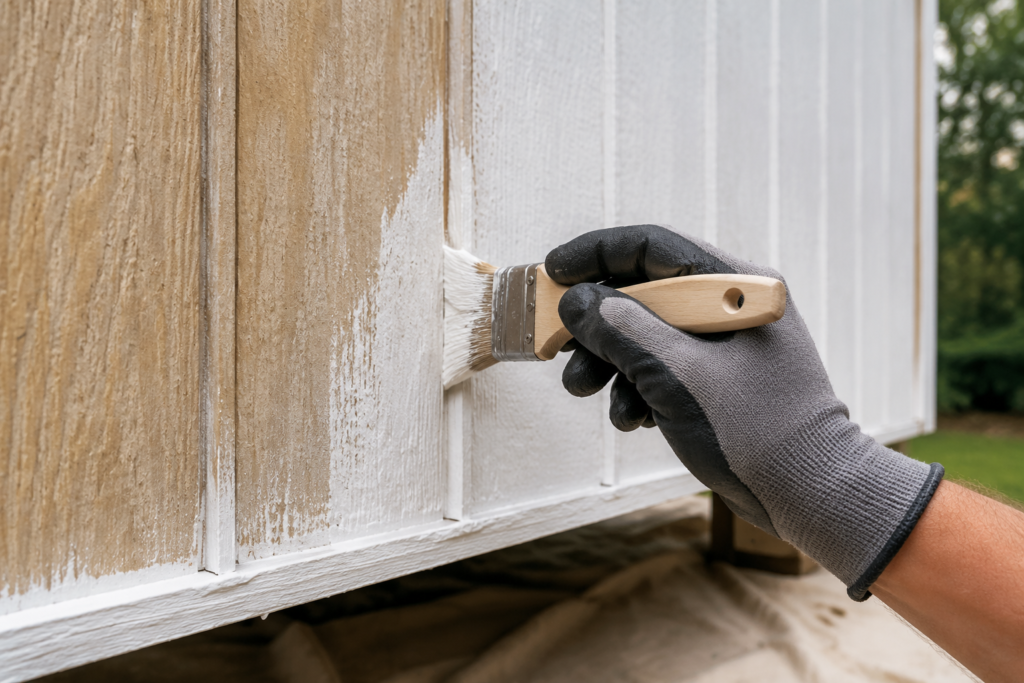
Bare T1-11 is thirsty, and it’s thirstiest exactly where paint fails: the grooves, the panel edges, the end grain, and around nail heads. Manufacturers such as Sherwin-Williams recommend priming bare wood before painting.
Use a quality exterior primer. A stain-blocking or bonding exterior primer is worth it on plywood panels, which can bleed tannins and telegraph knots through the topcoat.
Prime, in this order of importance:
All exposed panel edges — especially the bottom edge, which sits closest to splash and standing water.
The grooves — get primer down into them, not skated across the top.
Any end grain and cut edges from trimming panels.
Nail heads — spot-prime any that aren’t galvanized or stainless, or they may rust and bleed streaks through your paint.
The full face.
Before installation, prime or seal all exposed faces and cut edges according to the panel manufacturer’s instructions. Do not coat the back unless the manufacturer permits or requires it — some engineered-wood sidings (LP SmartSide, for example) specifically advise against back-priming. The principle of sealing every exposed cut edge is the same one covered in how to seal plywood edges against moisture.
The regret nobody sees coming: it’s easy to prime the big flat face you can see and skate over the bottom edges and grooves you can’t be bothered with. Before long, paint can peel from the grooves and the bottom edge can swell — and the fix is to scrape, re-prime, and repaint. The small strip of edge that gets skipped often costs the whole job.
Step 4: Caulk the Right Gaps (and Leave the Right Ones Alone)
Sealing the right gaps keeps water out; sealing the wrong ones traps it in.
Caulk gaps where siding meets trim, windows, doors, and corners, using a quality paintable exterior caulk, and tool it smooth.
Do not automatically caulk panel joints or drainage openings. Some T1-11 installations require joints to remain open or be protected with flashing, while others specify sealant. Follow the panel manufacturer’s instructions and preserve any designed drainage path.
Step 5: Choose the Right Paint
For T1-11, use 100% acrylic exterior paint. It flexes with the wood through heat and cold, sheds water, and holds color. A satin or low-luster sheen hides surface imperfections better than flat and cleans up easier than gloss.
Two common finish choices:
100% acrylic exterior paint — an opaque, protective finish in a wide range of colors.
Solid-color exterior stain — provides an opaque color while preserving more of the panel’s surface texture. Confirm that the product is approved for your specific plywood or engineered-wood siding.
Budget exterior paint costs less per gallon than premium — tempting when you need several gallons for a whole building. But the labor is the same either way, and labor (or your weekend) is the expensive part. Premium 100% acrylic exterior paint over a proper primer generally holds up longer between recoats than bargain paint, especially when the cheaper paint is stretched to a single thin coat. The fewer times you have to repaint, the less the job costs over its life. The paint is usually the last place worth cutting on this project.
Step 6: Apply It So the Grooves Don’t Fail
The grooves are often the first place a T1-11 paint job fails. The fix is technique:
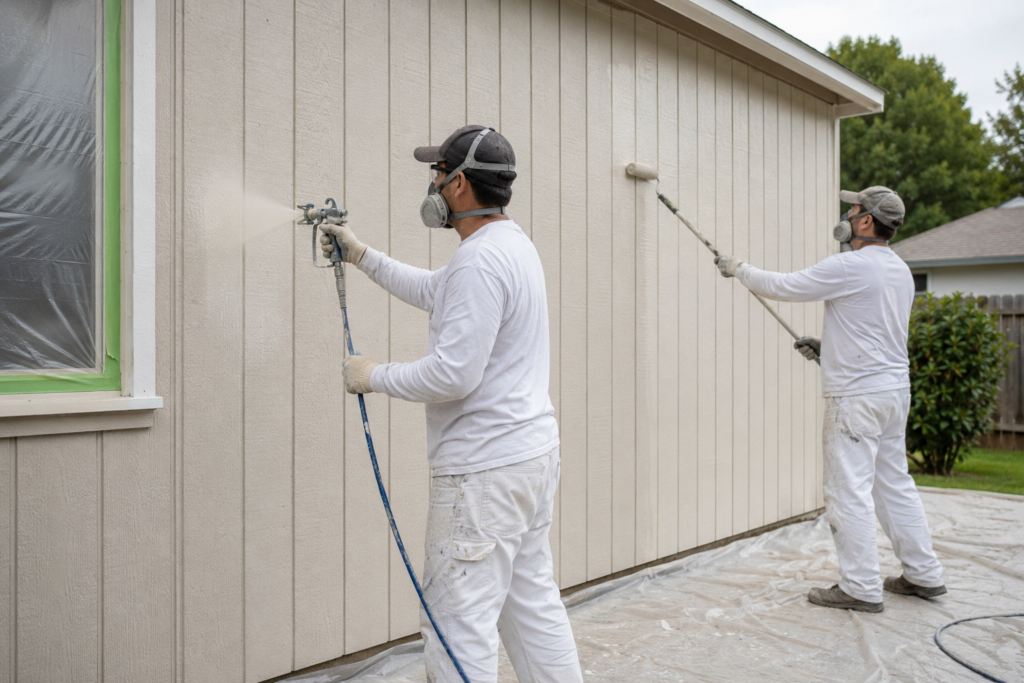
Spray, then back-roll or back-brush. An airless sprayer lays paint fast, but on its own it “bridges” the grooves — it coats the top and leaves the inside corners thin. Immediately follow the sprayer with a brush or roller to push the wet paint into the grooves and work it into the surface. This is called back-brushing, and manufacturers such as Sherwin-Williams recommend it for coatings that were sprayed on. It’s often the difference between a finish that fails early and one that holds up.
No sprayer? Brush the grooves first, then roll the flats. More work, same result: get real paint film into the grooves.
Apply the coats the coating system calls for — usually two over primer. One coat over textured siding often isn’t enough to fully protect the grooves. Let the first coat dry per the label before the second.
Watch your weather. Paint in mild, dry conditions — not in direct blazing sun (the paint skins too fast) and not with rain in the forecast.
Common mistake: spraying T1-11 and walking away without back-rolling. It can look perfect the day you finish, then the thin, bridged paint inside the grooves starts to let go and the wall reads as peeling even while the flat sections still look fine. If you do one thing from this article, back-roll the grooves.
How Much Does It Cost to Paint T1-11 Siding?
The cost depends on the size of the building, the paint quality, local labor rates, and the condition of the siding. Use these figures as general planning ranges rather than exact quotes:
DIY shed or garage wall: Approximately $100–$250 for primer, paint, caulk, and basic supplies.
DIY small building: Approximately $250–$500 or more, depending on the total wall area and number of coats required.
Professional painting: Approximately $2.34–$4.35 per square foot. Extensive scraping, repairs, or difficult access can increase the price.
Exterior primer generally costs around $30–$35 per gallon, while premium 100% acrylic exterior paint commonly costs $45–$75 per gallon. Grooved T1-11 usually requires more paint than smooth siding, so check the product’s stated coverage and purchase a little extra.
The condition of the siding often affects the total cost more than the paint itself. Sound, clean panels are relatively inexpensive to coat. Rotted areas, swollen edges, and heavily peeling paint must be repaired before painting, which can raise the final cost considerably.
Tools and Materials You’ll Need
As an Amazon Associate, ThePlywood.com earns from qualifying purchases.
Everything below is what actually goes on the job:
Zinsser Bulls Eye 1-2-3 primer — an exterior-rated, water-based primer suitable for many wood surfaces. For tannin bleeding or difficult knots, use the stain-blocking primer recommended by the paint manufacturer → Check price on Amazon
Rinse the siding once or twice a year to keep dirt and mildew off.
Re-caulk trim gaps as they open up.
Touch up chips and dings before they let water in — a nick at the bottom edge is a slow leak.
Keep sprinklers off the siding and keep splash-back down with mulch, gravel, or grading at the base.
Recoat before the paint fully fails, not after. Repainting a still-sound surface is a weekend; repainting bare, peeling, water-damaged siding is a project.
Frequently Asked Questions
Do you have to prime T1-11 before painting? If the surface is bare or has any exposed wood, it should be primed. Bare T1-11 is very porous and will drink up your topcoat, leaving a thin, blotchy, short-lived finish. Manufacturers such as Sherwin-Williams recommend priming bare wood before painting. Prime all bare surfaces — face, grooves, edges, end grain, and nail heads. If the panels already hold a sound finish (use the water-drop test), you can spot-prime bare patches and repaint.
What kind of paint is best for T1-11 siding? 100% acrylic exterior paint in a satin or low-luster sheen. It flexes with the wood, sheds water, and holds up outdoors. Solid-color exterior stain is an alternative that gives an opaque color while preserving more of the surface texture — just confirm the product is approved for your siding.
How many coats of paint does T1-11 need? Follow the coating manufacturer’s requirements — usually primer plus two topcoats. One coat over textured siding often isn’t enough to fully protect the grooves, which is where failure tends to start.
Can you paint T1-11 with a sprayer? Yes, and it’s the fastest method — but back-roll or back-brush right behind the sprayer. On its own, a sprayer bridges the grooves and leaves them thin, which can lead to early peeling. Spraying then back-brushing gives you both speed and better protection in the grooves.
How long does paint last on T1-11 siding? It depends heavily on climate, sun and moisture exposure, the substrate, the paint system, and how well the surface was prepared and maintained — so there’s no single number. Good prep, a quality primer, quality 100% acrylic paint, and periodic maintenance all help a finish last longer. Skipping priming, painting damp wood, not back-brushing the grooves, or stretching cheap paint too thin all shorten it.
Should you paint or stain T1-11? Both work. Paint gives an opaque, protective finish in any color. Solid-color exterior stain gives an opaque color while preserving more of the panel’s surface texture — just confirm it’s approved for your siding. Either way, prep and edge-sealing matter more than the choice between them.
Best Paint for Exterior Plywood: What Actually Lasts Outdoors by Admin August 27, 2026 DIY The best paint for exterior plywood is a high-quality 100% acrylic latex exterior paint applied over an exterior-rated primer. Just as important, every exposed plywood edge…