Sandpaper is probably the most common woodworking tool there is, yet few people think of it as such. If we think of sandpaper at all, it’s probably to wonder where we put it after the last project. There’s just nothing about sandpaper to arouse a lot of interest, and cause excitement, like there is with larger, more powerful tools. Yet without it, we’re hard pressed to produce a good looking and nicely finished piece of work.
The earliest use of sandpaper goes back to 13th Century China. But it wasn’t until early in the 1900s that sandpaper really took off, when 3M (Minnesota Mining and Manufacturing Corp.) made their first wet-or-dry sandpaper, which was used for automotive paint refinishing.
Before that, woodworkers, especially furniture and cabinetmakers, first used a plane and then a scraper to smooth out wood. The scraper is nothing more than a flat piece of high-carbon steel. A burnisher is used to raise a burr on the edge of the scraper, so that when it is pushed or drawn across a piece of wood, it makes the thinnest of shavings, leveling and smoothing the surface. It took time and practice to learn how to use a scraper effectively; but once mastered, provided an even smoother surface finish than sandpaper will.
Even so, sandpaper quickly replaced scrapers because of its ease of use. Sandpaper doesn’t require a lot of training, just some basic instructions. Once those are provided, anyone can sand a board or finished project, resulting in a professional looking finish.
Today, with so many different electric sanders available, little hand sanding is done, with the exception of edges and unusual shapes, where an electric sander may not fit. This speeds up the process, helping even novice woodworkers create a quality job with a fantastic looking finish.
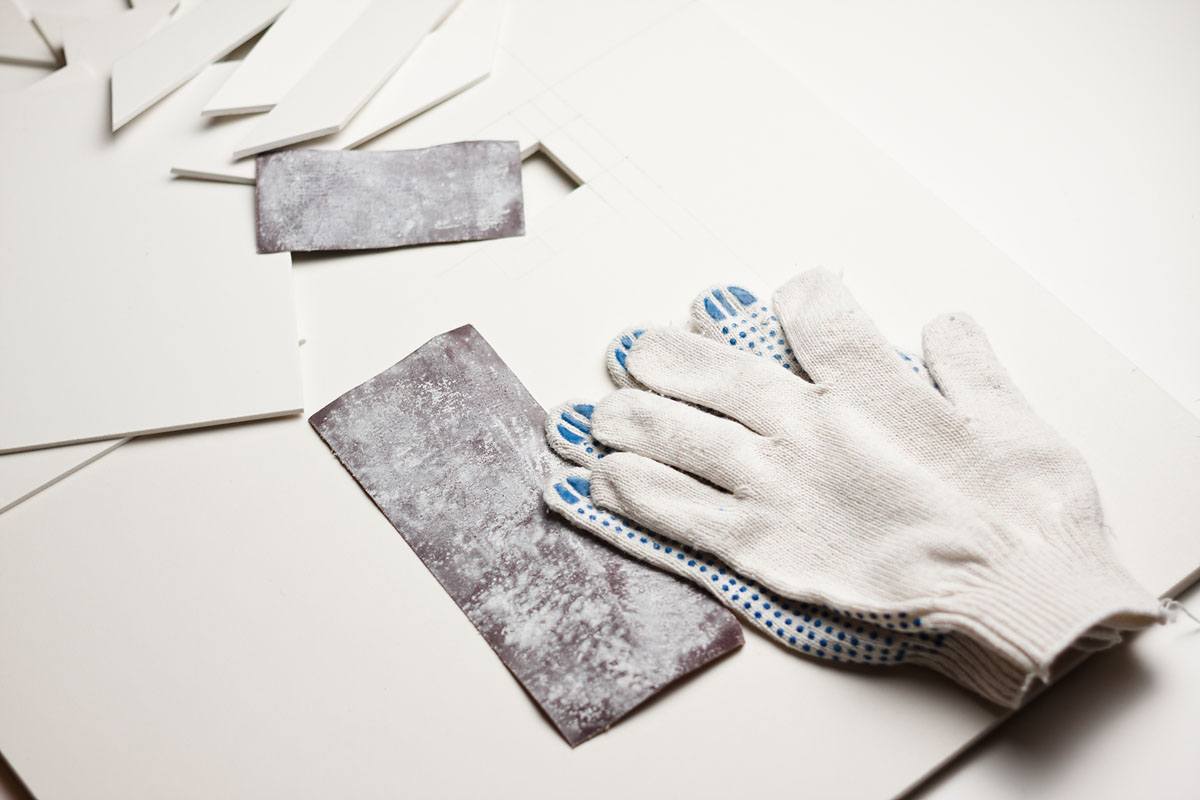
Selecting Sandpaper
The major criteria when selecting sandpaper for any project is the sandpaper’s grit. This can either be listed as CAMI grades (Coated Abrasives Manufacturing Institute) or FEPA grades (Federation of European Producers of Abrasives), although CAMI is more common here in the US. FEPA sandpaper grades will normally have the letter “P” before the number. The CAMI grade indicates the size of the particles, essentially being the number of particles it takes, lined up in a row, to make an inch. The measurement isn’t exact, but it works nevertheless.
These sandpaper grits can be broken down into two general groupings, macro grit and micro grit. Macro Grit sandpapers include:
Extra Coarse – 24, 30, or 36 grit – used for initial sanding of hardwood floors; removes a lot of material quickly
Coarse – 40, 50, or 60 grit – clearing debris and imperfections with minimal effort; can remove material rapidly, used to remove paint or varnish, before refinish
Medium – 80 grit – sanding bare wood to remove imperfections, such as planning marks, prior to prepare it for finishing
Fine – 100, or 120 grit – preparing bare wood for finishing, cannot remove varnish or paint
Very Fine – 150, or 180 grit – final finishing of wood, before applying finish
Micro Grit sandpapers include:
Very Fine (different than macro grit “very fine”) – 240 grit – sanding between consecutive coats of wood finish
Extra Fine – 320, or 360 grit – initial step for wood finish polishing
Super Fine – 400 – 600 grit – final wood finishing
Ultra Fine – 800 – 1,000 grit – final sanding of soft, thick finishes
Not all of these grades of sandpaper are needed for all projects. Most woodworkers only work with three to four grits, depending on the type of work they are doing.
Sandpaper Material
The grit of the sandpaper isn’t the only thing to consider. A variety of different materials are used to make that grit. Some are better than others, depending on the application. While the average woodworker only uses one or two types, it’s important to know what’s out there, so as to avoid buying the wrong thing.
Flint – flint is a natural stone, best known for its ability to create a spark when struck with a piece of steel. It fractures along lines, making sharp granules which work well for heavy sanding jobs.
Emery – a dark charcoal or black mineral grain, which is most often used on metals, especially for the removal of oxidation
Garnet – another naturally occurring stone, which is softer than flint. Being softer, it dulls faster. Yet it is ideal for fine sanding of wood
Zirconia Alumina – a very hard synthetic material, ideal for rough grinding of metal or initial sanding of rough wood
Aluminum Oxide – another synthetic material which is mostly used for sanding soft metals, such as bronze. It is also excellent for fine sanding of hardwoods
Silicon Carbide – the most durable of all synthetic abrasives used in sandpaper. It can be used on almost all materials, including hardwoods and softwoods
Please note that even the densest of hardwood is softer than any of these materials, so wood is not likely to dull the sandpaper. However, it can fill the gaps between the grit, “clogging” the paper. This does not make the paper unusable, although it can be helpful to stop and wipe away the dust. Wood with a high sap content may actually clog the paper in a way that can’t be cleaned out easily.
The type of sander used is important as well, as some take off material faster than others. Those are better used for shaping parts, while other sanders, which take off less material, are best used for finish tasks. Most experienced woodworkers will have more than one type of sander, allowing them to pick the one which works best for the task at hand.
Floor sanders – not all floor sanders are created equal; they include pad, drum, or belt styles. All are intended to take off a large amount of finish or material quickly, leveling and smoothing hardwood floors
bench-mounted Belt Sanders – used for shaping of project parts, removing material quickly. Most belt sanders will also contain a disc sander, which is used for finer shaping
Drum Sander – the drum sander is primarily used for sanding of interior (convex) curves. The sandpaper is wrapped around a cylinder and clamped in place and the drum is spun rapidly.
Oscillating Spindle Sander – a tool to hold a drum sander, moving it up and down out of sync with its rotation. This helps prevent scarring from higher pieces of grit
Handheld Belt Sander – used for removing a lot of material rapidly, especially when leveling tabletops and other laminated surfaces. It is extremely easy to gouge the surface with a belt sander, so the tool must be kept in constant motion across the surface being sanded
Vibratory Sanders – there are several different types of vibratory sanders, including quarter-sheet palm sanders, “mouse” sanders, and third-sheet sanders. All of them do basically the same thing, vibrating to move the sandpaper slightly, while the user’s hand moves the sander over the surface. Vibratory sanders are predominantly for finish work
Orbital Sanders – originally developed for auto-body work, this sander rotates a disk of sandpaper to provide more cutting action than a vibratory sander will. The random orbital function on some of these sanders helps prevent gouging from the same piece of grit passing over the same spot multiple times
Hand Sanders – there are a variety of different ways to hand sand a piece or project, including sanding sponges, sandpaper held in the hand, sandpaper attached to a board to rub the workpiece over or a sanding block. In any case, the motive power is provided by the woodworker, which offers the greatest amount of control, in exchange for slower sanding
There are also a number of specialized sanding products, either designed for use with one of the above-mentioned sanders, with an electric drill, by hand or in conjunction with other power tools. A variety of “Scotchbrite” and other similar brand products make it easier to sand complex curves and other unusual shapes. Multiple different solutions are available for any sanding job, so there is no one right answer. The right answer is the one which works in that situation.
Most woodworkers end up with a variety of sanding products, allowing them to choose what they feel will work best in any one situation. That also provides the flexibility of making changes, if their first selection doesn’t work out quite as well as they had hoped. But where do we start out? That depends largely on what’s being sanded.
Wood density affects how rapidly any sandpaper cuts. However, that does not mean that a coarser sandpaper should be used, just because it is cutting slowly. Rather, it would be better to use a more aggressive power sander, with the same grit sandpaper. Changing to a coarser grit would cut material off more quickly, but at the cost of scratching the wood surface.
80 to 100 grit flint or garnet sandpaper is a good starting point for most woodworking projects. This allows for quick removal of material, either along the edges, on curved cuts or in scratches and gouges in the surface. It is important to take care with these sanding grits, as it is easy to go too far and gouge the material, creating more work later.
Not all surfaces will require sanding with coarse grit sandpaper. A workpiece cut out of a hardwood board may require coarse sanding along the cut, but not on the surface, which will come sanded from the mill. Likewise, cut plywood may very well need coarse sanding on the edges, but that coarse paper should almost never be used on the surface, as it might damage the face veneer.
The predominance of sanding on wood projects should be done with fine sandpaper, 100 to 120 grit. This will provide enough cutting action for final shaping, while also allowing for initial smoothing of surfaces. It can remove cutting and planning marks, smoothing the surface. However, in most cases it is not necessary to sand mill sanded surfaces or the face veneer on plywood, as those surfaces are already sanded this smooth.
Final sanding of hardwoods and plywood, before applying a finish, should be done with very fine sandpaper, 150 to 180 grit. This should give smooth edges, as well as take out any imperfections in the wood surface. These grits can be used cautiously on the face surface of hardwood plywood. Care must be taken to not sand through the face veneer, as it is very thin.
Hardwood plywood comes from the mill “ready to use;” meaning that no sanding is expected. This is a bit untrue, as final sanding often needs to be done with fine sandpaper. But the face veneer on these types of plywood is usually only 1/40th of an inch thick, making it extremely easy to cause permanent damage when sanding. Only sand the absolute minimum necessary to receive the desired results.
When using construction grade plywood for making projects, heavier sanding of the surface veneer will be required. Unlike hardwood plywood or sanded plywood, there are often a large number of imperfections in the surface of construction grade plywood. These can be filled with wood putty or spackling, allowed to dry and then sanded smooth with fine sandpaper.
Related Posts:
Best Stain for Pine by Admin April 29, 2022 Finish Pine is the most common wood used by the home woodworker, partially due to its ready availability and partially due to its low cost. Many…
Best Ways to Remove Deep Wood Furniture Scratches by Amy Reed December 7, 2022 DIY Wood furniture, like tables and cabinets, or hardwood flooring is always prone to scratches. Usually, scratches only occur on the surface level, making them very…
Best Attic Stair Insulation by Admin July 9, 2023 Installing Attic stairs are a great convenience, making it easy to go up into the attic at any time and utilize the space up there for…