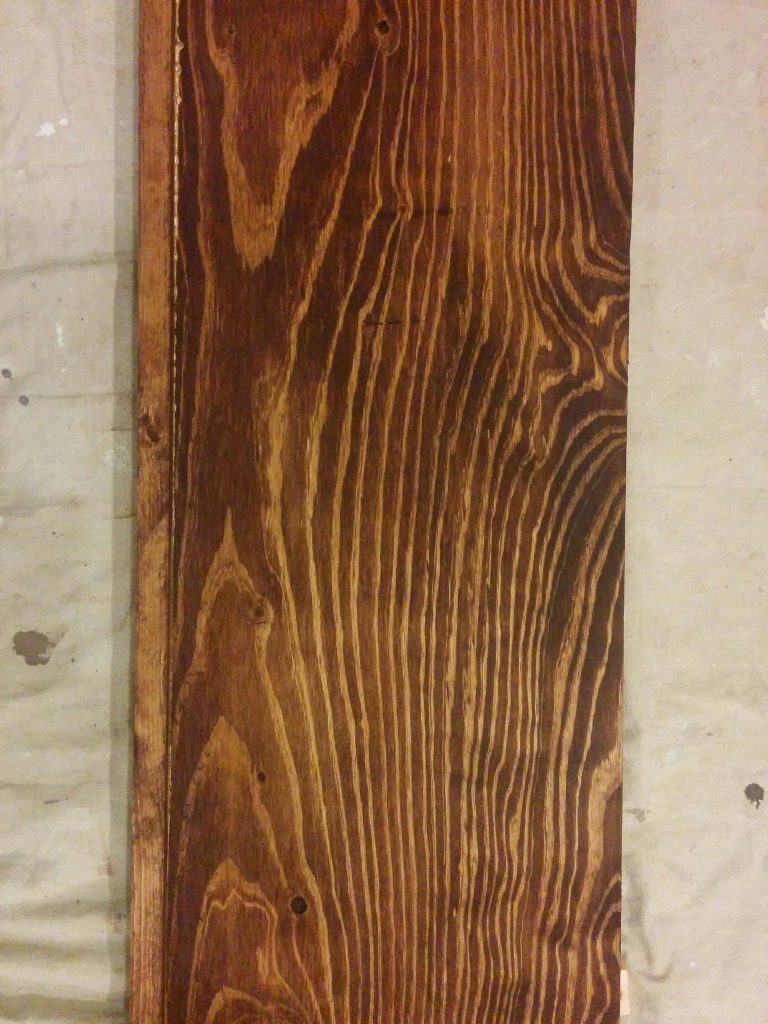
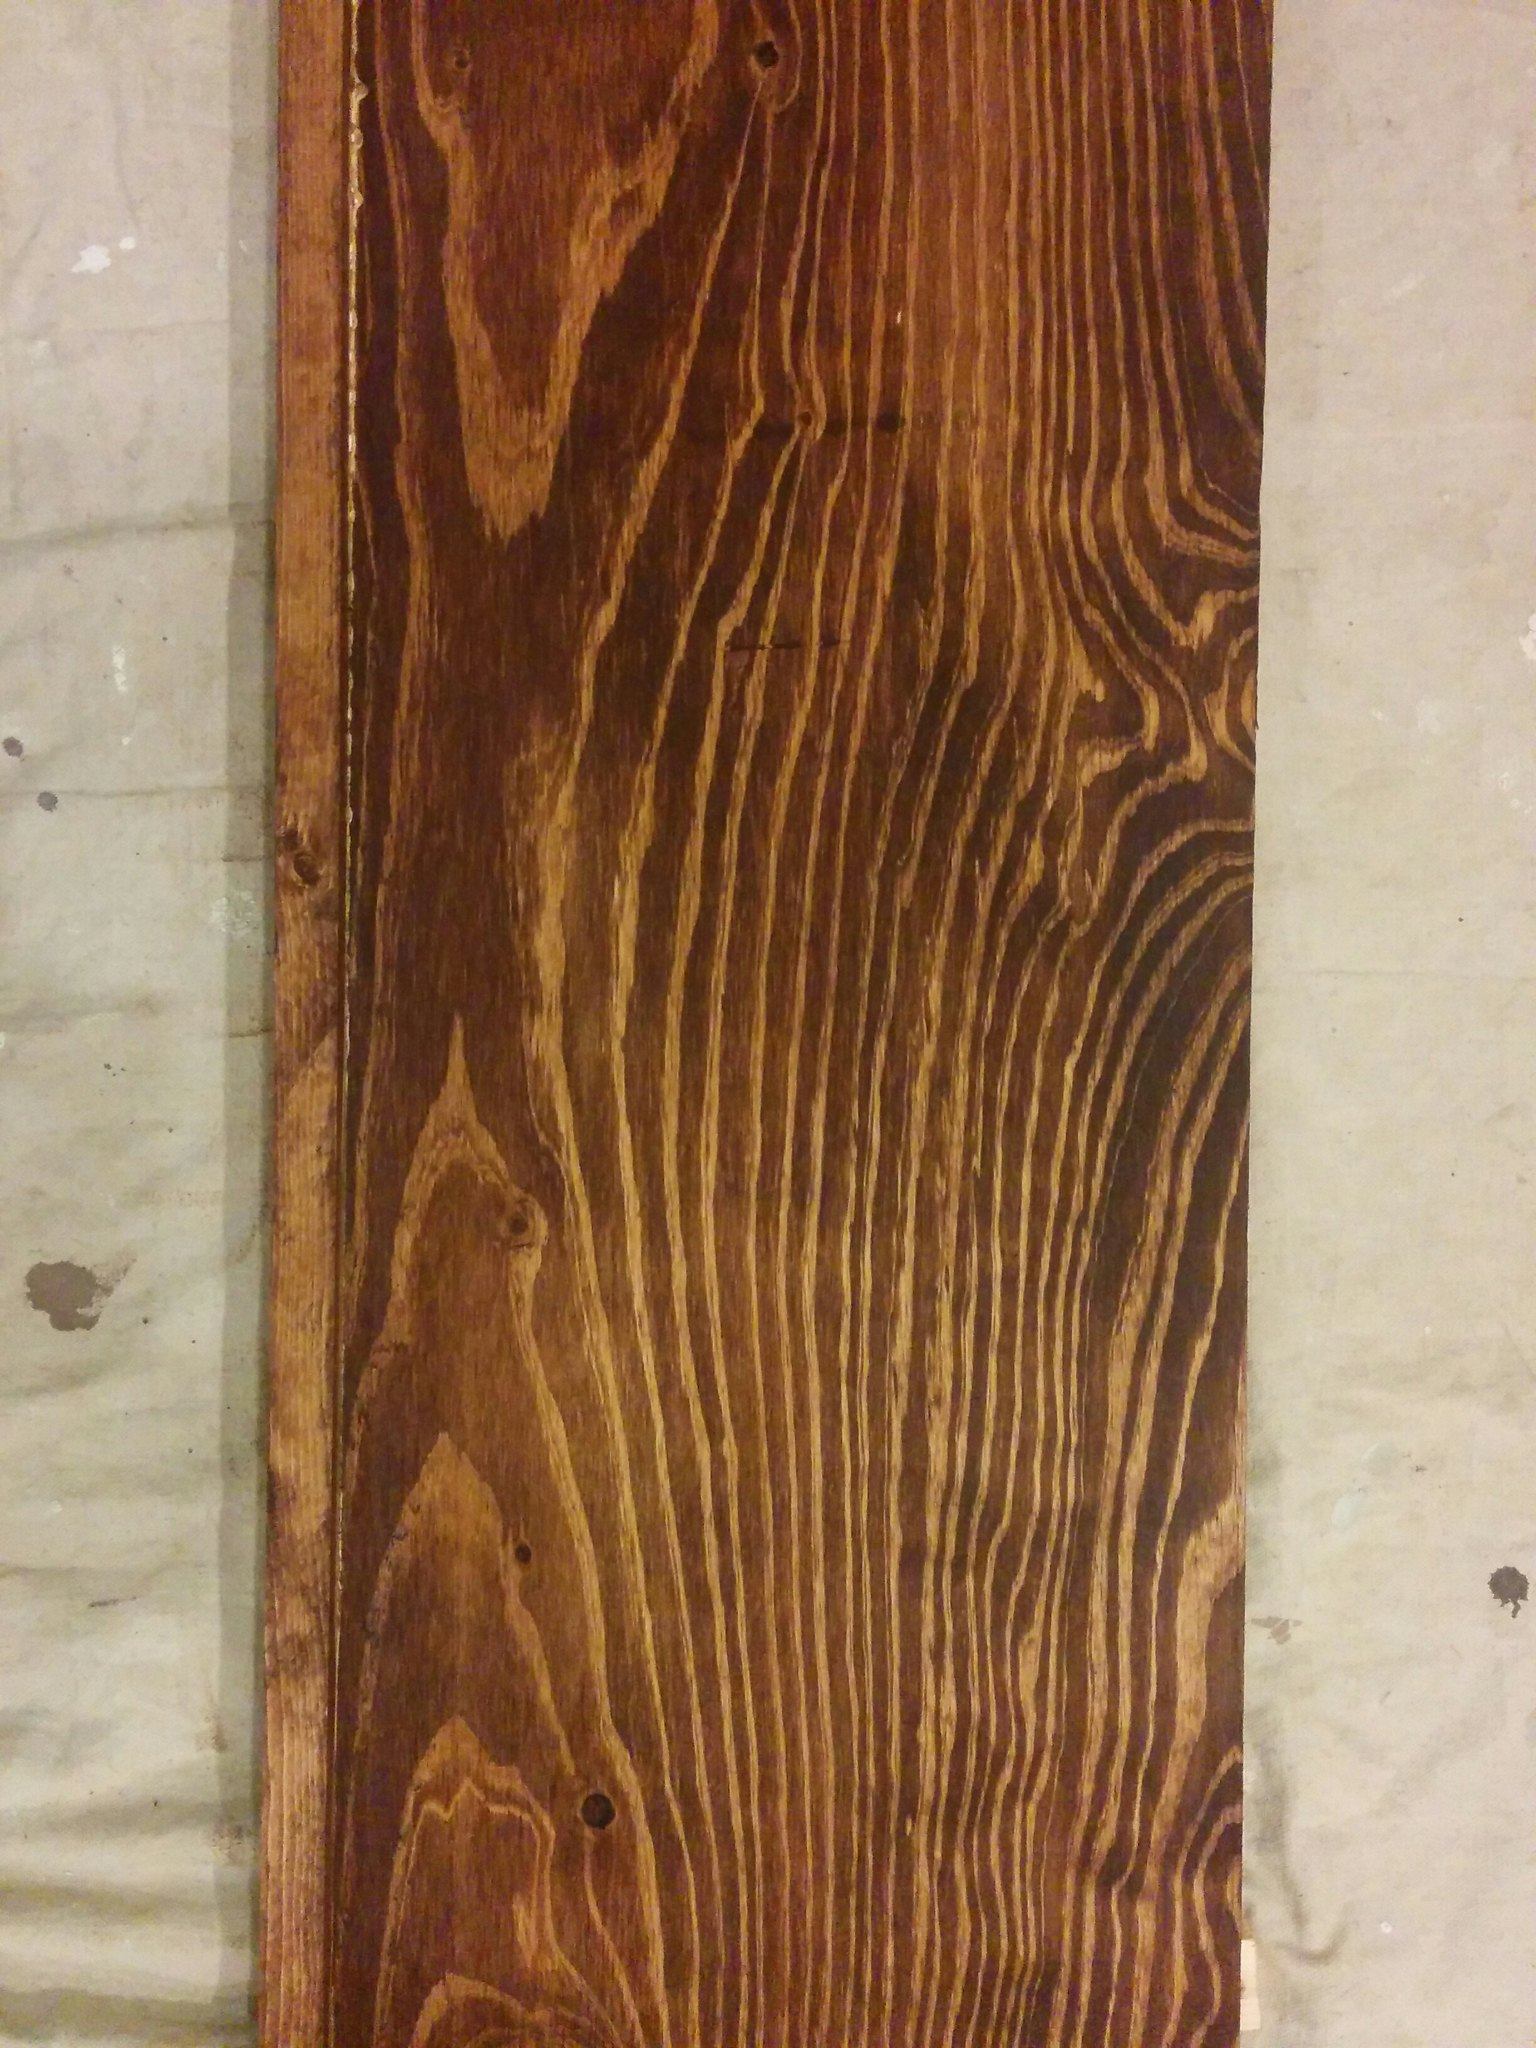
Pine is the most common wood used by the home woodworker, partially due to its ready availability and partially due to its low cost. Many new woodworkers, who don’t have a lot of experience working with hardwoods, think that they are harder to work with than pine, so avoid them. But pine has its own challenges, both in machining the wood and in finishing it.
A lot of those homemade pine projects are stained and varnished. With pine being a light colored wood, a wide variety of stain colors can be applied effectively to it. Nevertheless, staining pine can be challenging as well. Rather than accept stains evenly, pine has a tendency to get splotchy. That’s not much of a problem with rustic styled furniture; but it can spoil the effect when it happens on fine furniture.
Much of the splotchy finish appearance that can happen with pine is due to the knot commonly found in it. Due to the way conifer trees grow, they have more, smaller branches coming out from the trunk than hardwood trees do. This creates a large quantity of knotholes, which not only put end grain right in the midst of the long grain, but also affect the grain around the knothole, causing it to go in a number of different directions. At times, that grain is closer to end grain than long grain, so it soaks up more stain. When it isn’t end grain, it is tighter than the rest of the long grain, so it doesn’t soak up as much.
One way of preventing this is selective use of pine boards. Either buy select boards or if that isn’t available and smaller pieces are needed for the project, those smaller pieces can be cut out of #1 common boards, by cutting out the knothole and using the rest of the board.
Another challenge that pine presents when staining is the high resin content of the wood. High resin content, sometimes referred to as “fatwood” doesn’t leave much in the way of open pores for the stain to soak into. When part of a board is fatwood and the rest isn’t or when one piece of a project is fatwood and the rest isn’t, it’s hard to get the stain to come out evenly. Careful selection of the wood to be used can help with this, as well as applying additional coats of stain to the fatwood part, giving it more chance to soak in.
Another way of dealing with this resin in the wood is to try and clean some of it out, using mineral spirits. Sand and clean the dust off the wood before attempting this. Then saturate a clean cloth with mineral spirits, squeezing the excess out. Rub the affected area, with the grain, to remove excess resin or sap. Some people have used alcohol or even dishwashing detergent for this, instead of mineral spirits.
What Type of Stain is the Best?
Oil-based stains are best for use with most woods, especially those with a high resin or oil content, like pine. Water-based stains will not soak into the wood as well as oil-based ones will; but rather, will sit on the surface, drying there. This can cause the stain to become flaky and come off, especially for outdoor projects, which are exposed to the sun and rain.
Water-based stains are really only best used when they are going to be covered by water-based finishes. Some of the newer water-based replacements for varnish will not adhere as well to oil-based stained wood as they will if water-based stain is used. About the only way to ensure that the clear topcoat will adhere well, if oil-based stain is used, is to allow the stain at least 7 days to dry.

Staining Pine for an Even Finish
To ensure an even finish on pine, such as would be desired for a fine furniture project, it is best to follow a slightly different staining technique. As usual, start by sanding the surface smooth, using progressively finer grades of sandpaper. After sanding, wet the surface slightly, either by spraying it with water or by wiping it with a slightly wet rag and allow the water to dry. This will bring up the grain ends, allowing them to be sanded flush with the surface.
Before applying the stain, either coat the wood’s surface with clear shellac or polyurethane sanding sealer. If shellac is used, ensure that it is one that doesn’t contain any pigment or wax. Shellac is an alcohol-based product which dries very quickly. So it should not be worked back and forth with the brush, as if the project was being painted. Rather, just lay out a thin coat, ensuring that there are no bare spots left behind and allow it to dry.
Once the sanding sealer or shellac have dried, sand them lightly with 220 or finer grit sandpaper to smooth the surface back out and remove excess finish, providing access to the pores in the wood. The idea is that we are trying to fill pores that might soak up too much stain, without blocking the wood from accepting stain at all.
Clean the sanding dust off of the wood and it is ready for staining. It is best to use an oil-based gel stain for this, as it will stick to the wood’s surface better, rather than running. Since some of the pores in the wood have been blocked, the stain will need to sit on the surface for several minutes, giving it too much of a chance to run. The gel stain works better than non-gel stains when it has to be left for several minutes like this.
Apply the stain using long strokes, parallel to the grain’s direction, to spread the stain out. Then go back over it using a small circular motion, to work the stain into the wood’s pores. Since those pores are partially blocked by the sealer we have used, the rubbing action is necessary to work the stain in.
Allow the stain to sit for three to five minutes, and then wipe the excess off with a clean rag. If the finish is not as dark as desired, a second coat can be applied, once the wood has had ample time for the stain to dry. Before applying the second coat or applying a clear finish over the stained wood, check to see if the wood surface is smooth. It may need light sanding with very fine sandpaper once again.
Any time wood is stained, it should be coated with a clear finish, whether that be traditional varnish, polyurethane, shellac or epoxy. Each of these products will provide a different look and many modify the coloration of the stained wood slightly. It’s always a good idea to do a test finish on a small piece of the same wood, to see how the stain and finish will react with the wood before applying any finish to the actual project.


