Tents have taken many forms across cultures and centuries, but few have stood the test of time like the yurt. Originally designed by nomadic tribes in Central Asia, the yurt is a circular, semi-permanent structure combining portability and stability. Today, yurts are enjoying a resurgence among DIY enthusiasts, off-gridders, and eco-conscious homeowners. If you’re looking for a durable, cozy, and customizable structure to live in, camp with, or use as a backyard retreat, this complete guide on making a yurt is for you.
🏕️ What Is a Yurt?
A yurt (also called a ger in Mongolia) is a portable, round tent traditionally made of a wooden lattice wall, roof poles (rafters), a compression ring, and a fabric covering. Yurts have been used by Mongolian nomads for thousands of years, offering a lightweight shelter that can withstand cold weather and strong winds.
In modern adaptations, yurts range in size from compact 10-foot models to large 33-foot structures with interior walls, sleeping lofts, kitchens, and even plumbing. While they’re often categorized as temporary shelters, a well-built yurt on a wooden platform can serve as a full-time home.
🔥 History: From Genghis Khan to Modern Glamping
Yurts have long been associated with power and mobility. Genghis Khan famously had a yurt mounted onto a massive ox-drawn cart—a mobile throne room of sorts. These luxury yurts, known as kibitkas, were reserved for tribal leaders.
Fast forward to today: yurts are making a comeback thanks to minimalist living trends, the tiny home movement, and an overall desire to reconnect with nature. Whether you’re a prepper, homesteader, or weekend glamper, a DIY yurt offers flexibility, comfort, and style.
📏 Planning Your Yurt Build
1. Purpose & Size: Are you building a yoga studio? A guest house? A full-time tiny home? Determine how you’ll use your yurt before choosing its size. A 16 yurt is ideal for two people with a small wood stove. For families or longer-term use, consider going 20’+.
2. Building Codes & Zoning: Check local codes before building. Some areas treat yurts as permanent dwellings; others may restrict them. Permits are usually required for large platforms or long-term use.
3. Budget A DIY yurt can range from $3,000 to $10,000, depending on materials and size. Kits are available, but building from scratch saves money.
Yurts are durable, but regular maintenance helps them last for decades. Reapply waterproofing spray to your outer canvas every 1–2 years. Check the tension on the support cable seasonally, especially after storms. Keep snow loads minimal in winter by brushing off buildup with a soft broom.
If you store your yurt for the season, make sure all fabrics are completely dry to prevent mold. Fold and store canvas in a breathable bag, and store wood components in a dry location. Minor rips or wear spots can be patched using canvas repair tape or sewn with waxed thread.
📸 Yurt Interior Design Ideas
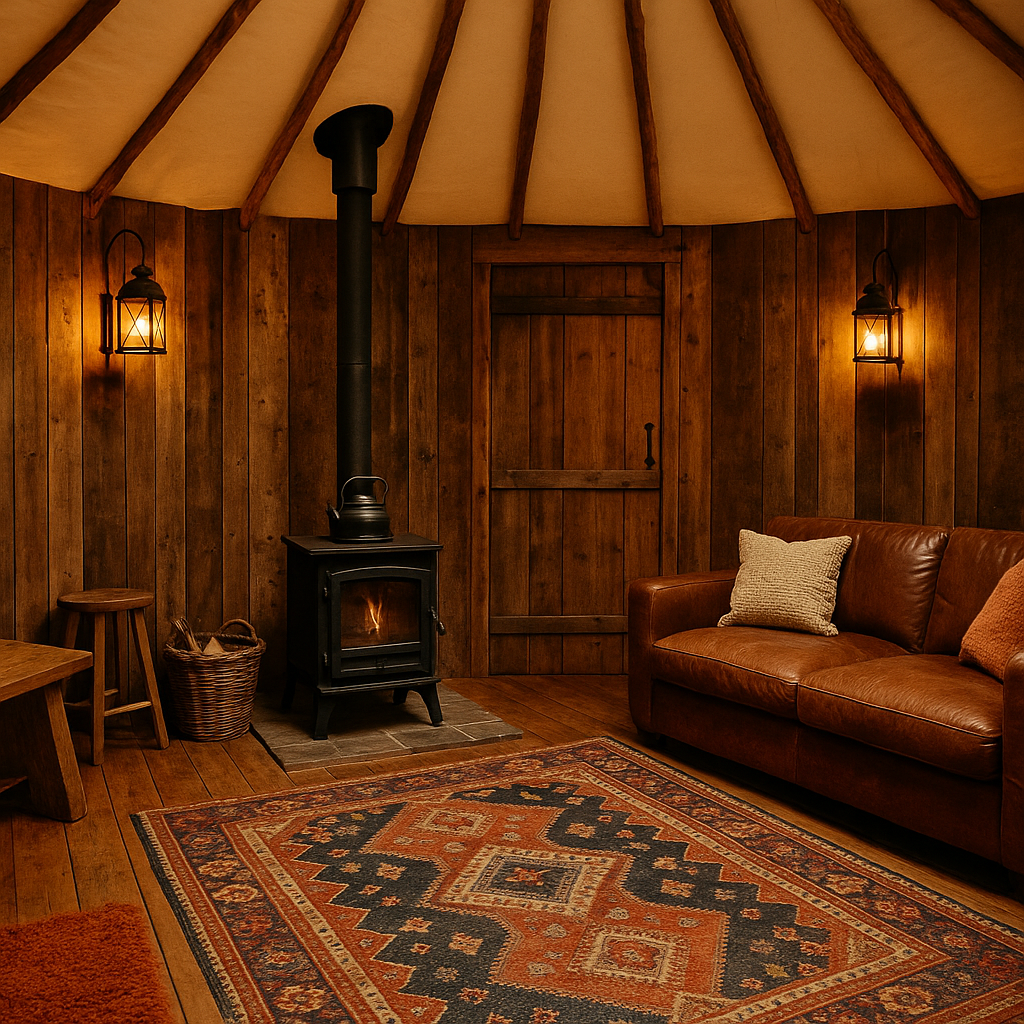
Rustic Vibes: Use reclaimed wood, lantern-style lighting, and warm rugs.
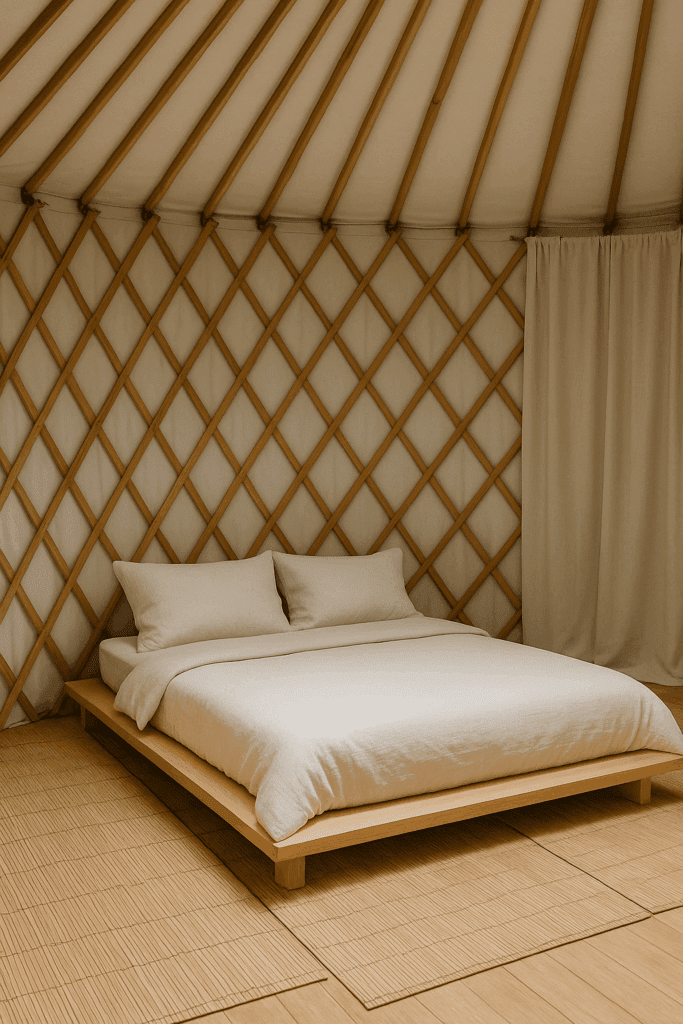
Minimalist Zen: Bamboo mats, a platform bed, and soft neutral curtains.
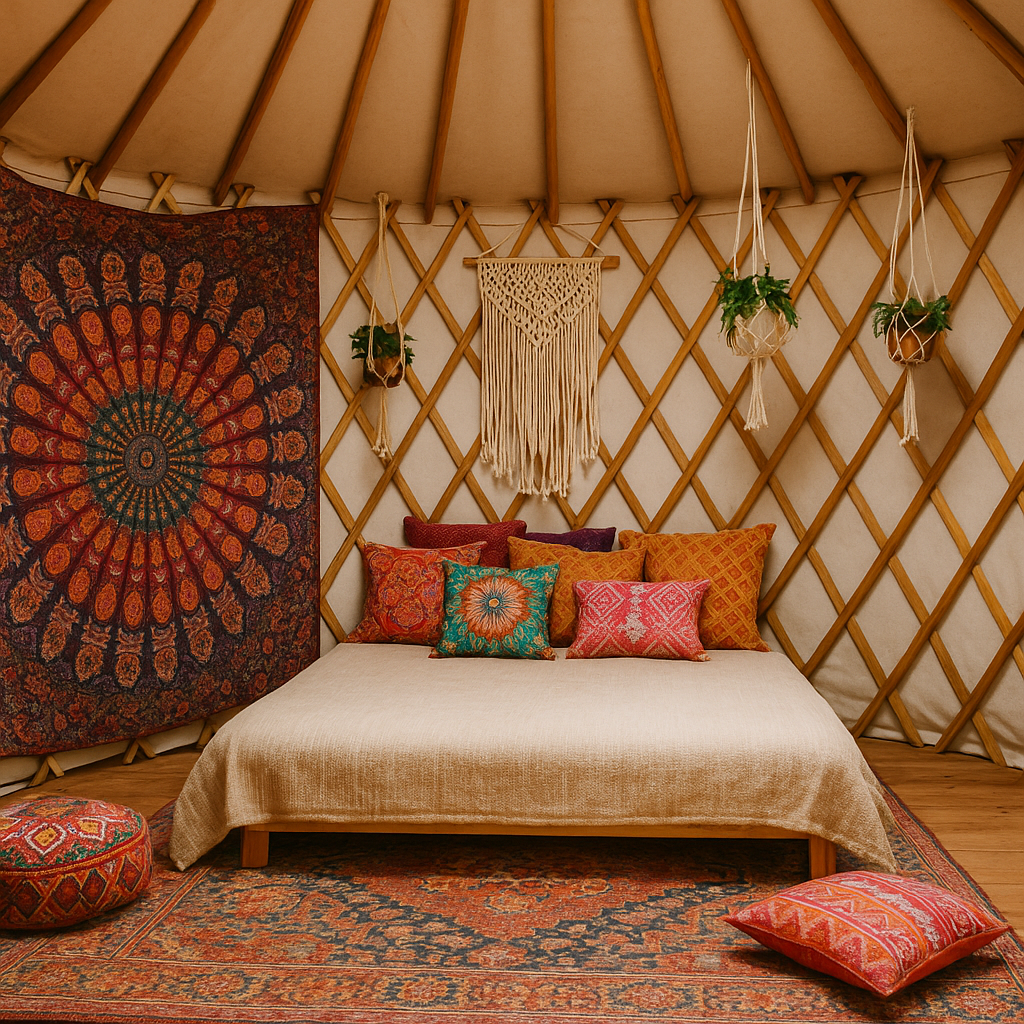
Bohemian Escape: Colorful throw pillows, tapestries, and macramé hangers.
Off-Grid Living: Include a composting toilet, rainwater barrel, and solar panels.
Lighting can be enhanced with LED lanterns or solar-powered string lights. Mount shelves between rafters to maximize vertical space.
Geodesic Domes: Strong, modern, and great for greenhouses.
Bell Tents: Easier to set up, ideal for short-term glamping.
Hexayurts: Made from insulated panels, they’re ideal for events or emergency housing.
💸 Sample Budget (16’ Yurt)
Item
Cost
Platform (pallets + plywood)
$500
Lattice + bolts
$400
Rafters + Ring
$450
Insulation + Cover
$1,200
Tools & Fasteners
$300
Total
$2,850
🧠 Final Thoughts
Building your yurt is more than a woodworking project—it’s a lifestyle choice. Whether you’re off-grid, building a backyard guest house, or embracing minimalist living, yurts offer a unique combination of history, warmth, and design freedom. With a few tools, some planning, and a bit of patience, you can build a space that feels like home.
Related Posts:
How to Make Barn Quilts by Admin June 3, 2025 DIY Walk through rural America and you’ll start noticing a charming trend on barns, sheds, and even garages—large, colorful quilt block patterns painted right onto the…
How to Make Cornhole Boards by Admin March 25, 2025 DIY I’ve built a few cornhole boards over the years — mostly for family barbecues and neighborhood game nights. It’s one of those backyard projects that’s…
How to Make a Bucket Toilet by Admin August 2, 2023 DIY Anyone who enjoys hunting or fishing has probably seen a bucket toilet sometimes. More and more campers are using them as well. Instead of buying…