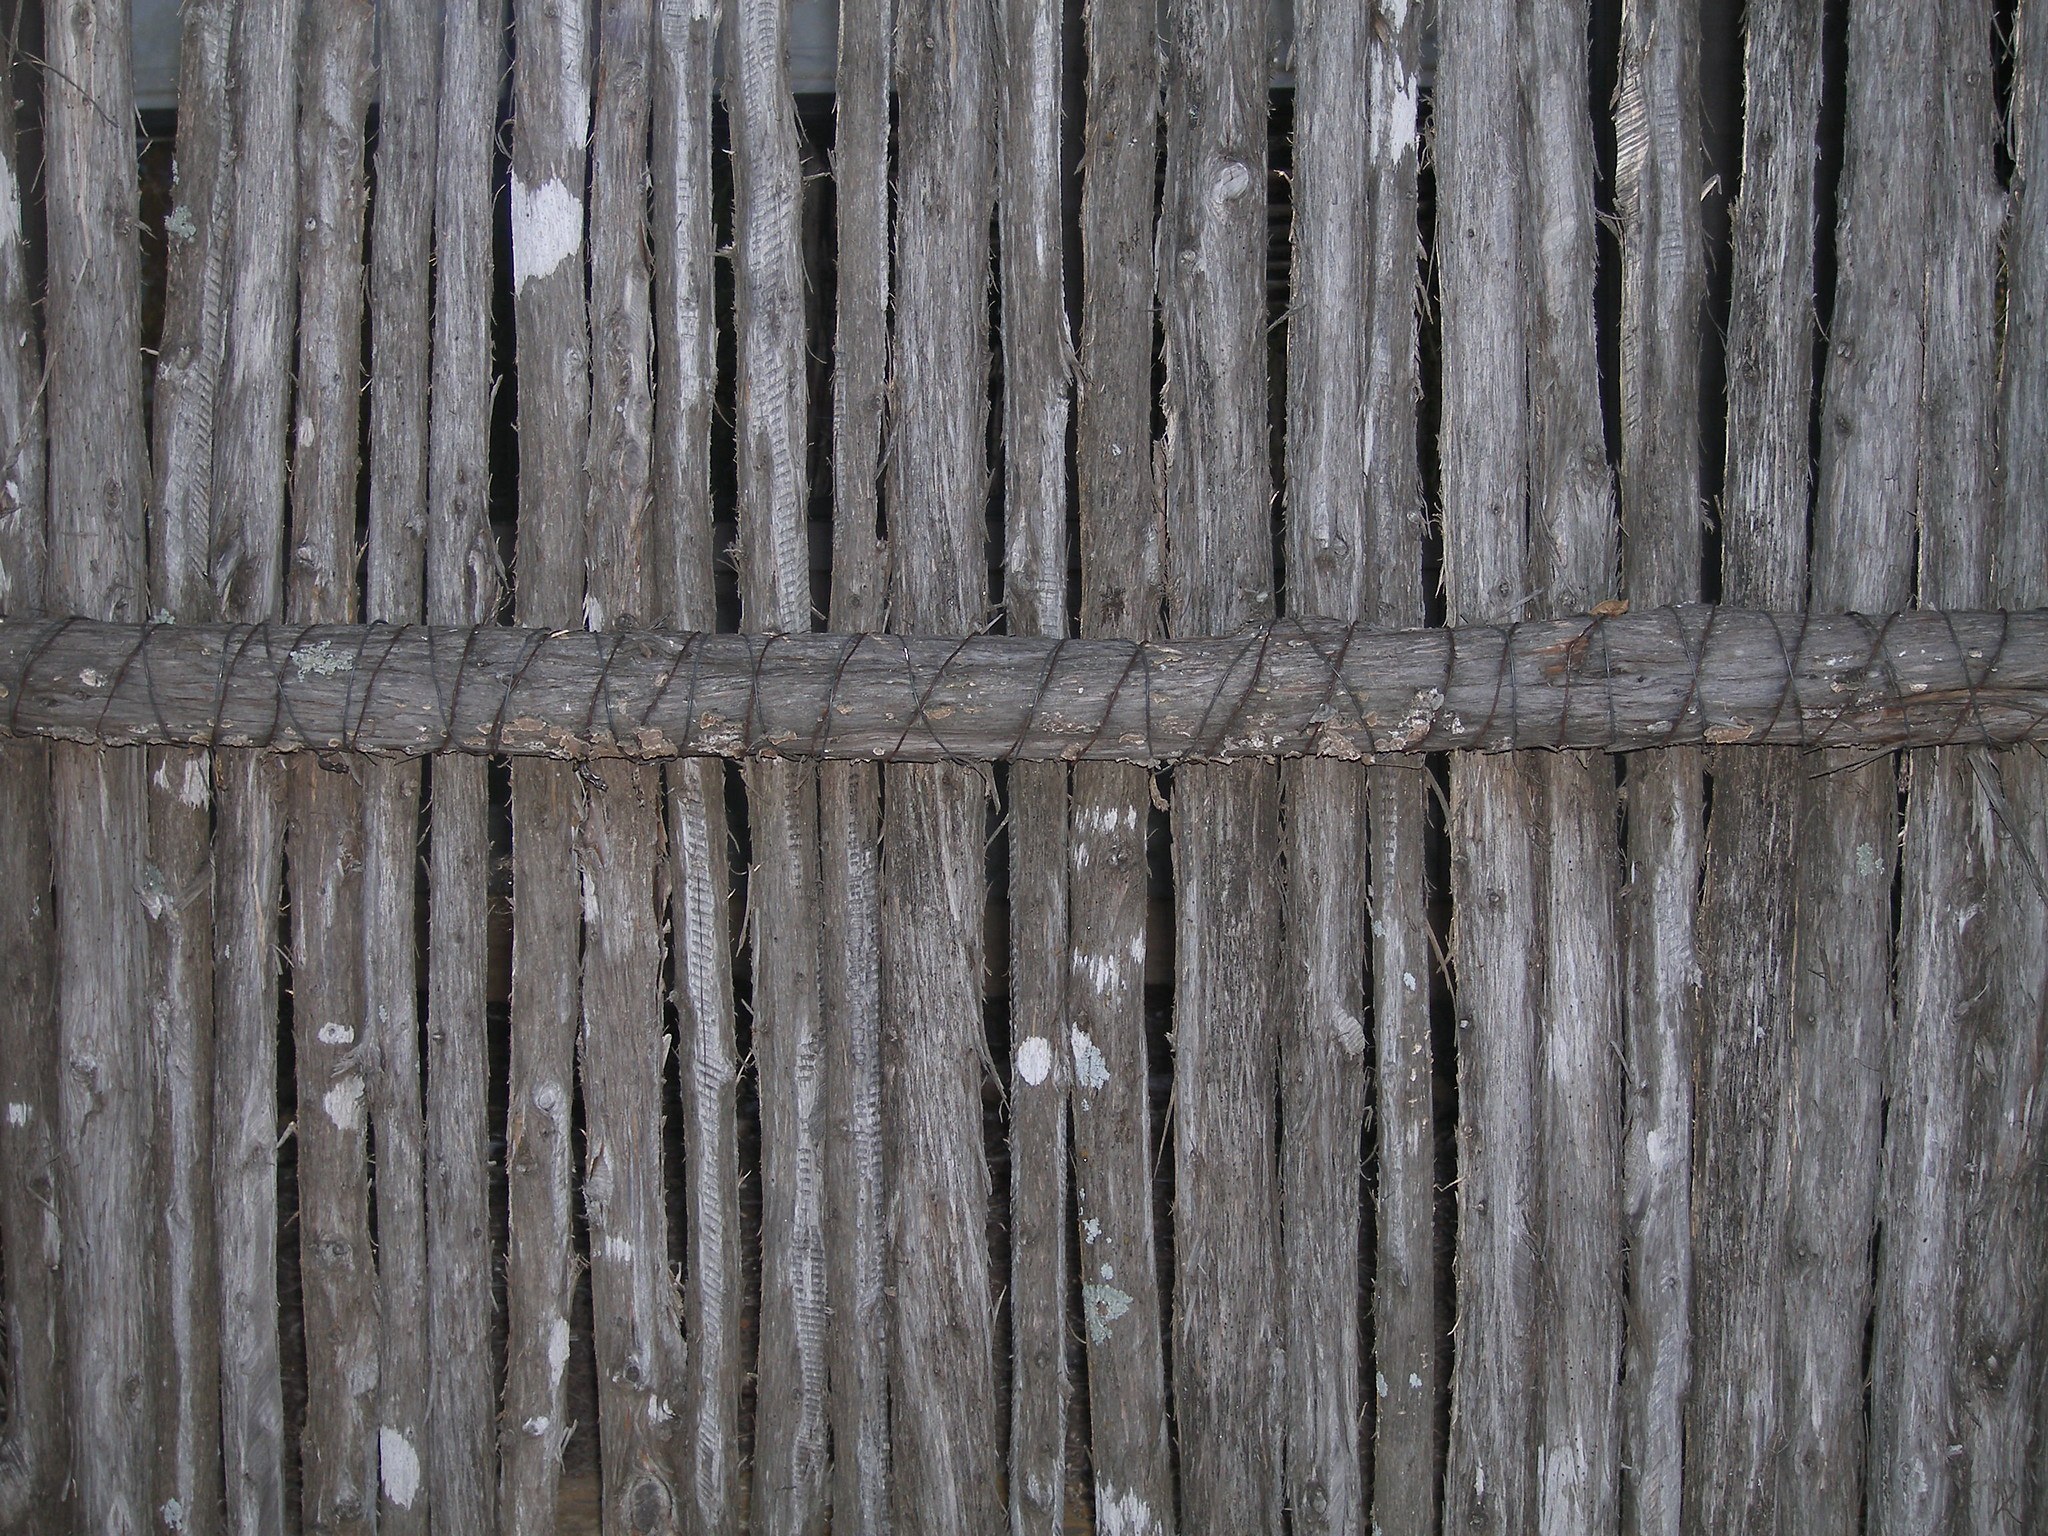
The idea of wood palisades is an ancient one, with historic evidence of them going back as far as ancient Greece and Rome. Originally intended to provide security for military camps, those palisades were made of wood stakes, rooted in the ground and tied together.
The Greeks made the mistake of using larger diameter poles for their stakes and spacing them too far apart. This provided an opportunity for enemies to uproot only one stake, creating a space large enough for soldiers to squeeze through. Learning from this, the Romans used smaller stakes, placing them closer together. While seemingly weaker, it took more work to breach this design, because more stakes had to be removed.
While palisades eventually gave way to castles built of stone, they were still in use as later as Colonial America, where the English settlements in both Jamestown and Plymouth were surrounded by palisades for protection. As the new country expanded westward, a number of different Army posts built on the frontier included palisade walls to protect from attacks by the American Indians. The tops of these palisades were often pointed, discouraging any enemies from climbing over them.
About the only use of palisade construction we see today is for making fences. The classic “white picket fence” is actually a palisade fence. So is the cedar privacy fence that many people have installed, surrounding their backyard. The many styles of palisade fence available constitute much of the fencing that is erected today, whether we’re talking about a decorative fence around a front yard or a noise-blocking fence that’s installed alongside a highway. Pickets or palisades, they’re really all the same thing.
Building Homes with Palisades
It is no longer done today, but at one time, there were homes built using palisade construction. This method was used mostly for its ease of construction, especially in places and times where engineered plywood sheet products were not available. Even today, it would be easier to build an emergency shelter out of palisades, rather than building a more traditional log home. Not only could smaller logs be used, which would be easier to handle, but much of the time spent in notching out the logs for stacking and joining could be eliminated.
However, this should never be considered for anything but a temporary shelter. The problems with such a structure are many, starting with the fact that they wouldn’t last as long. The palisade isn’t as strong as stacked logs, because whatever fasteners used to fasten the palisades to the frame aren’t going to be as strong as stacked logs, notched at the corner.
The other problem with a palisade wall is that there is a lot of gap between the individual palisades, allowing air through. While it would be possible to chink those cracks, just like it is necessary to do so on a log home, it would require considerably more chinking; something on the order of coating the entire wall with stucco.
It all Starts with a Sound Structure
Regardless of the type of palisade fence being constructed, it’s only going to be successful if it has a solid structure. The fence posts and rails used in making the fence are what determine how it will look and how well it will continue to look over time. Any failure to install them well, will result in a fence that is either crooked or will end up crooked as the fence posts tip over time.
Typically, the fence posts are set two feet into the ground and anchored in concrete. One of the biggest mistakes that can be made is to set them into the earth, without using the concrete. No matter how hard the ground is, it’s not going to be strong enough to hold the fence post upright, without tipping, especially once the dug up dirt is packed back down into the hole. It’s just not possible to pack the dirt back in, as hard as it was before it came out.
Always start with the corner posts, as running a string between them is the best way of ensuring that the rest of the fence posts are set in a straight line. Dig the post hole as narrow as possible, so as to save on concrete. Set the post; fill the hole with concrete, then attach supports to the post to ensure that it will stay plumb until the concrete sets.
With the corner posts in place, a string can be run from one corner to the other, providing a guide for the rest of the fence posts. Tie the string near the ground, rather than high up, and use a level to ensure that the posts are plumb. Posts are typically installed eight feet apart, except where they need to be closer for use as gate posts. Digging the hole for the fence posts is the hardest part of the job. Using a gas powered post-hole digger makes it much easier.
Other than the corner posts, fence posts are installed together with their rails. This helps to ensure spacing, as well as allowing the rails to help support the posts plumb, while the concrete is setting.
Fence Post Materials
Wood fence posts come in a variety of materials. The most common are red cedar and redwood. However, pressure treated wood is also available. Besides appearance, this selection depends more on how long the fence needs to last, without the posts rotting. Wood tends to rot more quickly, when in contact with the ground, than otherwise.
Untreated pine – about 7 years
Red cedar – 15 to 20 years
Redwood – about 20 years
Pressure treated wood – 25 to 35 years
Three Options for Attaching Fence Rails
Most wood fences are built using 2”x 4”s as the fence rails, although it is possible to use other wood pieces, such as triangular cross-section Arris rails. If 2”x 4”s are used, they should be attached to the fence posts with the 4” dimension vertical. People occasionally mount them with the 2” dimension vertical, making it easier for the fence to sag over time, resulting in a fence which sweeps from a high point at one post, through a low point in the middle, to a high point at the next fence post. While such a style is attractive and can be used, that’s not the way to accomplish it. The pickets should be cut to make that curve.
How many fence rails are used will depend on the height of the fence being built. For a short fence, no more than four feet high, two rails are sufficient, one near the top and the other near the bottom. However, if a fence is going to be five feet or more tall, then a minimum of three rails should be used. If only two are, then there is too much of an opportunity for the pickets to warp, bulging out from the line of other pickets.
There are three basic ways of attaching the 2”x 4” rails to the posts, each of which has its advantages and disadvantages.
Mortise and Tenon
The old way to make any sort of picket fence is to use mortise and tenon joints at the posts, cutting mortises into the posts and matching tenons into the ends of the rails. If a “split rail fence” were being built, rather than a picket fence, this would be required. But it is not required in this case, as there are other options.
While more work, a mortise and tenon construction is stronger than nailing or screw the rails to the side of the post. This allows the fence posts to show, rather than covering them up. In the case where elaborate fence posts might be used, mortising the joints is really the best way to go. It also shows a level of pride in workmanship that simpler methods will not demonstrate.
When using a mortise and tenon construction, it is necessary to make the tenons half the size of the mortise, either in how deep they go or in how much of the tenon slot they take up. Two fence rails, one from each direction, will need to go into the same mortise, so space must be left for the tenon on the other fence rail.
It is possible to cut two separate mortises in the fence post at each rail level, allowing one to be used for each of the rails. However, this is not usually done.
Dado
For those who have trouble making a mortise and tenon, a simpler construction, which will still provide a fence face which is flush to the fence post, rather than sticking out from it, is to cut dados into the side of the fence post and set the ends of the rails into the dado, with each rail taking half of the post’s thickness. The fence posts are strong enough to lose this amount of material, without weakening them beyond a reasonable point.
The real advantage here is that tendons don’t have to be cut onto the ends of the rails. All that has to be done is cutting the dadoes into the fence posts. That saves time, while still providing a cleaner look than nail the rails to the sides of the fence posts.
Mounting on Side
The most common method of attaching the rails to the fence posts is to nail them to the outer side of the post. With this method, as with the ones above, each rail only comes halfway across the thickness of the post. While not as elegant a solution as those mentioned above, this method is popular due to the ease of installation.
The one real drawback in mounting the rails on the sides of the posts is that the posts are either going to be covered by the pickets or if left exposed, will not look all that attractive.
The easiest part of the project is the most visible, attaching the pickets or palisades. Once again, a string should be run from one corner post to the next, tacking it to the fence posts in-between. This string sets the height of the top of the pickets, helping to ensure that the top of the fence will be even. In the case that the top of the pickets is going to stick above the height of the fence posts, a piece of scrap needs to be nail to the side of the post, to attach the string to.
One of the major decisions that have to be made is the spacing of the palisades. For a privacy fence, they are normally hung side to side, minimizing gaps as much as possible. The classic “white picket fence” will have space between the palisades. This should be less than the width of the pickets for the best appearance. Usually two-thirds to one-half the width of the pickets is ideal.
The pickets or palisades can be either nail or screwed to the fence rails; two fasteners pre picket, per rail. If nailing, it’s a good idea to prop the back side of the rails up with a scrap piece of 2”x 4”, braced to the ground. This will help keep the rails from flexing while nailing, allowing for faster nailing. Of course, this is not necessary if using a pneumatic nailer or screws to attach the pickets.
Design Alternatives
While the basic design for this sort of fence is just plain pickets, either pointed, square or what’s known as “dog-eared” (the corner are cut off in a chamfer). However, there are an infinite number of different ways to modify this basic design, depending on one’s desire.
As mentioned earlier, one option is to cut the tops of the pickets off in a curve, with the high points being at the fence posts and a low point in the middle. This cut is made with a jigsaw, after the fence pickets are installed. To make a consistent curve, it is useful to make a pattern out of large pieces of corrugated cardboard, which can then be traced onto the fence.
Another common option is to install a horizontal board at the bottom of the fence, either overlaid on top of the pickets or installed below them, with the pickets resting on top of them. This is especially useful in cases where the family has dogs who like to dig, especially small dogs. While the board will not prevent them from digging, it will require them to dig down farther to escape. The only real way to keep them from digging at all, is to put a cement curb under the fence.
One home near me has combined a board at the bottom of the fence, with a lattice section at the top. In order to do this, they used 12’ long 4”x 4”s for the fence posts. But adding the lattice strip at the top of the pickets has given them a 10’ tall fence. The lattice is capped, top and bottom, by a horizontal 2”x 4” and some molding,
Using Palisade Fence Panels
An easier way of making a fence is to buy pre-made fence panels. These are available from most lumberyards and home improvement centers. With them, all that’s needed is to install the fence posts, then the panels can be nail or screwed to them. Fence panels exist in a variety of styles, including short picket fences, privacy fences and decorative fences.
However, while this option does save some work, the hardest part of building a fence still has to be done; that of digging the hole and installing the fence posts. So, using these panels really comes down to a question of whether their added cost is worth the amount of time and labor they save.
Related Posts:
Making Wooden Bathtubs Guide by Admin September 19, 2023 DIY Wooden bathtubs require planning, precise construction, and maintenance. However, they are an elegant and unique addition to your bathroom. Guide to Set Started Materials Needed:…
How to Make a Wooden Sword by Admin July 14, 2025 DIY 1. Why I Still Make Wooden Swords I wasn’t planning to make a wooden sword that day. I just needed something—anything—for my kid’s last-minute costume.…
How to Make Wooden Gears by Admin April 2, 2025 DIY Building Wooden Gears — My No-Nonsense Notes from the Garage If you've ever thought about building wooden gears for a clock, a jig, or just…