The mortar and pestle has been around since somewhere around 35,000 BC. They have been used to crush grains and other food products, both wet and dry. While they have been largely replaced by other, more modern methods in recent times, there are still cooks today who find a mortar and pestle extremely useful, especially for grinding herbs and spices, rather than having to cut them.
A modification of the mortar and pestle, the molcajete, is still in common use in Mexico today. It differs from other types of mortars in that it is made of very porous volcanic rock. This makes it ideal for crushing cooked vegetables for making salsa; however, the same characteristics that make it ideal for breaking up those vegetables make them essentially useless for grinding herbs.
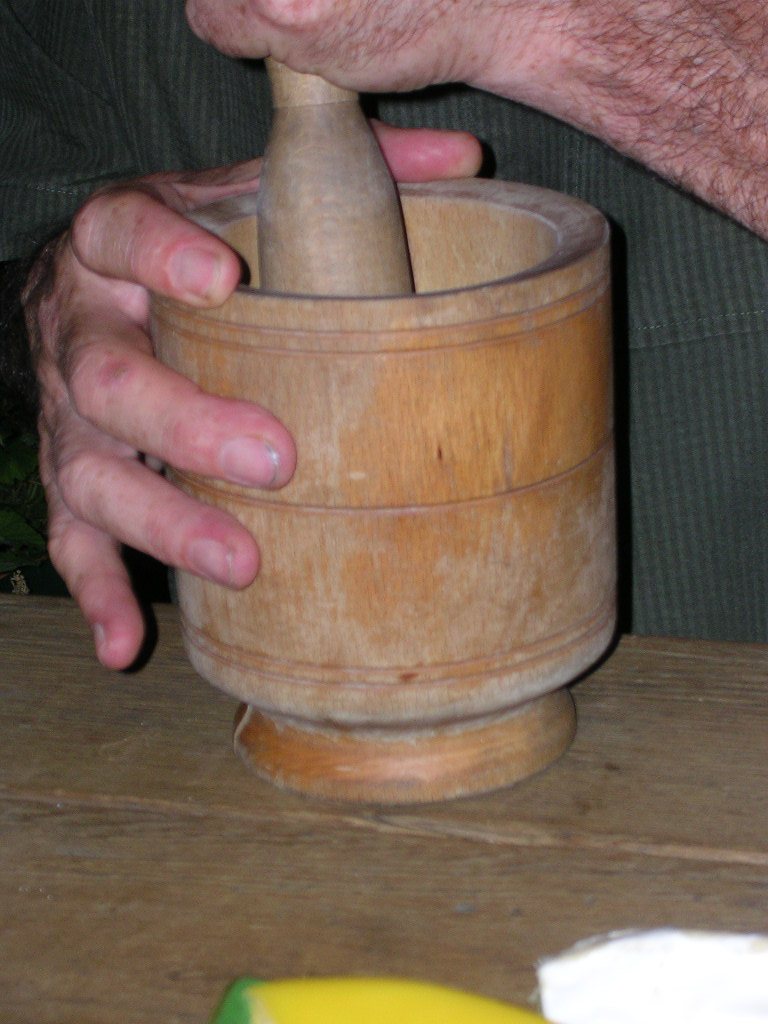
There are a number of different materials that can be used for mortars and pestles, including granite, ceramic, wood and stainless steel. In modern times, these are usually used to grind herbs and spices, so wood has a certain advantage. Almost any stone-based mortar and pestle will gradually wear down; leaving sand-like fragments in whatever is being ground. While wood can be ground down too, the chips in whatever is being ground won’t be as hard. Since we’re basically talking about grinding herbs, the additional hardness of stone isn’t necessary.
Olivewood is actually considered to be the best wood for making a wood mortar. While olivewood is expensive, it is extremely dense and naturally oily. The natural oil is especially useful, as it helps to keep the ground herbs from soaking into the wood, affecting the odor and taste of things ground in the mortar later.
Making an olivewood mortar requires the use of a lathe. While I suppose it would be theoretically possible to carve one by hand, it would be extremely difficult to get it perfectly symmetrical and even, a requirement for an effective mortar. On the other hand, lathes naturally produce smooth, symmetrical vessels, due to their method and construction.
While the mortar is generally thought of as being a bowl shape, it can vary considerably, from a shallow bowl to something resembling the shape of a tea cup and all the way to that of a mug with a curved (rather than flat) bottom on the inside. Much of this is personal preference, although different styles of mortars have been used by different cultures throughout history. By and large, the more that is going to be ground at one time, the wider and shallower the mortar needs to be. Grinding only small amounts of herbs is easier to accomplish in a narrower mortar, where the herbs being ground can be kept together.
Curing a Wood Mortar and Pestle
Any new mortar and pestle should be cured before use, including a wood one. This process, which is normally not done at the factory, involves using the mortar to grind several different things. While the mix of different foods to be ground may seem to be somewhat random, each item is chosen for a specific reason. Curing a wood mortar is different than seasoning one of stone or even stainless steel.
The first step of seasoning is to clean the mortar, scrubbing it under running water with a stiff brush, no soap is required. Then allow the mortar to air dry completely before continuing.
Once dried, pour enough dry white rice into the mortar to cover the bottom. This would be roughly 1/3 cup for a two cup mortar. Larger ones might require as much as ¾ cup of rice. Grind the rice thoroughly, using a circular motion with the pestle. The rice should remain white. If it picks up some of the coloration of the wood, then dump out the rice and repeat the step. Since olivewood is an oily wood, the rice might soak up some of the oil out of the wood. That’s part of the reason why rice is used for this. We want to get enough oil out of the surface of the wood, so that it doesn’t continue leaching out.
After the rice, put four to six peeled garlic cloves into the mortar, along with one teaspoon of cumin, coarse-ground salt (such as kosher salt or pickling salt) and black pepper corns. Grind these together, turning them to a smooth consistent paste. Once fully ground, scrape out this mixture and discard. Rinse the mortar once again under running water and allow it to air dry once again. Once dry, it will be ready for use in grinding herbs in the kitchen.
While a word mortar is low-maintenance, it does need to be cleaned out after each use, so that the odor and flavor of whatever has been ground in it doesn’t remain. It’s not uncommon for small bits of herbs to remain behind, especially when grinding fresh herbs. Cleaning will eliminate those and make the mortar ready for the next use.
Start by rinsing the mortar and pestle under arm running water to remove obvious food residue. Then dampen a sponge, adding no more than two or three drops of dishwashing detergent. Wash the mortar and pestle thoroughly with this sponge. Care should be taken to not use too much soap on the olivewood, so as to not dry it out excessively, removing too much of the natural oil.
Rinse the mortar and pestle once again with warm water and dry with a clean towel. Allow the mortar to fully air-dry before storing, as the towel won’t remove all the moisture from it. Putting it away damp repeatedly can lead to mold forming on the wood or fungus damaging it.
Never put a wood mortar and pestle in the dishash, the combination of heat and strong detergents will remove the natural oil in the wood, eventually causing it to crack.
Properly maintained, a wood mortar will last generations. The olivewood naturally darkens as it ages, making for an attractive decoration for the kitchen.
Related Posts:
Making Wooden Bathtubs Guide by Admin September 19, 2023 DIY Wooden bathtubs require planning, precise construction, and maintenance. However, they are an elegant and unique addition to your bathroom. Guide to Set Started Materials Needed:…
How to Make a Wooden Sword by Admin July 14, 2025 DIY 1. Why I Still Make Wooden Swords I wasn’t planning to make a wooden sword that day. I just needed something—anything—for my kid’s last-minute costume.…
How to Make Wooden Gears by Admin April 2, 2025 DIY Building Wooden Gears — My No-Nonsense Notes from the Garage If you've ever thought about building wooden gears for a clock, a jig, or just…