Wood cable spools aren’t just industrial leftovers—they’re a goldmine for creative DIYers. These oversized wooden reels, originally made for holding electrical lines, telephone wires, or cable TV wiring, are now being turned into tables, bars, shelving, cat towers, and more. If you’ve seen one of these chunky beauties lying around and wondered what to do with it, you’re in the right place. This guide covers where to find wood cable spools, what to make from them, and how to finish your projects for long-term use.
What Is a Wood Cable Spool?
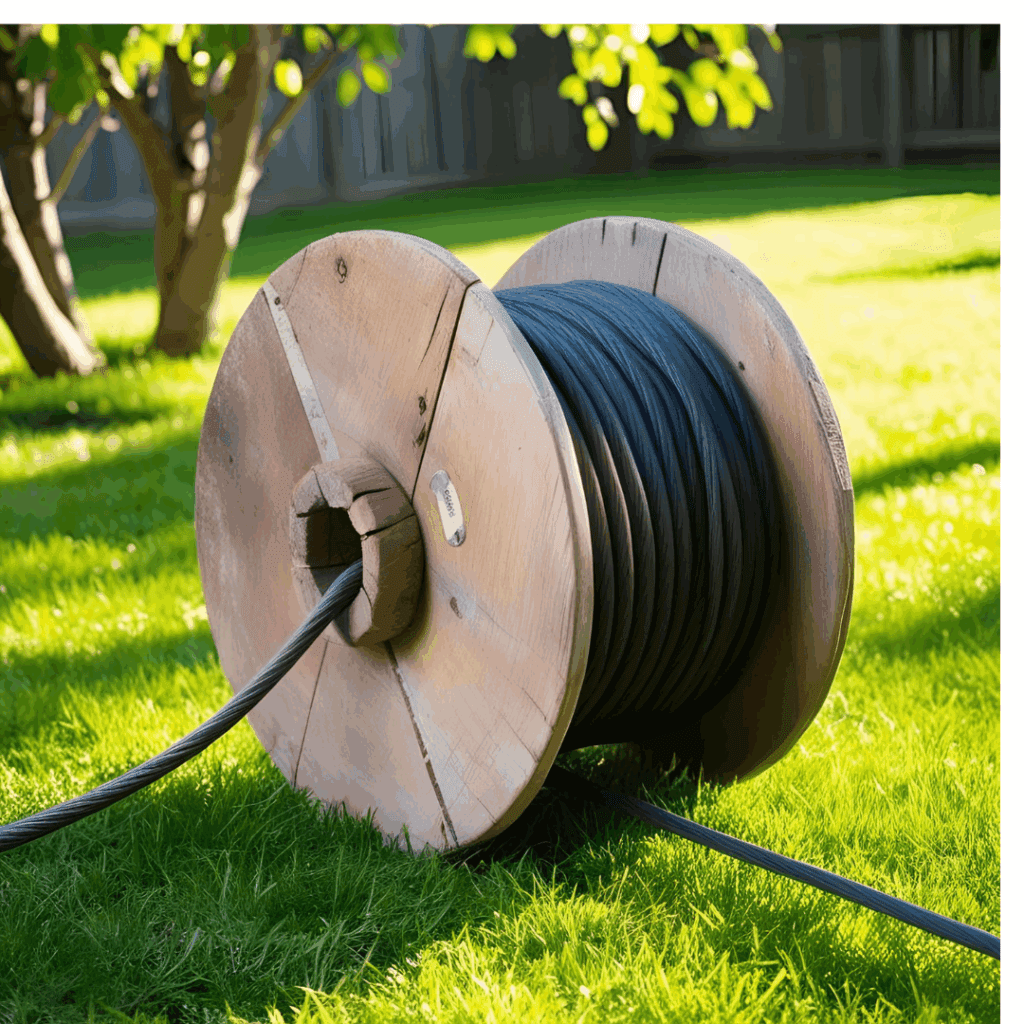
Wood cable spools, sometimes called cable reels or wood wire reels, are heavy-duty wooden cylinders designed to hold electrical wiring or other industrial cabling.
Wood spools have been used for centuries, from sewing thread to ship rope. But today, most of the wooden spools you’ll encounter are large industrial types used for transporting heavy-duty cable. These spools are durable, rustic, and naturally shaped for table designs.
Where to Find Wood Cable Spools
You can’t exactly stroll into a home improvement store and buy these off the shelf. But here are the best places to look:
Your local electric company – Some utilities sell or give away old spools. If you see crews out stringing line, stop and ask. (A box of donuts doesn’t hurt, either.)
Craigslist and Facebook Marketplace – Search terms like “wood cable spool” or “cable reel”. Expect prices between $25–$50.
Industrial salvage yards – These often carry spools, shelving, and other commercial cast-offs.
⚠️ Warning: Some smaller spools may have cardboard cores or plywood ends. Double-check before you buy!
More than anything, though, wood cable spools are used for making furniture, especially tables. The spool itself almost makes a table without any further modification. Chairs are a bit more trouble, but by no means a complex undertaking to create. Small wooden cable spools can also be used as stools by adding a padded top.
Wood Cable Spool Furniture: DIY Projects You Can Build
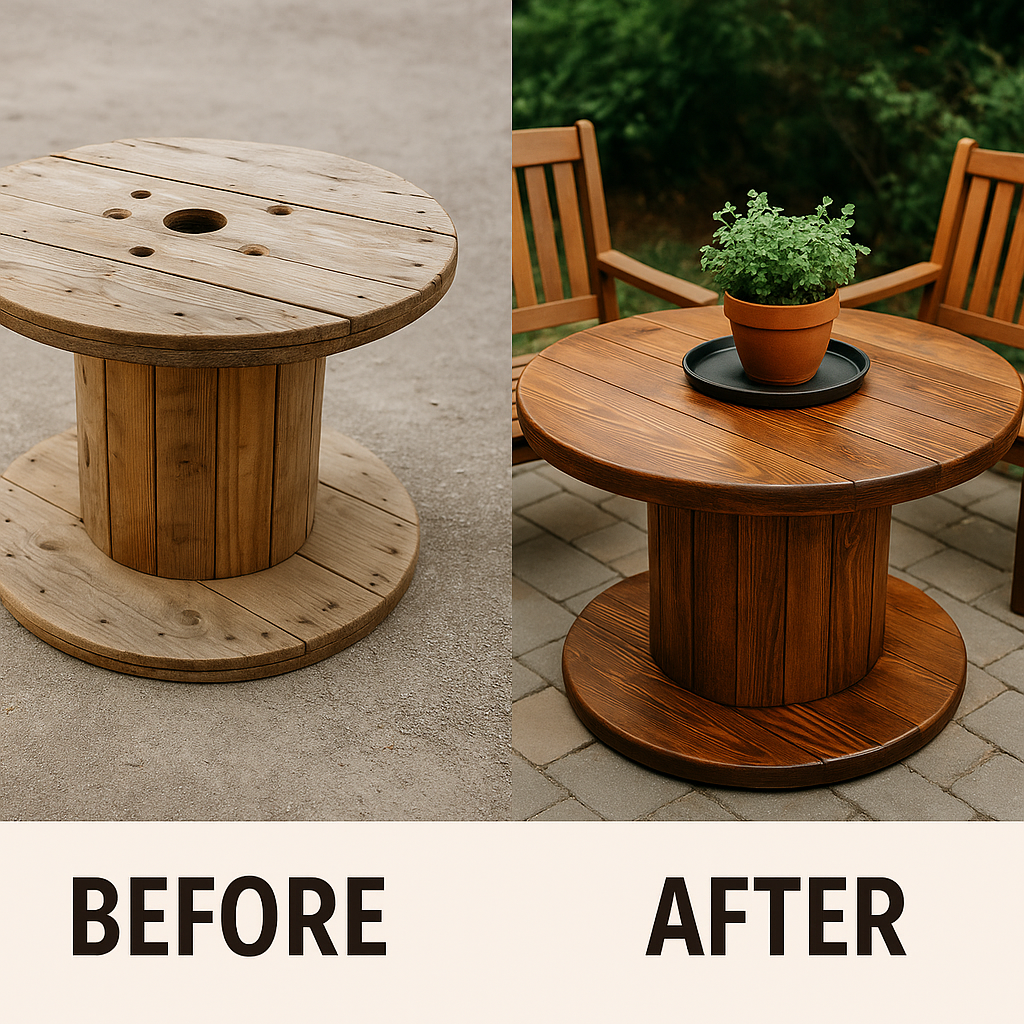
1. Cable Spool Tables
By far the most common use. Simply stand the spool on one end and sand it smooth—or go all out with herringbone designs, routed edges, or pallet wood tops.
✅ Pro tip: Cut down the diameter of the base so chairs can slide underneath.
2. Patio Benches
Use just the spool ends for a bench project. Build arms and a back from pallet wood and mount them between the round ends.
3. Portable Bars or Wine Racks
Drill 3″ holes around the spool’s central column and insert PVC sleeves or wood dividers. Instant rustic wine display.
4. Kids’ Playground Equipment
Spools are sturdy enough for climbing, balancing, or stacking. Use caution and sand thoroughly for safety.
5. Workshop or Garden Storage
Add shelves inside the center column, cut a hinged access door, or attach caster wheels for mobility.
(As an Amazon Associate, we earn from qualifying purchases.)
Creative Ways to Use Leftover Spool Parts
If you’re working with a large cable spool and end up cutting it down to size, don’t throw away the scraps! The circular wood pieces or trimmed slats can be repurposed for all kinds of rustic accent decor. For example, leftover curved cutouts from the base can be flipped into crescent-shaped shelf brackets or turned into sculptural garden features. You can also cut smaller circles from leftover ends to use as tabletops for stools or plant stands. These pieces, once sanded and stained, take on a warm, lived-in charm that fits right into farmhouse, cottagecore, or industrial interiors.
Another clever use: create rustic signage for your home or small business. Using stencils or a wood-burning tool, you can turn trimmed spool pieces into welcome signs, directional arrows, or even restaurant menu boards. The natural character of the wood, including knots, grain marks, and any stamps or branding, only adds to the appeal. If you’re handy with a jigsaw, you can cut out letters or shapes from the thicker segments and mount them to pallets, barn wood, or even a fence for outdoor art. When you look at spool scraps as raw material rather than waste, your creative options multiply dramatically.
Spool Furniture for Outdoor Spaces
Wood cable spools make excellent additions to patios, backyards, and gardens, especially when paired with weatherproof finishes and thoughtful design. For outdoor seating, consider using a large spool top as a fire pit surround or coffee table for an Adirondack chair set. Because these spools are sturdy, they hold up well against the elements, especially if you raise them off the ground slightly with rubber feet or concrete pavers. You can even build outdoor bar carts or storage chests by cutting away one side of the center column and adding a door or a hinged lid.
Another idea is to incorporate lighting. Drill holes around the spool edge and insert solar LED lights or wrap the column with outdoor-rated string lights for an ambient glow. If you’re using the spool as a planter stand or centerpiece, add a large clay pot in the center hole and surround it with potted herbs. The natural weathering of untreated wood can look quite beautiful in a garden, developing a soft gray patina over time. Just be sure to treat any edges or feet with a sealant if they come in contact with moist soil or standing water.
A wooden cable spool is more than just a leftover from a job site—it’s a blank canvas for rustic furniture and creative DIY design. Whether you’re building a table, bench, or bar, these chunky, charming spools can become the centerpiece of your space. With a bit of sanding, staining, and imagination, you’ll turn industrial waste into something beautiful and functional.
Final Thoughts
A wooden cable spool is more than just a leftover from a job site—it’s a blank canvas for rustic furniture and creative DIY design. Whether you’re building a table, bench, or bar, these chunky, charming spools can become the centerpiece of your space. With a bit of sanding, staining, and imagination, you’ll turn industrial waste into something beautiful and functional.
🍒 Cherry Wood: Finishing Tips & Furniture Ideas by Admin November 5, 2025 DIY The first time I used cherry wood, I honestly thought I’d grabbed the wrong board. It looked pale, almost washed out. I remember staring at…