Alright, let me be honest—I’m a sewer, not a builder. I can stitch a French seam blindfolded but hand me a saw and I’m Googling “how not to lose fingers.” Still, I reached a breaking point trying to sew at the kitchen table (again), with a cat on my fabric and thread tangled around a salad fork.
I needed a dedicated space. Not a studio. Just a solid, functional table where I could spread out and not have to pack everything up before dinner.
💡 If someone in your house has a workbench or a gaming desk, your sewing machine deserves its own home too.
What I Thought I Needed (and Didn’t)
Dream version: fold-down wings, built-in iron holder, soft-close drawers, maybe a cupholder.
Reality:
A flat surface that doesn’t shake when I sew fast
A flush space for my machine so fabric doesn’t get stuck
Somewhere to keep thread, pins, and patterns that isn’t a cereal bowl
Everything else? Meh. I’ll add it later.
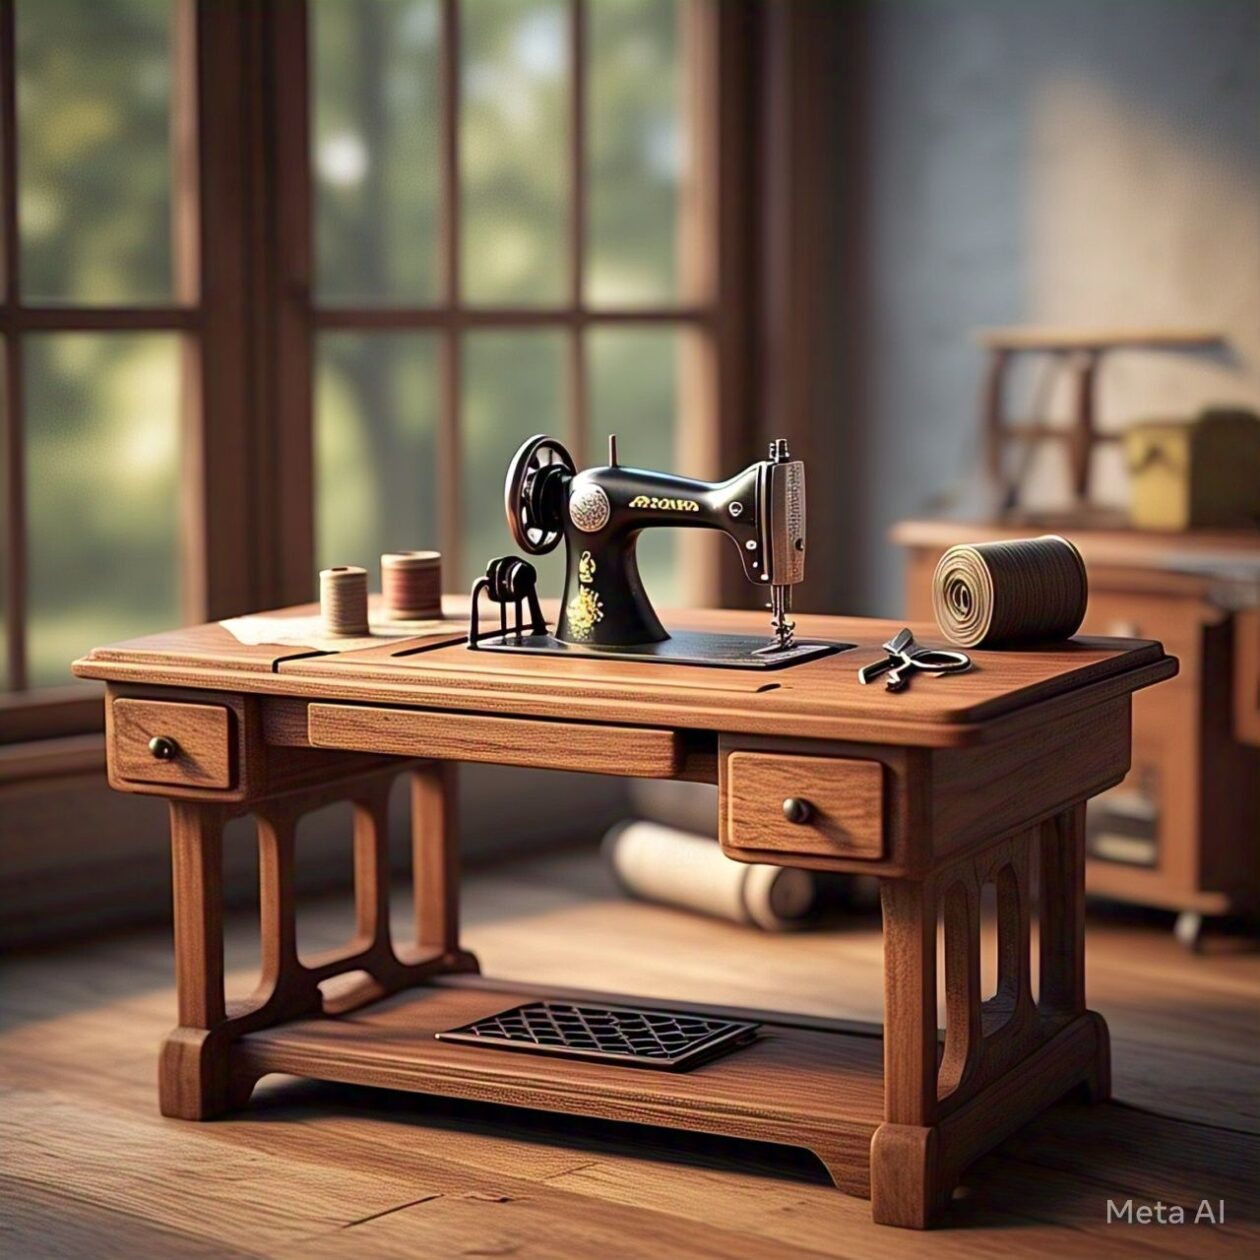
Starting with the Base
I grabbed a sheet of 3/4″ plywood and ordered 2×2 table legs off Amazon. I almost used legs from an old end table, but I imagined the machine bouncing off mid-project, so I went the safer route.
Pocket holes kept the frame clean and sturdy. If you haven’t tried a pocket-hole jig before, it’s weirdly satisfying.
Alt text: Unfinished DIY sewing table base clamped and in progress on a garage floor.
Building the Top
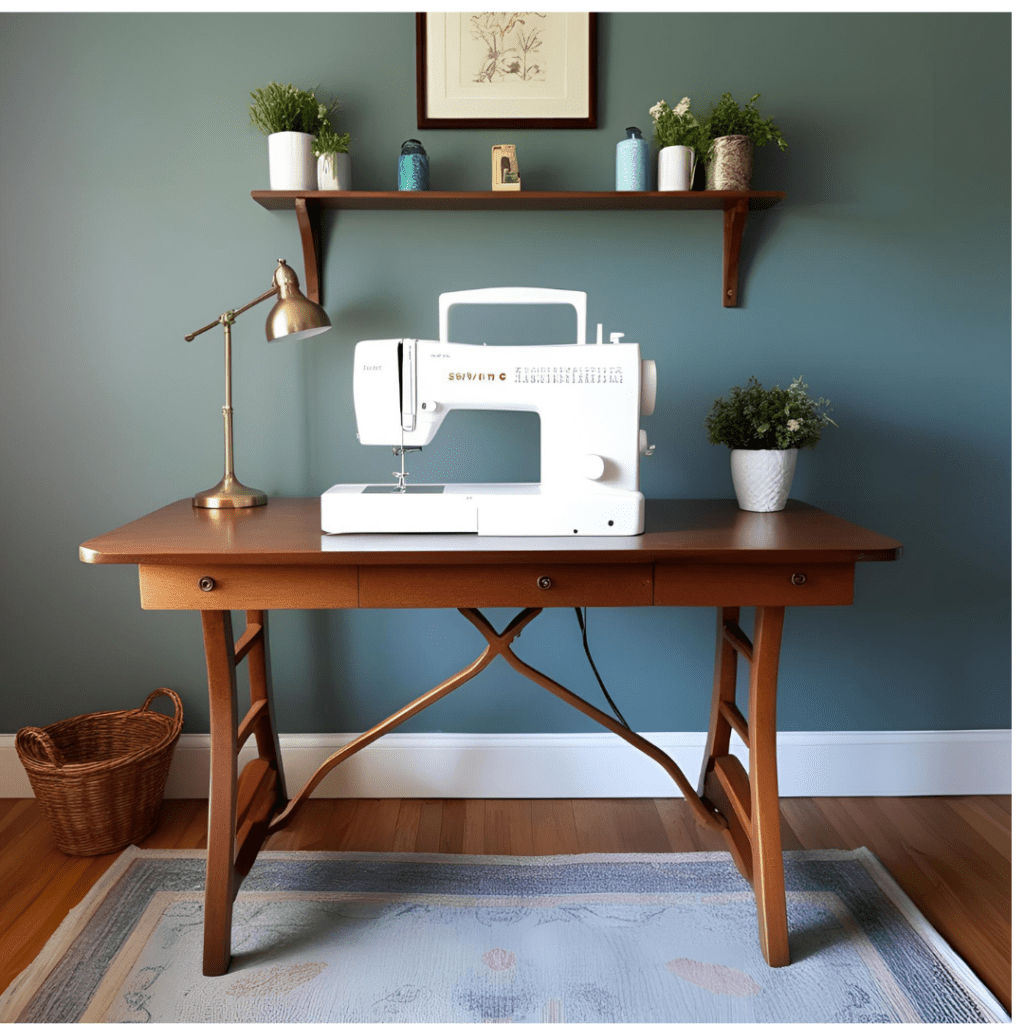
I gave myself a 60″ x 24″ surface. There’s enough room to cut fabric, iron, and stack projects without juggling.
At first, I used MDF, which was a bad move. It dented just looking at it. I switched to hardwood plywood and topped it with cotton batting and heat-safe fabric so I could press seams right on the table.
🧵 Tip: Put the batting and fabric on before coffee. Things go sideways fast when glue is involved.
Framing It Out
I built a skirt (frame) under the tabletop using 1×4 boards. Nothing fancy. Just wood glue, pocket screws, and prayers. Didn’t bother mitering the corners. It’s a work table, not a showpiece.
Cubbies came first. I measured wrong and had to redo them, but hey—fabric hides flaws. Added drawers later once I figured out how drawer slides actually work (on attempt #3).
Cut a rectangle in the top to lower my machine in. Used scrap plywood to build a shelf underneath. Eyeballed the height. Shockingly, it worked the first time.
I added a small flip-up flap in front for bobbin access. Way easier than lifting the whole machine every time something jams (which happens, a lot).
Pro tip: trace your machine carefully and make the cut slightly smaller. You can always sand it bigger.
The Lift (Totally Optional but Cool)
Once I got tired of the machine always sitting out, I added a lift. You can buy a kit or rig one from a car jack (not kidding).
I went with the premade lift and reinforced the shelf with extra supports. Now I can lower the machine when I need a big flat workspace.
Would I change a few things? Yes. Would I build it again? Absolutely.
Now I have a space that’s always ready, always mine, and always covered in a fine layer of thread. It’s not perfect—but it works better than anything I could’ve bought.

")
")
")
