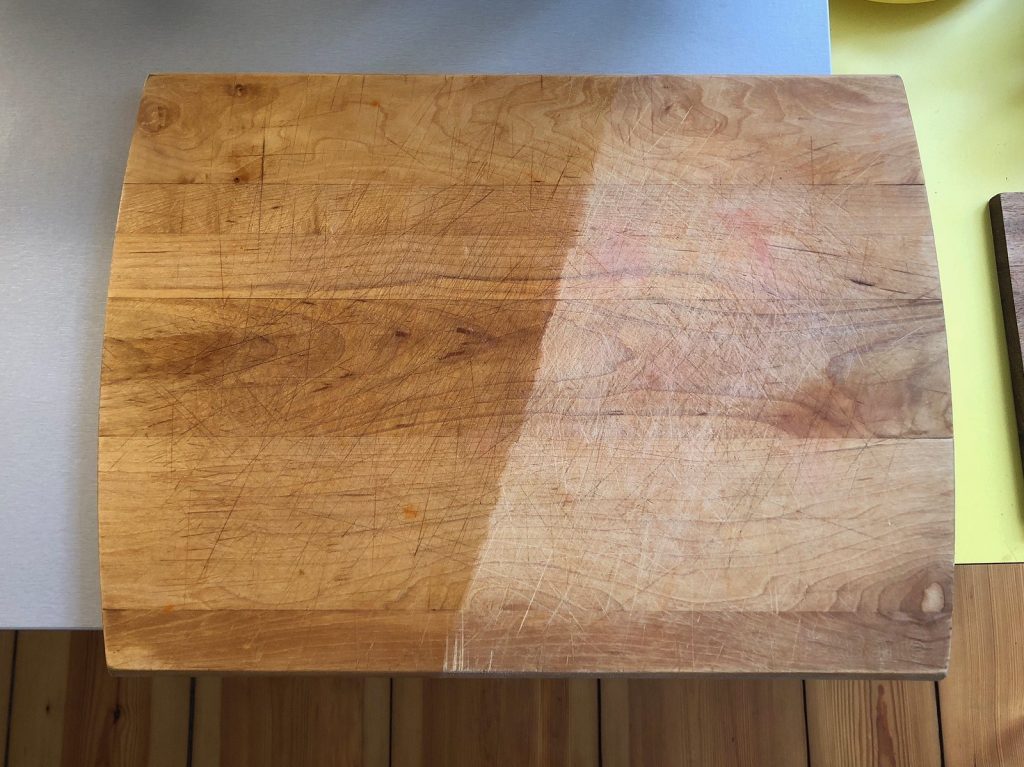
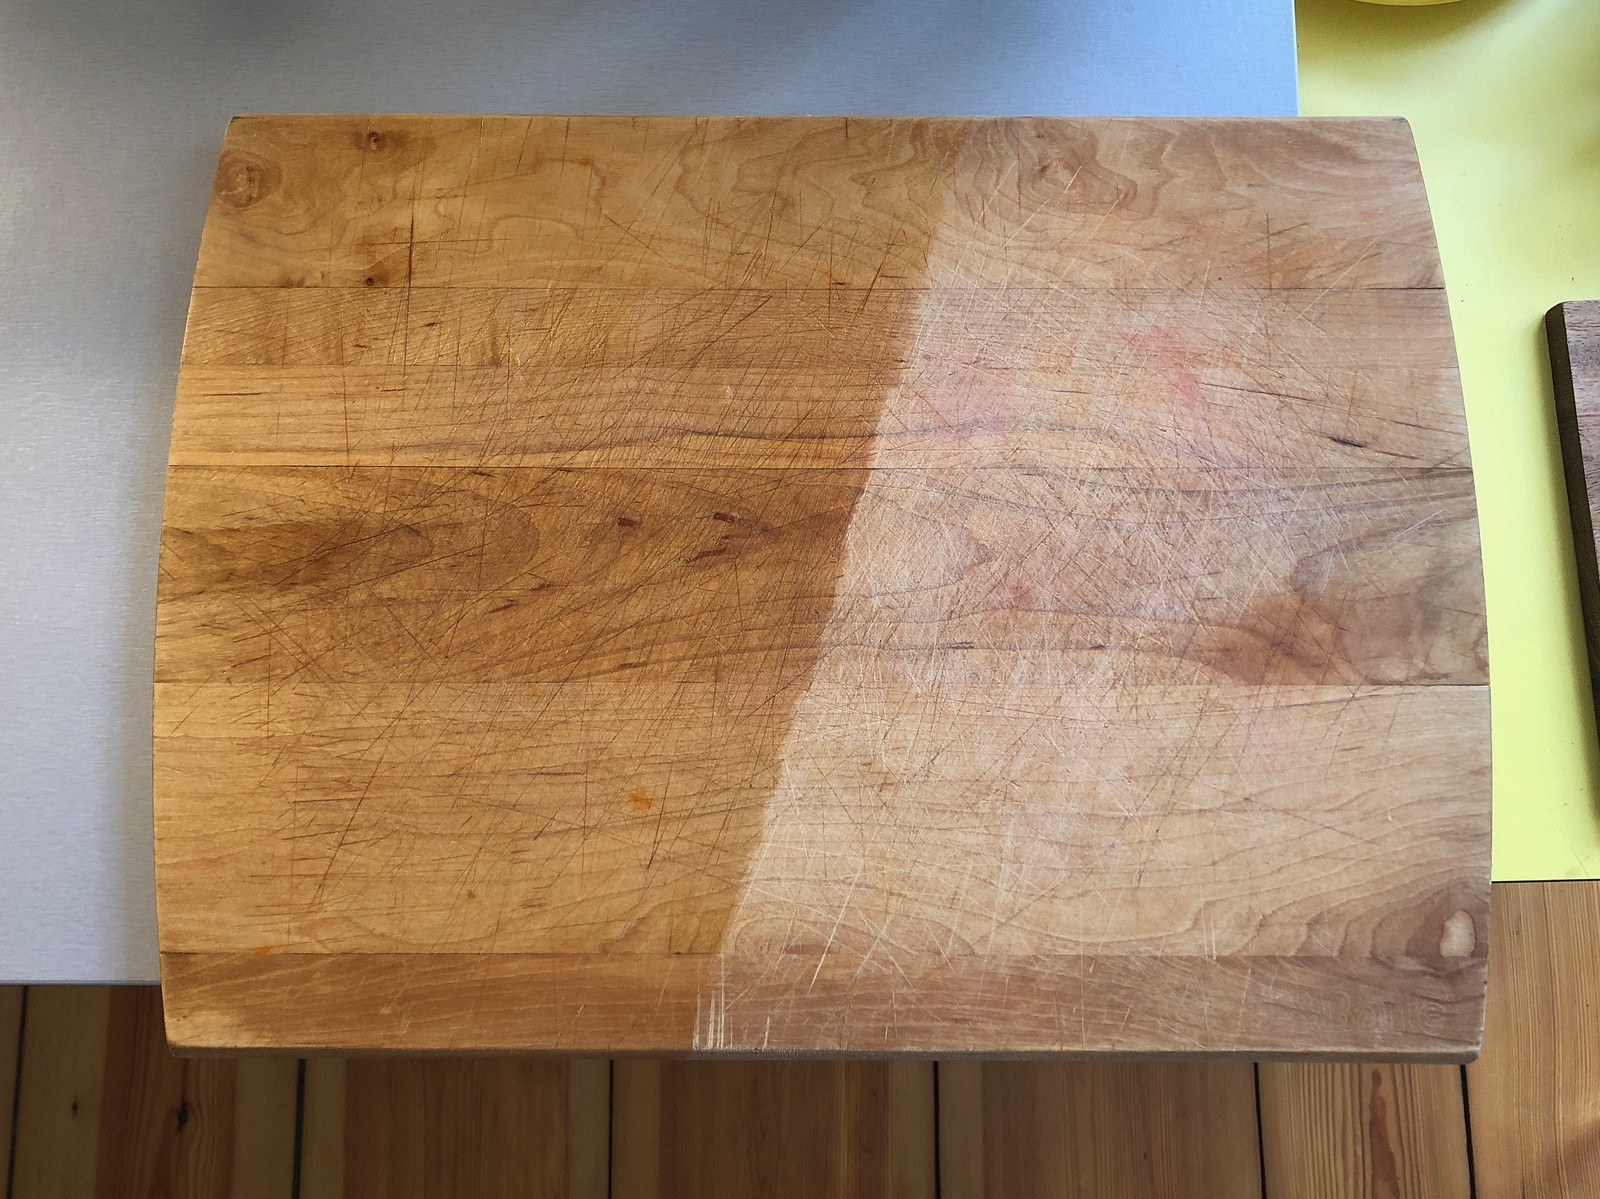
Cutting boards are a popular project amongst woodworkers, allowing them an opportunity to express their creativity on a fairly simple project, which is still extremely customizable. Design possibilities are virtually endless, especially if one has a good pile of scrap pieces to work from.
Once the cutting board itself is made, it needs to have some sort of finish applied. This is where the cutting board project deviates away from other woodworking projects, as it is meant for use with food. That not only eliminates any sort of finish that is not considered food safe, but also some finishes that might normally be safe for use with food, but can’t be used because cutting on the board might sliver the finish, allowing small pieces of it to get into the food.
Such is the case with epoxy, which is normally food safe. But if epoxy is used on a cutting board, there is a chance that normal cutting and chopping will break loose small piece of the epoxy. While those slivers might not be considered poisonous, they aren’t safe to eat either.
Similar problems exist for using varnish on cutting boards. While dry varnish is considered food safe, it is not intended to be ingested any more than epoxy is. Shellac faces the same problem, although it is also food safe when dry. So with all of these finishes out of the equation, we’re only left with oils and wax, or a combination thereof, for finishing cutting boards.
Which Oils Work for Cutting Boards?
There are actually a number of different oils which work well for cutting boards, but food oils of any sort should be avoided. They will all eventually turn rancid, even coconut oil, which some people claim is excellent for cutting boards. Yes, coconut oil will last longer than other food oils, before going rancid; but it will still do so eventually.
That still leaves various other types of oils that can be used. Tung oil is a popular one; although care should be taken with people who are allergic to nuts. Tung oil comes from the nut of the Tung tree, making it possible for people to be allergic to it.
The best possible oil for cutting boards is mineral oil. Not only is there less chance of problems with allergies, but mineral oil will not become rancid. It will provide a long-lasting finish, which repels water and protects the wood of the cutting board. However, even though it is long-lasting, cutting boards which are used regularly need an application of oil monthly, as the oil does evaporate.
Applying Oil to a Cutting Board
One of the nice things about using oil on any woodworking project is that it is extremely easy to apply. Unlike varnish or epoxy, oil doesn’t have to be brushed on carefully, being sure to use long strokes in the direction of the grain. There’s also no risk of dust getting into the finish and ruining it. Even if dust does get onto oiled wood, it can just be brushed off. It won’t affect the finish.
The easiest way to apply any oil finish is with a clean rag. Start on the edges of the cutting board, and pour a small amount of oil onto the rag. Then rub this into the wood, soaking the wood. Use as much oil as the wood will absorb, which may be more than expected, especially on the first coat. Dry wood is porous and the oil will wick into the wood, filling those pores.
Once the edges have been oiled, oil the surface. The oil can be poured onto the surface in this case, rather than onto the rag. That speeds up the process, allowing more oil to get to the wood.
End grain will soak up considerably more oil then long grain or edge grain will, as the capillary action is much stronger in the end grain. This may almost seem to be a problem on butcher, where the surface of the cutting board is the end grain. But it isn’t a problem. Give the cutting board as much oil as it will absorb.
Once the board is oiled, rub it down with a dry rag, wiping off any excess. Then set the board aside to dry. The best way to do this is to set it in a corner, leaning against a wall, where it will not be disturbed. By leaning it, only the edges of the cutting board will be in contact with the wall and floor (or bench top), minimizing the surface area contact. That will help prevent oil from becoming trapped between the surface of the cutting board and the wall or floor.
A cutting board will typically need three applications of oil, allowing the oil to dry fully between applications. Then a final application of oil, mixed with wax can be applied to give the cutting board a higher luster shine, if so desired.

Making an Oil & Wax Finish
While there are many oil and wax finishes available on the market, it is easy to make one in the shop which will provide an excellent finish. This avoids the potential problem of a finish having additives which are not listed on the label.
Care must be taken in making this, as heating either oil or wax too much can be a fire hazard. To eliminate the hazard, heating is done in a double-boiler, either a commercial one or one that is made by floating a smaller pan inside a larger one. Avoid using pots and pans from the kitchen, as it is challenging to fully clean melted wax off of surfaces. Other family members might become upset if wax is left on the cookware that is used to prepare the family’s meals.
The reason for using a double boiler is that it limits the temperature of the oil and wax to the boiling point of water; 212°F or 100°C. That’s well below the burning temperature of either, leaving a healthy safety margin.
Start by measuring out 6 oz. of mineral oil and placing it in the upper pan in the double boiler. Turn the heat on warming the oil. Then add 10 rounded teaspoons of beeswax pellets to the oil. While wax in chunks can be used, pellets melt easier and are easier to measure out. Continue heating the mixture, stirring occasionally, until the beeswax melts and the mixture turns clear.
Pour the finished mixture into a pint sized mason jar, the size that is normally used for canning jams and jellies. It should just fill the jar, leaving about ¼” of headspace. Cap the jar to keep dust out, but it is not necessary to tighten the lid on and create a vacuum seal. Set the jar aside to cool.
As the oil and wax mixture cools, it will solidify into a soft creamy finish. This can then be rubbed onto the cutting board or other wood projects as a finish. The combination of mineral oil and beeswax will provide a satin finish to woodworking projects. If a higher sheen is desired, replace part or all of the beeswax with carnauba wax. Carnauba is a harder wax that provides a high gloss finish.


