Name plates are more than just labels — they’re subtle symbols of professionalism, pride, and identity. Whether it’s hanging outside an office door or sitting neatly on a desk, a wooden name plate adds a touch of class that plastic or metal simply can’t replicate.
There are two common types of wooden name plates:
Flat name plates: Ideal for walls, doors, or conference tables.
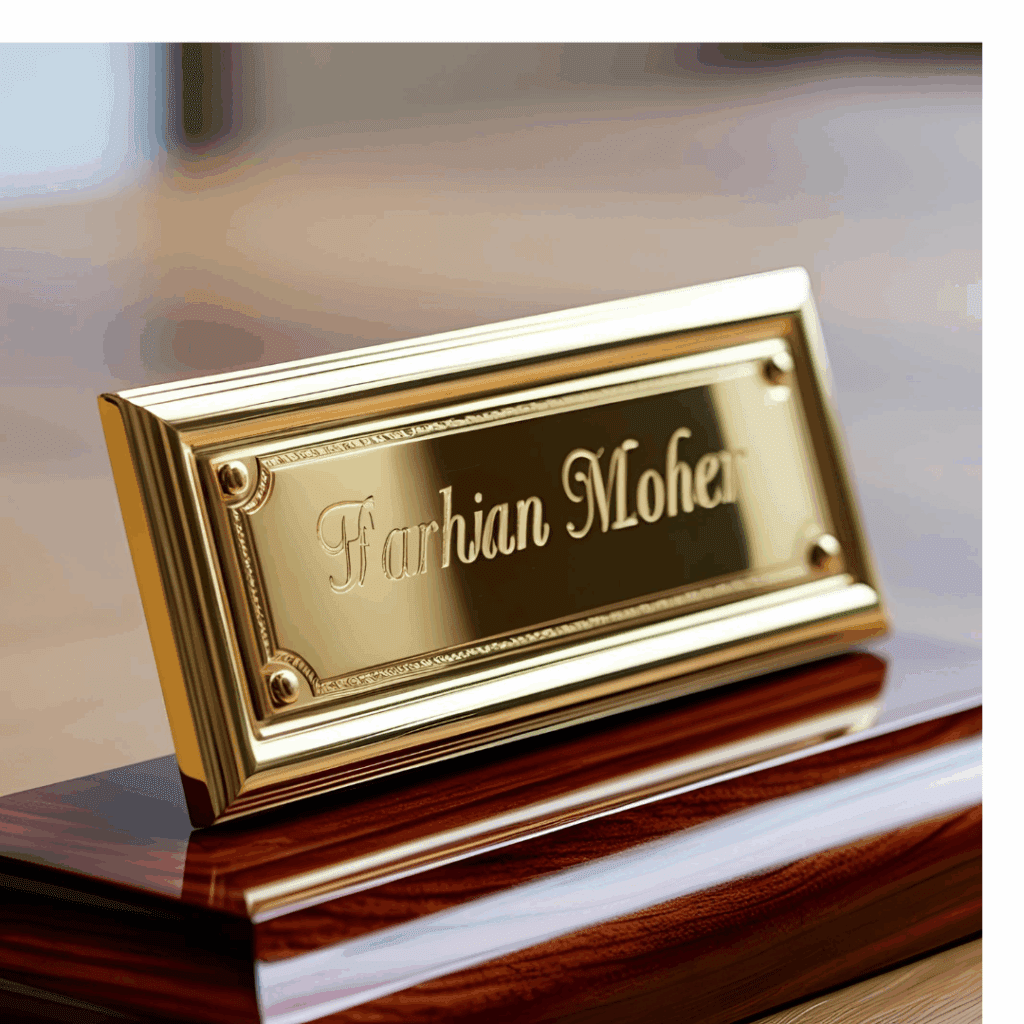
Angled desk name plates: Designed with a tilted face for easy reading from any position.
Each type offers nearly limitless possibilities for customization — from simple engraving to detailed carving — making wooden name plates perfect for professional offices, weddings, awards, and even home décor.
Why Choose Wood for Your Name Plate?
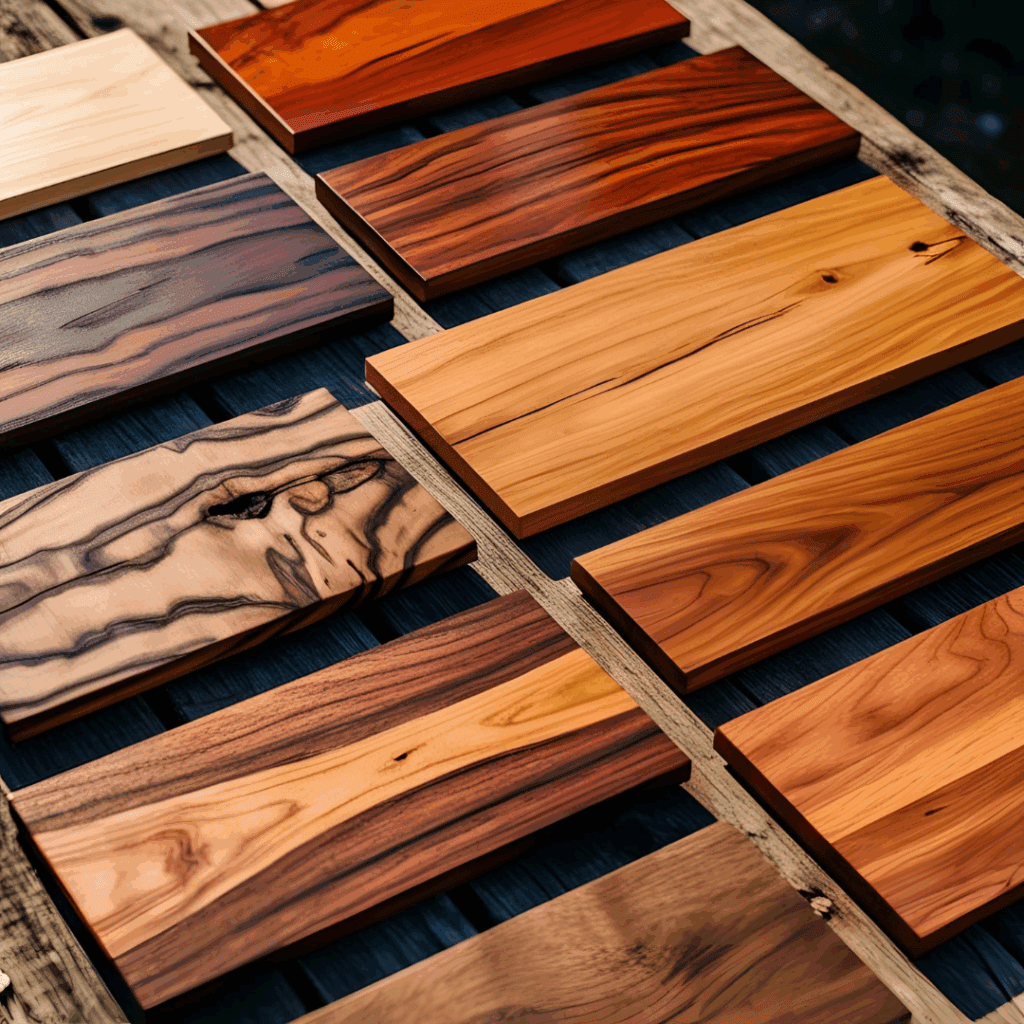
While plastic or metal name plates have their place, wood remains the favorite choice for people seeking elegance and longevity.
Here’s why wood stands out:
Durability: Hardwoods like walnut and oak resist dents and scratches.
Aesthetic: The natural grain patterns add richness and texture.
Versatility: Easy to carve, engrave, stain, or paint.
Natural wood surfaces are becoming increasingly popular in modern interior design.
If you’re building your own, starting with a premium unfinished cherry board from Amazon gives you a strong, beautiful foundation that’s ready for your creative touch.
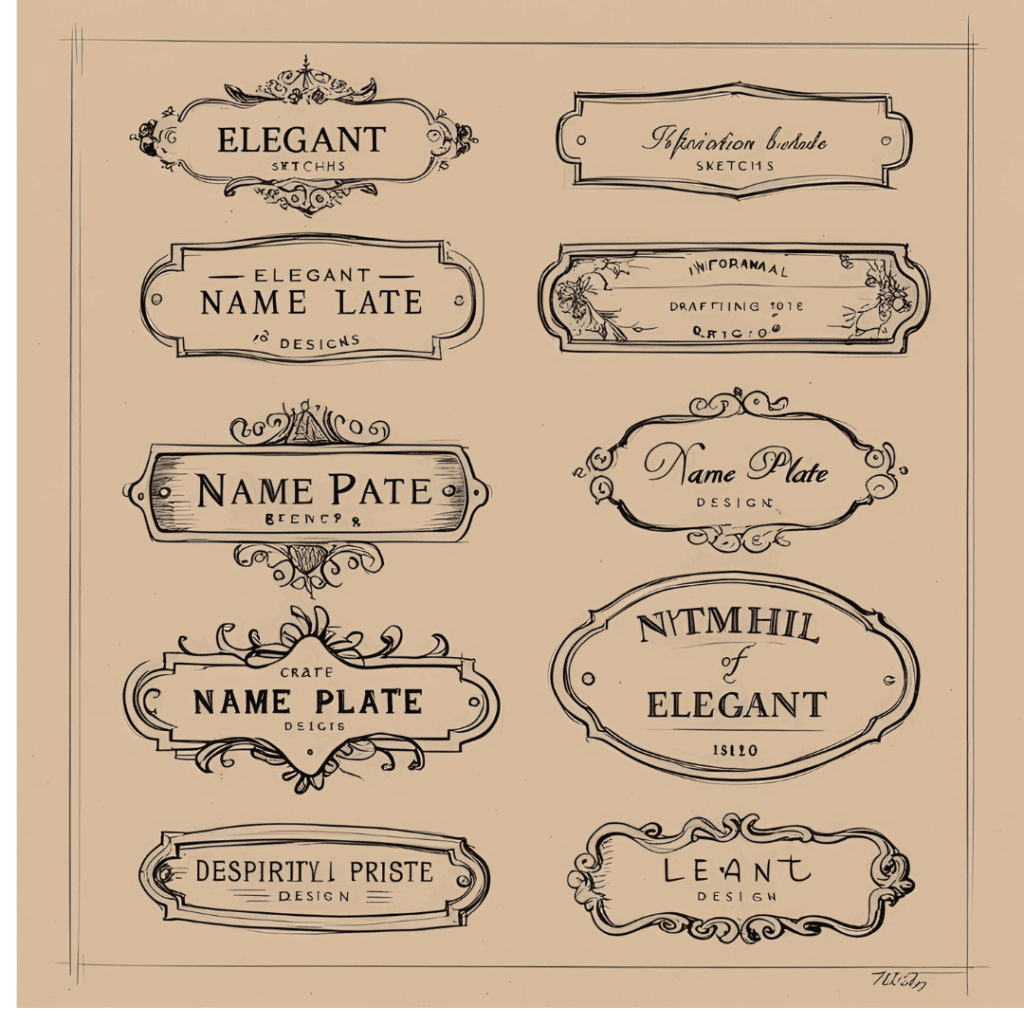
Designing Your Name Plate
Before you even pick up a saw, sketch out your design. Ask yourself:
Will it be hung on a wall or sit on a desk?
Do you want a simple rectangle or a unique shape?
Will you add carvings, logos, or other designs?
Good planning ensures you won’t have to redo cuts later, especially if you’re working with expensive hardwood.
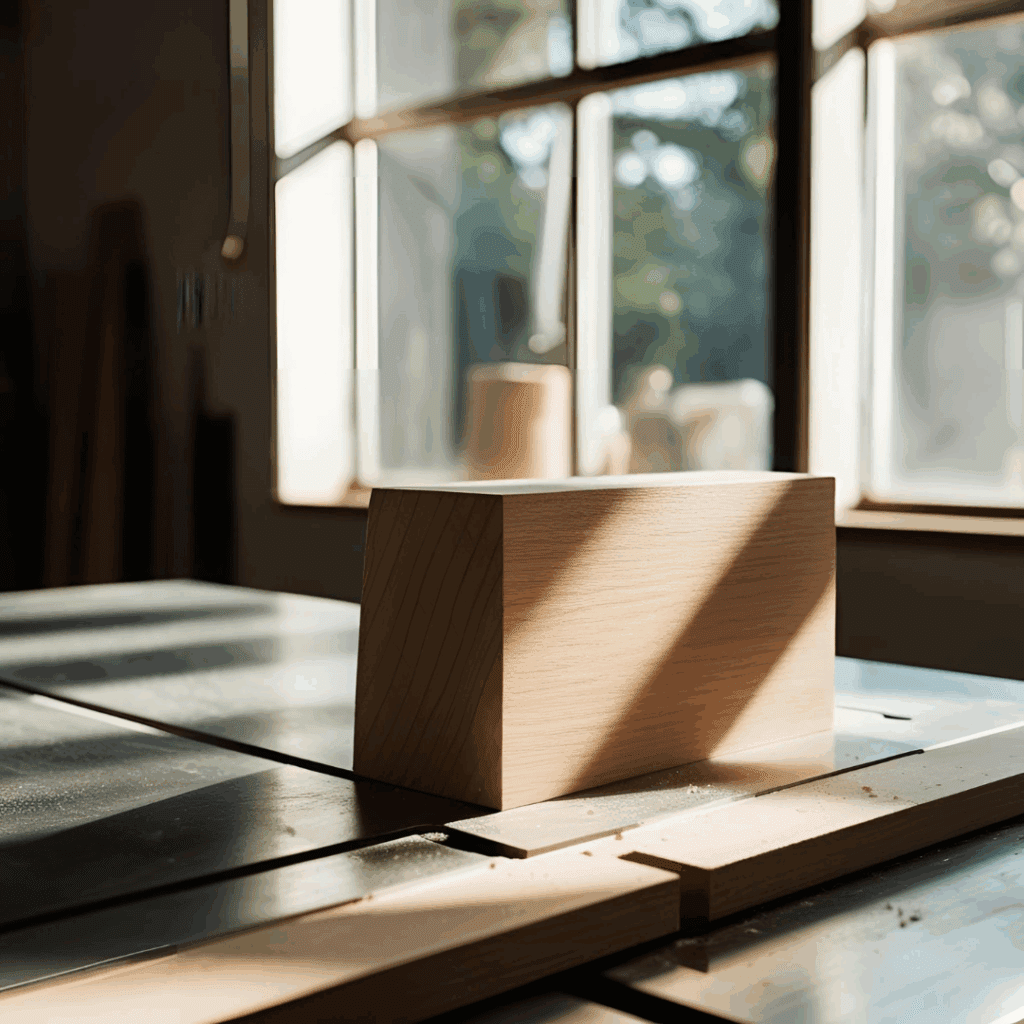
How to Cut and Shape a Wooden Name Plate
Cutting Flat Name Plates
Flat name plates are simple — usually a clean rectangle.
Use a miter saw or band saw to cut your blank to size. Thinner stock, like ¼-inch or ½-inch wood, is perfect for name plates and can be found at most home improvement stores.
If you’re planning a decorative outline (curves, waves, or intricate edges), a scroll saw is ideal. I recommend the DeWalt Scroll Saw (Amazon) for precise, easy cuts.
Pro tip: Always sand your blank after cutting! Smooth surfaces make carving, engraving, and finishing far easier.
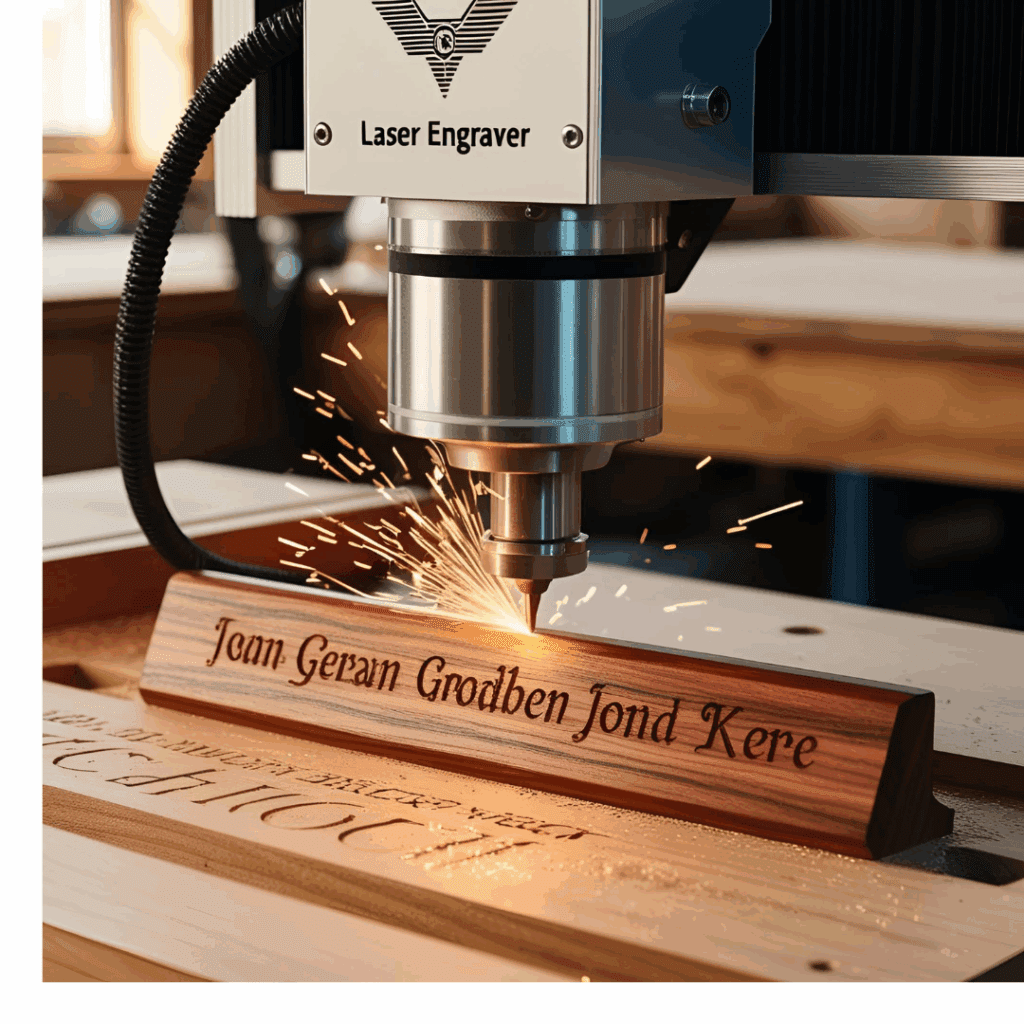
Laser engraving is clean, modern, and ultra-precise.
Affordable desktop engravers like the xTool D1 Pro (Amazon) make it easy to personalize your name plate at home — adding names, logos, or fancy monograms.
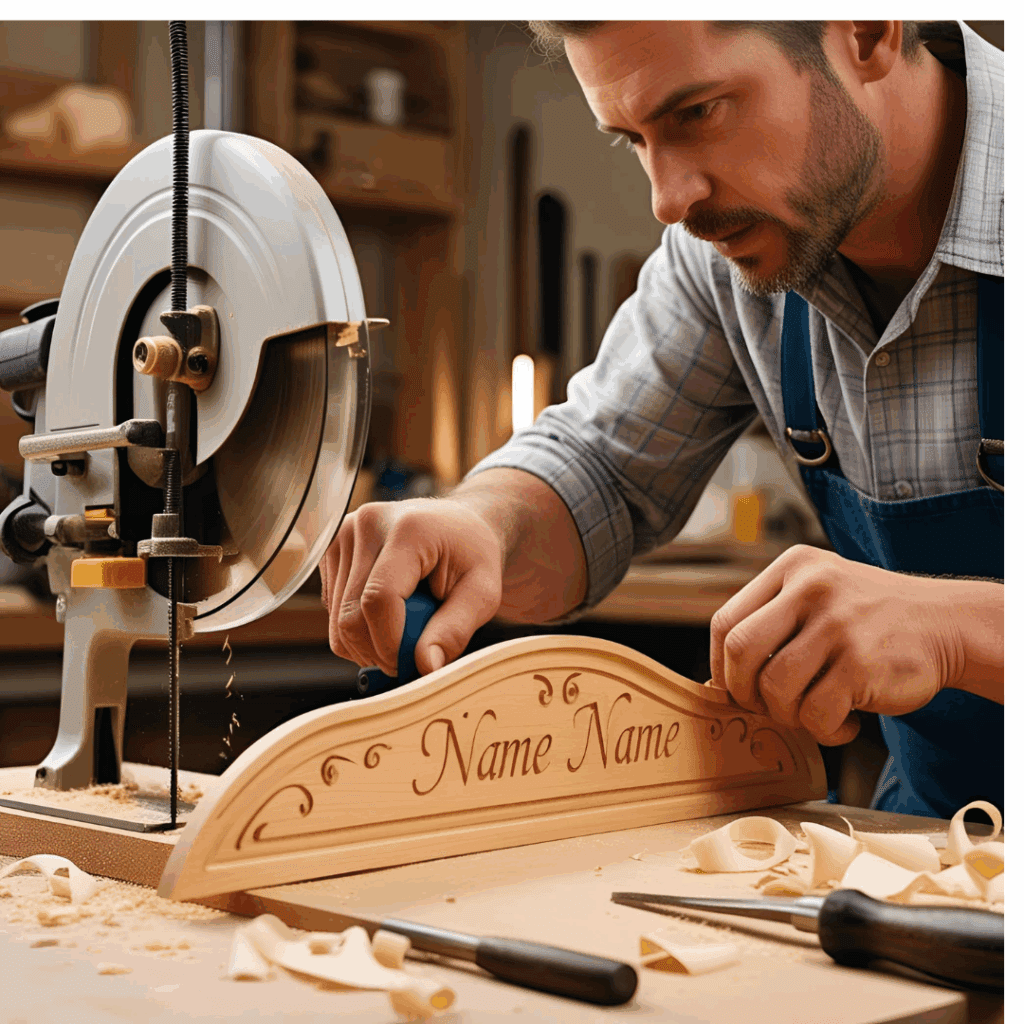
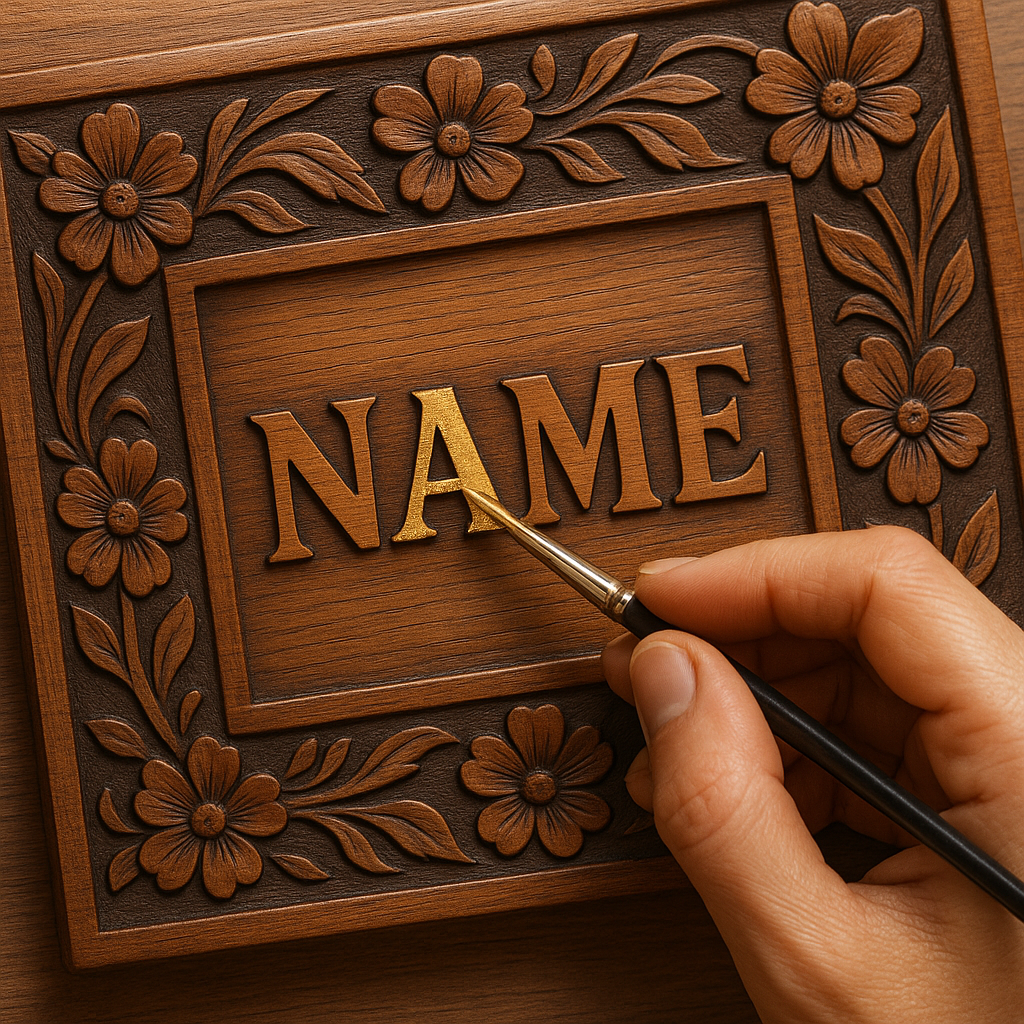
3. Hand Carving
If you have a steady hand (and patience!), hand-carving letters with wood carving tools offers a stunning, old-world effect.
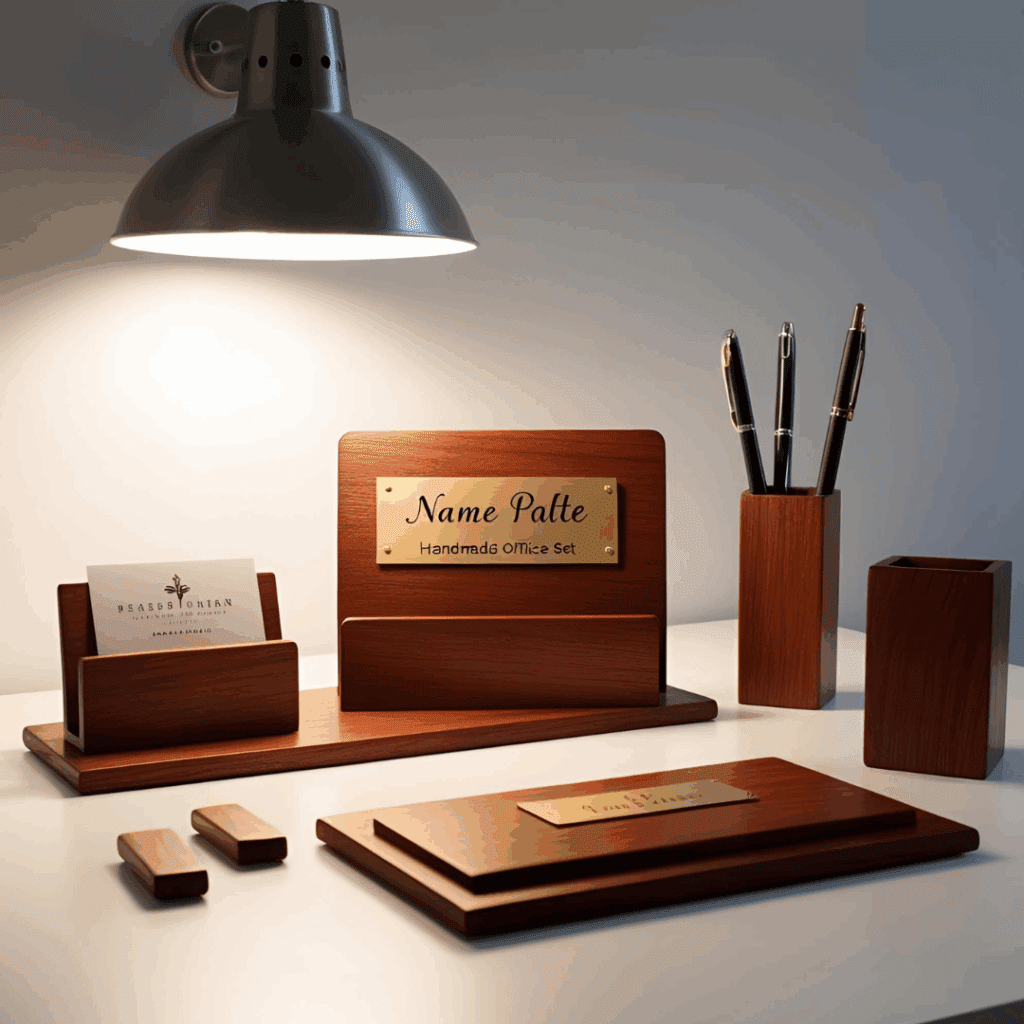
Or package it in a wooden display box for a professional gift presentation.
How to Personalize Your Name Plate Even Further
Beyond carving names or applying appliqué letters, there are even more ways to make your wooden name plate truly one-of-a-kind. Personal touches not only enhance its visual appeal but also make it more meaningful as a personal item or gift.
Adding a Logo or Emblem
If you’re making a name plate for a company, military branch, university, or organization, consider adding a small logo beside the name. You can:
Personalizing your wooden name plate elevates it from a simple identifier to a true piece of craftsmanship — something that speaks volumes about your attention to detail and style.
Conclusion: Your Signature Statement
A wooden name plate combines craftsmanship, identity, and elegance all in one. Whether you carve, engrave, or appliqué your design, the result is a timeless piece that reflects your personality and pride.
Building a custom wooden name plate isn’t just a project — it’s a personal signature. And once you complete it, it will hold meaning far beyond the grain of the wood.
Miter Clamps: Perfect Corners Made Easy by Admin March 3, 2025 Joints One of the first lessons every woodworker learns is that miter clamps turn good corners into great ones. These specialized tools squeeze freshly cut angles…


")

")
")
