Carving is a whole separate aspect of woodworking; one that some woodworkers specialize in and other woodworkers avoid entirely. Nevertheless, woodcarving is an ancient art, going back at least 11,000 years. Just as many ancient cultures made art, especially religious art, out of carved stone, they also made their art out of carved wood. Some of those ancient examples have survived to today.
Compared to other types of woodworking, carving can be started with minimal investment, as one can begin carving with a very limited set of carving tools. How much one ultimately spends on their carving hobby depends a lot on the carving methods they choose to employ. Chip carving, the simplest form of carving, can be accomplished with a few knives. but the more detailed the carving, the more tools are required.
As with all other aspects of woodworking, power tools have taken a significant place in modern carving. While power tools are not necessary in order to be able to carve, they make the process much faster, just like they do with other types of woodworking. Power carving tools are usually rotary tools, similar to the Dremel tool, but faster. They can be either electric or pneumatic. Some employ a flexible shaft, giving the tool a smaller head that is easier to work with, especially in tight places.
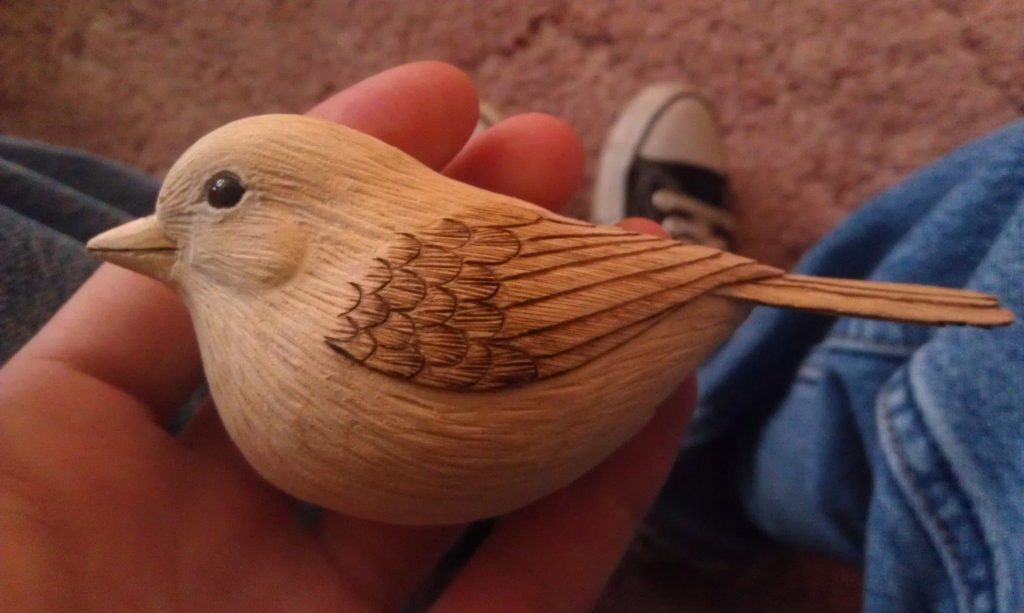
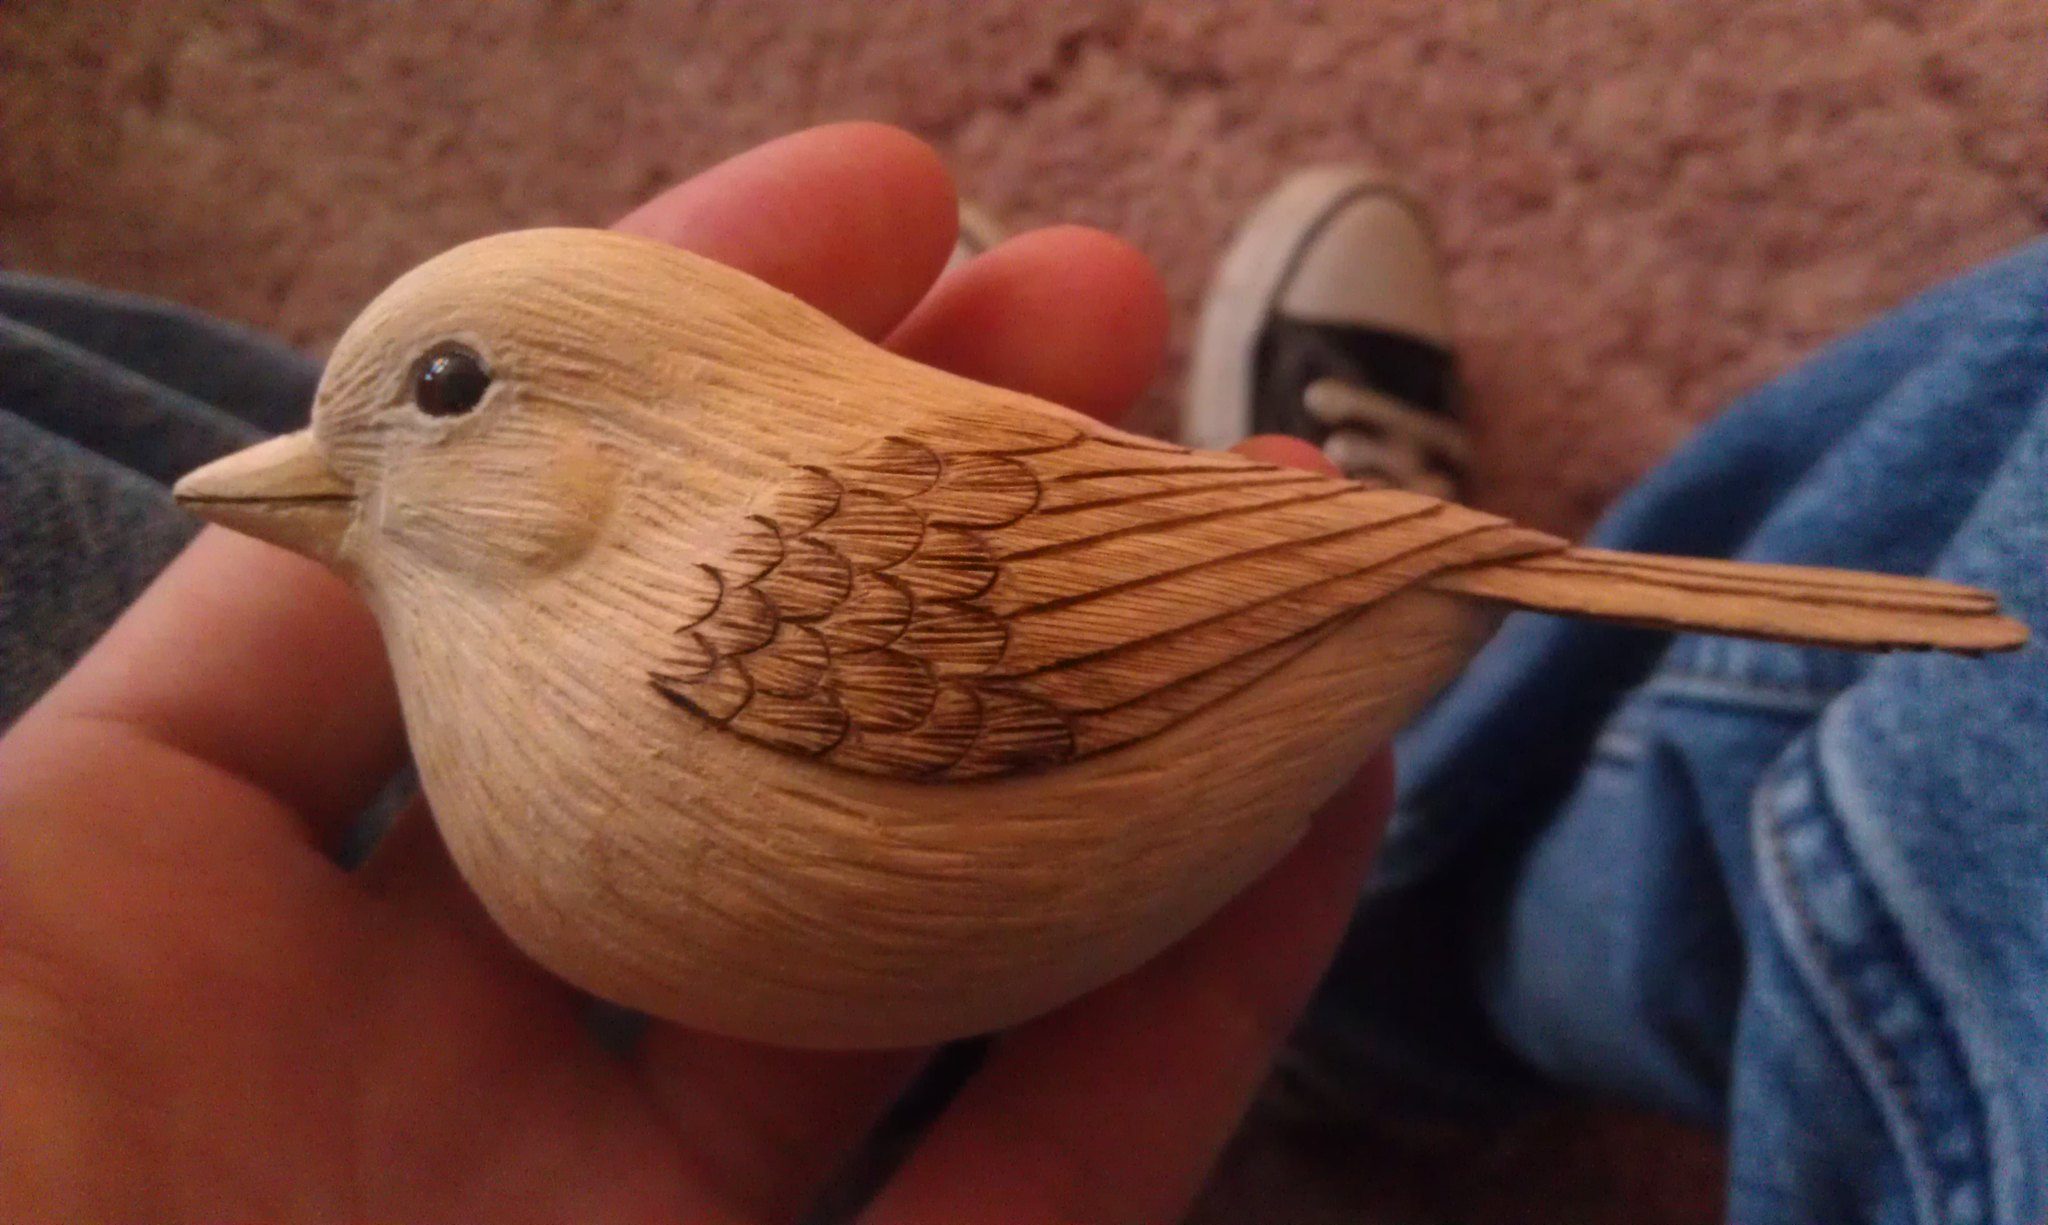
Carvers generally start their carving career with simple projects, like birds. Birds are relatively simple shapes, with compound curves, making them good learning pieces. While the overall shape is rather simple, the amount of detail that can be put into a bird carving can transform it from a simple carving to a complex project.
The first thing that needs to be decided, before beginning the project, is what sort of carving is going to be done.
- Chip carving – using carving knives, is the simplest form of carving, easily identified by the visible chip surfaces on the outside of the project. This style of carving precludes having great amounts of detail. Chip carving is more abstract than realistic, as it provides the basic shape of what it represents, allowing the imagination to fill in the details.
- Gouge carving – the gouge is the mainstay of carving hand tools. Available in a variety of sizes and sweeps, they allow for both quick removal of material and detailed removal. Carving gouges can be used by hand, but are usually used in conjunction with a woodcarver’s mallet, with the workpiece being held in a vice.
- Power tool carving – a variety of power tools can be used for carving, up to and including chainsaws. However, that’s a bit large for a bird. For carving a bird, rotary tools are the best, using a combination of drum sanders, a “diamond flame tool” and a “cylinder stone bit.” Using power tools does not preclude the use of hand tools, as a V-gouge will still be needed.
In all cases, it is useful to have a band saw available for cutting out the basic shape of the bird. The more excess material that can be removed via the band saw, the better, as it doesn’t have to be removed by other methods. If a band saw is not available, a coping saw can be used to accomplish the same thing.
How to Hand Carve a Wood Bird
The first step in carving any wooden bird is finding a picture of the bird to be carved. That’s most easily accomplished online. Once found, the bird should be blown up to the finished size of the carving and printed out to be used as a pattern. Cut away as much of the background as reasonably possible and then glue the bird to the block of wood that is to be carved.
Wood selection is important. A stable, fine-grained wood is desired. For carvings with any detail in them, hardwoods are preferred to softwood, as softwood carvings are too easily damaged. The most common woods used for carving are: basswood, aspen, butternut, black walnut and oak.
Following the pattern cut out the wood blank on the band saw. It can also be useful to use the band saw to narrow the wood blank in areas where the final carving will be narrower, such as tapering the tail and making the head narrower than the body. It is better to leave too much material and have to remove it by hand, than to accidentally cut too much away and ruin the piece.
This is the point at which the carving method actually starts making a difference. Regardless of whether chip carving, using gauges or using power carving tools is used, the idea is to continue taking away material gradually, forming the shape of the bird. Don’t try to work out things like feather details until the entire shape of the bird is realized and smoothed out, including the beak and the shape of the tail.
Of the various methods available, the easiest to do is to use a small drum sander on a rotary carving or dremel tool. This works well for complex curved surfaces, while not taking off too much material. Almost all the basic shaping can be accomplished with this one tool. However, chipping knives and gouges can also be used; it will just take a bit longer.
With the basic shape realized, stop to draw guidelines for the wings, tail and other features that need to be carved. Drawing these out first, with a pencil, allows for changes and adjustments to be made. A line carved with a V-gauge can’t easily be erased.
There are two places where a V-gouge has to be used in outlining the beak and in outlining the wing tips. In both cases, a small V-gauge is needed to create separation of those parts from the main body of the carving. Take care not to cut too deep, as that is a sure sign of an amateur job. The same V-tool can be used to separate the individual wingtip and tail feathers, as those are the largest feathers and need to stand out as individuals, rather than just a body of feathers. Once they are outlined, either a nail file or a rotary carving tool with a round burr on it can be used to form the surface of the individual feather. This will end up creating a sawtooth cross section, as each feather is higher towards the outside and at the low point in the groove separating the feathers.
Fine details, such as the shaping around the eyes and the line separating the beak can most easily be cut using a rotary carving tool with a diamond flame bit. The same bit, laid more on its side, can be used for forming body contours, such as outlining the root part of the wing, where it is tucked in to the body. Cutting with this tool allows for a finer level of detail than a V-gouge, with a smaller amount of intent, making the carving more realistic. This bit allows fine detail, while maintaining a strong degree of control. Such details can also be accomplished with a fine-tipped wood burning tool. Singing of the wood really isn’t an issue if the finished carving is to be painted.
Some carvers like to give the impression of the vanes and quills in the feather. This is most easily accomplished by scribing the line into the carving, rather than having the vanes stand out. Such scribing is done either with a small knife or with the same fine-tipped wood burning tool.
Stop again and draw in the individual feathers covering the bird’s body and head. These do not need to exactly match the photo for size, but direction is important. A bird’s feathers will always lie so that the ones closest to the beak overlap those farther away. We recognize this at a somewhat instinctive level, so if they are cut wrong, it will be obvious, even if the person looking at the bird can’t understand why it looks wrong.
For the best carving, use either a small gouge or a cylinder bit in a rotary carving tool to shape each individual feather. The side of the feather closest to the bird’s beak will be overlapped by the feather closer to the beak, so that edge of the feather should be low, while the back edge should be high. This is tedious, but easy to do once the carver gets the hang of it.
Eyes, legs and feet usually aren’t carved. Rather, the eye sockets are made and bird eyes, which look much like beads without a hole in them, are glued in place. The legs are generally made of wire, with the toes soldered to the leg. For those who are seeking greater detail, the wire used to form the legs is beaten or crimped with pliers to give them the right shape. Those legs are then glued into holes drilled into the bird’s body.

Painting the Wood Bird Carving
Carvings such as wood birds are almost always painted after being carved. Before painting, it’s a good idea to go over the entire carving with Gesso, a base layer product used by artists to cover and prepare a canvas. Don’t worry about the covering being smooth or eliminating blotchiness. This is working as a primer to seal the wood. Splotches will help with making the finished carving look more realistic, as a bird’s plumage isn’t perfectly consistent.
The bird can be painted with acrylic paints. I’d recommend buying quality paint, as the higher quality ones have more pigment. When low-quality artist’s paints are used, multiple coats are needed to get coverage. While perfect coverage isn’t needed and a bit of unevenness in the paint job will look more realistic, it is important for the paint to actually cover the wood.
It can be tricky dealing with the areas where the bird’s plumage changes color. This is never a straight line, even if it might look like it is. Rather, it is a place where one color of feathers stops and another starts. Rather than trying to paint individual carved feathers different colors, an easier way to do this is to first paint the base color, then paint the overlapping color. Before that overlapping color can dry, take a clean paint brush and pull some of the paint over the base color, making little spikes of color. This will do an excellent job of giving the appearance of individual feathers overlapping others, creating that line of color, even if the spikes don’t match up with your carved feathers.


