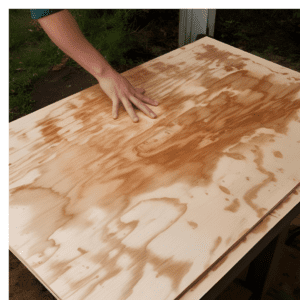
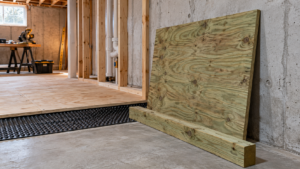
Yes, you can paint pressure-treated wood, but only once it’s dry enough that water soaks in instead of beading on the surface. Lumber stamped KDAT (kiln-dried after treatment) can usually be painted right away. Standard “wet” treated lumber often needs anywhere from a few weeks to a couple of months, depending on the brand, the weather and how much sun it gets. Below are a wait-time chart, a simple water-absorption test that helps determine when the wood is ready for paint, the primer and paint that hold up, and the projects where stain is a better choice than paint.
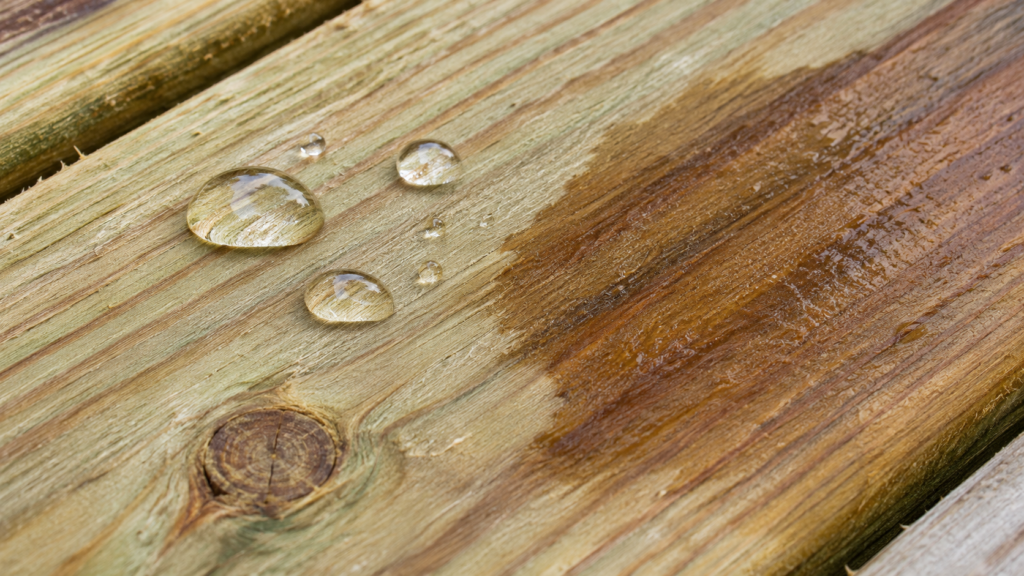
Can you paint it? Yes, once water soaks in during the sprinkle test instead of beading on the surface.
KDAT lumber: usually ready to paint immediately, if it has been kept dry.
Standard wet-treated lumber: test it. Manufacturer guidance ranges from about 30 days (YellaWood) to about 60 days (Viance) after installation.
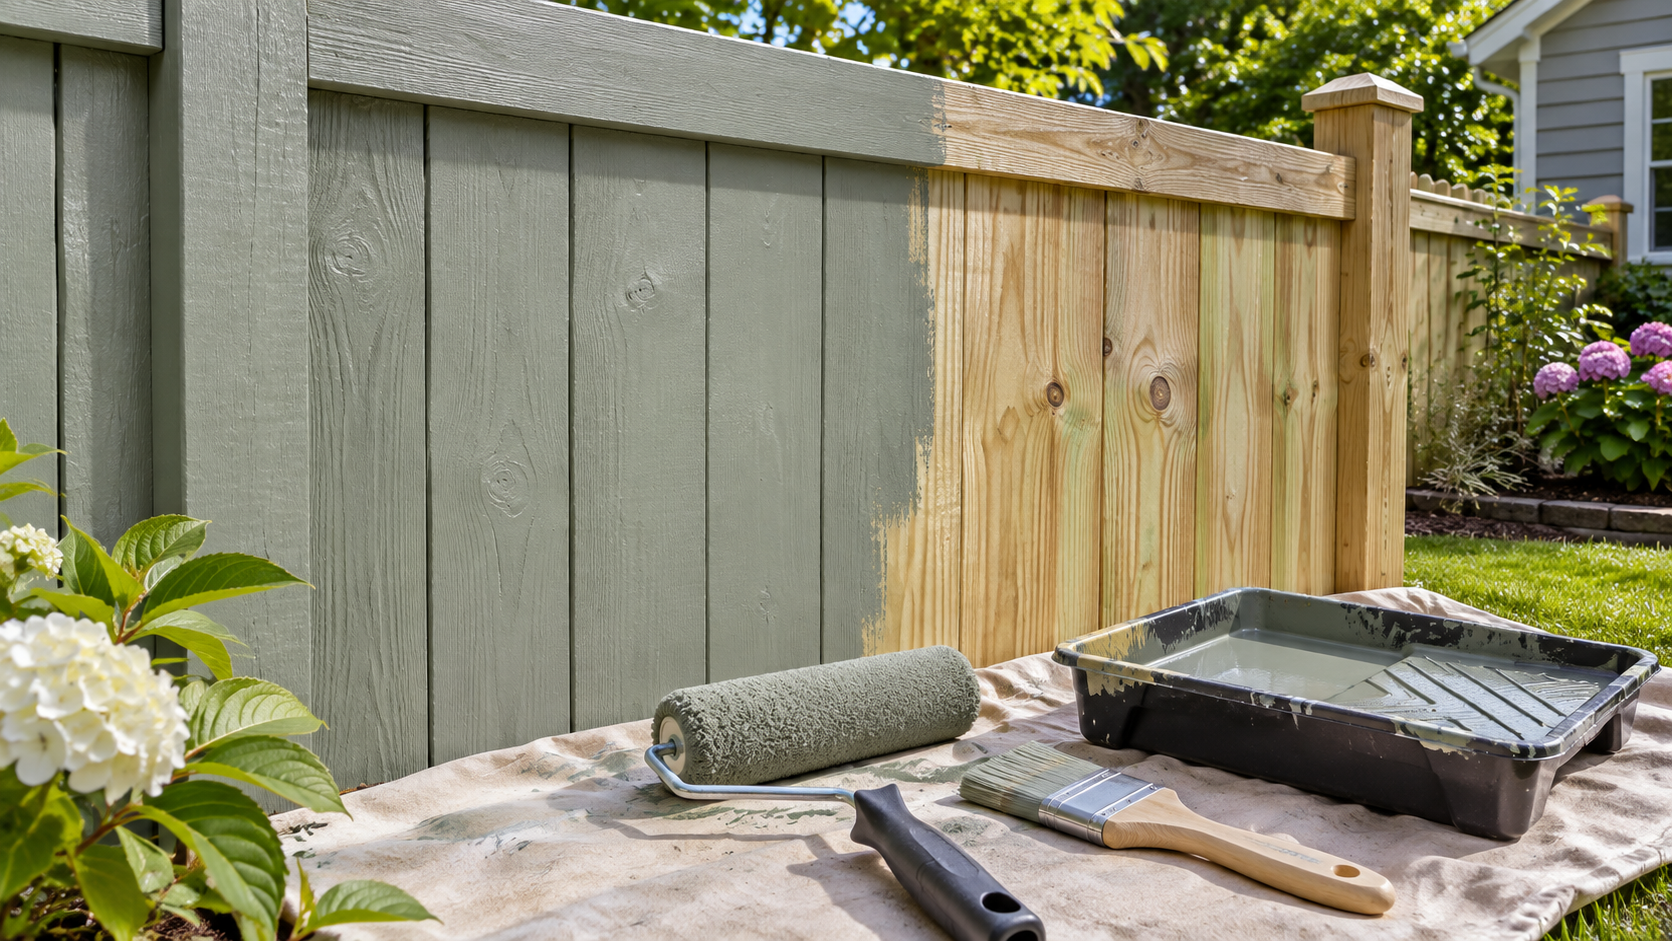
What to use: the primer your lumber brand recommends, then two coats of 100% acrylic latex exterior paint.
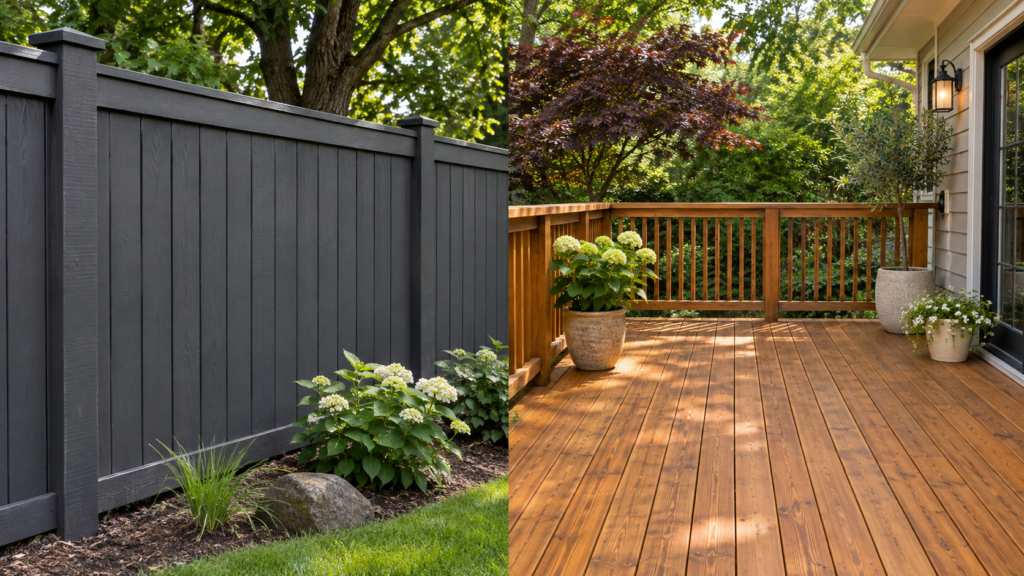
Skip paint on: deck floors and stairs. Stain wears better under foot traffic.
Pressure-Treated Wood Wait-Time Chart
Wood condition
How to tell
Typical moisture
Typical wait before painting
Ready when
KDAT lumber
“KDAT” on the end tag or stamp; noticeably lighter
About 19% or less (lumber); 18% (plywood)
Usually none, if kept dry
Sprinkle test passes
Standard wet-treated lumber
Feels damp and heavy; may look green or tan
Often delivered with high moisture content; actual levels vary by product and treatment
About 30–60+ days; varies by brand, sun and weather
Sprinkle test passes
Treated wood with factory water repellent
Tag mentions a water repellent or weather protection
Varies
Often longer than standard treated wood
Sprinkle test passes on several boards
Weathered treated wood (gray, unfinished)
Gray surface, raised fibers
Depends on recent weather
Ready after cleaning and drying
Clean, dry, and loose gray fibers removed
Previously painted treated wood
Old coating present
Depends on recent weather
Ready after prep
Loose paint scraped; bare spots primed
KDAT moisture figures come from treater KDAT technical notes. Wait times come from YellaWood and Viance (TreatedWood.com). Your lumber’s own tag and the brand’s finishing sheet beat any general chart.
How to Read the Chart
Don’t count days, test the wood. The same board can be ready in three weeks in a sunny, dry summer or still wet after two months of rain in the shade. Wait-time numbers are just a rough guide for when to start testing.
The old “wait six months” rule is out of date for many products. YellaWood says the six-month wait no longer applies to its micronized copper-treated lumber, and that projects may be ready within 30 days of completion, depending on the weather. Viance, which makes preservatives, says treated wood is typically ready about 60 days after installation. Both point to the water test as the final call.
Factory water repellents change the timeline. YellaWood notes that treated products with a factory-applied water repellent may take longer to dry before finishing. If your tag mentions a water repellent, follow that product’s finishing instructions rather than general wait times.
KDAT costs more, but there’s no wait. KDAT lumber has a higher shelf price than standard treated lumber. You’re paying to skip the wait and get boards that shrink and twist less after they’re installed.
Check what you actually bought. The end tag tells you the treatment, the use category and whether the lumber was dried after treatment. Our guide to pressure-treated plywood explains how to read the tag.
🧪 Real Test: The Sprinkle Test
This is the test treated-wood manufacturers themselves recommend.
Pick a board in the sunniest spot and one in the shadiest spot.
Sprinkle a few drops of water on each.
Watch for about 10 minutes.
Water soaks in: the wood is ready to clean, prime and paint.
Water beads up: The surface is not ready to accept the finish. The wood may still be wet or contain a water-repellent treatment. Check the lumber tag and manufacturer’s finishing instructions before proceeding.
Mixed results: paint only the boards that pass, or wait until all of them do. The shady boards are usually the last ones ready.
Run the test on the actual day you plan to paint, not a week earlier. One rainy day can put you back to waiting.
How to Paint Pressure-Treated Wood
1. Clean it
Scrub off dirt, mildew and mill residue with a deck or wood cleaner and a stiff brush. Rinse well, then let the wood dry for at least a couple of dry days. Run the sprinkle test again afterward.
2. Remove gray fibers on weathered wood
If the wood has gone gray, lightly sand or scrub off the loose surface fibers. The USDA Forest Products Laboratory notes that wood left bare in sunlight for more than a few weeks develops weathered surface fibers that weaken how well the finish sticks. Wear a dust mask and do the sanding outdoors.
3. Prime the cut ends first
YellaWood’s finishing guidance says to prime any cut ends. Field-cut ends also expose less-treated wood inside the board. For cuts on structural lumber, such as posts and joists, apply a brush-on end-cut wood preservative before priming, as the USDA Forest Service recommends under AWPA Standard M4.
4. Prime the faces
Treated-wood brands don’t agree on the primer:
YellaWood: recommends an alkyd (oil-based) primer under the paint.
Many paint guides: recommend an exterior latex primer instead.
Use the primer your lumber brand recommends. Then check that the primer’s label lists pressure-treated wood as a suitable surface. If the lumber brand says nothing, an exterior primer that lists treated wood on its label is the safe choice.
5. Apply two coats of 100% acrylic latex exterior paint
YellaWood and the USDA Forest Products Laboratory’s finishing guidance both point to two coats of good-quality acrylic latex as the topcoat. Acrylic latex stays flexible as the wood swells and shrinks with the weather, which is why it outlasts more brittle coatings on treated wood. Follow the can’s recoat time between coats.
Paint or Stain? Decision Chart
Project
Better choice
Why
Deck floor boards
Semi-transparent stain or sealer
Viance notes paint and solid stains wear faster on high-traffic areas
Deck stairs and entry steps
Semi-transparent stain
Same reason. Worn paint on steps looks bad fast and has to be scraped.
Fence pickets and rails
Paint or solid stain
Vertical surfaces shed water, and paint lasts longer there
Railings, trim, pergolas
Paint
No foot traffic, and paint gives the cleanest color
Paint peels where wet soil stays in contact with the wood
The USDA Forest Products Laboratory notes that semi-transparent penetrating stains let wood “breathe,” so they don’t blister or peel even when the wood’s moisture content is high. That’s why stain is often the safer choice on any surface that stays damp or gets walked on.
The wood still fails the sprinkle test. Paint over wet wood is the main reason paint peels on treated lumber.
Deck boards you walk on. Paint usually wears through in the traffic paths first, and repainting a peeling deck means scraping every board.
Wood in contact with the ground or soil. A paint film can’t keep groundwater out of a post or planter wall, and it peels from the wet side. Rot protection in ground contact depends on the treatment level marked on the tag, not on the paint.
Old lumber you can’t identify. Wood from before the early 2000s may be CCA-treated, which contains arsenic. Don’t dry-sand it. The U.S. Consumer Product Safety Commission notes that penetrating coatings such as stains and sealers may reduce exposure to chemical residues on CCA-treated wood.
Picks for Painting Pressure-Treated Wood
Pin moisture meter: backs up the sprinkle test with a number, which helps when only some boards pass
Deck and wood cleaner: removes mill residue and mildew so the primer bonds to wood, not dirt
N95 dust masks: for any sanding or cutting of treated wood
Common Mistakes When Painting Treated Wood
❌ Painting on a schedule instead of testing. “It’s been 30 days” means nothing if it rained for two weeks. The paint blisters and peels, usually within the first season.
❌ Ignoring a water-repellent treatment. If water beads because of a factory repellent, paint may not bond the way the can promises. Check the tag and the lumber maker’s finishing instructions first.
❌ Skipping the cleaning step. Mill residue and dirt sit between the wood and the primer. Expect peeling in sheets, even on dry wood.
❌ Leaving cut ends bare. Ends soak up water much faster than faces. Paint near the ends lifts first, and the exposed end grain checks and cracks.
❌ Painting a deck floor. Paint wears through in traffic paths and peels at the board ends. 😬 You’ll be scraping and repainting much sooner than you would be restaining.
❌ Dry-sanding without a mask, or burning the scraps. NPIC and the CPSC both advise wearing a dust mask when cutting or sanding treated wood and never burning it. Burning treated wood releases treatment chemicals in the smoke and ash.
💸 Cost difference: If you need paint on day one, KDAT costs more per board than standard treated lumber but saves the wait. If you can wait, standard lumber plus a few weeks of drying is the cheaper route. The worst-value choice is buying standard lumber and painting it early, because then you pay for paint twice.
FAQ
How long should you wait to paint pressure-treated wood?
Until it passes the sprinkle test. YellaWood says its micronized copper lumber may be ready within 30 days of completion, depending on weather. Viance (TreatedWood.com) says treated wood is typically ready about 60 days after installation. KDAT lumber can usually be painted right away. Products with a factory water repellent may take longer.
What happens if you paint pressure-treated wood too soon?
The water still inside the wood pushes against the paint film as it dries. That causes blistering, poor adhesion and peeling, usually within the first season. Then you have to scrape and start over.
What kind of paint do you use on pressure-treated wood?
Two coats of 100% acrylic latex exterior paint over a primer. For the primer, follow your lumber brand’s recommendation (YellaWood specifies an alkyd oil-based primer) and confirm that the primer’s label lists pressure-treated wood.
Do you need to prime pressure-treated wood before painting?
Yes. Prime all faces and especially the cut ends. Skipping the primer is one of the most common reasons paint fails on treated lumber.
Is it better to paint or stain pressure-treated wood?
Stain for deck floors and stairs, because paint wears faster under foot traffic. Paint for fences, railings, trim and sheds, where it lasts longer and gives a cleaner color.
Usually, yes. Treaters like Culpeper and YellaWood describe KDAT as ready to paint, stain or seal immediately, as long as it has been kept dry. Run the sprinkle test anyway if the lumber sat in the rain.
Bottom Line
You can paint pressure-treated wood as soon as water soaks in instead of beading. That’s usually right away for KDAT lumber and a few weeks to a couple of months for standard wet-treated lumber, and possibly longer for products with a factory water repellent. Clean it, prime the faces and cut ends with the primer your lumber brand specifies, then apply two coats of 100% acrylic latex. Save paint for fences, railings and trim, and use stain on deck floors and stairs. For more on how long treated wood lasts once it’s finished, see our plywood lifespan guide, and if you’re repairing damage first, start with rotten plywood. For general finishing steps, see how to finish plywood and painting plywood.
This post contains Amazon affiliate links. If you buy through them, theplywood.com may earn a small commission at no extra cost to you.
Related Posts:
Painting Plywood: Prep, Primer and Paint Chart by Admin November 2, 2026 DIY This post contains affiliate links. As an Amazon Associate, theplywood.com earns from qualifying purchases at no extra cost to you. To paint plywood, lightly sand…
Dealing with Wet and Warped Plywood: What You Can Do by Admin March 21, 2025 Repairs Dealing with Wet and Warped Plywood: A Practical Guide We have prepared a reference guide for you—an easy checklist for your convenience. Wet_and_Warped_Plywood_Checklist_ThePlywoodDownload If you’ve…