This post contains affiliate links. As an Amazon Associate, theplywood.com earns from qualifying purchases at no extra cost to you.
To paint plywood, lightly sand the face with 120–150 grit and fill the voids and edge grain. Then apply a primer that blocks stains, followed by two coats of 100% acrylic latex paint. For outdoor projects, also prime every edge and the back of the panel before it’s installed. The most common cause of peeling, cracking and bleed-through is skipping that edge and back priming.
Quick Answer
Sand: 120 grit on edges, 150 on the face. Go lightly, because the face veneer is thin.
Fill: Indoors, use wood filler or lightweight spackle. Outdoors, use only exterior-rated or two-part epoxy wood filler.
Prime: Use a primer that blocks stains. On knotty softwood plywood, use shellac-based primer.
Paint: Two thin coats of 100% acrylic latex
Outdoors: Prime all edges and the back before installing, and put the first coat on quickly
Smoothest result: Start with MDO (medium-density overlay) plywood, or birch if it’s for indoors
Painting Plywood: What to Use for Each Project
Project
Best plywood to start with
Primer
Topcoat
Furniture, cabinets, built-ins
Birch or other hardwood plywood
Water-based bonding primer, or shellac-based if the sheet has knots or patches
Acrylic or urethane-acrylic enamel (cabinet/trim enamel)
Shop or utility projects indoors
Sanded softwood (pine or fir) plywood
Shellac-based or oil-based primer that blocks stains
Interior acrylic latex
Sheds, siding, outdoor builds
MDO, or exterior-rated sanded plywood
Exterior acrylic latex primer, on the face, back and every edge
Exterior 100% acrylic latex, 2 coats
Plywood floors
Sanded plywood or underlayment
Primer the paint maker recommends for floors
Porch and floor enamel
Signs and anything outdoors you want perfectly smooth
MDO
Exterior acrylic primer
Exterior acrylic latex
Test first: Prime and paint a scrap cut from the same sheet before you start the real piece. Ten minutes on a scrap will show you knot bleed, raised grain or poor coverage before they show up on your project.
Why Plywood Is Harder to Paint Than Solid Wood
Plywood is a stack of thin layers of wood, and each kind of plywood causes its own problem under paint:
The face veneer is thin. If you sand too hard, you’ll go through the face and expose the glue line and the layer under it.
Edges soak up paint. The cut edges are end grain and voids, and they absorb far more primer than the face does.
Softwood plywood has knots and resin. Pine and fir knots can bleed yellow-brown through water-based paint.
Fir grain shows through and cracks. Douglas fir faces have strong grain that can show through paint. Outdoors, the face can develop small cracks (called face checks) as the wood swells and shrinks, and those cracks break the paint.
Each step below deals with one of these problems.
Step-by-Step: Painting Plywood
1. Start With the Right Sheet
Paint can’t make a rough face smooth. For a smooth finish indoors, buy sanded plywood with a good face grade, or birch hardwood plywood. For outdoor work that you want to look good, consider MDO. Its resin-treated paper face is designed to give you a smoother, more stable surface for paint, with much less visible grain and face checking than bare softwood plywood. MDO costs more than standard sanded plywood, so check your local pricing. On anything you’ll be looking at for years, the extra cost often pays for itself in paint jobs you won’t have to redo. CDX sheathing isn’t meant to be a show surface, so expect rough patches and visible plugs if you paint it.
2. Sand the Face Lightly and the Edges Harder
Sand the face with 150 grit, moving with the grain, just enough to knock down the mill glaze and fuzz. Sand the edges with 120, which they need because they’re rougher. Don’t use a coarse grit on the face. Once you sand through the veneer, the only fixes are a patch or a new panel.
3. Fill Voids and Smooth the Edges
What you fill with depends on where the plywood will end up.
Indoor projects that stay dry (furniture, cabinets, shelving):
Face voids, splits and dents: Use wood filler. Overfill slightly, let it dry, and sand it flush.
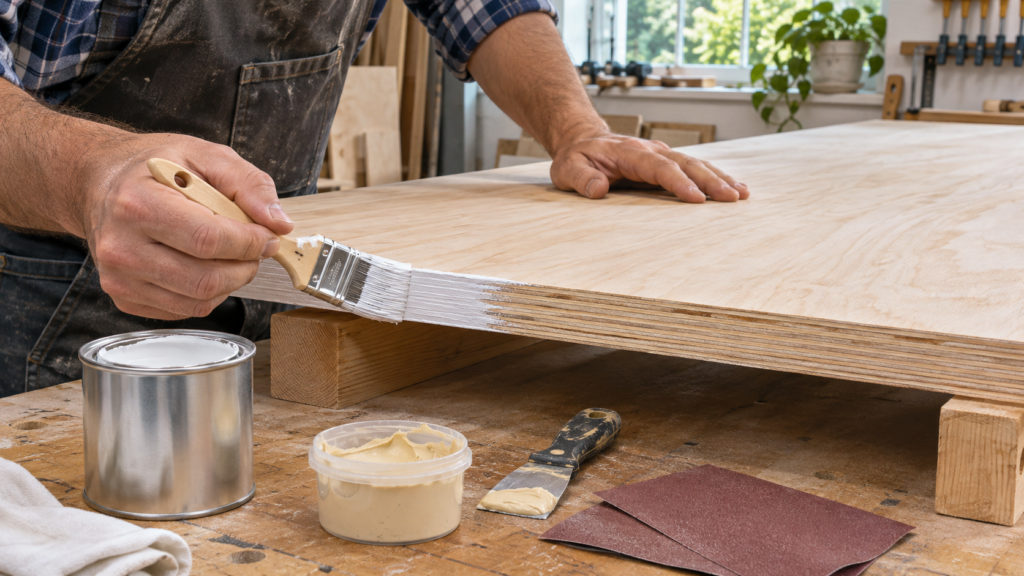
Cut edges: Skim a thin coat of wood filler or lightweight spackle, let it dry and sand. Repeat if voids still show. For furniture, iron-on edge banding gives a cleaner edge.
Outdoor projects, or anywhere that gets wet (sheds, siding, planters, bathrooms):
Don’t use lightweight spackle or drywall compound. They soften and fail once they get wet.
Use an exterior-rated wood filler, or a two-part epoxy wood filler, for voids and edge gaps. Epoxy is the more durable choice for edges that will see weather.
Check that it works with your primer. Before priming over any filler, read its label for drying time and whether it takes latex primer. Some epoxy fillers need a light sanding first so primer will stick.
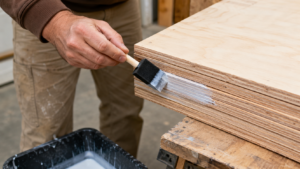
Then seal the edge with the same exterior primer you’ll use on the face. Brush it on generously.
4. Remove Every Bit of Dust
Vacuum, then wipe with a barely damp cloth or a tack cloth. Dust left on the surface becomes bumps in the primer.
5. Prime the Edges First, Then the Face
Brush primer onto the edges first, because they absorb the most. Then roll the face. Use a primer that matches the problem:
Knotty or patched softwood plywood: Shellac-based primer is generally considered the strongest stain blocker. Oil-based primer that blocks stains is a close second.
Clean hardwood plywood: A water-based bonding primer works and cleans up with water.
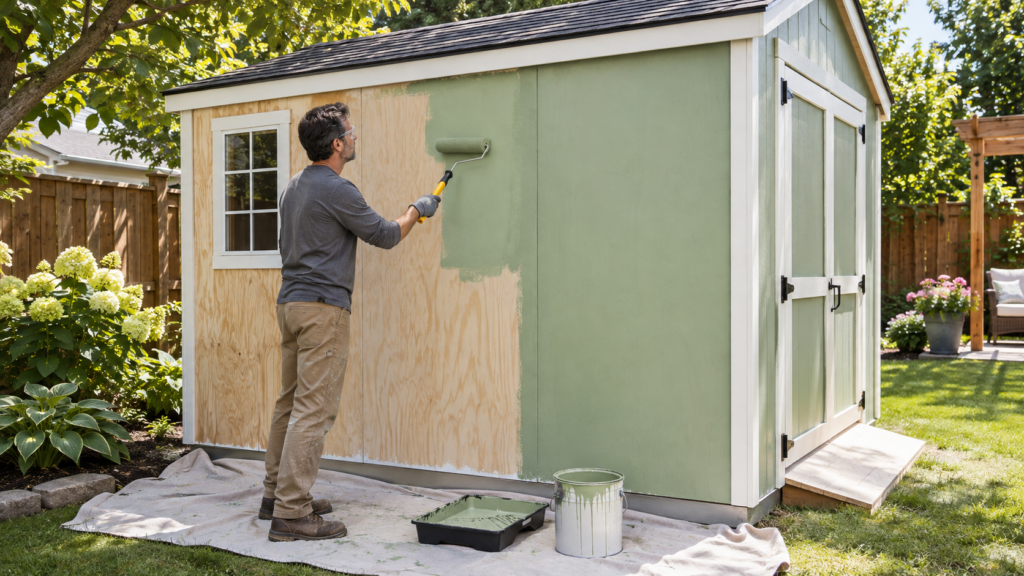
Outdoor projects: Use exterior acrylic latex primer. For painted plywood siding, APA’s finishing guide (Q350)recommends sealing all panel edges with primer before installation, and resealing any edge you cut on site.
6. Sand the Primer Smooth
Primer raises the grain slightly. Once it’s fully dry, sand lightly with 220 grit, then dust off. This step makes the biggest difference in how smooth the final coat feels.
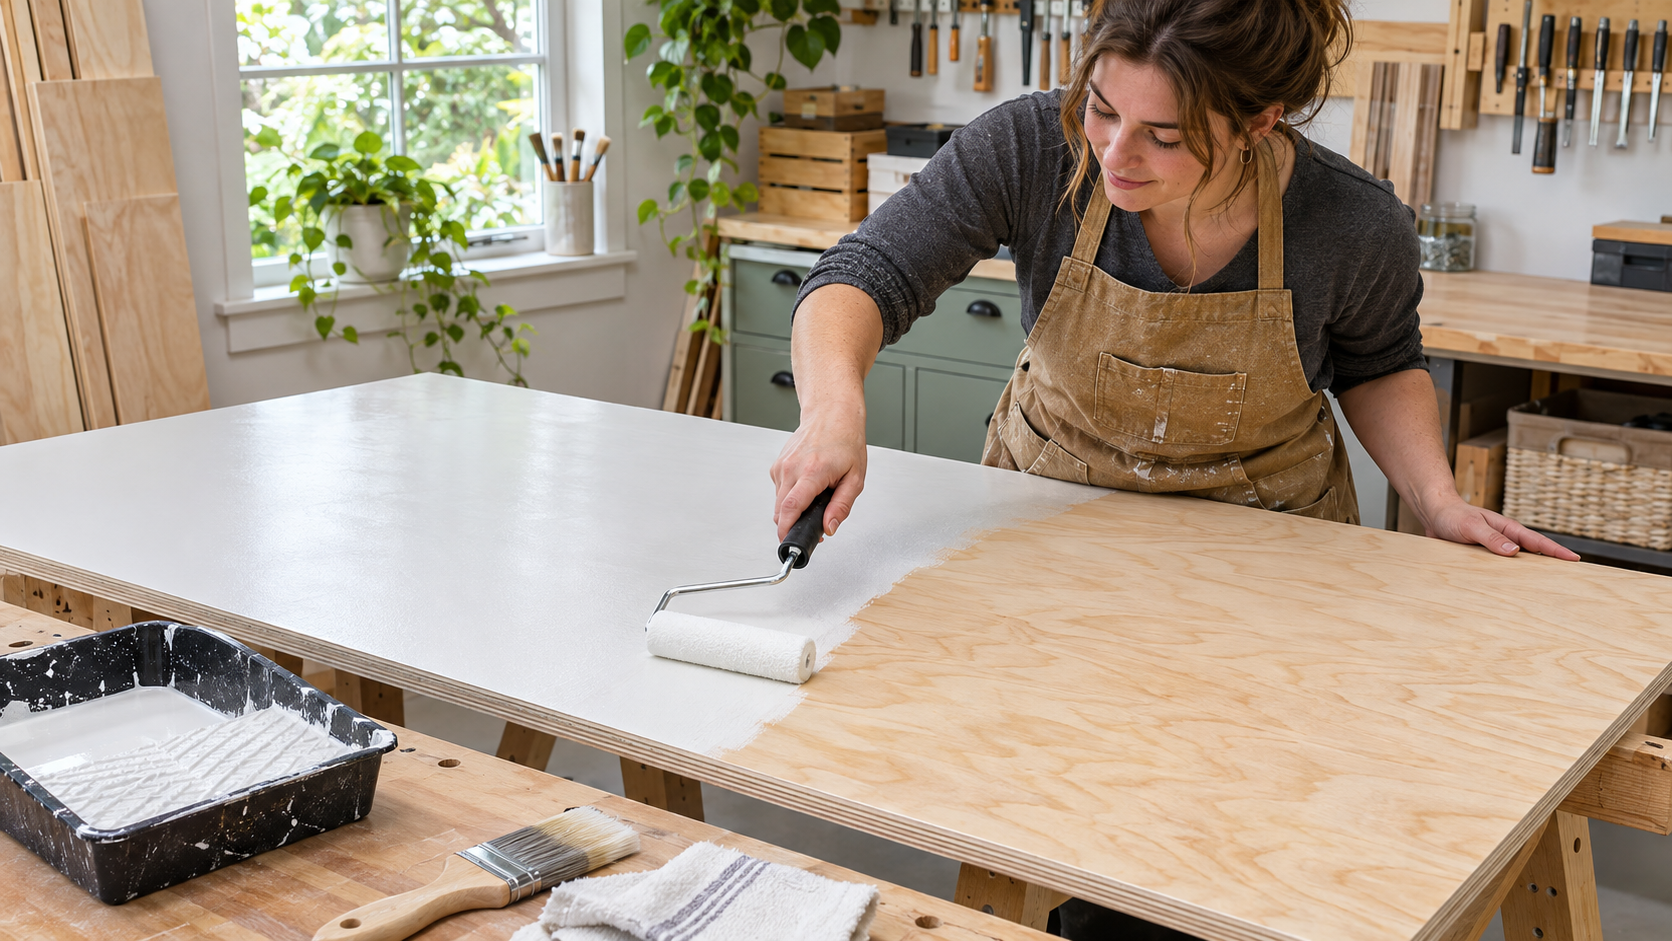
Roll on a thin, even coat with a fine-nap or foam roller, then lightly brush it out in the direction of the grain. Wait the full recoat time on the can, then apply the second coat. Two thin coats level out and harden better than one heavy coat.
8. Let It Cure Before Using It
Paint can feel dry to the touch long before it’s fully hard. Go by the label for when it’s ready for light use. Until then, keep heavy objects, rugs and clamps off it, or they can stick to the soft paint or leave marks in it.
Warning (outdoor projects): For plywood siding, APA Q350 advises putting on the first coat of finish as soon as possible after installation, preferably within two weeks, because weather can damage bare wood surfaces within weeks. A shed left unprimed through a wet spring usually needs extra sanding and filling before paint will stick well.
Best Paint for Plywood Outdoors
APA’s siding guidance says the best protection for wood siding is an all-acrylic latex house paint system: a primer plus a topcoat. Acrylic latex stays flexible as the wood swells and shrinks, which is why it holds up better on plywood than stiffer paints. Some siding makers go further. Roseburg’s plywood siding instructions, for example, call for a primer plus two finish coats, with the primer made by the same company as the paint. If you want a full outdoor checklist, our guide to exterior plywood covers grades and lifespan, and best plywood for outdoor projects compares panels by job.
Keep two things separate. Paint protects the surface. It doesn’t change how the panel was glued. Interior-glue plywood is still interior plywood after you paint it. And exterior glue keeps the layers together when they get wet, but it doesn’t keep the wood from rotting. Rot resistance is a separate question.
Recommended Supplies
Stain-blocking primer for knots:Zinsser BIN shellac-based primer. It’s the go-to for knotty pine and fir plywood and for patched faces indoors.
Oil-based stain-blocking primer:Zinsser Cover Stain, for when you want oil-based stain blocking and are fine with a slower dry time.
Water-based bonding primer:Zinsser Bulls Eye 1-2-3. Use it on clean hardwood plywood indoors.
Topcoat for furniture:Acrylic urethane enamel. It cures harder than wall paint, which matters for tabletops and doors.
Common Mistakes When Painting Plywood
Skipping the stain-blocking primer on softwood plywood. Knots bleed yellow-brown through two coats of latex, and you have to prime and paint all over again.
Leaving the edges unsealed outdoors. Edges take in water fastest, swell and push the paint off. Peeling almost always starts at the edges.
Using spackle on outdoor edges. It softens when it gets wet, and the paint over it cracks and lifts. Outdoors, use exterior-rated or epoxy filler.
Sanding through the face veneer. You expose the glue line or the layer underneath, and then you need a patch or a new panel. Use 150 grit and a light hand on the face.
Painting raw fir plywood outdoors and expecting it to stay smooth. Face checks can open up and crack the paint along the grain. Where looks matter, MDO gives you a smoother, more stable surface to start with.
Heavy coats, or recoating too soon. The paint stays soft and sticky and marks easily. Two thin coats, with the full recoat time between them, cure harder.
When Painting Plywood Isn’t the Right Call
You want the wood grain to show. Use a clear finish or stain instead. Paint hides the grain you paid for on hardwood plywood.
Boats or anything under water. That needs a marine coating system and is outside the scope of this guide.
Wet pressure-treated plywood. Let it dry thoroughly before priming. The treatment maker’s label says how to check that it’s ready.
Floors with heavy traffic. Painting works, but expect touch-ups. For a full floor walkthrough, see our guide to painted plywood floors.
FAQ
Do you need to prime plywood before painting? Yes. Raw plywood absorbs paint unevenly, the edges absorb the most, and softwood knots bleed through latex paint. Primer seals the surface so the topcoat goes on evenly and sticks.
Can you paint plywood without sanding? You can, but the finish will show mill glaze, fuzz and raised grain. A light pass with 150 grit on the face and 120 on the edges takes minutes and makes a visible difference.
What is the best paint for exterior plywood? A 100% acrylic latex exterior paint over an acrylic latex primer. APA’s siding guidance calls an all-acrylic latex system of primer and topcoat the best protection for wood siding.
How do you get plywood edges smooth for paint? Indoors, sand with 120 grit, skim the edge with wood filler or lightweight spackle, sand again and prime. Outdoors, use an exterior-rated or two-part epoxy wood filler instead of spackle, then seal the edge with exterior primer.
How many coats of paint does plywood need? One coat of primer and two topcoats is the standard. Prime the edges twice if they’re still absorbing primer after the first coat.
Is paint-and-primer-in-one enough for plywood? It’s often fine on smooth hardwood plywood indoors. On knotty softwood plywood, or anything outdoors, use a separate stain-blocking or exterior primer first.
Bottom Line
Painting plywood mostly comes down to the edges: sand them, fill them with the right filler for indoors or out, and prime them first. Use a stain-blocking primer on softwood plywood and two thin coats of acrylic latex on top. Outdoors, prime every edge and the back before installing. For a smooth painted surface outdoors, MDO is the panel designed for the job.
How to Seal Exterior Plywood: Edges, Primer & Sealers by Admin August 18, 2026 DIY To seal exterior plywood, seal all four edges first with the same primer you're using on the faces (or a paintable water-repellent preservative if you're…
How to Paint OSB: Walls, Floors and Exterior Panels by Admin October 13, 2026 DIY To paint OSB, clean the panel, test a scrap for surface wax, prime with a stain-blocking primer that's compatible with your topcoat, and finish with…