Board and batten is a wall and siding style that uses wide vertical boards as the base surface and narrow strips called battens to cover the seams between them. Originally developed as exterior barn siding, board and batten is now commonly used for interior feature walls and modern farmhouse exteriors.
When you look around at renovation photos these days—Instagram, Pinterest, even those random DIY videos that pop up at midnight—it’s almost impossible not to notice board and batten. It keeps showing up in all sorts of places: farmhouse living rooms, new-build neighborhoods, even tiny powder rooms where people are trying to make something out of nothing.
What’s funny is that the style looks complicated at first glance, but once you actually try it, you realize it’s pretty straightforward—no fancy joinery, no master-carpenter skills. If you can measure without losing your pencil and keep a level reasonably straight, you’re already halfway there.
My first attempt wasn’t part of some big plan. I had this hallway that drove me nuts—it was long, blank, and somehow managed to feel both narrow and empty at the same time. I tried hanging art, shelves, and paint colors… nothing helped. One Saturday, I bought a stack of boards just to see what would happen. I figured, worst case, I’d rip them down and pretend it never happened. But once the battens were up and I applied a coat of semi-gloss paint, the wall suddenly took shape. Depth. It felt like the house had grown up a little. It was one of those projects where you step back, squint a little, and think, “Wait… did I actually do that?”
This guide comes out of that kind of trial-and-error—the practical stuff nobody tells you upfront. It covers what board-and-batten actually means (it’s simpler than the name suggests), where it makes the most difference, the tools I reach for because they don’t fail me, and the mistakes I’ve made so you don’t have to repeat them. Whether you’re upgrading one sad wall or planning a whole exterior makeover, I’ll walk you through the parts that matter so you can skip the frustration I went through the first couple of times.
What Is Board and Batten?
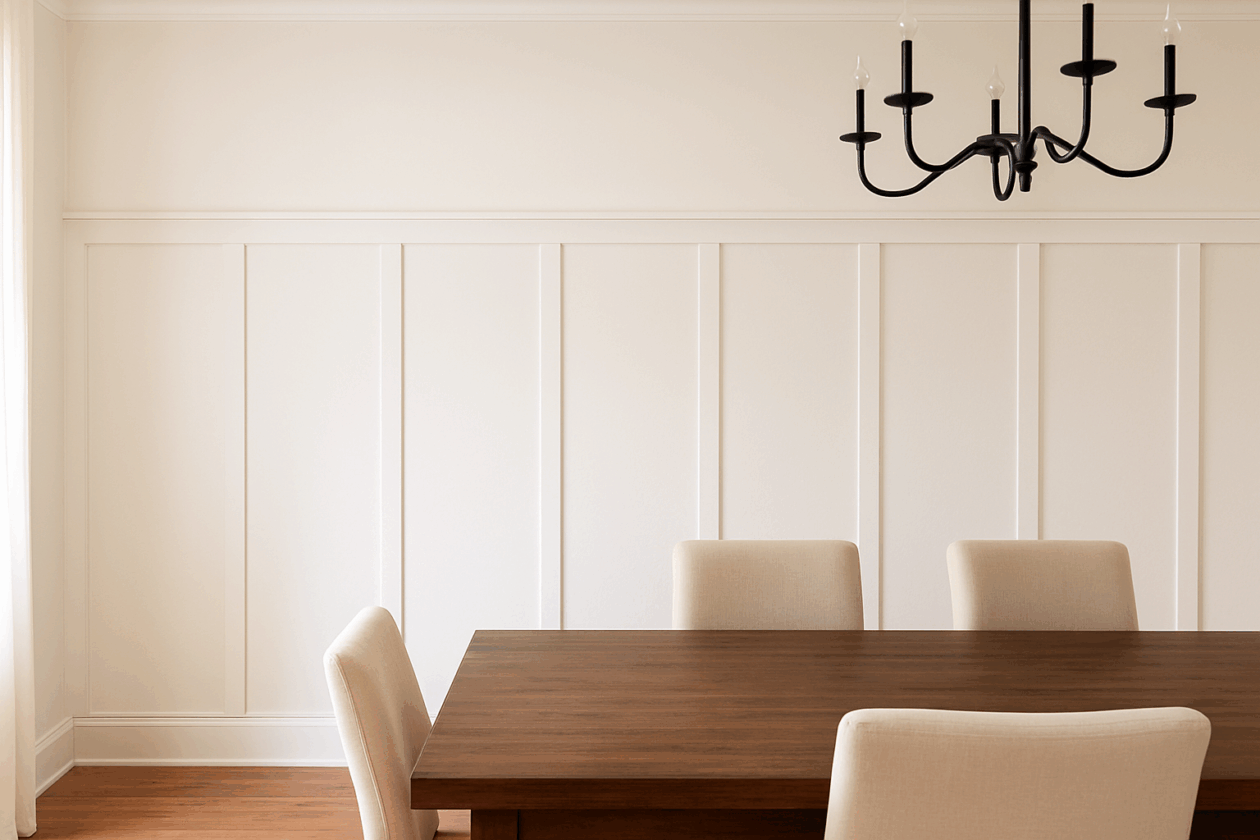
Board-and-batten is a wall style in which wide boards form the main surface, and narrow vertical strips—battens—run along the top to hide the seams. It started as a practical exterior siding for barns and old farm buildings because the battens helped block wind, rain, and other elements that slipped through the gaps in the boards.
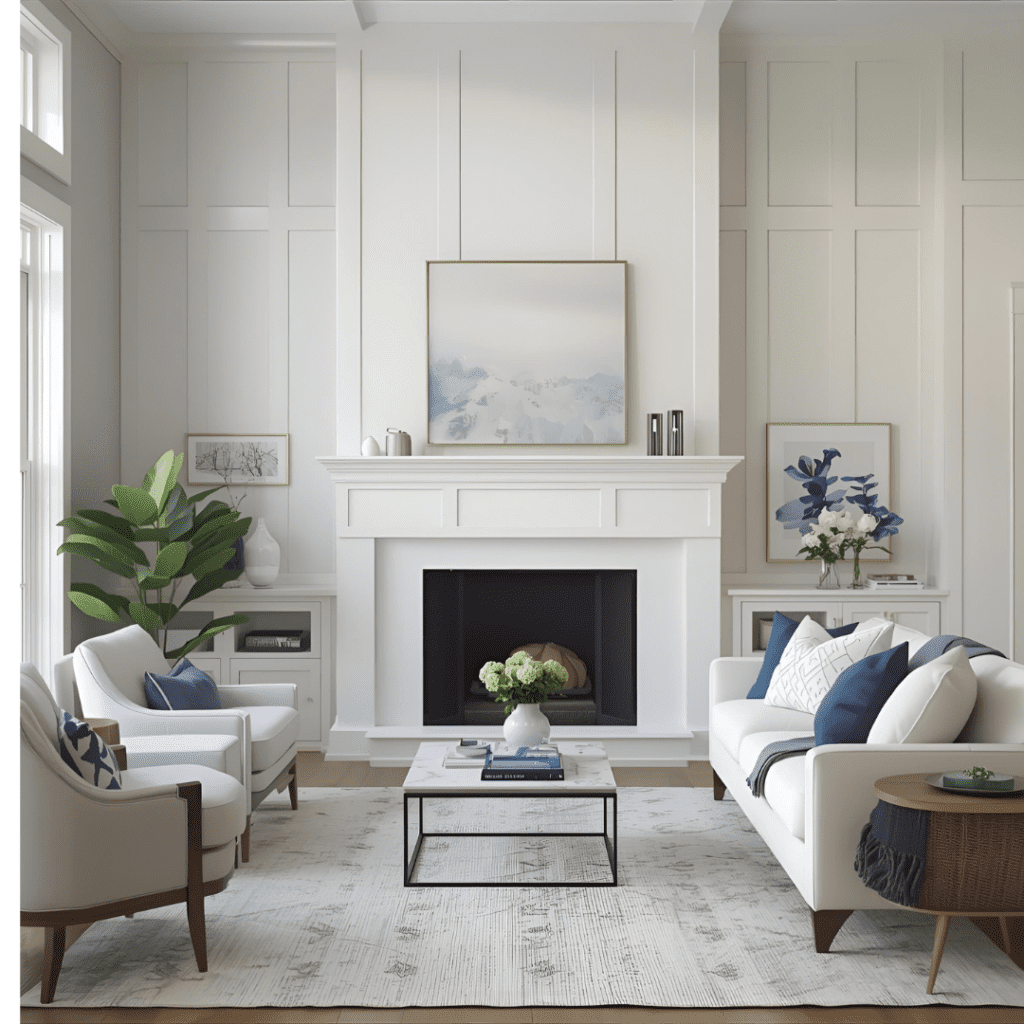
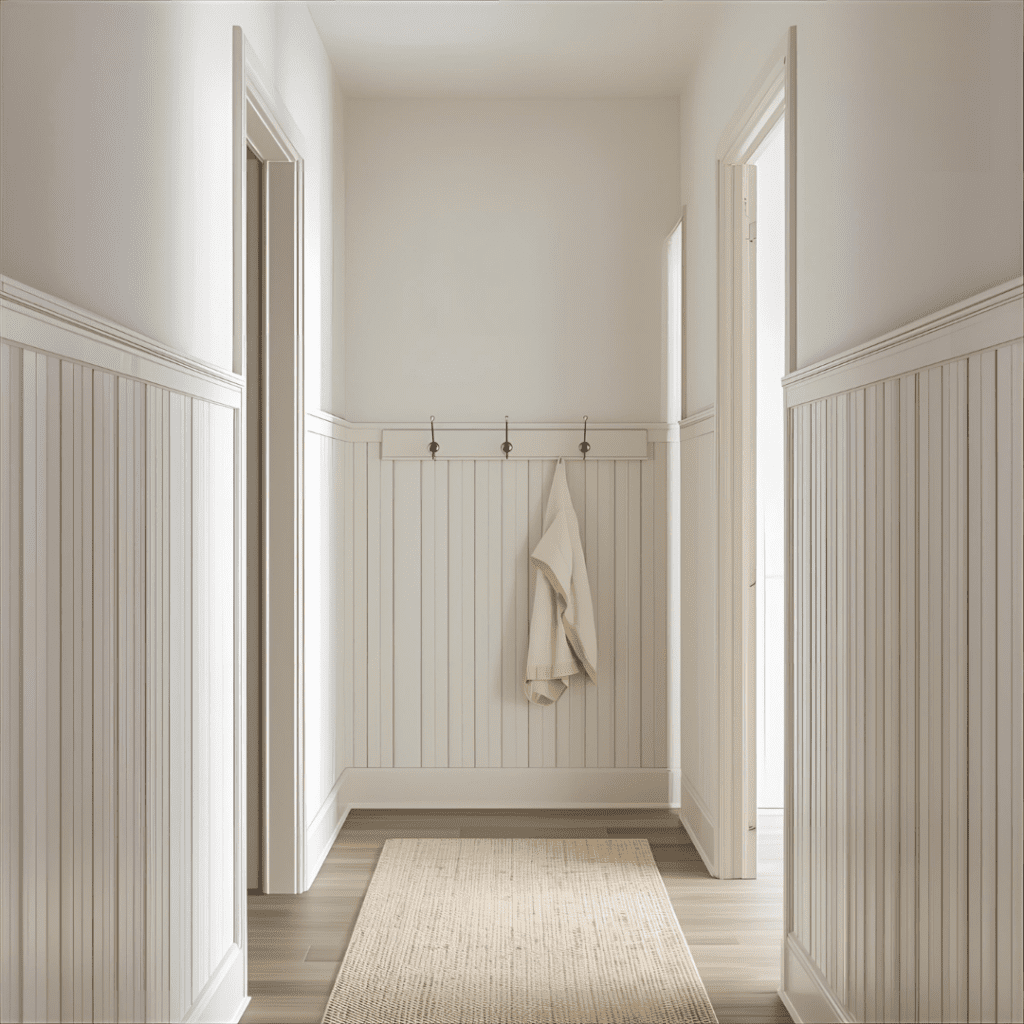
These days, you’ll find board and batten almost anywhere:
Interior feature walls
Entire rooms wrapped in trim
Exterior siding makeovers
Stairways, mudrooms, and entry halls
Bedrooms, especially kids’ rooms or primary suites
People love it for two big reasons: it adds instant, built-in character, and it’s surprisingly affordable and simple to install.
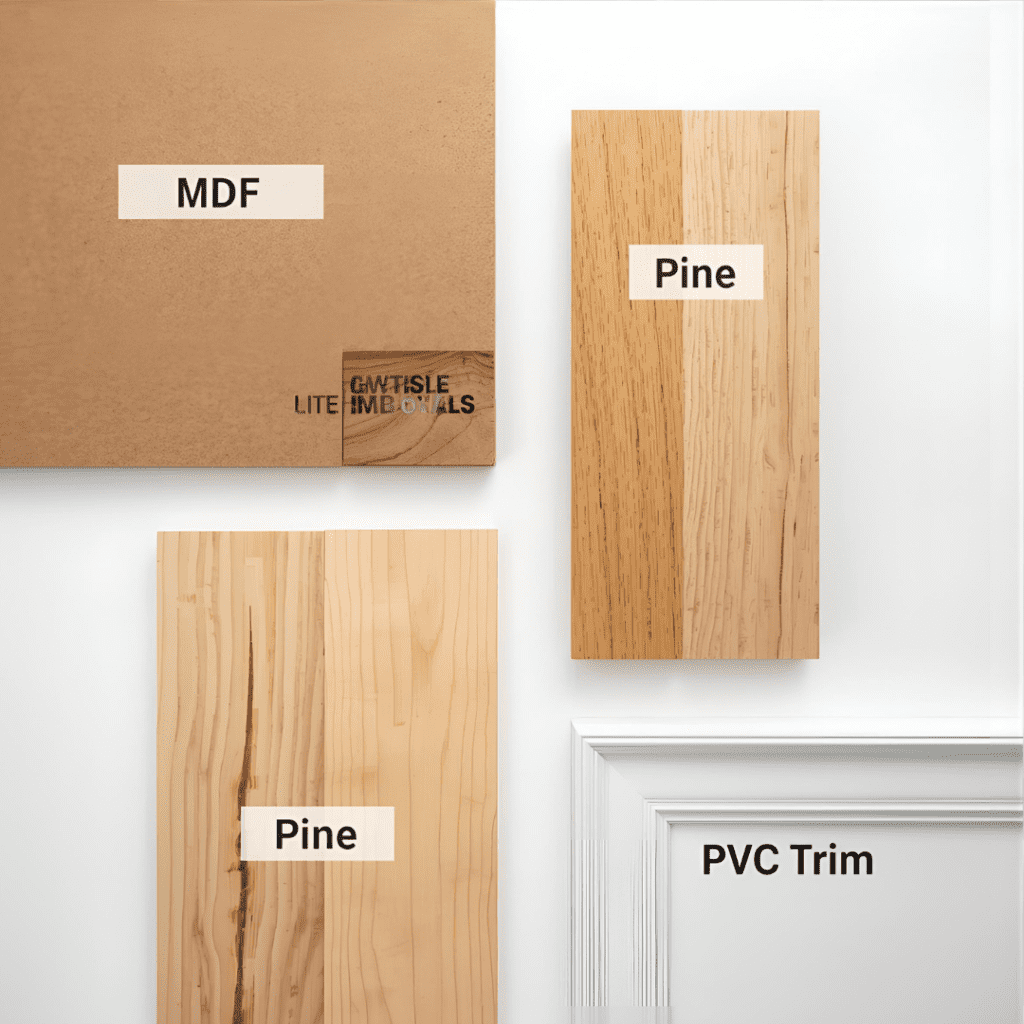
There’s no single rule for what type of boards you must use. It depends on location, moisture exposure, and the look you’re going for. Here are the most common choices:
For Interiors
MDF boards or trim pieces — Smooth, affordable, and easy to paint
Pine boards — Great for a natural wood look or staining
Plywood strips — You can rip ¼” or ½” plywood into batten widths for a more economical approach
PVC trim — Perfect in bathrooms, basements, or humid climates
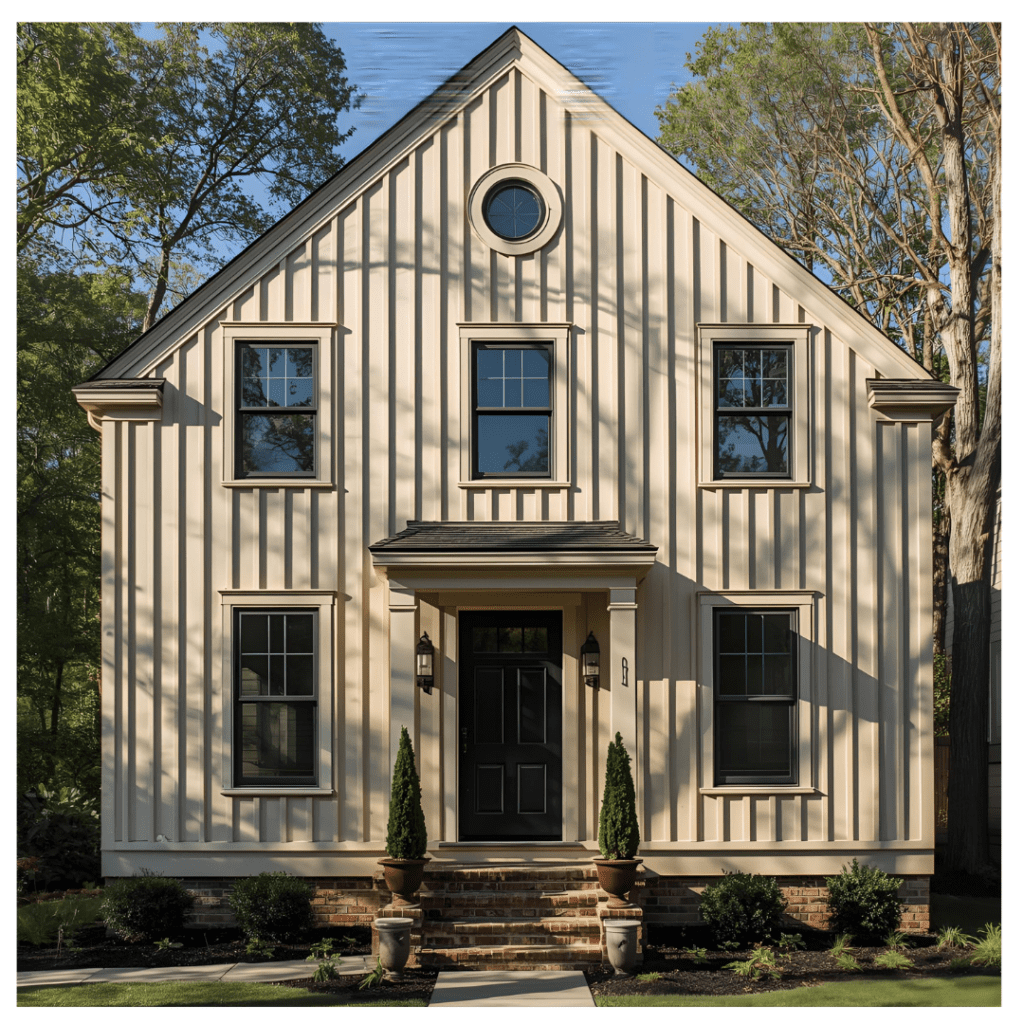
For Exteriors
Cedar — Naturally rot-resistant
Engineered wood siding panels — Stable and easy to install
Fiber cement trim — Durable and low-maintenance
Recommended Tools
Here are dependable tools that make installation easier (Amazon affiliate-ready):
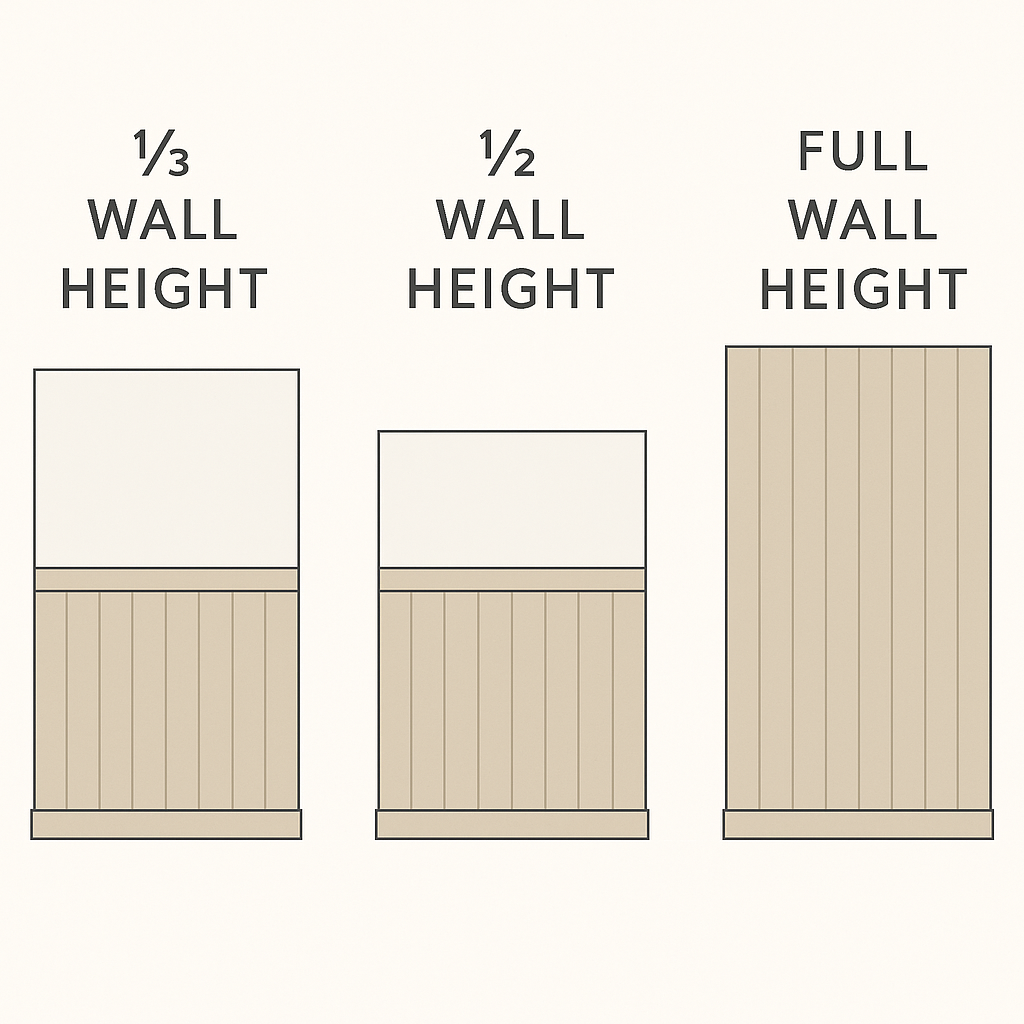
This is one of the most common questions. While there’s no “correct” height, here are typical dimensions:
⅓ of the wall height (classic wainscoting look)
Half-height (balanced and popular in hallways)
Full wall height (modern, dramatic, and visually stretches the ceiling)
A standard rule I’ve learned after installing dozens of these: Go taller in large rooms and shorter in narrow hallways. It maintains proportions that are comfortable to the eye.
Planning Your Layout (The Step Everyone Rushes—but Shouldn’t)
Before you cut a single board, sketch the wall and calculate spacing. Even spacing is what makes the board and batten look professionally installed.
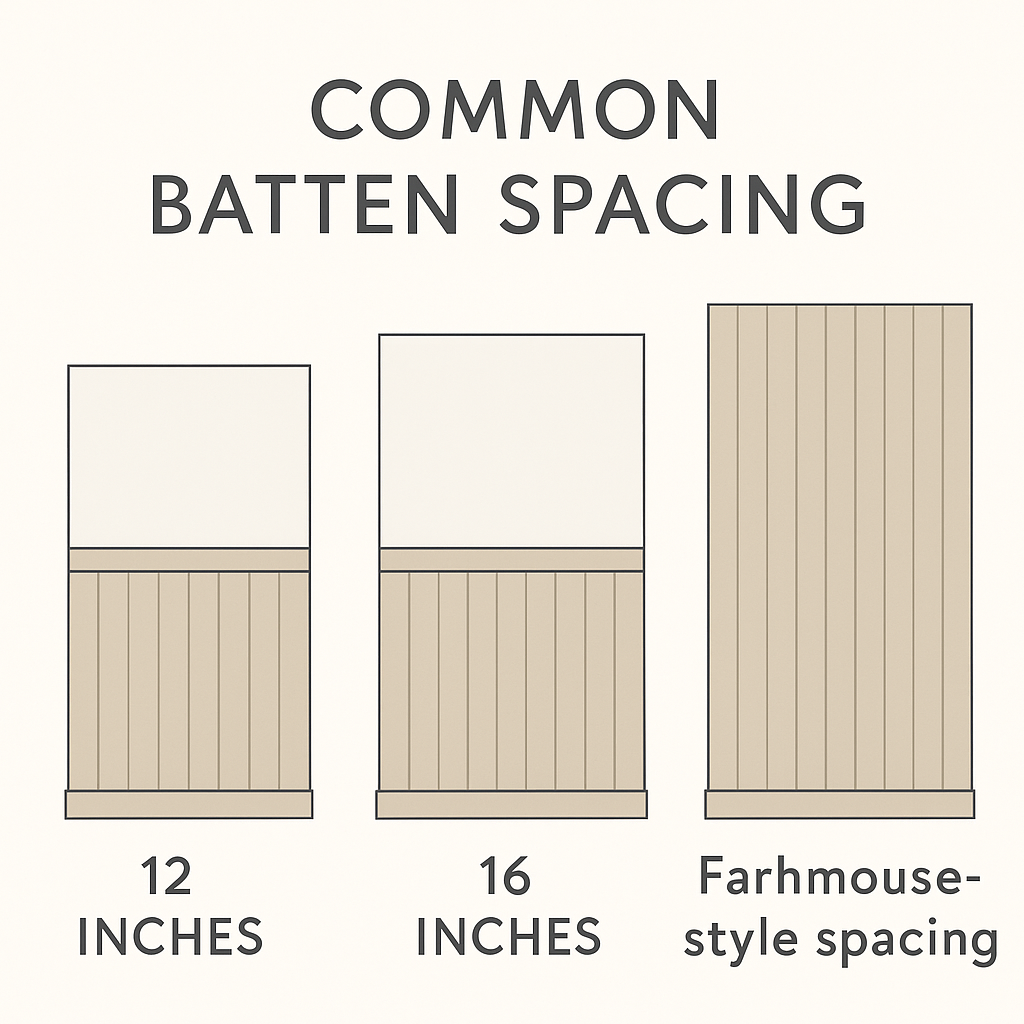
Common Batten Spacing
12 inches (tight, modern look)
16 inches (works well with stud spacing)
18–24 inches (traditional farmhouse style)
Pro Layout Tips
Always measure the actual width of your battens, not the listed dimension.
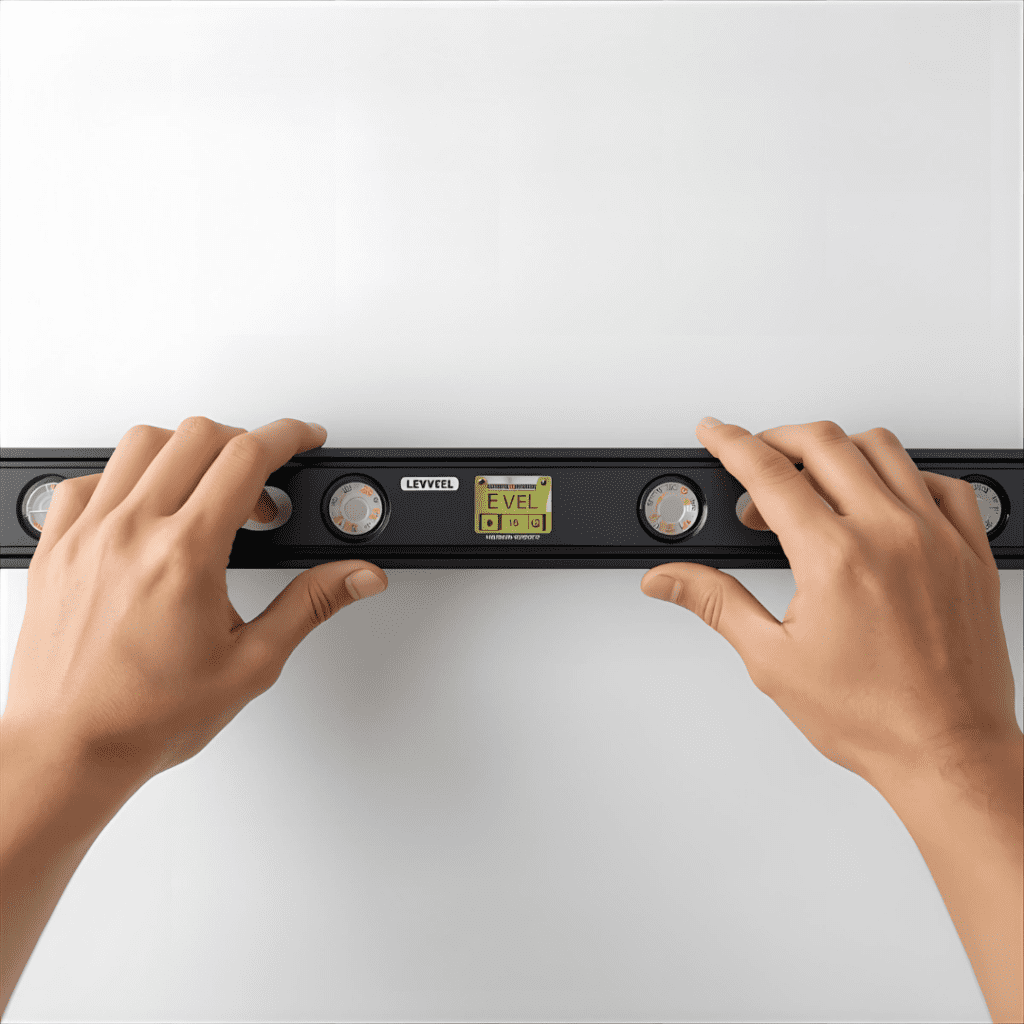
For full-height designs, check corners for plumb—walls are rarely perfectly straight.
If an outlet or vent is in the way, decide whether to center the batten or shift the spacing slightly.
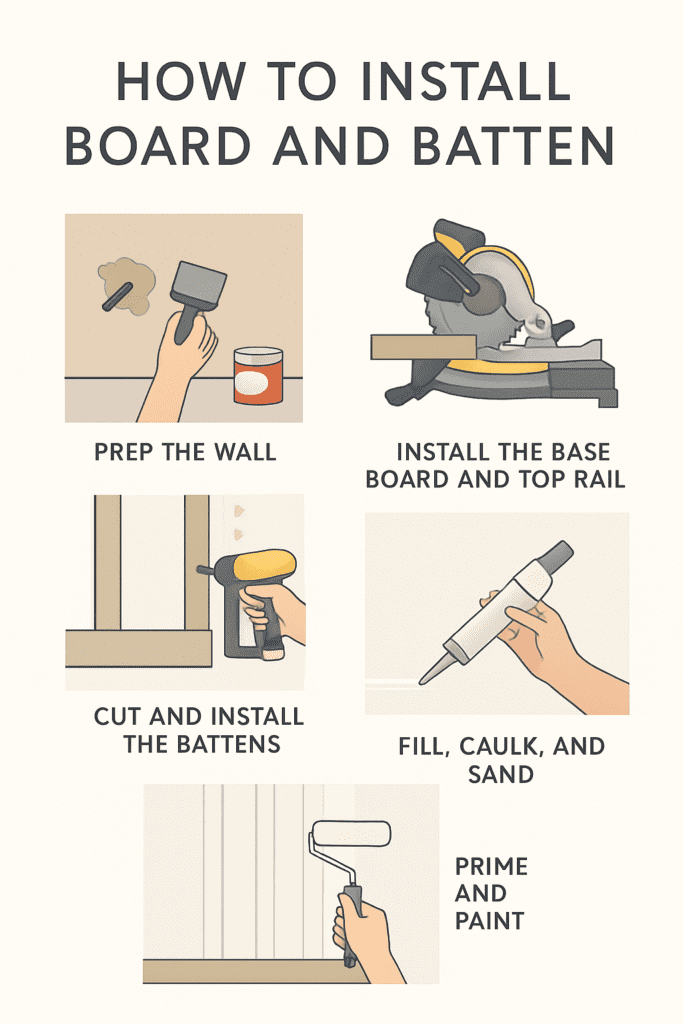
Step-by-Step Guide: How to Install Board and Batten
Below is a straightforward, beginner-friendly installation process based on what I’ve learned through trial and error and, eventually, getting it right every time.
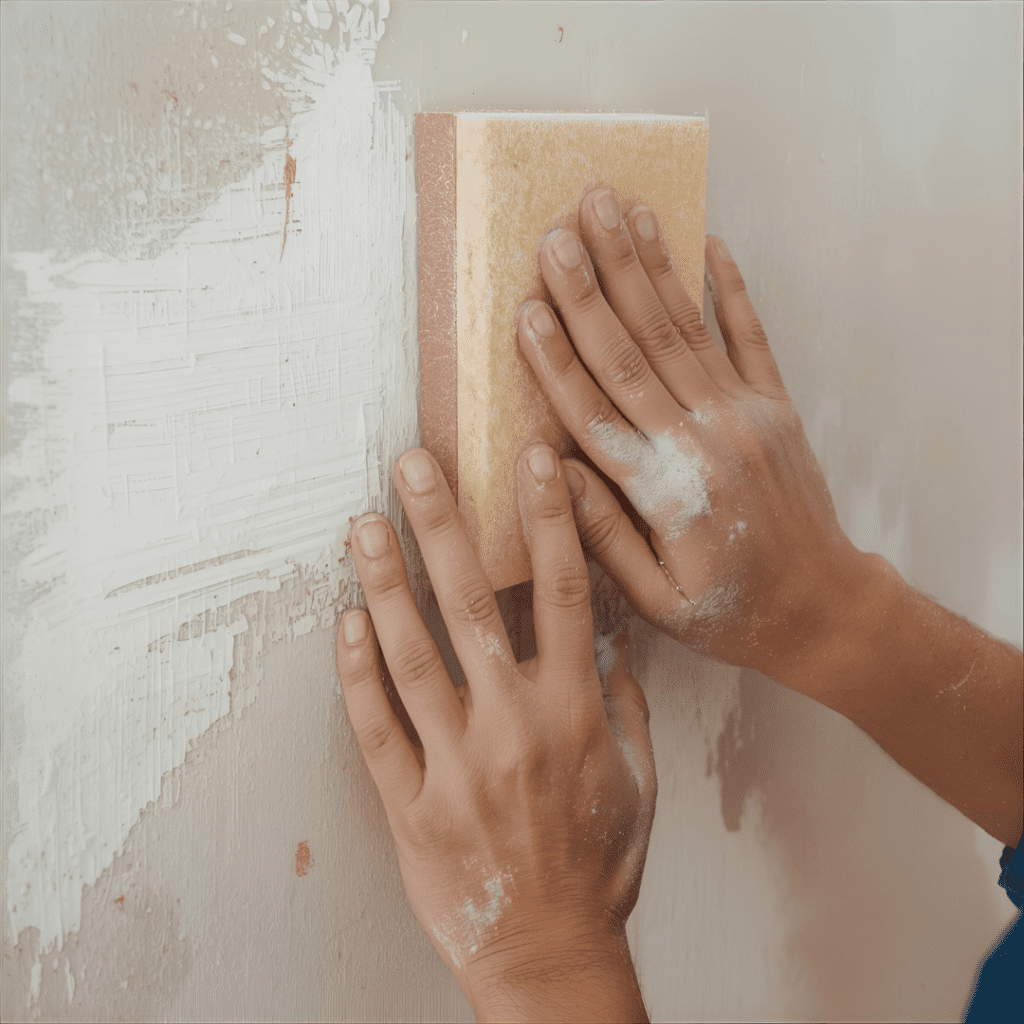
Step 1: Prep the Wall
Even though the battens add texture, you want the base wall to be smooth.
Remove old baseboards if necessary
Patch holes and sand lightly
Clean the dust so the adhesive bonds well
If your wall texture is very heavy, add a sheet of ¼” plywood as a backing layer. (See Plywood Types & Uses.)
Step 2: Install the Baseboards and Top Rail
Most board-and-batten installations include:
A baseboard
A top horizontal board or rail
Vertical battens in between
Make sure your baseboard and top board are level. This determines the entire visual line.
Step 3: Cut and Install the Vertical Battens
Measure each section individually — walls vary in height
Add construction adhesive on the back
Attach using brad nails (18-gauge is perfect)
Pro Tip: Press the batten into place first, then nail it. If you nail too quickly, you may shift it off level.
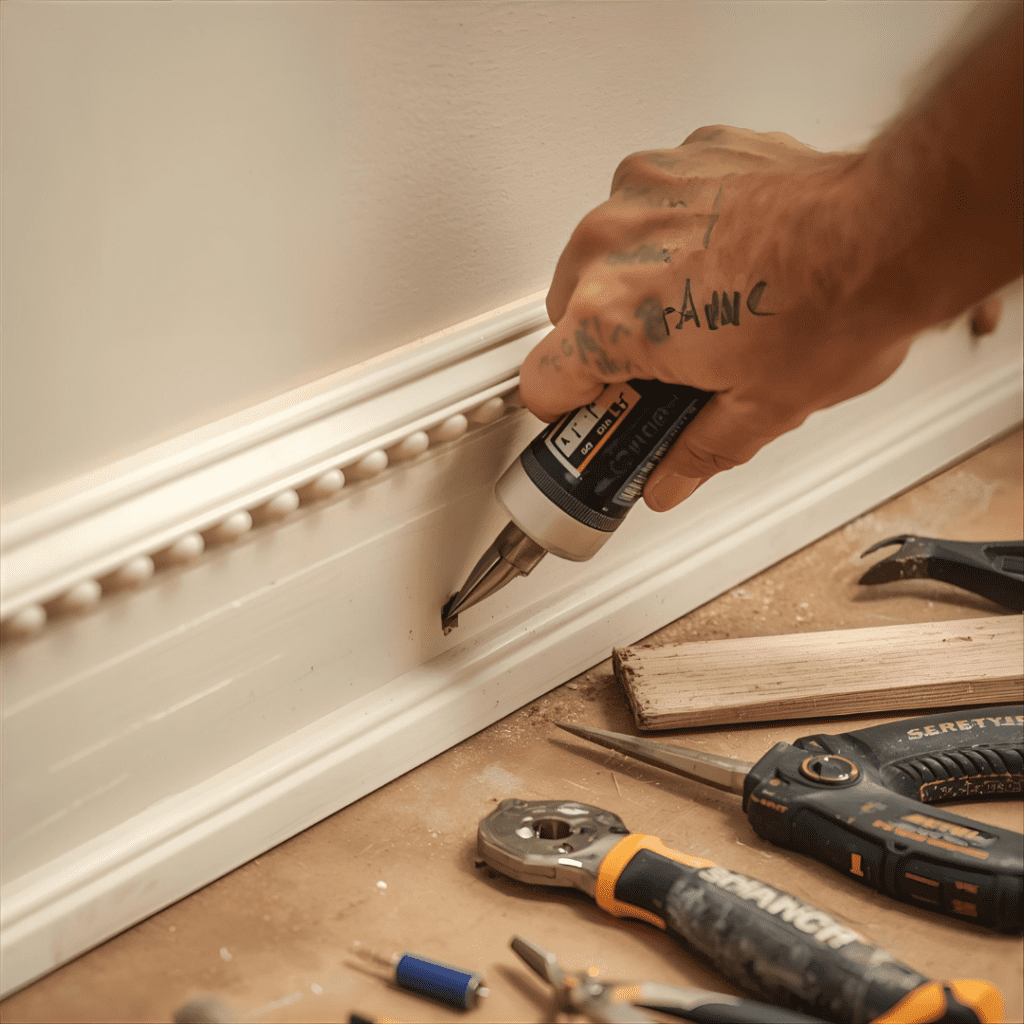
Step 4: Fill, Caulk, and Sand
A flawless paint job comes from the finishing steps:
Fill nail holes with flexible spackling
Caulk edges where battens meet the wall
Sand lightly until everything feels smooth under your fingertips
This is where MDF shines — it finishes far cleaner than pine.
Step 5: Prime and Paint
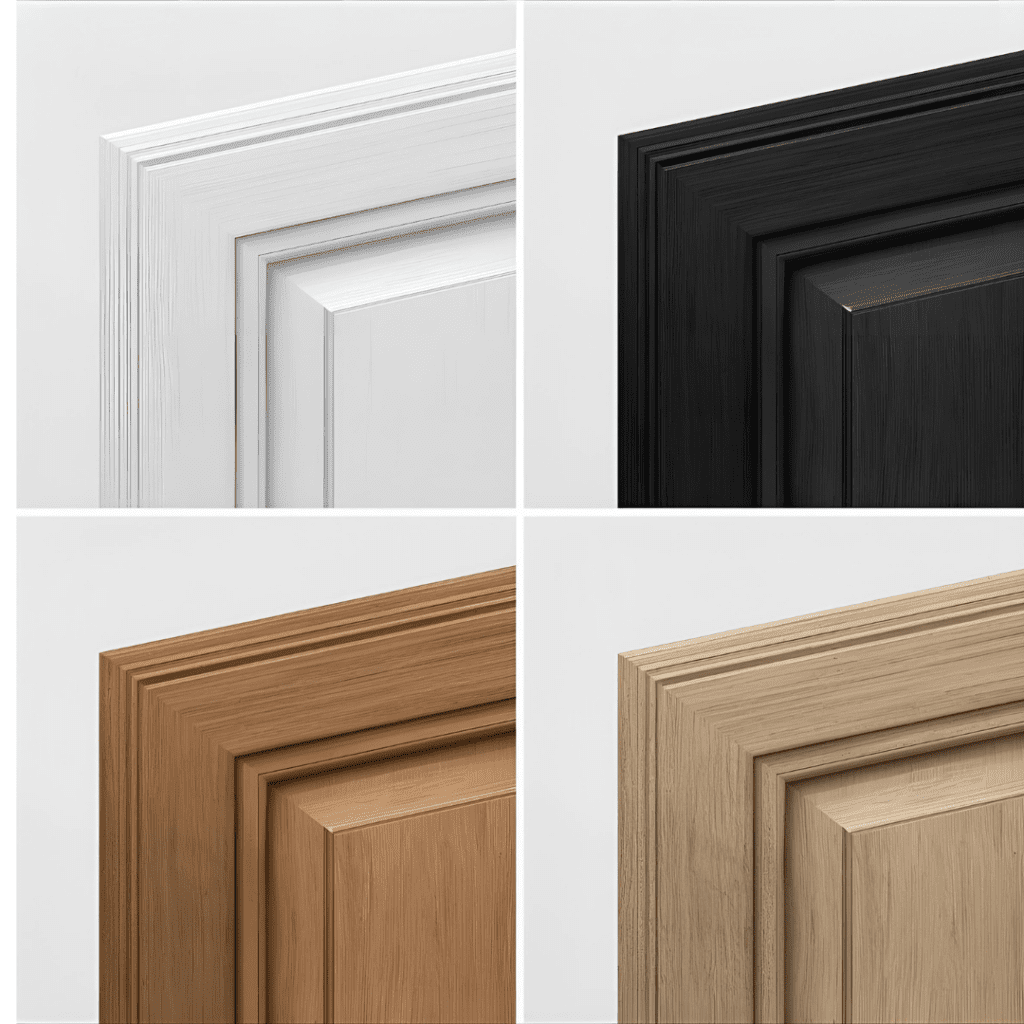
Use a high-quality primer, especially on MDF, which soaks up paint. For color, white is classic, but dramatic hues such as charcoal, navy, sage green, and even matte black have become increasingly popular.
Paint sheen matters too:
Semi-gloss for a more traditional look
Satin for a softer, modern finish
Eggshell for exteriors
How Much Does Board and Batten Cost?
The cost of board and batten depends on material type, wall size, and whether the project is interior or exterior.
Interior Board and Batten (12-Foot Wall)
Material Type
Estimated DIY Cost
Durability
Best For
MDF
$150–$250
Moderate
Painted accent walls
Pine
$180–$300
Good
Stained interiors
Plywood Battens
$120–$220
Good
Budget projects
PVC Trim
$200–$350
Excellent
Bathrooms & basements
Exterior Board and Batten (Per 100 sq ft)
Material Type
Estimated Cost
Lifespan
Maintenance Level
Cedar
$400–$800
20–30 years
Moderate
Engineered Wood
$350–$700
20–25 years
Low
Fiber Cement
$500–$900
30+ years
Very Low
T1-11 Panels
$300–$600
15–25 years
Moderate
👉 If you’re comparing exterior options, see the full T1-11 siding guide for a detailed breakdown.
Final Thoughts: Why Board and Batten Is Worth Doing
Board and batten carries an almost magical combination of practicality and design impact. It adds permanent value to your home, softens plain drywall, and introduces shadow lines that make a room feel intentionally styled. It’s the type of project where a few careful decisions—spacing, paint sheen, board thickness—determine entirely the finished look. Once you get those right, the installation feels surprisingly simple.
Whether you’re upgrading a single wall or revamping an entire exterior, board-and-batten is a project that delivers visual impact every time. And once you do your first wall, you’ll understand why so many people keep going back to it.