Why Board and Batten Shutters Never Go Out of Style
When you drive past an old farmhouse or even a freshly built home with a touch of character, there’s a good chance the shutters that catch your eye are board and batten. They’ve been used for hundreds of years, not just because they look good, but because they hold up to weather and everyday life. There’s something about their simple design—just vertical boards held together with a few crosspieces—that feels solid and timeless.
People use them in all kinds of ways: to dress up a modern house that feels too plain, to add warmth to a cottage, or to maintain the authenticity of a historic place. I’ve seen them stained a deep cedar for a rustic feel, painted crisp white on colonial homes, and even done in bold modern colors that make the windows pop.
In this guide, I’ll share what really matters if you’re thinking about shutters like these—where they came from, the different styles you can pick, the best materials to use, how much they usually cost, and how to either build them yourself or buy a set that’s ready to hang. By the time you’re finished, you’ll have a clear idea of what works best for your home and your budget.
What Are Board and Batten Shutters?
Board and batten shutters are one of the simplest shutter designs, yet they remain among the most popular because of their charm and practicality.
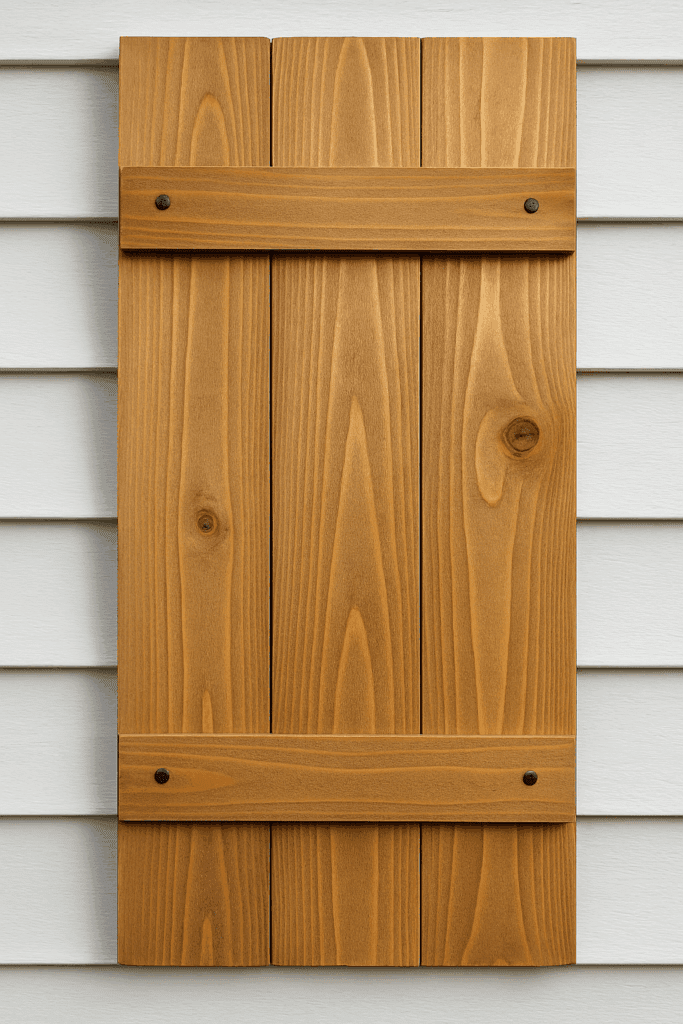
At their core, they’re nothing more than a series of vertical wooden planks—these are the “boards”—secured across the back with smaller horizontal or diagonal pieces of wood called “battens.” The battens hold everything tightly together, prevent the planks from warping, and give the shutter its recognizable rustic look.
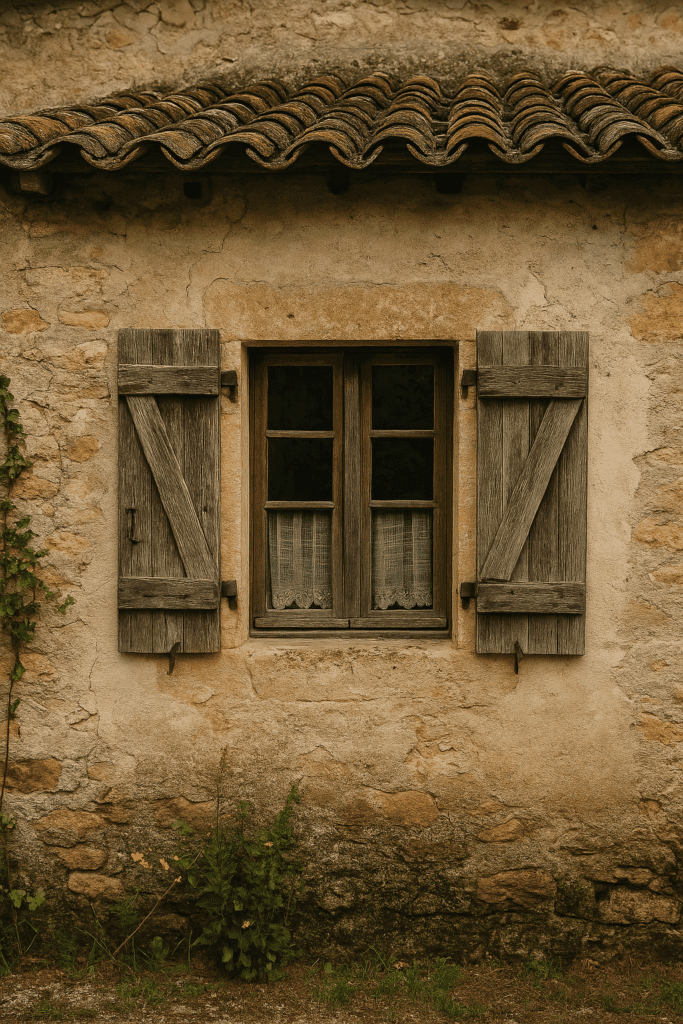
The style goes back hundreds of years. Farmers and early builders used whatever lumber they had on hand to make shutters that could stand up to weather, block sunlight, and add a layer of security before glass windows were common. You’ll often see this type of shutter in old barns and cottages across Europe and in early American farmhouses. What began as a purely functional design has slowly become more decorative over time, though properly built board and batten shutters can still be fully operational.
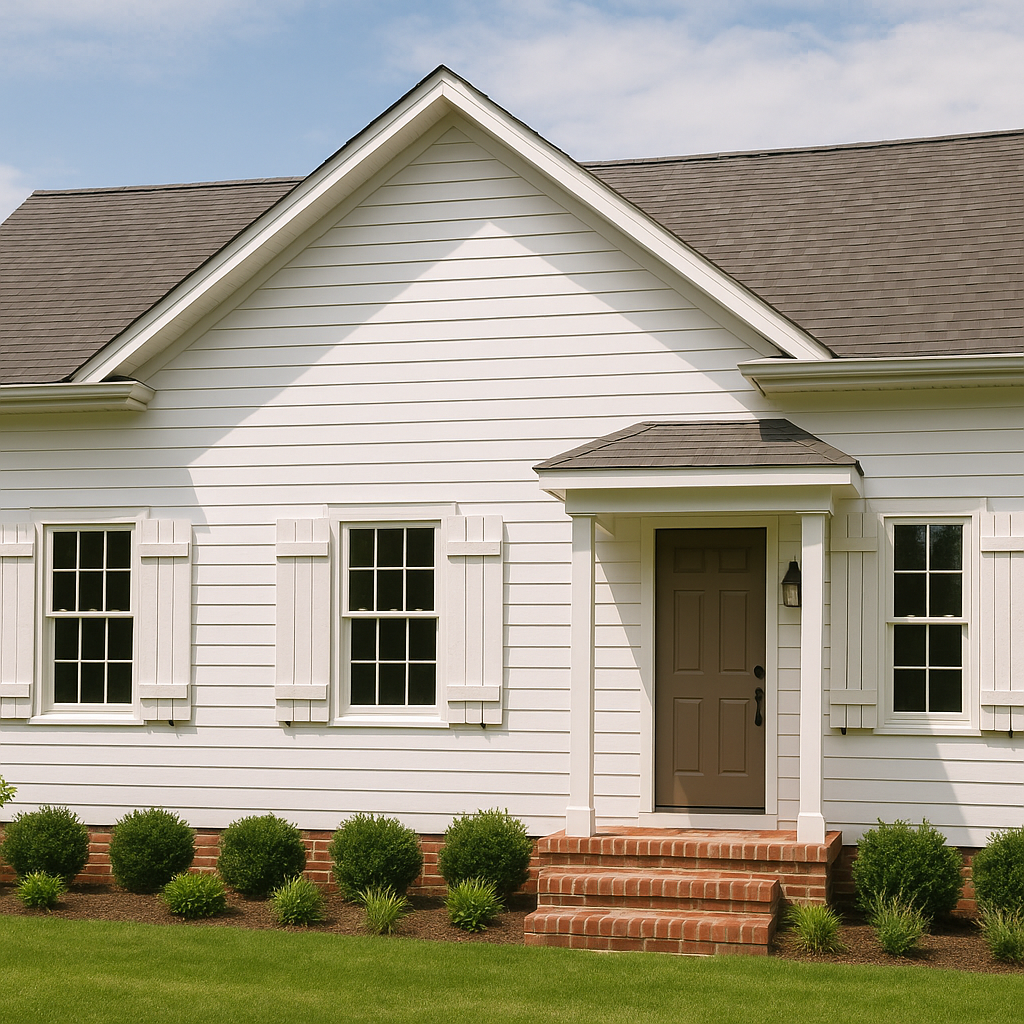
Today, many homeowners install them simply for curb appeal. They add dimension to a flat exterior wall, frame windows beautifully, and give a home personality that standard vinyl windows often lack. Depending on the finish you choose—painted white for a colonial look, stained dark for a rustic cabin, or even bold colors for a modern twist—board and batten shutters can fit almost any architectural style.
If you’re deciding between materials, you’ll also want to consider durability, price, and how much maintenance you’re comfortable with. Some people prefer natural woods like cedar or pine, while others choose composites or vinyl for low-maintenance appeal. (Internal link suggestion:
Types of Plywood — helpful if you’re comparing shutter materials and finishes.)
DIY Board and Batten Shutters: My Step-by-Step Experience
I’ll be honest—when I built my first shutters, I thought I’d fly through the project in a couple of hours. I measured once, cut fast, and figured I was good to go. By the time I tried hanging them, they looked like they were leaning into the wind. Crooked shutters weren’t exactly the farmhouse charm I had in mind. Since then, I’ve learned a slower, steadier approach works best.
Measuring the Windows
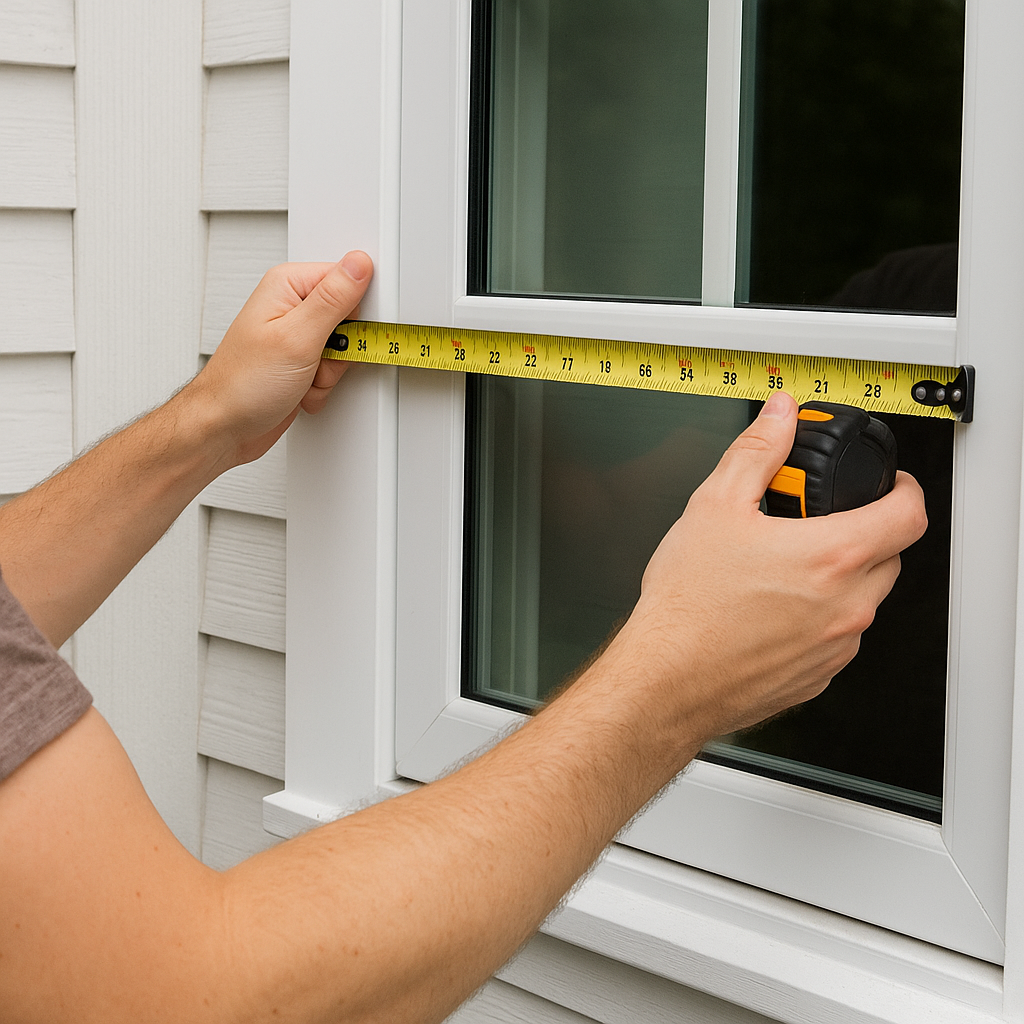
Don’t trust your windows. They look square, but most aren’t. I’ve measured the top and bottom only to find the sides were off by nearly half an inch. These little gaps show up big when the shutters are mounted. Now I measure top, bottom, both sides, and sometimes even diagonally just to be sure. I usually scribble the numbers right on a scrap board because I always lose paper notes.
Choosing and Cutting Boards
If you’ve ever sorted through lumber piles, you know the drill. The straight boards are on the outside, and right in the middle is one that bows like a ski. Pick carefully. I hold each one up to eye level and sight down it. Even with good boards, I still shuffle them around on the floor before I screw anything together. Wood grain can play tricks—sometimes one plank looks better in the middle than on the edge.
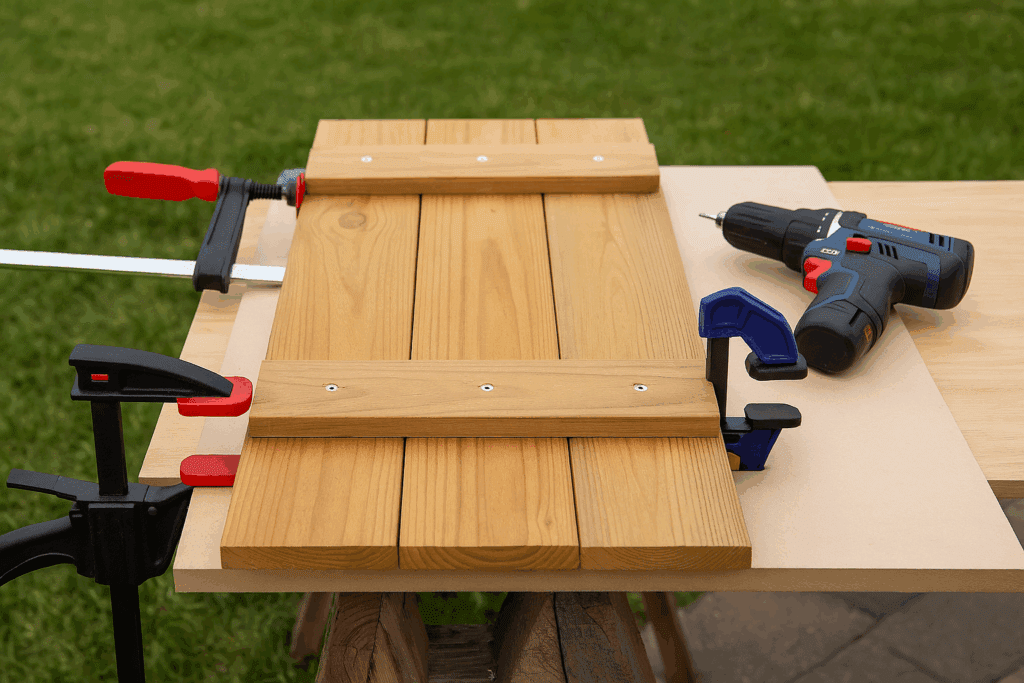
Putting the Battens On
This is where things can get frustrating. Boards have a mind of their own. I can’t count how many times I’ve lined everything up perfectly, started a screw, and then noticed one board slid out just a hair. These days, I clamp everything down before I even grab the drill. Screws hold better long term, but I’ve also nailed battens in place when I wanted more of an old-school look. A dab of glue doesn’t hurt either.
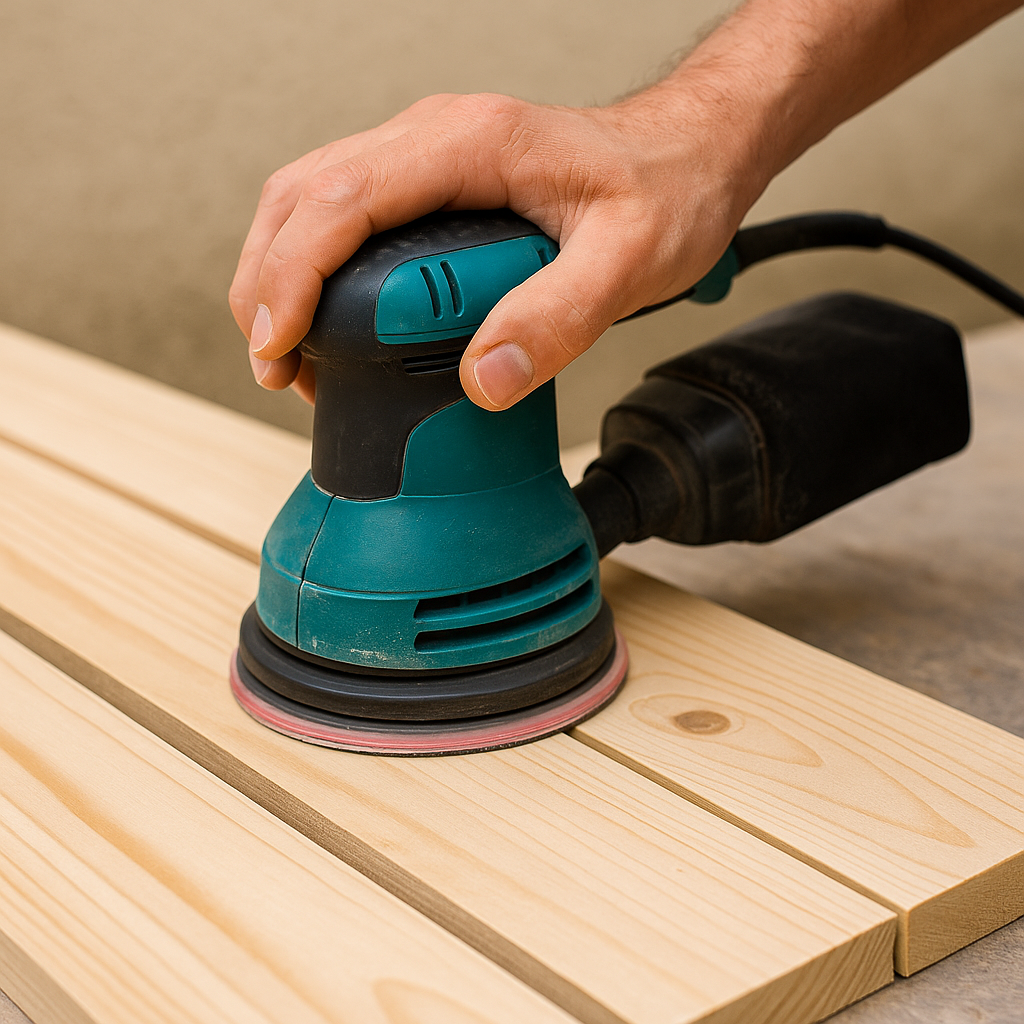
Sanding (Yes, It Matters)
I skipped sanding once because I thought the rough look might feel “authentic.” It didn’t. It just looked like I didn’t know what I was doing. A few minutes with the sander makes all the difference—smooth edges, fewer splinters, and the stain goes on evenly instead of blotchy.
Here’s where you can have fun. I’ve done shutters in clean white paint for a colonial look, in dark walnut stain for a farmhouse, and left cedar bare just to let it gray naturally. That last one’s my favorite—zero maintenance, and the weather does all the work.
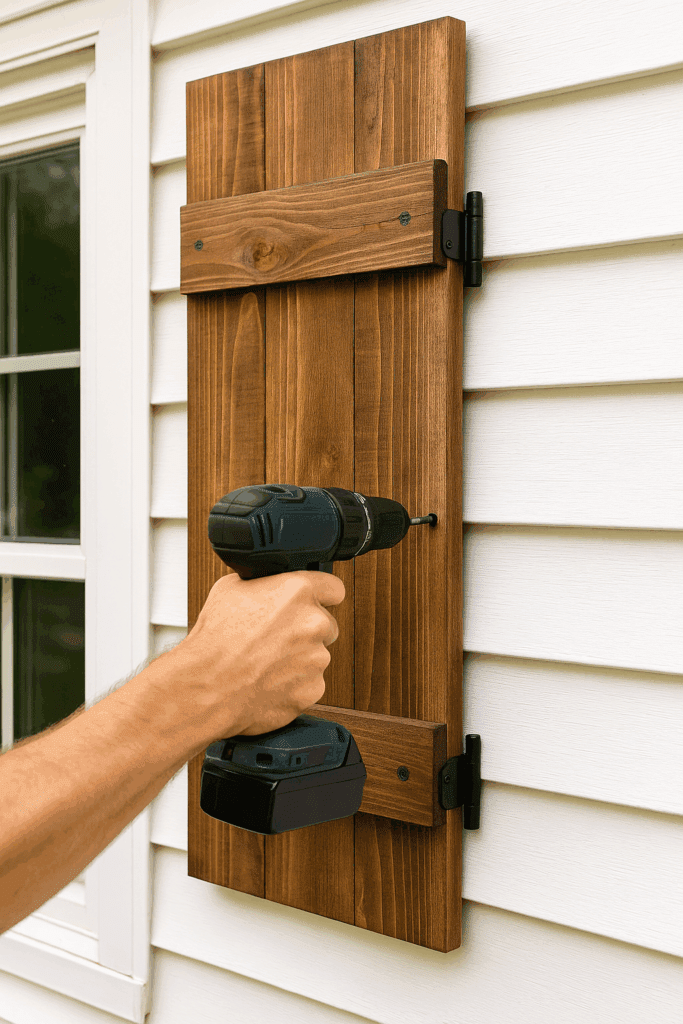
Hanging the Shutters
If they’re only for looks, just screw them straight into the siding. If you want them to actually open, don’t cheap out on hardware. I tried bargain hinges once, and they sagged before the year was out. Now I only buy heavy-duty ones. I also hang one shutter first, step back across the yard, and really look at it before I touch the second. Adjustments are easier now than later.
Thoughts
Board and batten shutters are a classic weekend project. They’re not complicated, but they’ll test your patience if you rush. Done right, though, they’ll completely change how your home looks—and you’ll get that little spark of pride every time you pull into the driveway and see them hanging straight.
Why a DIY Checklist Matters for Board and Batten Shutters
Board and batten shutters aren’t complicated to build, but I’ve found that the little details are easy to forget in the middle of a project. One time, I got halfway through cutting boards and realized I hadn’t picked up exterior screws. Another time, I stained everything before sanding, and the finish looked blotchy. A simple checklist would have saved me from both headaches.
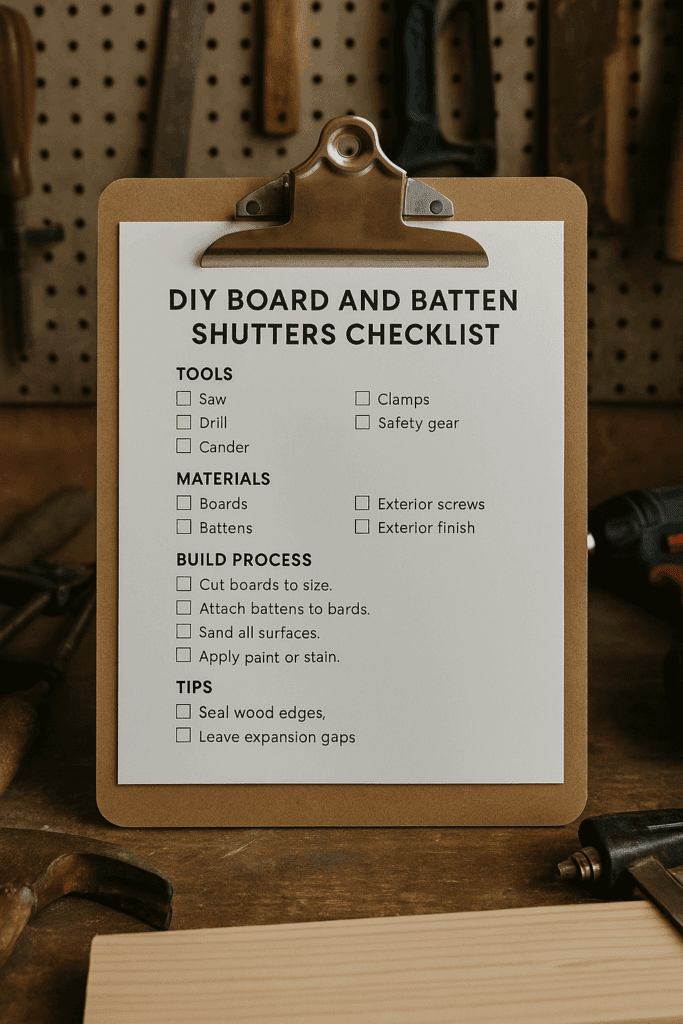
Here’s what the printable checklist I’ve put together covers:
Tools — saw, drill, clamps, sander, and the safety gear you’ll wish you had on when the sawdust flies.
Materials — boards, battens, screws or nails, stain or paint, plus primer if you’re painting.
Step-by-step guide — from measuring those tricky, not-quite-square windows to hanging the shutters straight.
Tips for durability — things like sealing the cut ends and leaving a little breathing room for wood expansion.
I like keeping mine taped up on the workshop wall so I can check things off as I go. It feels good crossing out each step, and it keeps me from running back to the hardware store mid-project. If you print it and use it the same way, it’ll help the whole build go smoother—and you’ll end up with shutters that actually look like you planned it that way.
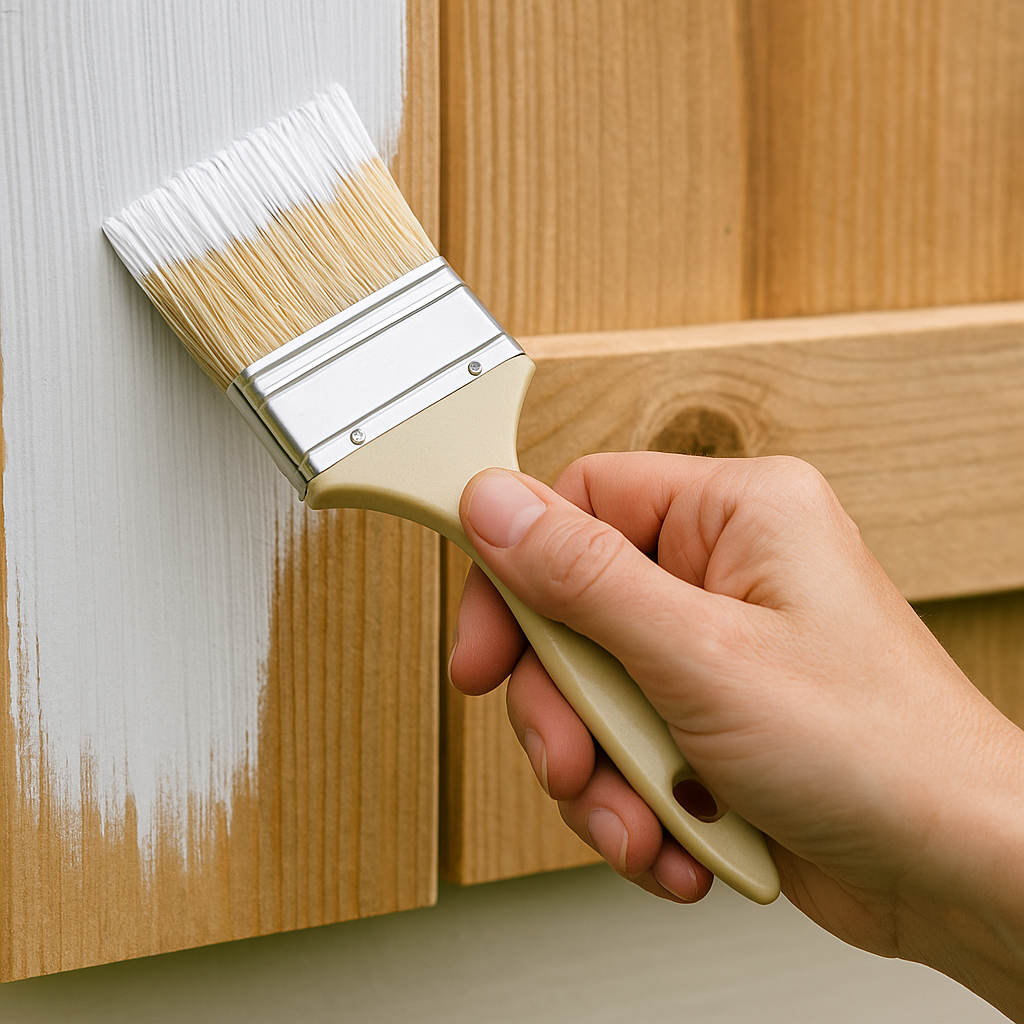
Painting and Finishing Tips
One of the fun parts of building shutters is deciding how to finish them. The same boards can look rustic, formal, or even modern depending on what you do with a brush or a can of stain. I’ve experimented with all of these at some point, and each has its own personality.
Rustic farmhouse – A light stain that lets the wood grain peek through looks authentic and warm. If you’re working with knotty pine or cedar, the knots and grain are half the charm, so don’t hide them.
Colonial – Crisp white or deep black paint. You’ve seen these on historic homes—the contrast is timeless. White brightens darker siding, while black makes a light house pop.
Modern – Bold colors work surprisingly well. I once saw a set painted navy blue on a tan house, and they completely stole the show. Dark green or brick red can do the same.
Weathered – Cedar left alone will fade into a silvery gray. It’s one of those looks that only gets better with time, and you don’t have to lift a finger after installation.
A quick tip: always sand before finishing. I learned the hard way that stains on unsanded boards soak in unevenly and look patchy. And don’t forget to seal the cut edges. Water sneaks in there first, and if you ignore it, your shutters will swell or rot faster than you’d like.
Painting and finishing aren’t just cosmetic steps—they’re what give your shutters personality and protect them for years to come.
I used to think a checklist was overkill. Grab a saw, grab the wood, get it done. That worked—until it didn’t. One of my early shutter builds fell apart faster than I’d like to admit. I’d skipped sealing the ends of the boards. Thought I’d “get to it later.” Spoiler: I never did. By the next spring, the bottoms were puffed up like wet cardboard. Not my proudest moment.
Now I keep a handwritten list tacked to the garage wall. Nothing fancy. Half the time it’s scribbled on the back of an old envelope. But it saves me from forgetting the little stuff. When you’re juggling clamps, a drill that keeps rolling off the bench, and boards that don’t want to line up, your brain isn’t exactly keeping track of sanding or spacing. The checklist does that job.
And honestly, crossing things off feels way better than I’d ever expected. Each checkmark is like saying, “yep, that’s one less thing that can go wrong.” By the end, you don’t just have shutters—you’ve got a paper full of pencil scratches that proves you didn’t cut corners. Somehow, that feels almost as good as seeing the shutters hanging straight.
Board-and-batten shutters are one of those upgrades that never really go out of style. They’re simple, affordable, and they fit just about any house—from a little country cottage to a modern place that needs some character. You can build them yourself if you like the satisfaction of working with your hands, or just buy a set ready to hang if you’d rather skip the sawdust. Either way, they change the look of a home in a way paint alone never could.
And here’s the thing—I’ve learned that the details matter. Forget to leave a gap or skip sealing the edges, and you’ll be back at the lumberyard before long. That’s why I put together the printable checklist. It’s not fancy, but it keeps you from missing those steps that are easy to overlook when you’re in the middle of a project. Use it, and you’ll end up with shutters that not only look great on day one but still hold up years down the road.
Shiplap Guide 2026: Cost, Styles & Installation by Admin April 18, 2026 Installing Installing a shiplap wall looks simple—but one small mistake can cost you hundreds and ruin the entire wall. Shiplap is a type of wooden wall…


")

")

