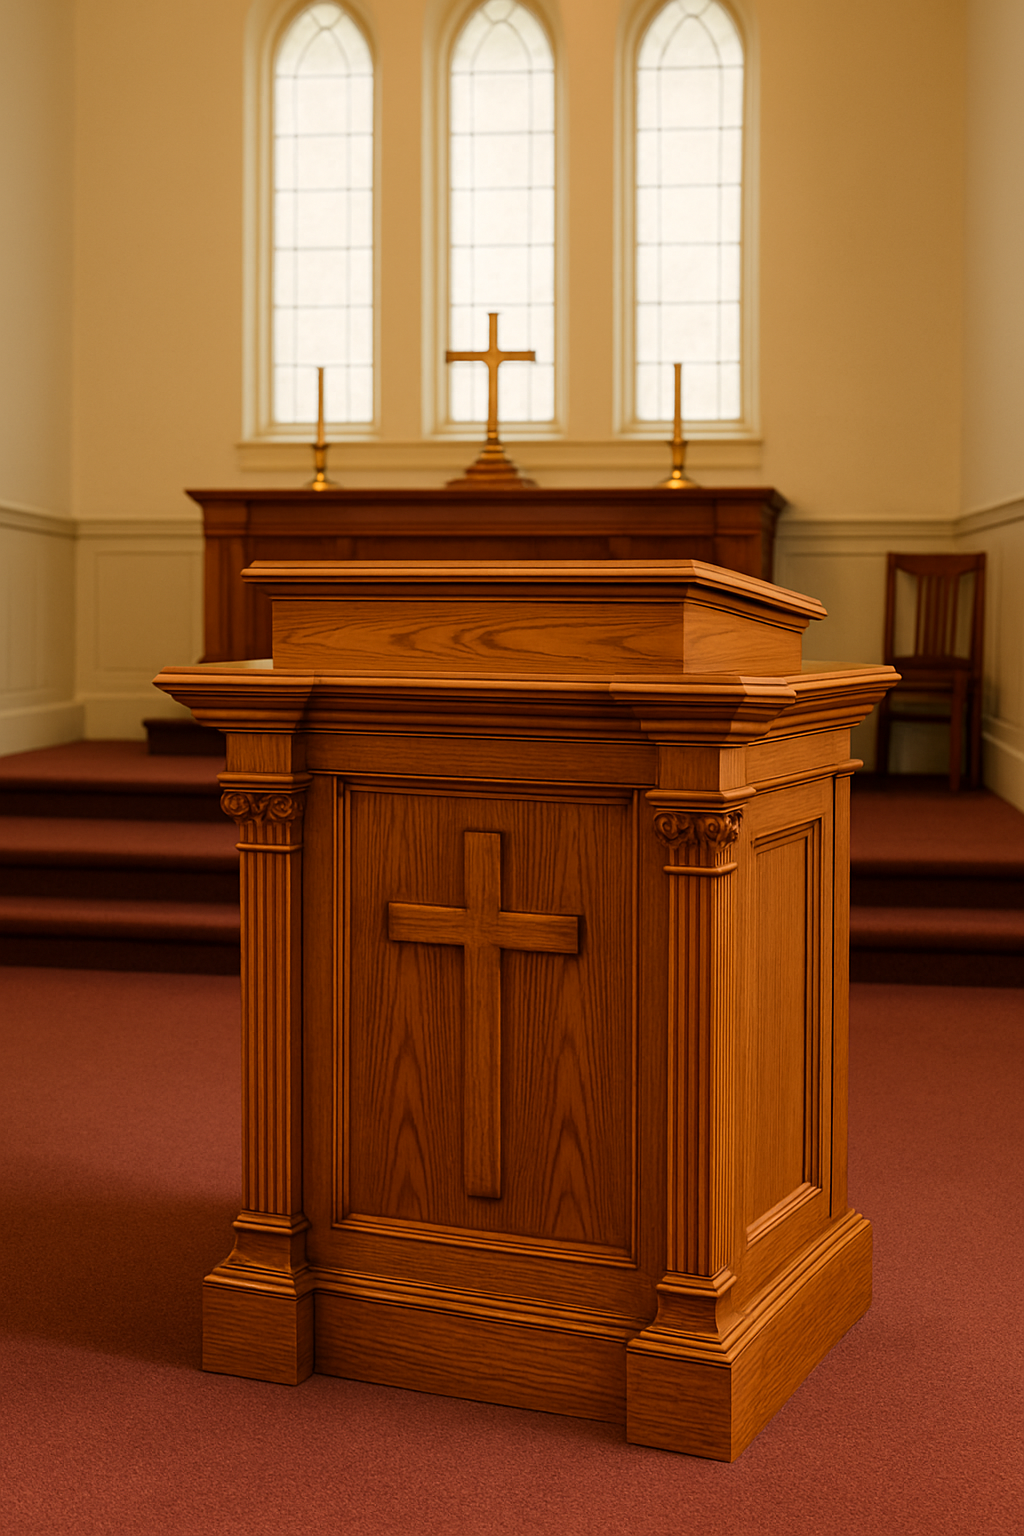
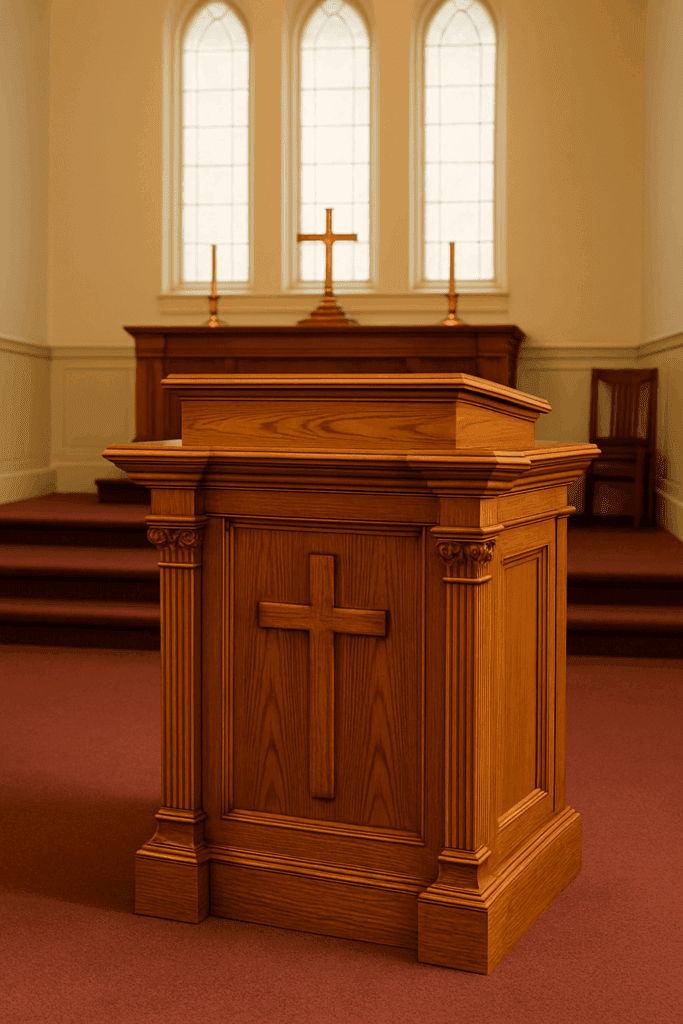
Step into any church, and your eyes are often drawn to one thing—the pulpit. More than furniture, it’s the place where powerful words are shared and faith is encouraged. And while buying a pulpit is easy enough, building one is an entirely different experience—one that’s filled with intention, creativity, and meaning.
I’ve worked on a few pulpits over the years, and each one was different—not just in design, but in the story it told. That’s why I’m sharing this guide: to help you build a wooden pulpit that reflects the spirit of your church and lasts for generations.
Why Build a Wood Pulpit?
In an age where you can buy just about anything online, building your pulpit might seem unnecessary. But here’s why it still matters:
It means more. A handcrafted pulpit becomes part of your church’s legacy.
You can make it your own. Customize it to fit your pastor’s needs and your church’s aesthetic.
It saves money. Buying a custom pulpit can be costly—building one often costs half as much.
Wood also offers a classic look that acrylic or metal just can’t match. It brings warmth and gravitas to the sanctuary while being strong enough to handle years of weekly use.
Start with a Conversation
Before touching a single tool, talk with your pastor or the person who will use the pulpit most. What do they want? Maybe they need more space for notes or a built-in shelf. Getting clear on the must-haves makes planning—and building—a lot smoother.
Typical dimensions to start with:
Height: 48 inches
Width: 24–36 inches
Top slope: around 15–20 degrees
Depth: about 18–20 inches
You can always adjust these to fit your church’s space or pastor’s preferences.
Smart Features to Add
Over time, I’ve found that some features just make pulpits better:
A sloped top with a lip to keep books or devices from sliding off
A rear shelf for a water bottle or backup notes
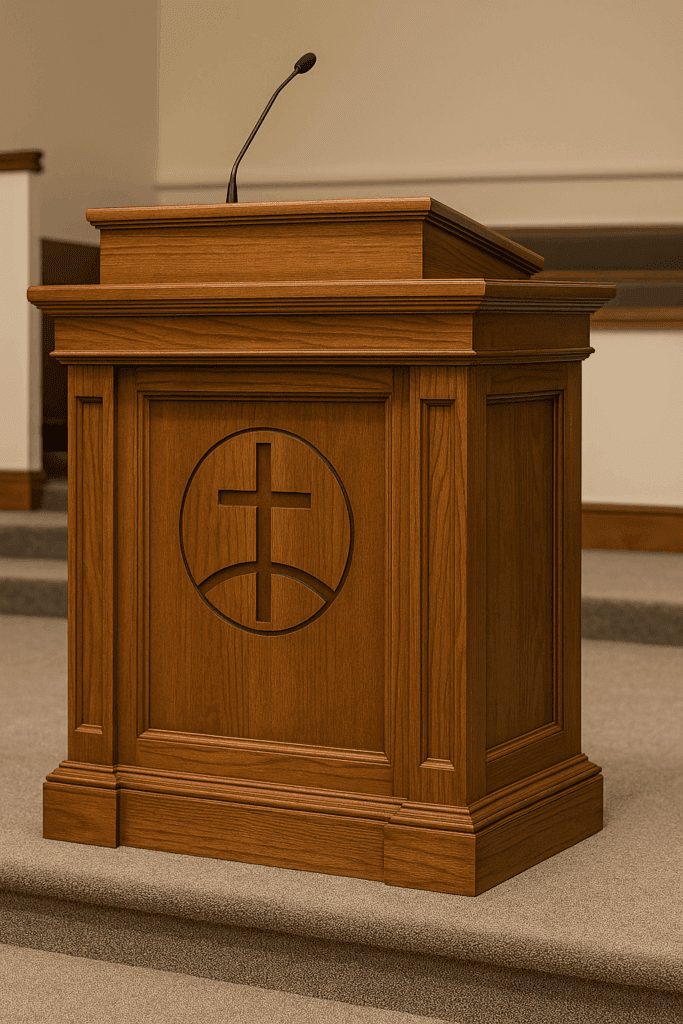
Holes for cable routing if you’re using microphones or lights
Trim or front panels with a cross or custom logo
Casters or hidden wheels if it needs to be moved often
These touches make a big difference in daily use—and they’re not difficult to build in.
If you’ve never built a pulpit—or even a piece of furniture—don’t stress. Here are a few hiccups I’ve run into and how to handle them:
Wobbly base? Check for floor-level issues first. Use adjustable feet to stabilize.
Stain looks blotchy? Always test on a scrap piece and consider using a wood conditioner first.
Panels not lining up? Clap dry fits before gluing. It’s easier to make adjustments beforehand.
Rough veneer edges? Lightly sand and apply iron-on edge banding for a cleaner finish.
Taking your time makes a huge difference. I’ve rushed projects before and regretted it. The pulpit deserves patience.
From Workshop to Worship
The beauty of a DIY pulpit project isn’t just in the finished product—it’s in the story. Every screw and stain stroke becomes part of something bigger. You’re not just building wood into a shape; you’re building something sacred that will support sermons, weddings, baptisms, and more.
I’ve seen pulpits built on a shoestring budget that turned out more meaningful than any catalog version could ever be. With time, care, and a little sawdust, you can create something that will serve your church and touch hearts for years.
How to Build a Cob Oven (Complete DIY Guide) by Admin May 12, 2025 DIY I was at a friend’s off-grid homestead a few summers back when I watched them pull a bubbling pizza from a dome of sculpted earth.…
Drying Wood in Oven: A Complete DIY Guide by Admin September 23, 2025 More About Most people don’t give a second thought to drying wood in an oven until something goes wrong. I didn’t either. I slapped together a pine…
Cedar Plywood: A Complete DIY & Builder’s Guide by Admin September 8, 2025 Softwood If you’ve ever stepped into a cedar-lined closet or opened an old cedar chest, you know the scent. That fresh, woodsy smell isn’t just nostalgic—it’s…

")

")

