Bailey used to fly onto the couch like she had springs in her legs. One evening, she didn’t. She stopped halfway between the rug and the cushion, kind of shifting her weight like she was thinking about it. Then she looked at me. Not hurt, just unsure.
I lifted her that night. No big deal. But the next day she did the same thing. And the day after that. That’s when I realized—this wasn’t a fluke. Age had finally caught up to her.
So I started looking for a fix. I saw the fancy pet stores selling dog stairs, and I almost laughed at the prices. But the idea stuck. She needed a way up that didn’t make her strain or wait for me every time.
A few scraps of plywood, some screws, a Saturday afternoon—that’s how it began. The first version looked rough, but Bailey didn’t care. She sniffed, pawed the first step, then climbed. Slow, tail wagging, proud as ever. Watching that was better than any store-bought solution.
Now I tell people all the time: it’s not about spoiling your dog. It’s about giving them back a little independence. Whether you buy a set or build one yourself, dog stairs change the routine. They keep old dogs comfortable and small dogs safe.
That’s what this whole guide is for—to help you figure out the right kind of stairs, the right size, and even how to build them yourself without overthinking it.
Why Dog Stairs Matter More Than You Think
Dogs, like people, can develop arthritis, joint stiffness, or injuries over time. Jumping up and down constantly—especially from high beds, couches, or car seats—can strain their back and hips. According to the American Kennel Club, repetitive impact on joints increases the risk of long-term joint damage, especially for breeds prone to hip dysplasia, such as Labrador Retrievers, German Shepherds, and Golden Retrievers.
Dog stairs help prevent:
Joint wear and tear in large breeds
Back strain in smaller breeds like Dachshunds or Corgis
Anxiety or fear of jumping in aging pets
Owner injuries from lifting heavy dogs constantly
If your pet hesitates before jumping or looks to you for help, it’s a clear sign they’re ready for dog stairs.
Choosing the Right Dog Stairs
Not all dog stairs are created equal. The perfect choice depends on your dog’s weight, height, age, and confidence level—as well as your home’s layout.
1. Size and Height
Measure the height of the surface your dog needs to reach (like a bed or sofa). Most dog stairs range between 10–24 inches high. A good rule of thumb is:
Small dogs (under 20 lbs): 3 to 4 short steps
Medium dogs (20–50 lbs): 3–5 wider steps
Large dogs (50+ lbs): gentle slope or ramp-style stairs
Dog stairs come in several materials, each with pros and cons:
Material
Pros
Cons
Foam
Lightweight, soft, great for small dogs
May sag over time
Plastic
Easy to clean, affordable
Can slide on smooth floors
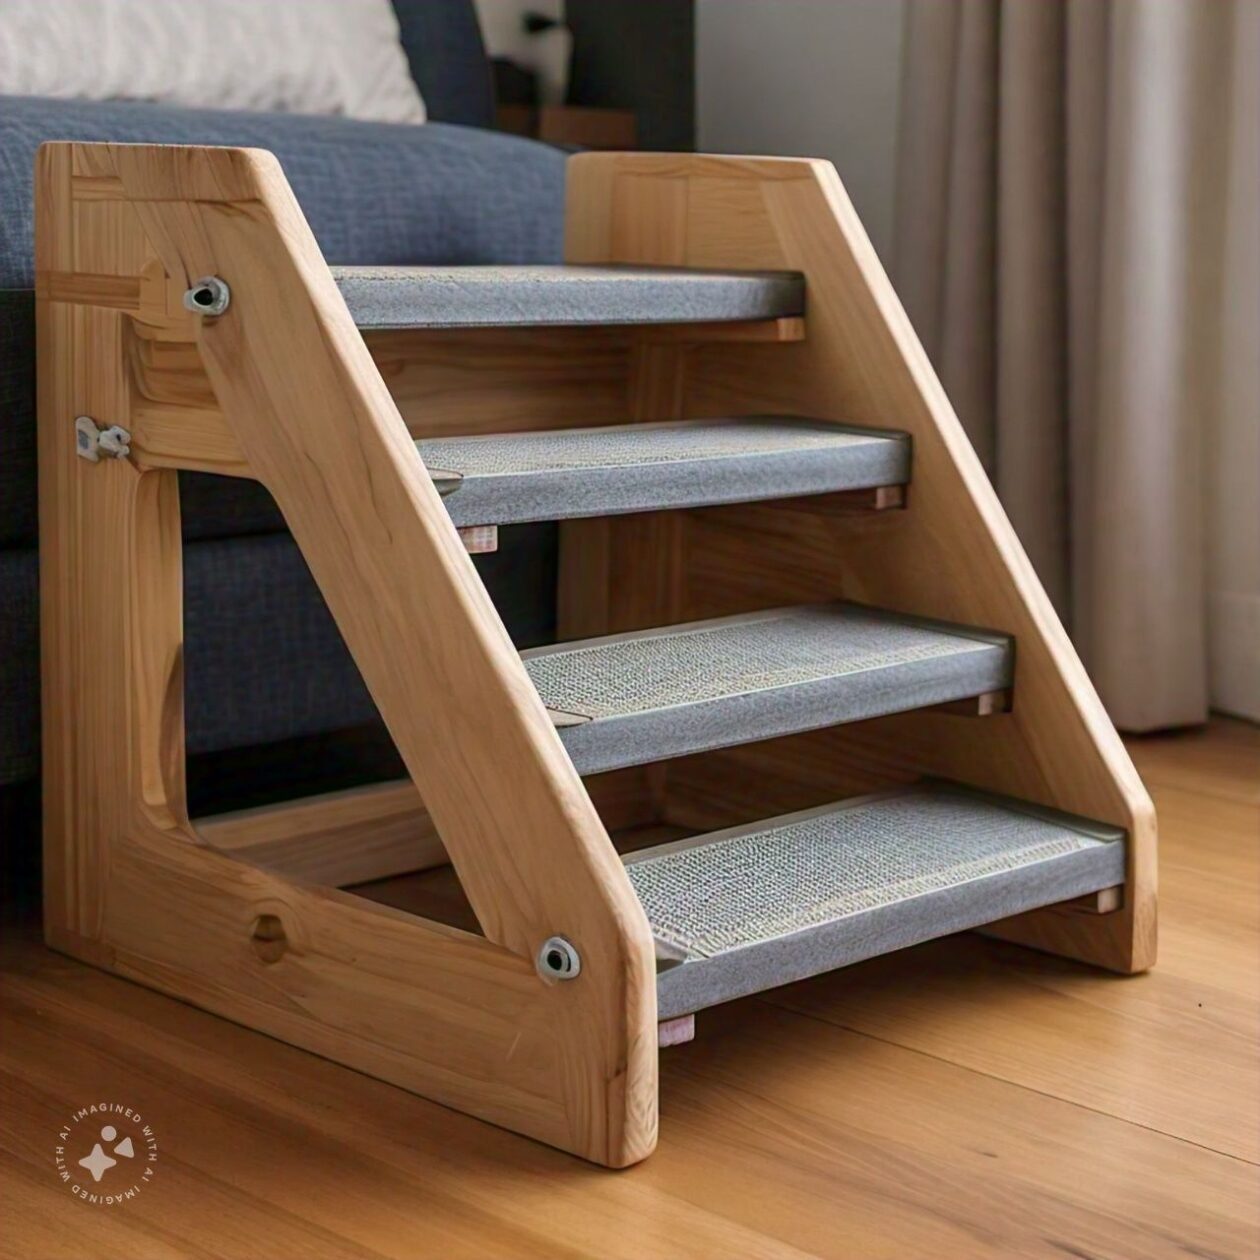
Wood/Plywood
Durable, stylish, can match furniture
Heavier, may need non-slip pads
Carpeted
Great traction for senior dogs
Harder to clean
For DIY builds, ¾-inch plywood works beautifully. If you’ve followed my other guides on furniture-grade plywood, you know it’s strong, easy to work with, and gives your stairs a professional finish.
Foam vs. Wood Dog Stairs: Which Is Better?
If your dog is small or recovering from surgery, foam stairs like the Best Pet Supplies Foam Steps are excellent—they’re soft on joints and lightweight enough to move from room to room.
For medium to large breeds, wooden dog stairs (especially DIY versions made from birch or pine plywood) offer better stability and longevity. You can stain or paint them to match your furniture—a bonus for keeping your home looking good while helping your pup stay mobile.
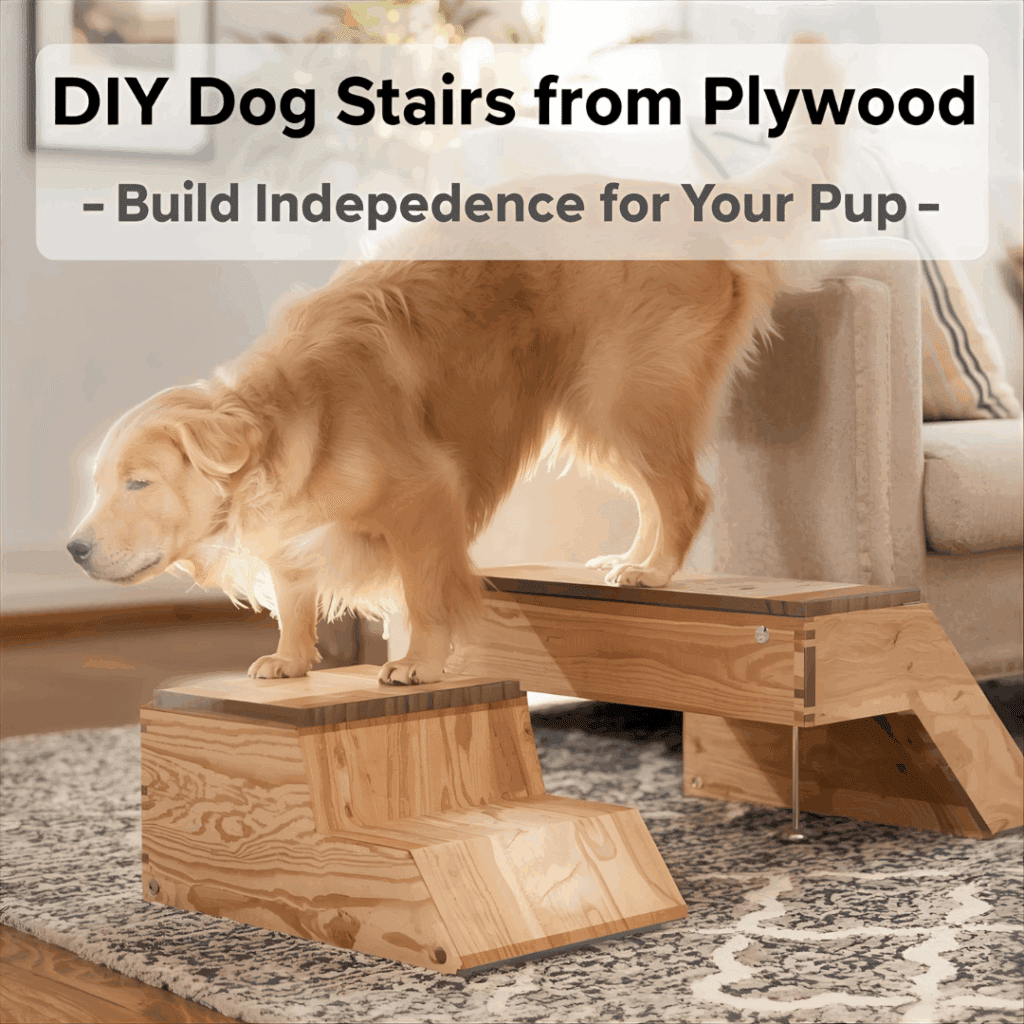
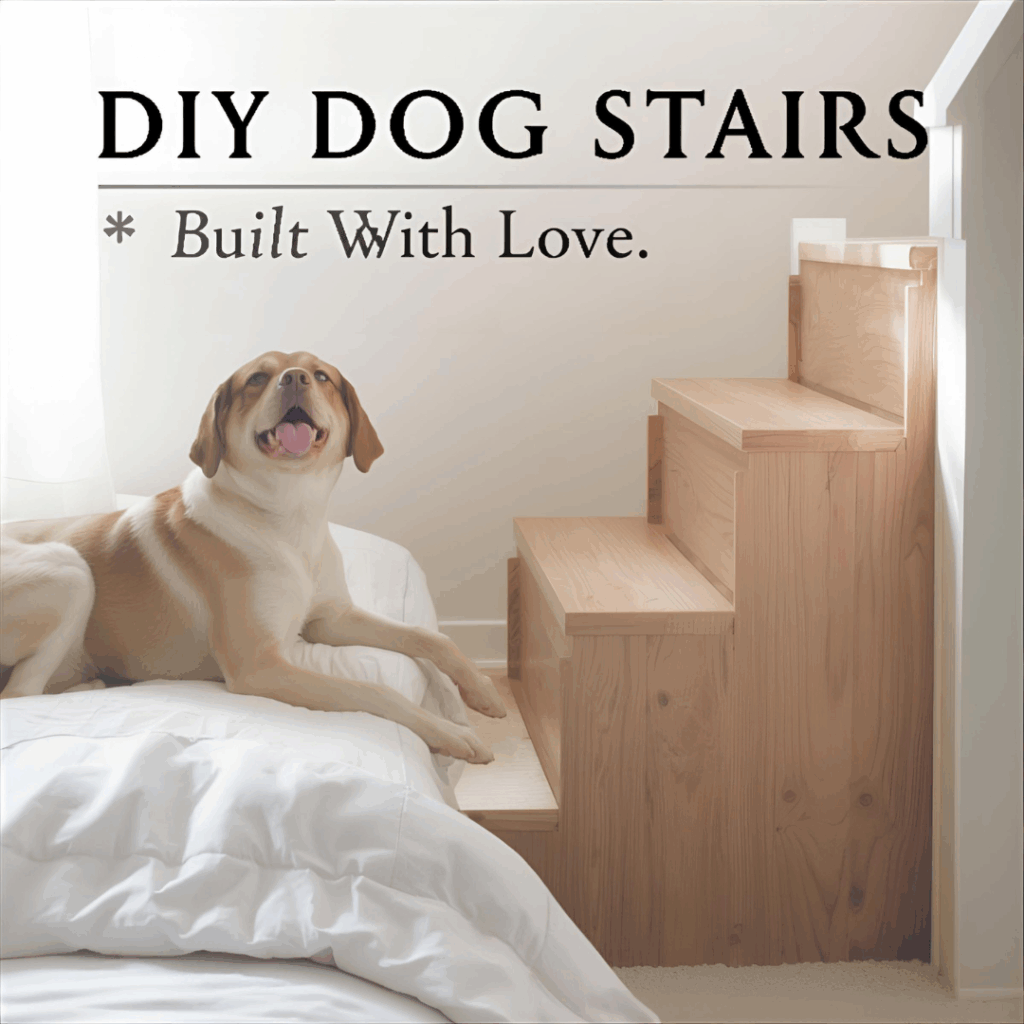
Step-by-Step: How to Build DIY Dog Stairs from Plywood
I didn’t plan this build. Bailey—my old Lab—just stopped jumping on the bed one day, and I couldn’t stand seeing her wait for me to lift her. So I pulled out a sheet of plywood from the corner, brushed off some sawdust, and decided to figure it out as I went. That’s how these dog stairs came to life—nothing fancy, just sturdy and made with care.
🧰 Materials You’ll Need
One sheet of ¾-inch plywood (birch if you’ve got it, pine if you don’t)
Line everything up before you start. Once the saw’s running, you’ll forget where half your tools are—at least I do every time.
📏 Step 1: Measure and Plan
First thing: measure the height your dog needs to climb. My bed sits around two feet high, so I went with four six-inch steps. Each tread ended up twelve inches deep and sixteen inches wide—wide enough so Bailey could turn around without slipping.
I sketched the plan right on the plywood with a dull pencil. Doesn’t have to look good; it just helps keep track of what’s what. Stand back, squint at the lines, and imagine your dog walking up it. If it feels too steep, stretch the steps out a bit. Better to fix it now than halfway through the build.
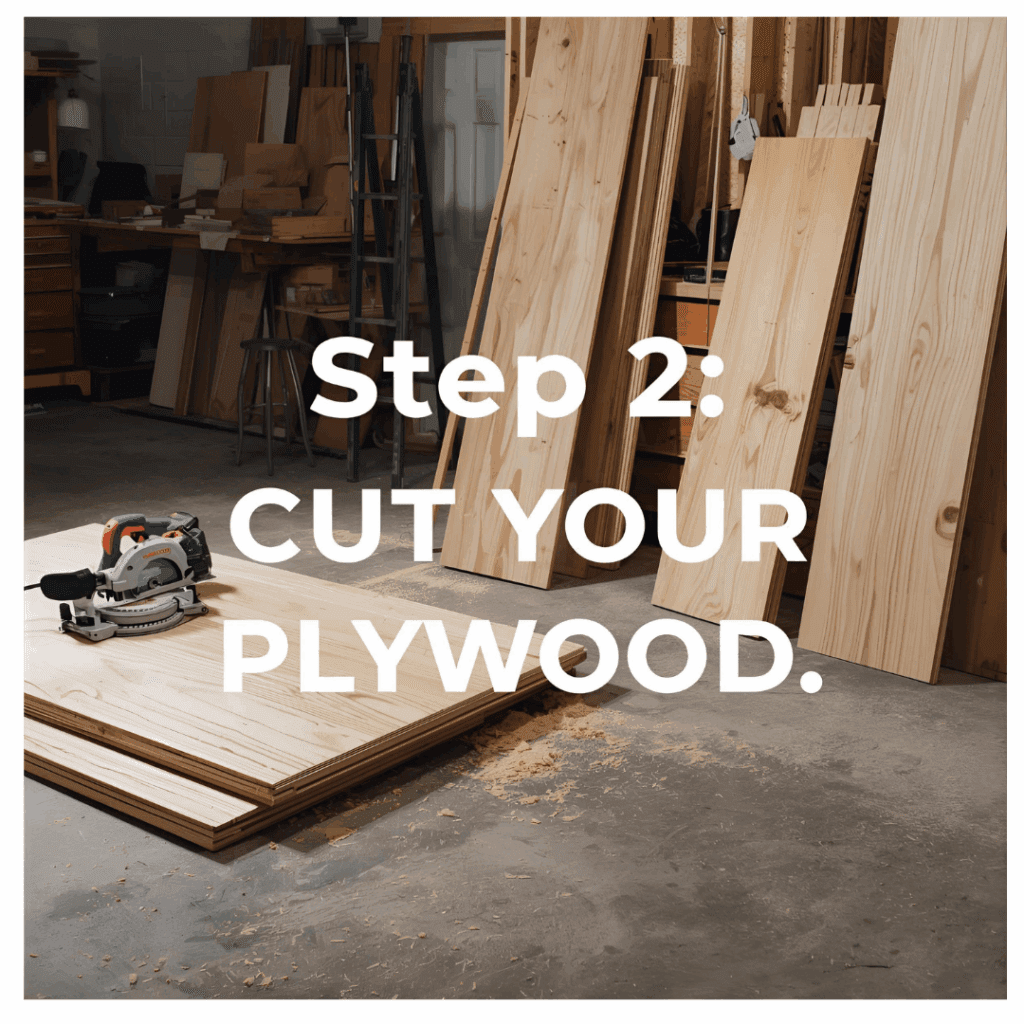
🪚 Step 2: Cut Your Plywood
You’ll need two side panels, four treads, and three risers. Mark them all before you start cutting—trust me, it’s easy to mix up which is which once they’re loose on the floor.
Clamp a straight edge for clean cuts. When the saw starts biting into the wood, you’ll smell that warm pine scent that tells you you’re actually building something real. After each cut, sand the edges enough so they don’t catch your fingers. I learned that the hard way once—splinters and coffee don’t mix.
Stack the pieces in order so you don’t have to hunt for them later.
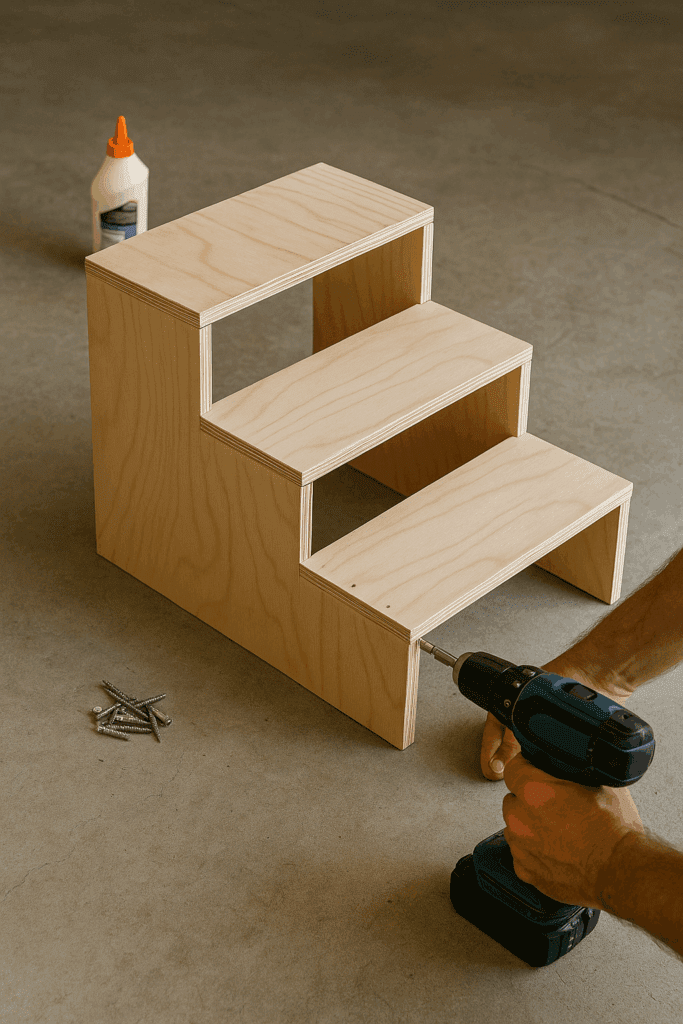
🔩 Step 3: Assemble the Frame
Lay one side panel flat on the ground and line up the risers. A little glue goes a long way—spread it thin. Screw each riser in place and make sure it sits flush.
Now the tricky part: lining up the second side panel. It never fits perfectly the first time. I usually tap the boards with the handle of my drill until everything sits right. You’ll know when it’s square enough—the pieces stop fighting you.
If you have a carpenter’s square, check your corners. If not, measure diagonally from corner to corner; if the numbers match, you’re good. And if they’re off by a hair? Don’t lose sleep over it. These are dog stairs, not a dining table.
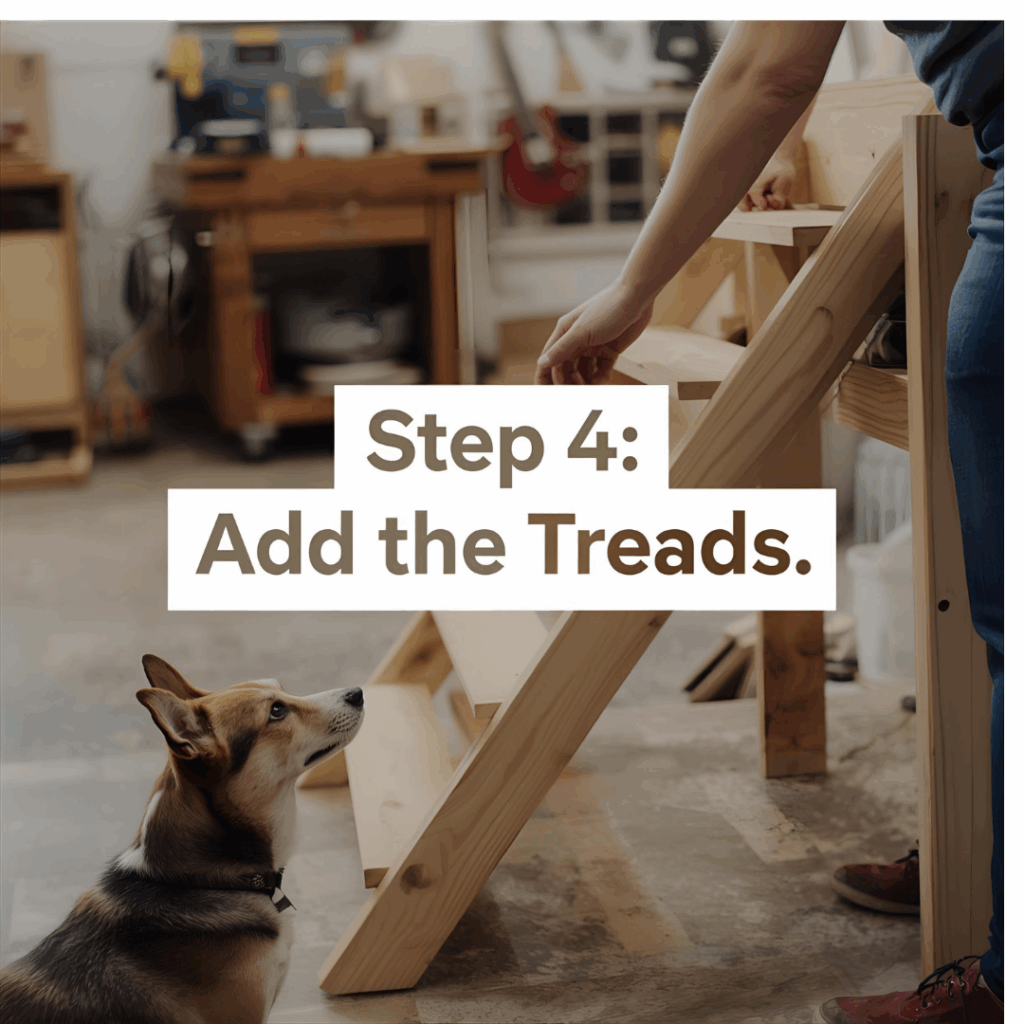
🧱 Step 4: Add the Treads
Start at the bottom and work your way up. Brush on a thin bead of glue, set the first tread, and screw it down—two screws per side does the trick. Check that it’s level, then move to the next.
I like to stand on each tread as I go. It’s my quick “human stress test.” If it holds me, it’ll hold Bailey ten times over. You’ll hear the wood creak slightly—that’s the good kind of sound, the “solid build” sound.
If something feels uneven, loosen the screws and shim it with a scrap of plywood. No one will ever see it, and it’ll save you a wobble later.
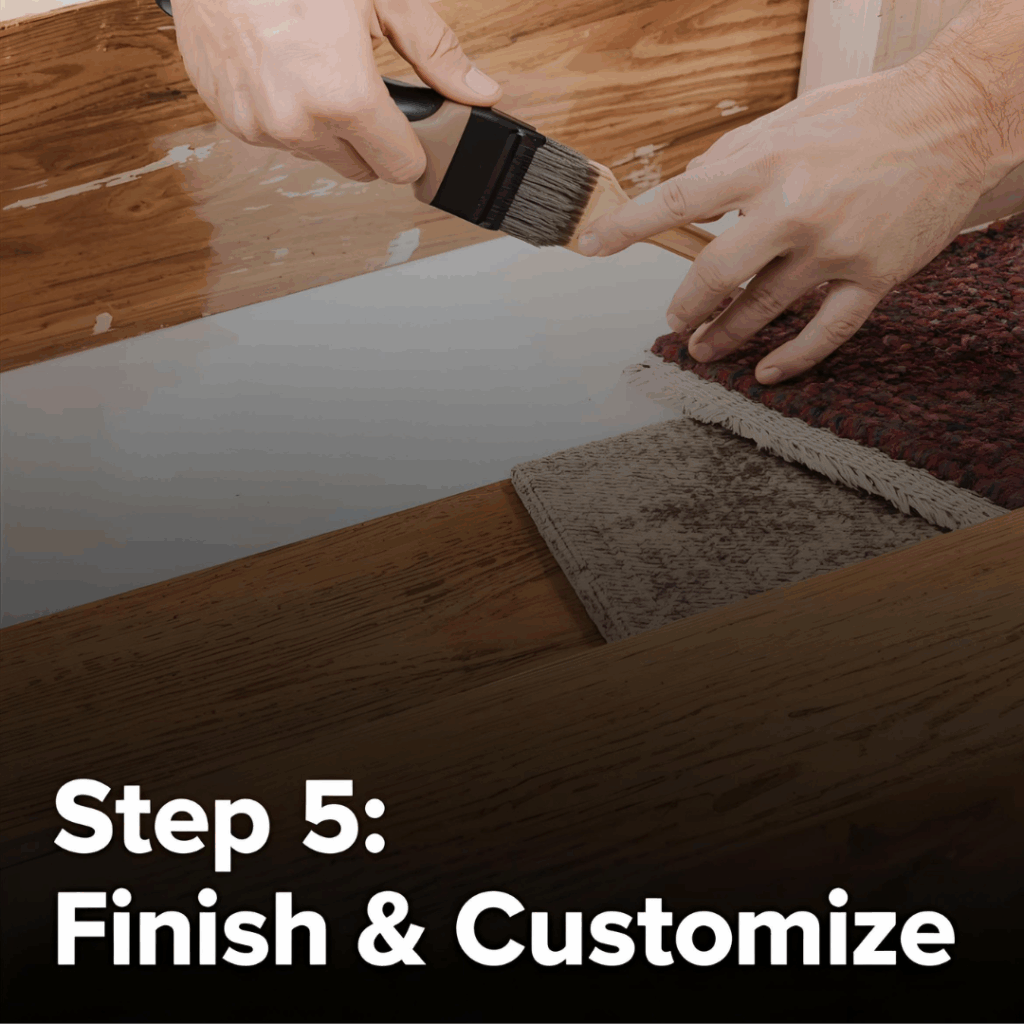
🪵 Step 5: Finish and Customize
Now for the fun part—making it look half decent. Grab your sandpaper and go over every surface until it feels smooth under your hand. Round the edges a bit so they’re softer on paws and ankles.
Wipe the dust off with an old rag, then decide if you want to stain or paint it. I went with a light oak stain to match the bedroom furniture, but raw plywood has its own charm too. If you’re sealing it, give it a full night to dry before letting your dog test it out.
Stick carpet squares or tread strips on each step for grip. I cut mine from an old hallway runner and stuck them down with heavy-duty carpet tape. Quiet paws are worth the extra effort, especially at 2 a.m. when your dog decides to patrol the house.
🐕 Step 6: Test and Adjust
Set the stairs in place and let your dog sniff around. Don’t rush it—dogs like to figure out new things in their own way. Drop a treat on the first step and wait. Bailey looked at me like I was crazy at first, but curiosity won out.
If the stairs slide on hardwood, glue on a few rubber pads or stick a piece of shelf liner underneath. You’ll know they’re working when your dog starts using them without thinking.
When Bailey finally climbed to the top on her own, she wagged so hard she almost knocked over the lamp. That tail thump was better than any “thank you” I could’ve asked for.
Maintenance and Cleaning Tips
Dog stairs don’t need much maintenance, but keeping them clean and stable will extend their life.
Vacuum or lint-roll fabric stairs weekly.
Wipe down wood or plastic with a damp cloth.
Check screws and joints monthly for looseness.
Replace carpet treads if they wear out.
When to Choose a Dog Ramp Instead
While stairs are great for most dogs, ramps are better for:
Dogs recovering from surgery
Breeds with short legs and long spines (like Dachshunds)
Senior pets with arthritis
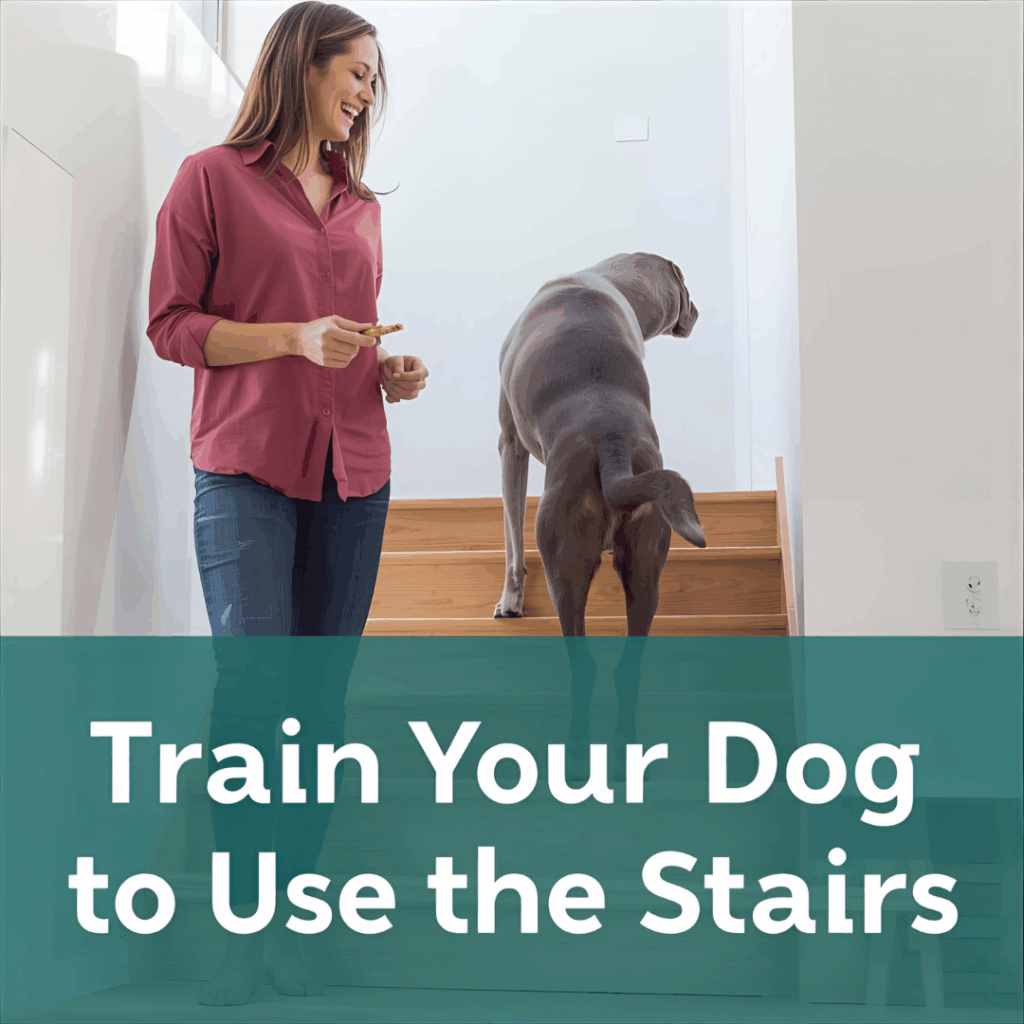
Training Your Dog to Use the Stairs
If your pup hesitates, try these techniques:
Lead with treats – Place a treat on each step and reward progress.
Go slow – Don’t rush. Let them sniff and get comfortable.
Use praise – Dogs respond to tone. A cheerful “Good job!” goes a long way.
Stay patient – It might take a few sessions for them to feel confident.
Never force your dog. Positive reinforcement builds trust and ensures they see the stairs as safe and rewarding.
Best Dog Stairs on Amazon (Tested Picks)
Here are a few top-rated, durable, and affordable options that I’ve either used or seen work for friends’ pets:
When buying, always check weight limits, step height, and anti-slip features.
DIY Customization Ideas
If you’re building from scratch, you can take your dog stairs to the next level:
Hidden storage: Build hollow steps with lift-up lids for dog toys or leashes.
Detachable ramp add-on: Add a removable ramp piece for aging pets.
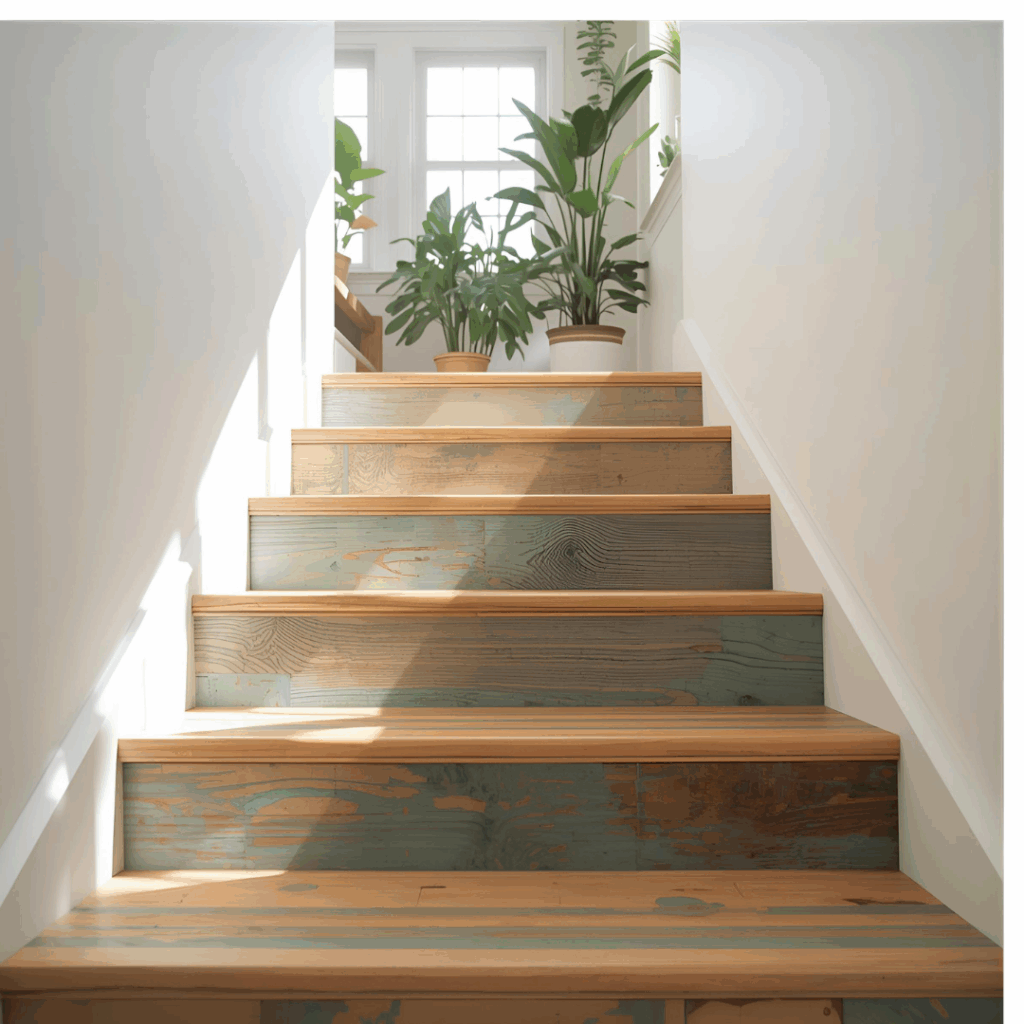
Decorative touches: Paint the stairs to match your decor or stencil your dog’s name on the side.
A coat of clear polyurethane adds durability if you plan to use them outdoors or in humid rooms.
Eco-Friendly Dog Stairs
Being kind to the planet doesn’t stop with your own furniture—it can include your dog’s, too. When you’re shopping for pet stairs, look for ones made from recycled materials or FSC-certified wood so you know they come from responsible sources. If you’re the DIY type, you can even build your own using leftover plywood from another project. I’ve done that myself, and it’s satisfying to give scraps a second life. (If you need ideas, check out our guide to using plywood offcuts.)
Another smart option is foam stairs with removable, washable covers. Instead of tossing them when they get dirty, you can unzip the cover, wash it, and keep using them. It’s a small, easy habit that saves money, cuts down on waste, and keeps your dog’s favorite steps looking good as new.
Common Mistakes to Avoid
Steps too narrow: Dogs need space for all four paws.
Slippery surfaces: Always add grip or carpet.
Too steep: Keep rise under 6 inches for safety.
Ignoring weight capacity: Heavy dogs need solid construction.
Not securing the stairs: Place anti-slip pads underneath, especially on hardwood floors.
The Bottom Line
I never planned on making dog stairs. One night, my old pup tried to hop onto the bed, missed, and looked at me with that embarrassed little glance dogs do. That was all it took. The next morning, I grabbed a piece of scrap plywood, a few screws, and started building.
It wasn’t fancy—just solid, simple steps. But the first time she used them, her tail went wild. She climbed up slowly, proud of herself, then curled right beside me like nothing had ever changed. That moment made the sawdust in my hair and the sore hands completely worth it.
If you’ve got a few tools and a soft spot for your dog, try building a set. It’s not about perfect cuts or shiny paint—it’s about making life a little easier for your best friend. And honestly, that’s the kind of project that stays with you.
ApplePly Plywood Review: Pros, Cons & Where to Buy It by Admin March 31, 2025 Hardwood When I first started woodworking, plywood was just the budget-friendly go-to for garage shelves or workshop benches. But as I began taking on more serious…