You know that feeling when you step into a room and the floor has just a little too much give? That happened to me, and the fix turned out to be simple: I learned how to reinforce center supports using plywood. Whether it’s your floor, bed, or shelf that’s sagging, this DIY technique saved me hundreds—and it can help you too.
I’d never reinforced a floor before, but after some research and trial-and-error, I realized the answer was simpler than expected: plywood.
If you’ve got a weak center support—whether it’s under a floor, a bed frame, or even a long shelf—I’m going to walk you through what worked for me. This is not theory. This is a real fix that made a real difference.
What Counts as a Center Support?
Any time you have a long span of wood holding weight, the center is the most likely to sag. That’s your center support.
You’ll find them in:
Floor joists (especially in older homes)
Bed frames and slats
Wall-mounted shelves
Long tabletops or workbenches
When the middle begins to dip, that’s your signal—it’s time to reinforce.
🧰 What I Used (Tools & Materials)
Before I started, I gathered the following:
A 4’x8′ sheet of ¾” plywood (I used cabinet-grade)
In this section, I’ll show you how to reinforce center supports using plywood with just a few basic tools.
Step 1: Measure the Support You’re Fixing
I measured the length of the joist and found that the worst sag was in the middle four feet. That’s where I focused my reinforcement.
Step 2: Cut the Plywood
I cut two identical strips of plywood:
4 feet long
5 inches wide
¾” thick
Why two? Because I wanted to reinforce both sides of the joist, sandwich-style.
Step 3: Apply the Glue
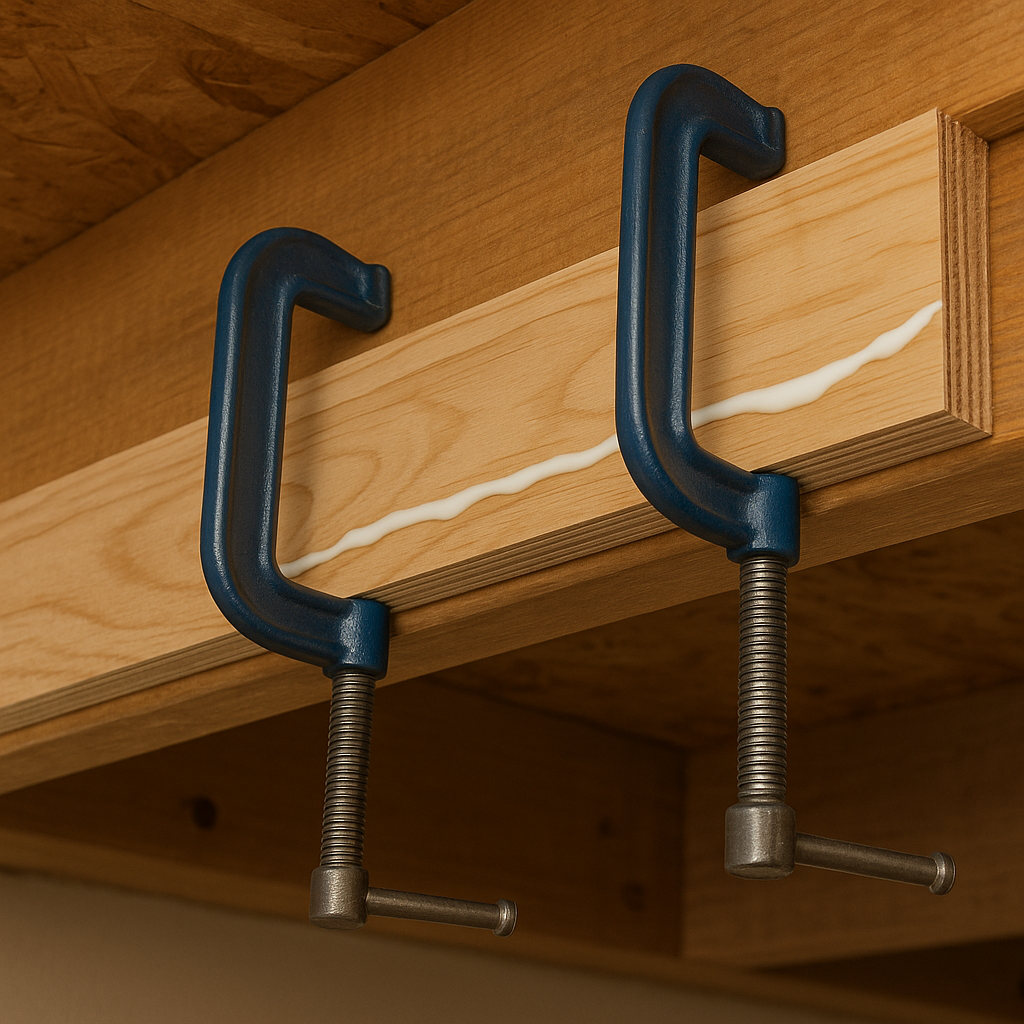
I applied Titebond III along one side of the plywood strip. This helps lock everything in place and prevents creaking later.
📌 Don’t skip the glue. It makes all the difference between a short-term patch and a long-term fix.
Step 4: Clamp and Screw the Plywood in Place
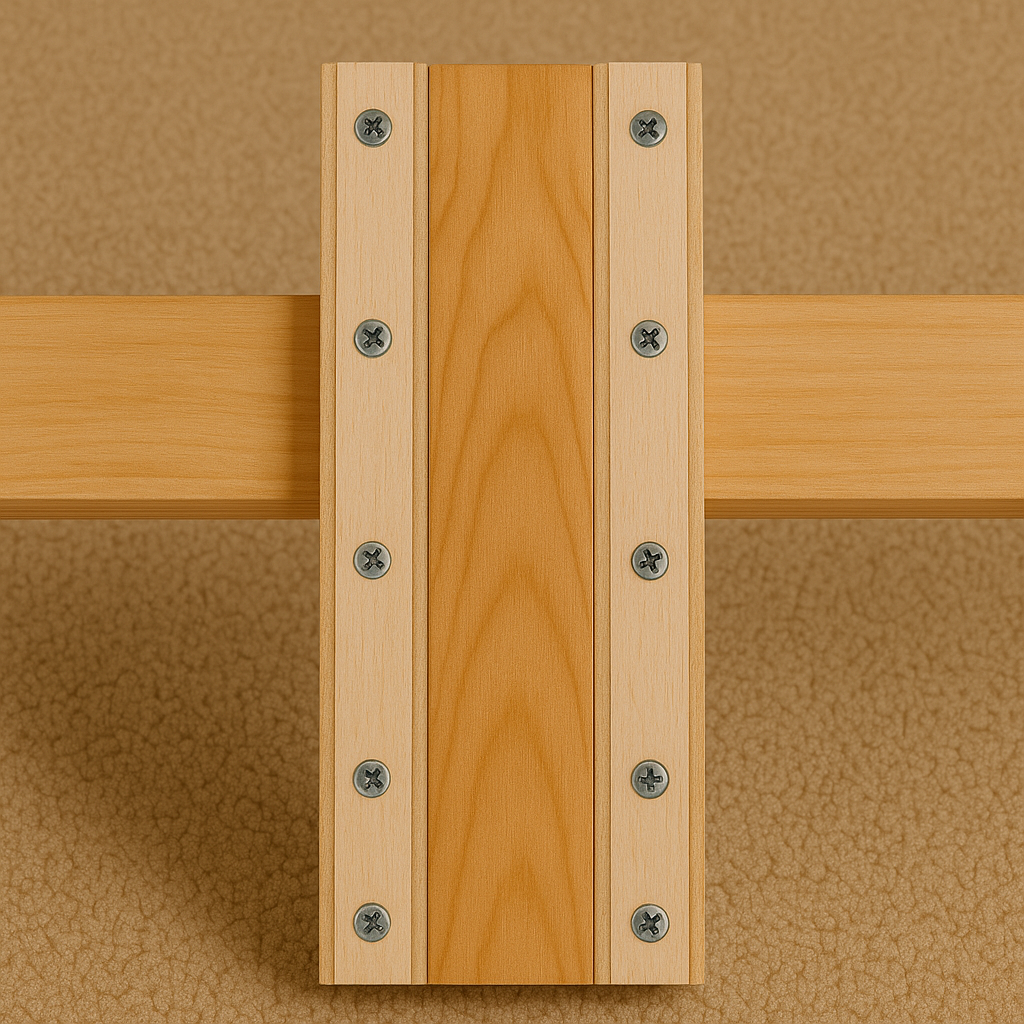
Once I had the glue on, I clamped the plywood to the side of the joist and pre-drilled holes every 6 inches. Then I drove in the screws—alternating top and bottom edges to distribute pressure evenly.
Step 5: Do the Same on the Opposite Side
Once the first side was dry (overnight), I flipped it over and did the exact same thing on the other side. This turned the weak joist into a much more rigid, boxed structure.
🪵 Choosing the Right Plywood for Structural Reinforcement
Not every type of plywood is strong enough to reinforce center supports. You want something that can take a load and stay rigid over time.
Not all plywood is created equal, and choosing the wrong type can weaken your repair instead of strengthening it. When I started my first reinforcement project, I grabbed a leftover piece of ½-inch particle-core plywood from a cabinet build. Big mistake. It bowed within days and made the support even worse. Lesson learned: reinforcement calls for strong, reliable material.
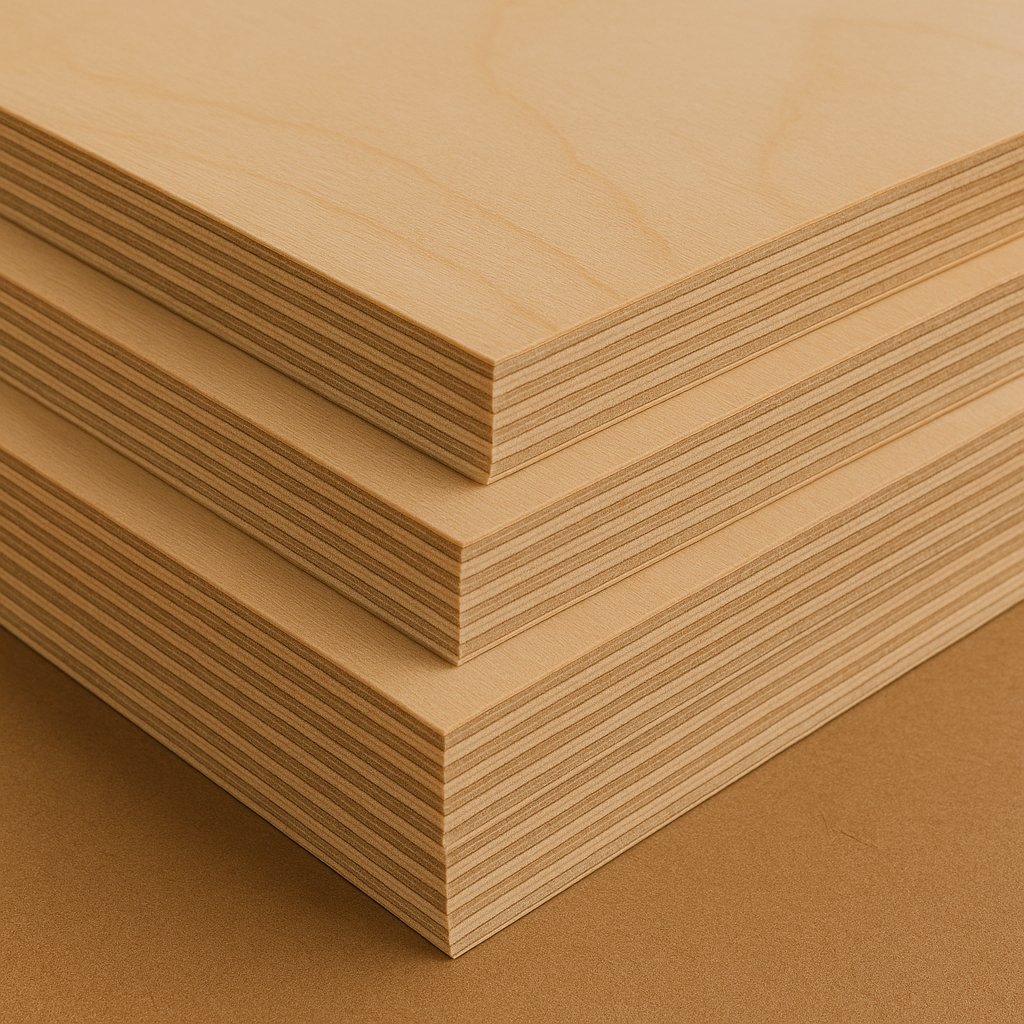
If you’re reinforcing floor joists, bed slats, or long shelves, go for ¾-inch plywood with a solid core—preferably hardwood like birch or maple. Avoid anything labeled “sheathing” or “interior underlayment,” which often has voids and weaker internal layers. Exterior-grade CDX can work for damp areas like basements or garages, but for indoor furniture and floors, cabinet-grade or multi-ply plywood is more stable and flat.
Thickness: ¾” is ideal. Anything thinner risks flexing.
Core Type: Avoid MDF or particleboard cores. Look for veneer core or Baltic birch.
Grain Direction: Align the plywood so the grain runs parallel to the direction of the weight-bearing support.
Face Veneer: For visible repairs (like open shelves), consider a clean, sanded face veneer with minimal knots.
If you’re not sure what type of plywood you’re looking at, ask at the lumber desk or check for stamps like “APA Rated” or “Exterior 1.” These confirm that the panel meets structural standards.
One tip I picked up the hard way: buy your plywood from a reputable lumber yard, not just a big box store. The quality difference in the inner plies can be huge. A $10 savings on a cheap sheet isn’t worth it if your fix fails in six months.
The Result? Rock Solid
No more bounce. No more leaning bookshelf. The entire room feels sturdier, and the fix only cost me about $40 total.
Since then, I’ve used the same technique on:
A sagging shelf in my pantry
A center support in my son’s bunk bed
A long bench in the garage that held our heavy toolboxes
To understand plywood structural ratings, I checked out the APA – The Engineered Wood Association. If you’re unsure about which grade to buy, their info is solid.
🪵 Choosing the Right Plywood for Structural Reinforcement
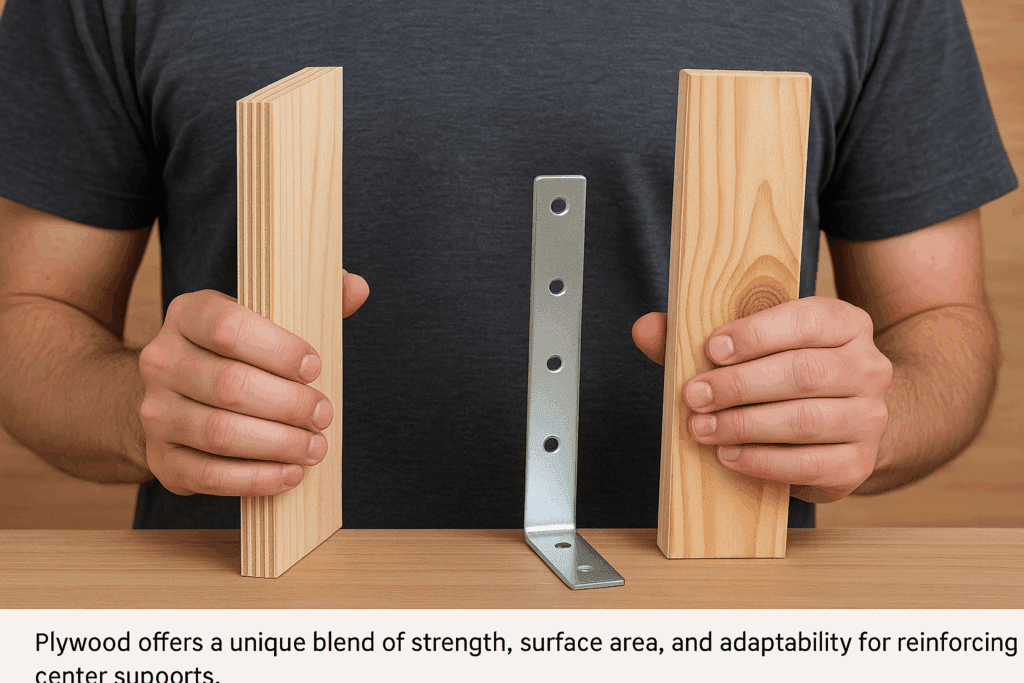
While plywood is my go-to material, there are a few other ways you can reinforce center supports. I’ve tested some of these on my own projects, and while they can help in the short term, plywood still comes out on top when it comes to cost, strength, and ease of use.
One common method is using metal brackets or angle iron. These are great for small furniture repairs, like reinforcing the corners of a wobbly table or stiffening a bed frame rail. They’re strong and compact, but they only add strength at the point of contact. They don’t spread out the weight like plywood does.
Another option is adding 2×4 bracing, especially for longer spans like floor joists. You can run the 2×4 perpendicular between supports (called “blocking”) or add a sister joist next to the weak one. This works well, but it takes up more space and is harder to pull off in tight areas like under beds or inside cabinets.
Foam boards, plastic brackets, and composite reinforcements also exist—but in my experience, they’re better suited for specialty applications. For general household fixes, they’re not worth the cost or the hassle.
Here’s why plywood wins for center reinforcement:
🔧 Distributes load across a wider area
📐 Customizable shape and size
🧲 Works with glue, screws, nails, or clamps
🪚 Easily cut and installed with basic tools
💰 Affordable and widely available
Of course, there’s no harm in combining methods. On one shelf, I reinforced, I added a plywood brace and a pair of corner brackets. The shelf hasn’t moved an inch since.
Bottom line: if you’re looking for strength, versatility, and long-term results, plywood is still the best reinforcement material you can use for most center support fixes.
Common Mistakes I Almost Made
Using ½” plywood, I thought lighter might be easier. It was—but it wasn’t strong enough.
Not pre-drilling: The first screw split the plywood. Lesson learned.
Skipping clamps: One attempt without clamps resulted in a crooked bond and a squeaky panel.
FAQ
Q: Can I do this with plywood scraps? Yes, as long as you overlap them and keep them tightly glued/screwed together.
Q: Is one side enough? If you’re reinforcing a shelf or a bed frame, one side might work. For floors or joists, always do both sides.
Q: What if the support is metal? You can still use plywood, but use construction adhesive made for wood-to-metal bonding, like Loctite PL Premium.
Final Thoughts
If something in your home is sagging or unstable, don’t assume it needs a full replacement. Reinforcing the center with plywood can give it a new life. I didn’t have special skills—just basic tools, time, and the drive to fix something properly.
Bonus: Reinforcement Cheat Sheet
✅ Cut ¾” plywood strips 3–5″ wide
✅ Use wood glue + clamps
✅ Pre-drill screw holes
✅ Reinforce both sides if possible
✅ Let it cure overnight before testing
Related Posts:
Best Practices for Using Mineral Spirits on Wood by Admin May 20, 2025 Finish . Looking to clean old wood or prepare it for stain? Mineral spirits offer an easy, safe, and effective method for refreshing wood without damage.…
Rhino Lining Plywood: A DIY Way to Make Plywood Last by Admin January 25, 2026 Grades I didn’t start using Rhino lining plywood because I wanted something extreme or clever. I ended up there because I got tired of replacing plywood…