Wood stairs have an exquisite look, along with richness. But wood stairs tend to wear off, as the staircase tends to be a high-traffic area of the home. Most people just put up with this or cover it with a carpet runner rather than refinish stairs. Another reason they do it is because of higher prices. Due to the cost difference, people chose to do it themselves instead of hiring someone to refinish the staircase.
They’re even more likely to have it carpeted, covering the carpet back up more inspiration than beautiful wood, just because a carpet runner is cheaper.
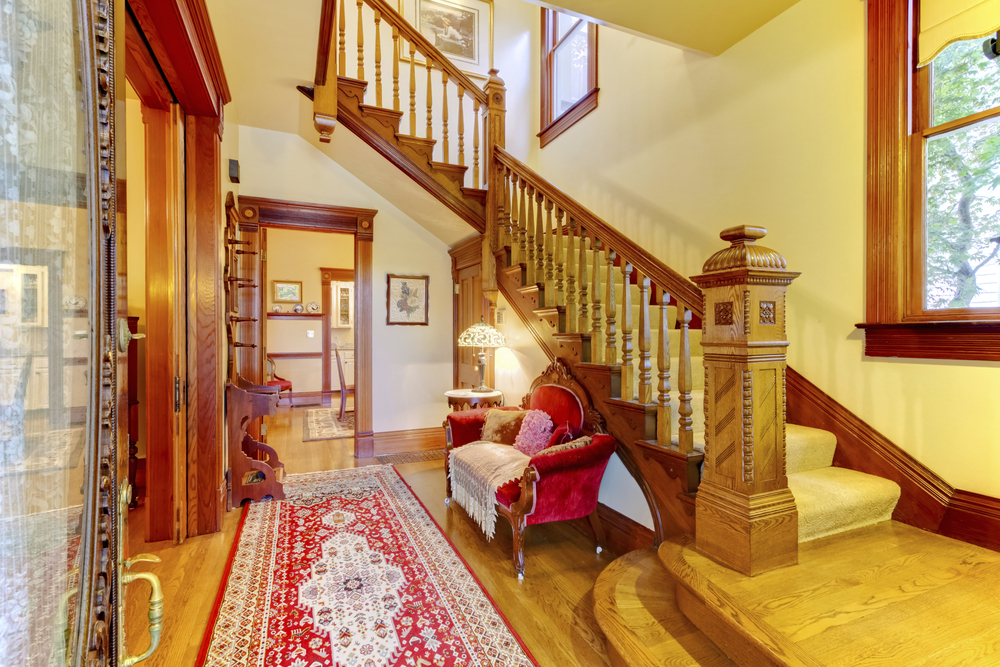
Bright hallway with a colorful rug, nice red sofa, wooden staircase, and beige carpet-covered steps.
Refinishing a wood staircase yourself isn’t all that hard to do, even if it is time-consuming.
It’s the kind of project you can break up into little chunks, working on it bit by bit in your spare time. While that will leave unfinished work in process for however many weeks, the job takes. That’s not really any worse than having a beat-up staircase that needs to be refinished.
Points to Go Over Before Starting a Project
Before starting any staircase refinish project, it’s essential to think the project through and decide what the result will look like. Ask the following questions:
What color should the stair tread be stained?
Should the step risers be painted or stained?
Is a runner going to be put on the stairs?
Are we ready to invest the time necessary to sand down and refinish the stairs thoroughly, or do we want to compromise with a stain & varnish combination?
Is the stair rail going to be refinished as well? If so, will the spindles be painted or stained?
Are there repairs that need to be made as part of this project, such as replacing the damaged step tread or repairing the fence?
With these questions answered
1. Selecting the stain color and buying all the materials needed before starting is a good idea.
2. Building centers sometimes run out of stain colors, so looking in multiple places to find sufficient stains for the home improvement project might be necessary. (One quart of paint should be enough for the entire home improvement project and then some).
3. Problems could arise by starting the next project with a partial can of stain in the garage and then trying to find more to match it.
Preparing the Stairs
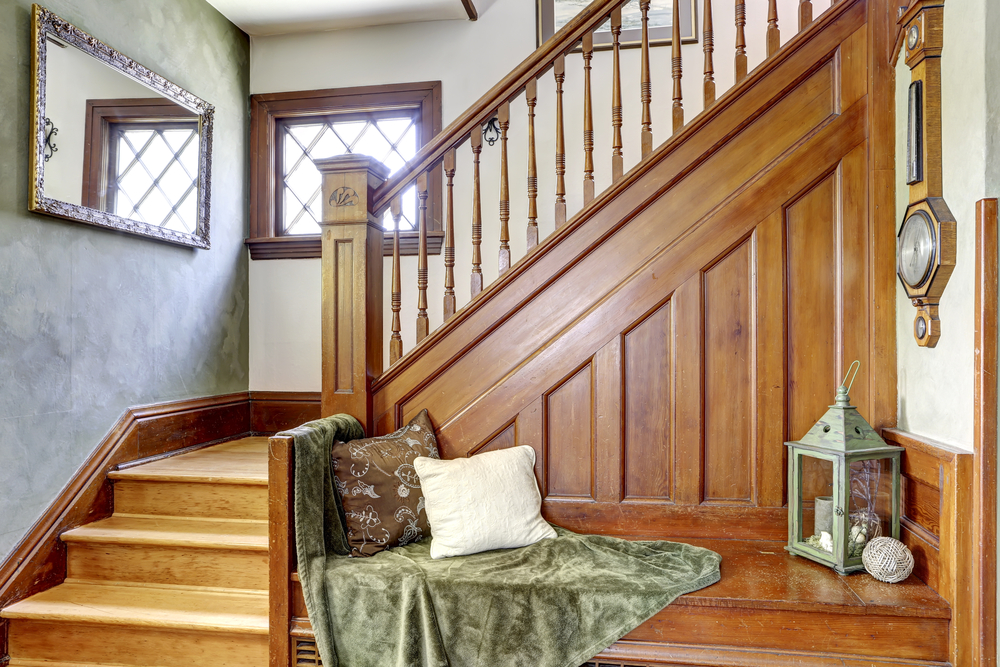
View of staircase and bench decorated with pillows and green blanket
Like refinishing antique furniture, the most complex and vital part of refinishing a wood staircase is removing the old finish and preparing the surface before applying the new finish.
This finishing process is also a time and extra-money-consuming part of the whole refinishing wooden stairs project, among other costs. There will be a great temptation to shortcut this part and other expenses of the refinishing process on wooden stairs. Still, those shortcuts invariably show up as a lower-quality finish.
If there is any carpeting on the stairs, it will need to be removed before the stairs can be prepped. Care should be taken when pulling nails. Remove the carpet on the stairs to not make the nail holes, and remove the rug any larger. This may be unavoidable when ring-shank nails are used to remove the carpeted stairs, but other nails should pull straight out to remove the carpet on the stairs.
The next step is determining if the carpeted stairs have any wax. Many people have waxed wood floors through the years. Checking for wax requires dribbling a little water on the carpeted stairs first. If the water beads up, it indicates the presence of wax, which should be removed, before sanding, as the wax tends to gum up sandpaper.
The easiest way to remove wax from carpeted stairs and hardwood stairs is to scrape and paint them with a carbide paint scraper, the kind that is used to strip off loose and flaking paint from the outside of a home. This will also remove some of the varnishes, leaving less for sanding to wipe the smooth finish off the carpet and hardwood stairs.
First Sanding
The primary tool to remove the varnish is a belt sander with 36-grit sandpaper or the coarsest grit available. This might seem like a very coarse grit, but those stair treads are probably oak, which is a tough wood so that it can take it. The removed varnish will also tend to gum up the sanding belt, reducing how much of a cut it can take in the stairs. The belt sander should only be used in the direction of the wood’s grain, so edge trip on the open edge of step treads should not be sanded with the belt sander.
While the bulk of sand on the carpet and stairs’ surface can be sanded with the belt sander, it can only get sand down so close to the wall, step riser, and balusters for the handrail. The areas of sand on the carpet and stairs closest to those other surfaces will have to be sanded with tools: a hand sander, quarter-sheet vibratory sander, or “mouse” vibratory sander. Be careful not to damage the adjacent surfaces while rubbing stairs or digging sand down into them.
How well the varnish needs to be sanded depends partly on the stain that will be applied. If a dark color is used, any discoloration of the wood near the wall or riser edges can be overlooked as long as the varnish has been removed. However, if a light-colored stain is used, wood stairs, step treads, and stair risers must be sanded fully so that no discolored parts are left.
Second Sanding
Clean off the dust before continuing to the sanding stairs with 80 or 100-grit sandpaper. Sandpaper works better when there is no dust available to clog the paper. Lightly drawing lines across the step treads with a pencil is also a good idea. The pencil lines will indicate which areas of the steps have not already been sanded.
When this sanding is complete, clean the steps off the orbital sander again, and remove all dust. Check for any unevenness in the stair tread by running your hands over the step treads. You’re specifically looking for any places where the edge of the belt or orbital sander might have dug into the step treads. Such sites need to be sanded again to smooth them out.
If the step treads and risers are to be stained and varnished, they should be sanded, just like the wood treads and stair risers are. However, if they are going to be painted, they don’t need sanding. The only exception would be if there is damage to wood treads and risers. In that case, the damage should be puttied and sanded smooth.
Repairing Damage
At this point, it’s a good idea to fill any holes and chips in the wood with stainable wood filler. Before doing this, it’s essential to realize that the word “stainable” should be taken with a large grain of salt. While these wood filler putties are more stainable than others, they are not usually as stainable as the wood that they are used to patch. It’s not uncommon for the same wood filler putty to create an area that stains lighter than the original wood.
One alternative to this requires using some sawdust of wood grain, the same kind of wood grain that the step tread is made of. Mix that with a small quantity of stain used on the staircase and then spread it out on a waterproof surface, allowing it to dry. The stained sawdust can then be mixed with wood glue and used as putty.
The second alternative to refinish wood stairs is to use tinted wood putty. In that case, the first two coats of paint or three coats of putty shouldn’t be applied until after the wood surface of the staircase is stained and the first coat of varnish is applied. Then apply multiple coats of the putty, filling holes and chips before the varnish topcoat is used.
An overabundance of wood putty is generally applied, allowing for shrinkage. This should leave all the staples of dry sand and hardened wood putty sticking up above the surface of all the wood materials. It will be sanded flush with the final sanding of all the wood staples.
Final Sanding
The final sanding of the hardwood stairs should be done with 120-grit sandpaper. Since the purpose of this sanding is to provide a smooth surface of hardwood stairs for the finish to be applied to, it is better to use some vibratory sander, like a palm sander or mouse sander, for this sanding. A belt sander can create gouges in wood, even with this grit sandpaper.
Since the primary purpose of this sanding process on stairs is to provide a smooth surface, it is essential to check the surface, running your fingertips over it to check it. Pay particular attention to edges, corners, and the area around the baluster, if the staircase has an open border. These areas are the ones on stairs that tend to get sanded the least, leaving a surface that’s not as smooth.
Vacuum the stairwell carefully with a stir stick or wet rag first to remove all sawdust, then go back over it with the vacuum cleaner and a damp cloth or tack or stir stick or wet rag to remove any sawdust the vacuum cleaner missed. Any sawdust left behind will end up in the finish of hardwood stairs, where it will be visible.
Finishing The Staircase
With the varnish removed, imperfections in the wood filled, and the staircase fully sanded, it is ready for the refinish stairs refinishing to finish. This refinished stairs refinishing is a two-part finishing process consisting of staining and sanding block varnishing. However, the sanding block varnishing part can be broken down into two other refinishing parts, applying the sanding block sealer and then applying the heavy sanding and varnish itself.
Oil-based stains are usually brushed onto the surface to be stained. A china bristle brush is better, while a cheap paintbrush can be used. Apply the oil-based stain evenly, being sure to cover the entire surface. Some likely apply the oil-based stain will get onto adjacent painted surfaces. While not desirable, it is okay if this happens, as those surfaces will need to be painted after the stair treads are refinished.
The stain can be left on the wood surface for 15 minutes. Then it needs to be wiped off with lint-free absorbent cloths or paper towels. Some paper towel-type products are made for this, which are thicker and stronger than regular paper towels. By and large, they are excellent.
The longer the stain is given to soak into the wood, the darker its color will produce. It is possible to go back to the next project and apply a second or third coat of stain, if necessary, for areas that did not use the color quite adequately, but this is an iffy proposition, as there is no guarantee that the stain will soak in any better the second time around.
Once the excess stain has been wiped off, remove the carpet from the stairs should be left to dry overnight before varnishing.
The first coat of varnish to apply to the stain isn’t varnish but sanding sealer. While it is possible to use varnish directly over the color, most will soak into the wood. Sanding sealer, like primers used underneath the paint, is specifically formulated to dry quickly and not soak into the wood as much. This allows it to seal the surface of the wood so that the varnish will stay on top rather than soaking in.
Sanding sealer only requires one hour to dry before applying the first coat of varnish. A polyurethane varnish is recommended for the top hardwood floors and the hardwood stairs, as it is for all hardwood floors. Before applying the varnish, lightly hand-sand the stair surface with fine 150 to 220-grit sandpaper to catch any bumps from lingering sawdust. Wipe the sand surface with a tack cloth to pick up any dust this hand sanding creates.
Apply the first fresh coat of varnish using either a china bristle or foam brush. Care must be taken to ensure that the foam brush or the new coat of varnish is applied exceptionally smoothly, as any drips, runs, or heavy foam brush side marks will show in the final finish.
Leave the carpet and varnish to dry for 24 hours, avoiding the stairs, house, and carpet or walking on it. If anyone in the house or family must go up the carpet or stairs during this time, wait until an hour before the carpet and varnish are dry to the touch, and wear only socks so that shoes don’t mar the paint or carpet finish.
The second and third coats and any subsequent three coats of varnish can be applied the same way as the first, at 24-hour intervals. While two coats usually are considered sufficient, adding more inspiration or additional coats will give the old finish of your staircase more luster and will last longer.
Be sure to repaint the step and stair treads and risers first and trim around the steps once the step treads and risers and stair treads and risers are refinished. Not only will some of the stain and varnish invariably end up on these surfaces, but if they are not repainted, they will look drab compared to the smooth finish of the newly refinished stairs.
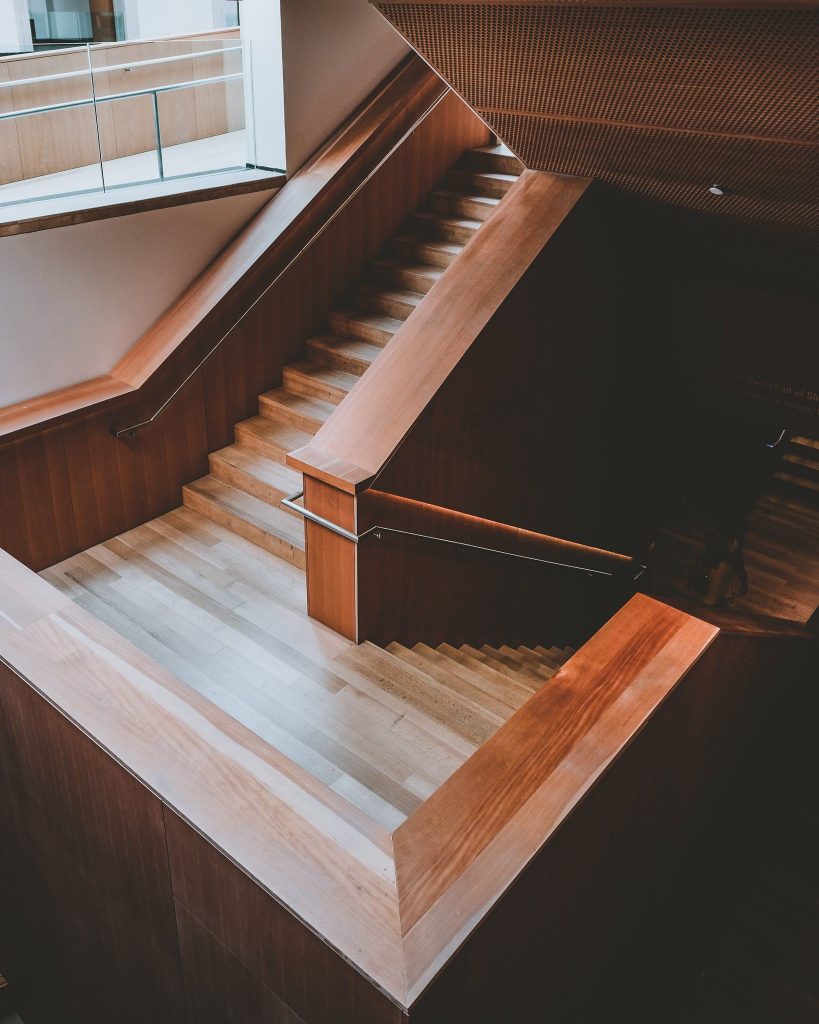
Wooden staircase
Using Stain & Varnish Combinations
In cases where a stain and varnish combination is to be applied, rather than stain and then varnish, much of the heavy sanding and preparation can be avoided. Of course, this depends on how dark the wood stairs themselves originally were, how dark the stain and varnish combination being applied is, and how uneven the coloration of the wooden refinish stairs already is before starting. In contrast, a dark stain and varnish can easily cover lighter and refinished wood stairs. The less of a difference between the color of the stain and the underlying refinished wood stairs, the less it can hide. It can’t hide much if it is close to the same color.
The big concern with using stain and varnish combinations is that they must be applied exceptionally evenly. Brush marks, especially those made by overlapping brushstrokes, become glaringly obvious, as the finish will be darker because of two thicknesses. As the finish dries quickly, finishing one end of the first step and then overlapping that while finishing the middle part will cause this problem.
It is possible to mitigate this problem somewhat by applying multiple coats of smoother finish. Still, it is best to make sure that every coat of paint is applied evenly and smoothly rather than trying to make up for mistakes with additional or multiple coats each. Each coat you apply multiple coats of smoother finish will make the paint and overall finish darker.
Refinishing Handrails and Balusters
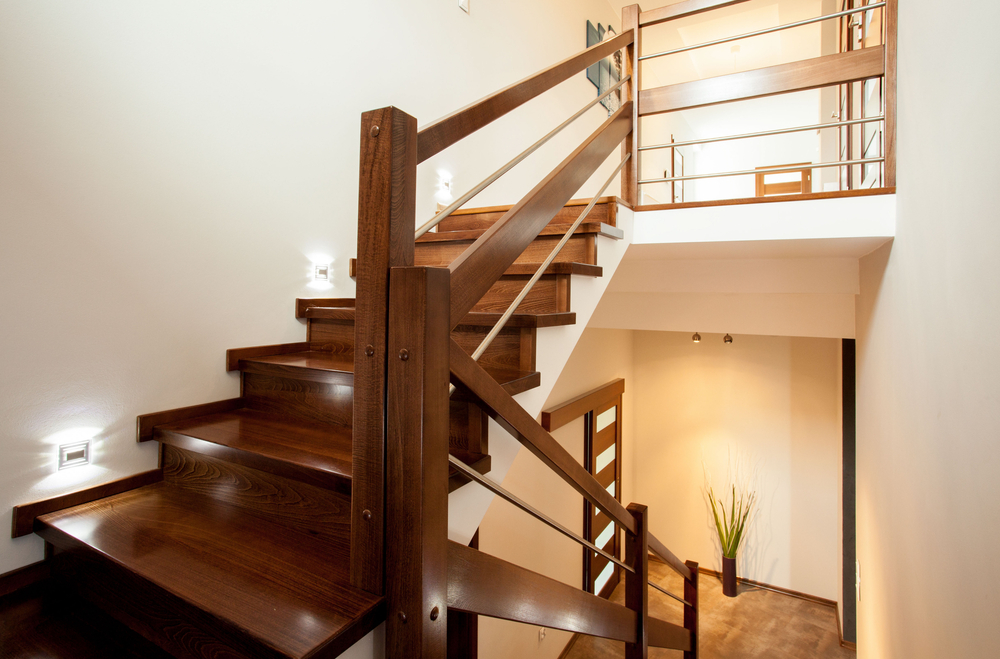
Horizontal view of wooden stairs at home
If needed refinishing stairs, handrails, and balusters can be finished simultaneously, although it is usually best to wait until the stairs themselves are finished and then refinish them. The same steps, materials, and tools needed for refinishing stairs are required for refinishing the stairs, handrail, and balusters, as mentioned above, for tools required for refinishing the stair treads.
Sanding the balusters can be difficult, as they are usually turned wood. The easiest way to hand sand them is with a sanding sponge, which will conform to the shape of the wood, allowing them to be hand sanded fairly easily. Power sanders should not be used.
As an alternative refinishing, the handrail itself can be refinished to a new finish to match the previous finish of the stairs and stair risers. At the same time, the balusters are painted to match the last finish of the step risers. This saves considerable money and time since the balusters don’t have to be don’t down to bare wood.
Related Posts:
Vinyl Stencils for Wood by Admin April 30, 2021 Tools Stenciled signs on wood are one of the trendy home décor items we find everywhere from knick-knack shops to truck stops. Some carry witty or…
Wood Floor Inlay by Admin May 1, 2021 Installing Wood floors have made a comeback, with many people preferring them over other flooring options. That’s not surprising, considering wood flooring’s natural beauty and durability.…
Wood Mallet by Admin June 24, 2021 DIY In our modern age of power tools, the wood mallet has all but been forgotten in the home workshop. Yet this is still a common…