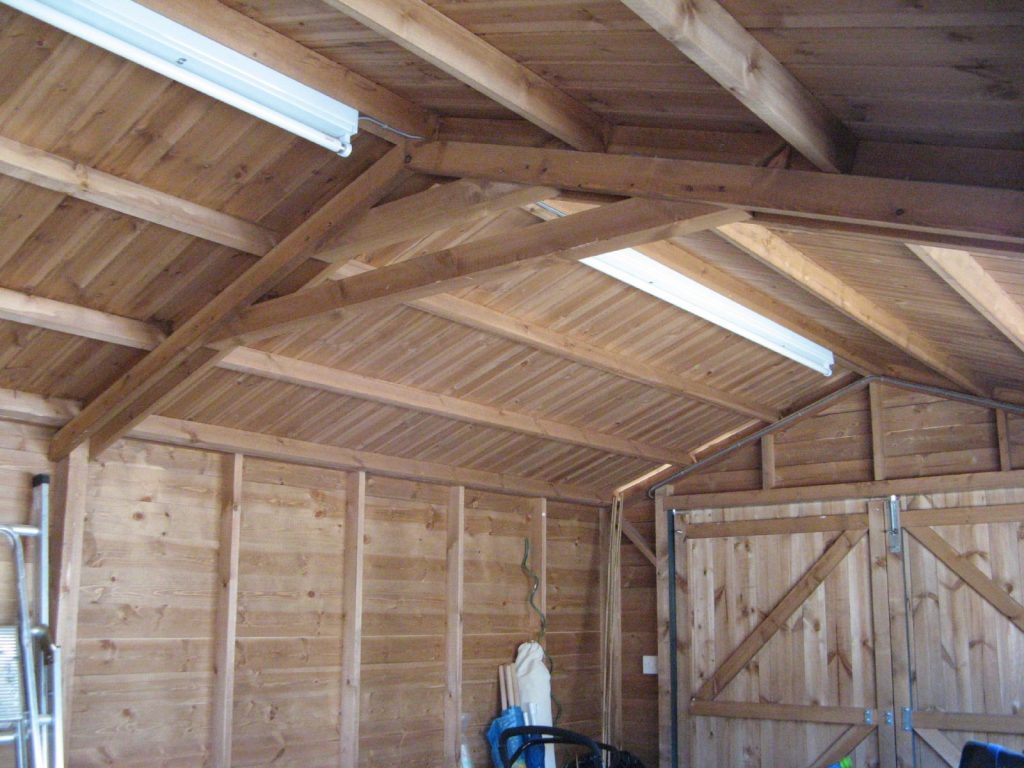
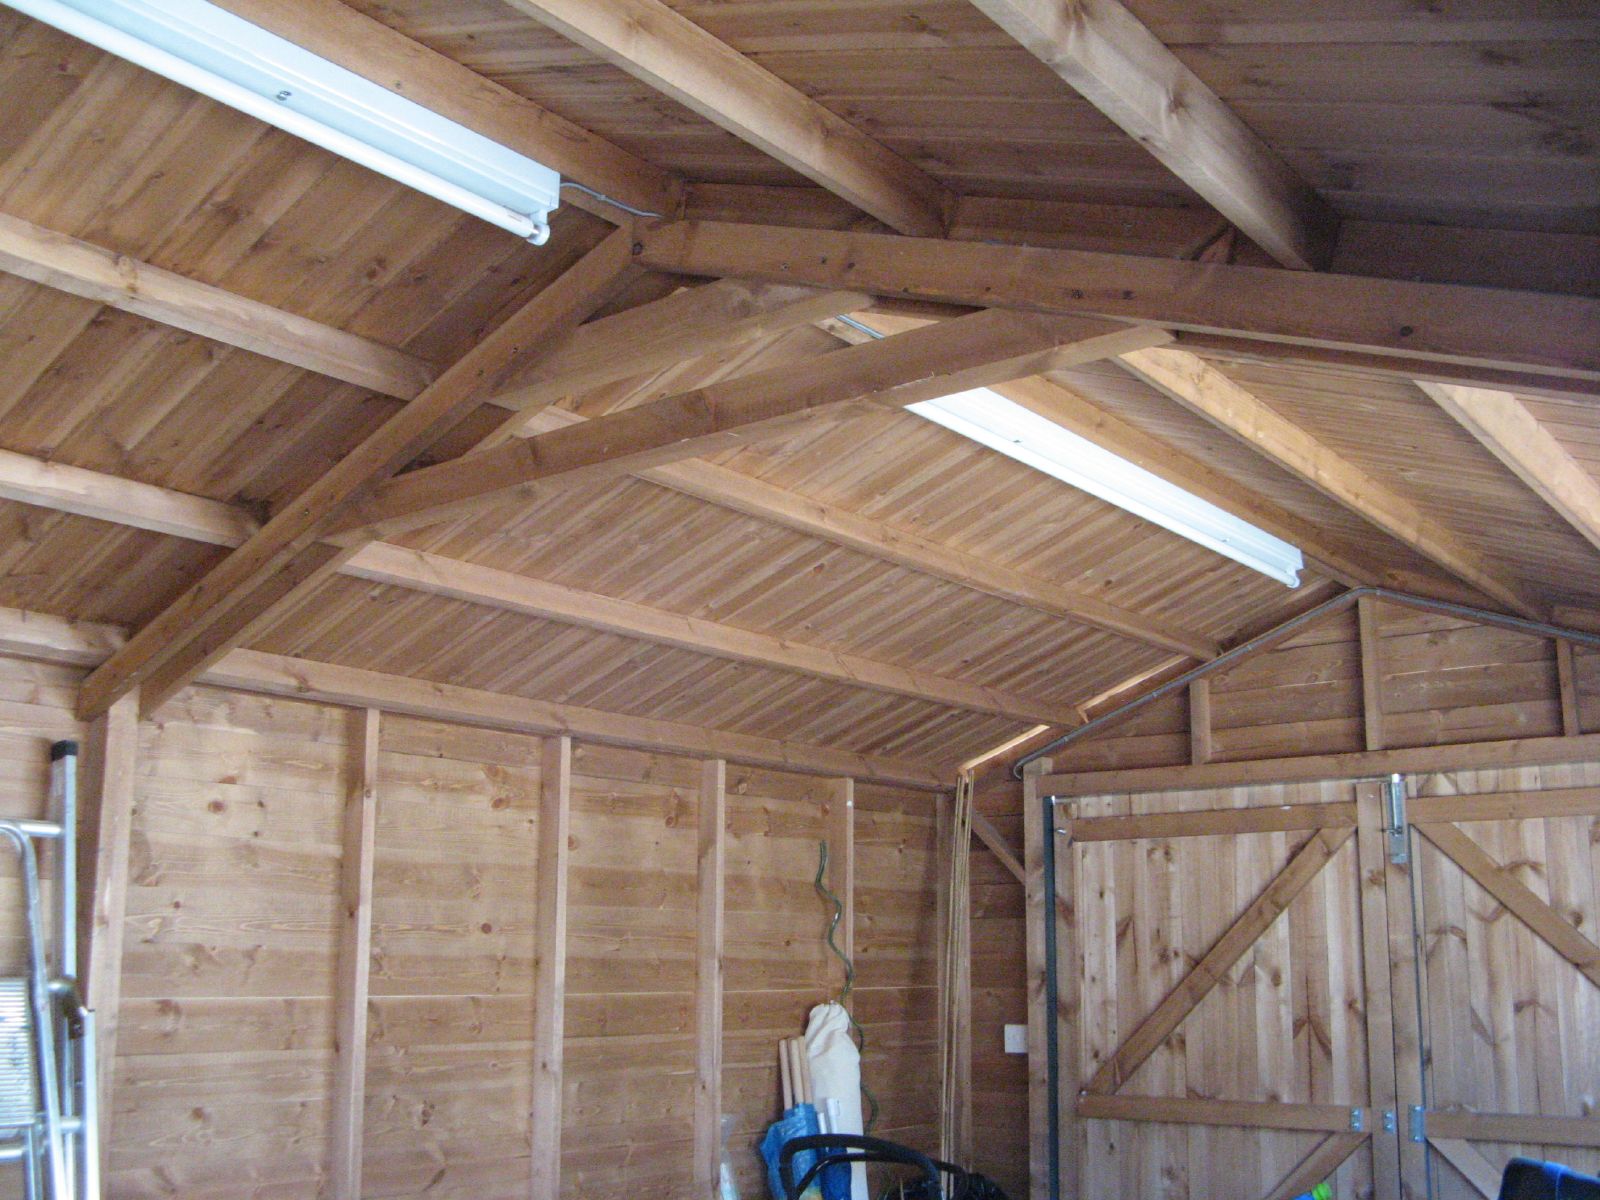
Having a home with a garage provides a lot of options for a family. Besides the obvious possibility of using it to park cars, garages are used as workshops, general storage and to store toys, such as boats and four-wheelers. The only problem is, no matter how big the garage looks when the home is bought, it never turns out to be big enough. There’s always a need for more space.
Fortunately, most garages have space available that is not in use. It’s located right above the cars, up in the area of the roof. Adding a loft over the cars can provide a considerable amount of storage space.
In cases where there is no garage attached to the home, adding a garage provides all those aforementioned benefits. But it provides one more as well. When building a garage from the ground up, it’s much easier to build it with a loft, than to add a loft. Not only that but by making the walls a little bit higher, the loft gains a considerable amount of additional storage space.
Building a Stand-alone Garage
Building a stand-alone garage might be a great project for someone who always wanted to build their own home, but wants something a bit simpler to do. The garage would include all the same requirements for pouring a slab, framing, siding, roofing, and a little bit of electrical work, without having to do the plumbing and finish work.
Plans and kits are available for stand-alone garages, including garages with lofts. Some of these include dormers, adding to the available storage space in the loft. In a few cases, it is possible to find plans with a full upstairs, which can be used for storage, a guest room, or a home office.
Garage kits can vary considerably in price, as the garages themselves can vary considerably. Two-car garage kits with a loft will run anywhere from $20,000 to $40,000 depending on how big the garage is and how complex the design.
The advantage to buying a kit, rather than buying a set of plans and buying the material separately is that the kit provides all the material needed, much of it precut to the required size. This reduces the amount of work required in building the garage, as well as the number of trips to the lumberyard to buy the materials. However, it is more expensive to buy a kit than to buy the materials, because of the extra work that goes into cutting the material and preparing the kit.
Those who are concerned about keeping the cost of their garage project down might consider buying plans, rather than a kit. A wide range of plans are available for very reasonable prices. Buying a plan also allows spreading the cost out, by buying the materials when they are ready to be used, rather than paying for everything upfront.
Part of this decision obviously rests on the available funds, but another consideration is time. Since a kit would be delivered all at once, it would need to be built fairly quickly; otherwise, the material would end up sitting out, exposed to the weather where it could be damaged.
Adding a Loft to an Existing Garage
In cases where a garage already exists, it is much less costly to add a loft, than it would be to replace the garage. Structurally, the garage’s walls are strong enough to support the loft, even though the edges of the loft can’t be set on top of the walls, as the floor to the second story of a house would be set on top of the first story’s walls. But that’s a problem that can be worked around by adding some support.
It will most likely be necessary to clean out the garage somewhat to work on it, at least the part under where the loft is going to be. Anything that will get in the way of ladders should be moved, as well as anything against the walls in the four corners of the loft.
Building the loft consists of just building the floor, as the walls and roof already exist. The only tricky part about it is ensuring that the loft is properly supported. This can be done by a combination of attaching it to the tops of the existing walls and using 4”x 4” for columns.
Most garages are 20’ to 24’ wide, which is your biggest dimension. The header joist over the center of the garage will have to span this wide, which means two halves of the joist, with the need to add a 4”x 4” column where they come together in the middle of the garage. What material is actually used for the header joists will depend on the actual width of the garage. The basic rule of thumb is half the span, plus two. So:
- If the garage is 20’ to 24’ wide, with a column in the middle, the header should be a 2”x 8”
- If the garage is 26’ to 30’ wide, with a column in the middle, the header should be a 2”x 10”
Likewise, the joists themselves will need to follow the same rule of thumb. Therefore:
- If the loft is going to be 8’ to 12’ deep, the joists can be 2”x 8”
- If the loft is going to be 13’ to 16’ deep, the joists can be 2”x 10”
Keep in mind that the header joists should not be any smaller than the joists. I-joists or truss joists are less expensive, use less lumber, and are lighter; so it is advantageous to use them for the joists, although they should not be used for the header joists, as it will be hard to connect the joists to them.
Building the Loft
The first step in building the loft is to attach a header to the top inside of the wall, all the way around the area that is going to be covered by the loft. This needs to be attached to the studs of the walls with lag screws. Install the back wall first, then the sides, finishing up with the header joist that will span the open side of the loft.
This header joist should be a double joist, with the joints spread at least four feet apart, so as to provide the most possible support. At first, it will only be attached to the ends of the header joists on the adjacent walls, so attach it with galvanized framing angles.
Add the 4”x 4” support legs in each corner and in the center of the header joist on the open side. Since it is impossible to nail through from the outside of the header joists to the support legs, attach these with galvanized angle brackets as well. Anchor the bottom end of these to the floor with 4×4 post bases, using either powder-actuated fasteners or concrete anchors into the floor slab.
With the outer perimeter of the framing installed, the rest of the floor joists can be attached. It would be a good idea to use joist hangers on the side where the joists connect to the back wall of the garage, as it will be impossible to nail through the header into the joists. On the open end, these are not necessary, although using them will create a stronger loft.
The last step is to install the subfloor. Building code allows for the use of either construction-grade softwood plywood or OSB. While ¾” thick material is normally used in the home, 5/8” thick can be used for the loft, assuming it is only going to be used as a storage area.

Some Options to Consider
Most people don’t bother installing a staircase for a loft that is only used for storage; they merely lean a ladder against it when they need to access the loft area. However, there are some other options to consider, such as attaching a ladder against the back wall of the garage, with an access hole in the floor of the loft.
Rather than against the wall, a ladder can be permanently mounted to the open edge of the loft, in what would be the aisle space between two parked cars. Either of these permanent ladder arrangements would be useful if the loft will be accessed frequently.
Another thing to consider is adding an attic lift to the loft. Check out our article about attic lift for more information about this option.
Finally, if the loft area is being used as a work area or people are going up and down frequently, taking things up and down from the loft, it might be a good idea to add a railing along the open side for safety. This could keep both people and boxes from falling.


