
There are several different specialized nailing techniques that can be encountered in woodworking. Each, of course, has its own name, although those names are not used uniformly by everyone, everywhere. The same term might actually end up being used in different places, each of which has its own understanding of what it means.
Such is the case with “cross nailing.” There are three different meanings I’ve encountered for this term, all of which are different. About the only thing that can be said that’s common between them is that they all involve the nails crossing each other, as they go through the wood. But they all require different nails and are used in different situations.
Cross Nailing in Framing
The first place we find the term cross nailing used is in framing. There, it is used as another way of referring to toe nailing. It is used when installing a stud into an already framed wall. In that case, normal face nailing where the nail is pounded through the face of the floor plate into the end of the new stud can’t be done, so the nails are installed at an angle, crossing each other.
Toe nailing can be tricky, especially when being done by hand. The basic problem is that the wood can move while it is being nailed into place. Even when held firmly by a work boot, the act of pounding the nails in at an angle will tend to shove the stud sideways, as well as the booted foot holding it in place.
Experience carpenters know how much the board will shift while toe nailing and account for it in the placement of the board. They also realize that putting the next nail in, which crosses the first, will drive the board back in the other direction, to some extent. So, a lot of cross nailing in framing is understanding just how much the board will move, which helps in judging how much to compensate for it.
Cross Nailing in Making Picture Frames
Picture frames or anything similar where molding is connected together generally requires nailing. The same exists on some furniture pieces, where a mitered face frame is used, especially a mitered face frame made of molding. There are some specialty fasteners which are used from time to time, but nailing is the normal way of doing this. Glue is often used in conjunction with nailing, but gluing into end grain is not very effective.
Due to the necessity for extremely accurate alignment between the parts, so as to avoid the miter cut itself showing as more than a line on the surface of the finished frame. To help ensure this, it’s always a good idea to use a miter clamp to hold the pieces together while nailing. Otherwise, the parts can move in relation to each other.
This risk of the workpieces moving in relationship to each other is lessened when using a pneumatic brad nailer to make the frame. The fast push of the nail into the wood is much easier on the frame, creating less potential for problems than pounding in nails.
Small finish nails are usually used for connecting these pieces together, with the actual size of the nails being determined by the size of the moldings making up the frame. Few moldings allow enough space for more than one nail from each side, but that alone creates the cross necessary to give the joint strength. Finish the cross nailing by sinking the nail head below flush in the wood, using a nail set. Then fill the hole with matching colored wood putty.
Cross Nailing in Hanging Crown Molding
Properly hanging crown molding is one of the most difficult tasks for the finish carpenter. While the process is actually rather straightforward, it requires extreme accuracy to avoid any sort of gaps, either in the inside corner or where two pieces of molding are scabbed together. Cross nailing can be used to help tighten up the joints, as well as the fit of the molding to the ceiling, when normal face nailing of the molding isn’t enough.
One way that cross nailing is used for crown molding is to attach the molding to the ceiling, in cases where the molding is running parallel to the ceiling joists and there isn’t a joist at the right position to nail the molding to. In that case, it is necessary to attach the molding to nothing more than the drywall, which really isn’t designed to provide structural support.
Nails driven straight into drywall will pull out, without a lot of force. But by installing two finish nails at an angle either crossing each other or away from each other, the two angled nails form a trap, pulling the molding tight up against the drywall. They can’t pull out, because the force required for making them pull out is across the thickness of the nail, greatly increasing the resistance to pull out. The two nails being installed at opposite angles multiply that effect.
For this to work, a pneumatic finish nailer or brad nailer needs to be used. Trying to cross nail directly into drywall with hammered nails causes too much vibration, which in turn causes the gypsum core around the nail to break up, reducing its grip on the nail being installed.
A similar form of cross nailing can be done for inside corner, where the same problem exists. In that case, the piece of crown molding where there is adequate backing support for the nails should be installed first. Then, the second piece of crown molding is nailed through the first piece, into the structural members behind.
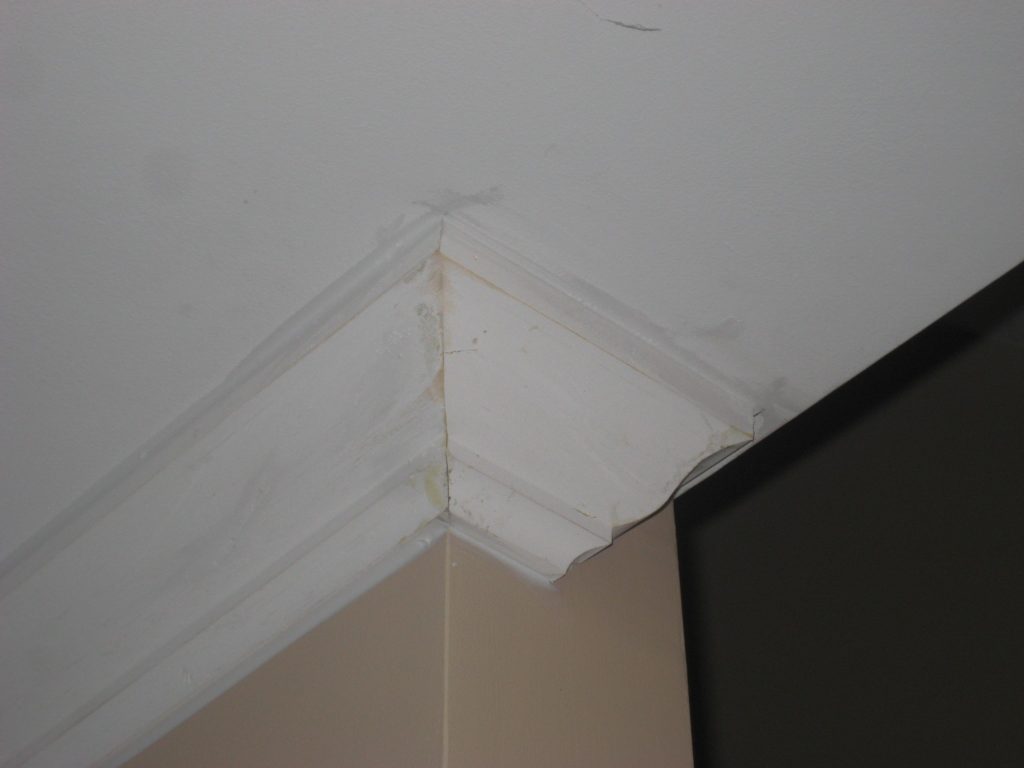
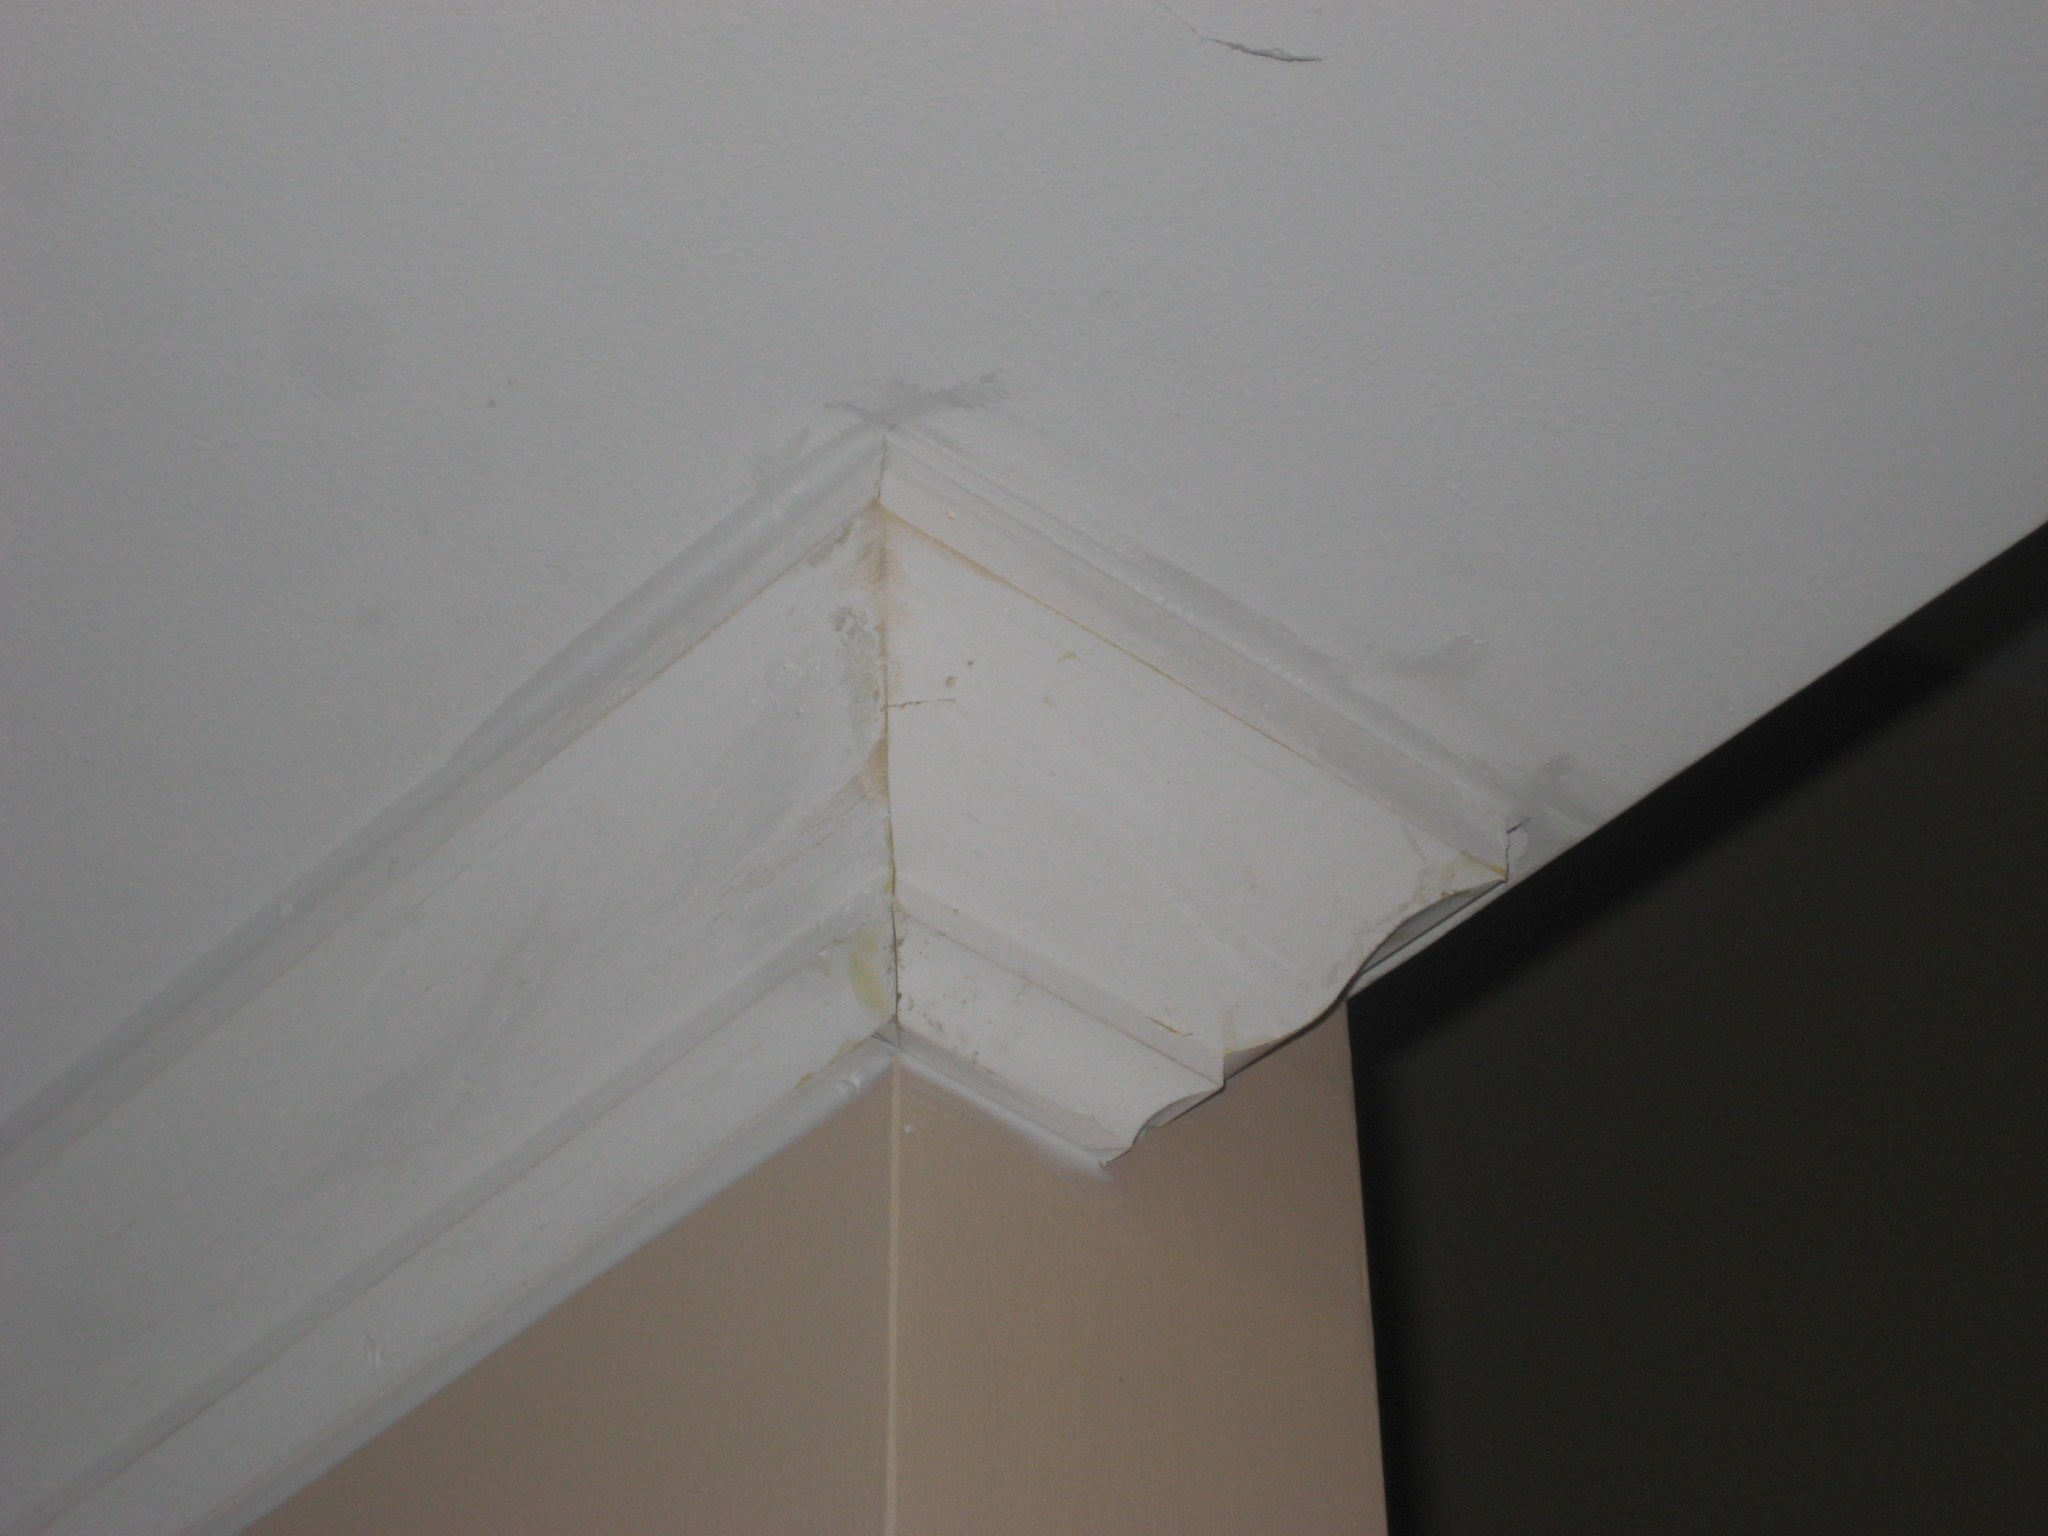
Coving the Corner
When making corners like this, it is necessary to cover the second piece of molding into the first, rather than cutting the two at a miter. This is a better method for making inside corners anyway, as a mitered corner only works out well when the corner is exactly 90 degrees. If it is not an exact right angle, the corner needs to be measured and the miter saw adjusted to split the difference in the angle. But that problem can be avoided by cove cutting the corner.
To do this, first measure and mark where the second piece needs to be cut, so that it will mate up properly with the first. Then cut it at a normal 45 degree miter. Using that for a guideline, cut out the material which would normally fill the miter joint, leaving the miter cut edge intact, with the material behind it cut back at a negative angle.
If properly cut, when this is pushed up against the first piece of cove molding, the edge will fit tight up to the first piece, leaving no gap. If there is a slight misalignment, the thin edge of the second piece can crush, making it fit. The two pieces can be nail together by nailing from the second piece, through the first.
A Word about Splitting Wood
One of the potential problems in cross nailing is the wood splitting, especially in those cases where the nails are being installed close to the end of the board or molding. There’s nothing like a split in a fine piece of molding, whether crown molding or a face frame on a piece of furniture, to make the entire job look poorly done.
These splits happen because the sharp point of the nail acts like a wedge, separating the wood fibers. This pressure on the bonding of the wood fibers is what leads to a split forming. Since the crack happens quickly, usually from one blow of the hammer, once it starts, it forms before we have a chance to stop it.
There are two possible solutions that can be used to prevent this. The easier of the two is to blunt the point of the nail, before pounding it in. To do that, set the nail, point side up, on a hard surface and tap it with a hammer a couple of times. This will eliminate the wedge action sufficiently, so as to allow the nail to punch through the wood, pushing the wood fibers before it, rather than separating those wood fibers and causing a split.
The second method requires pre-drilling the holes through the molding with a drill bit that’s slightly smaller than the diameter of the nail’s shank. This will still leave enough friction between the wood and the nail, especially the nail’s head, to hold the two together. But it drastically reduces the stress between wood fibers caused by the wedge action of the nail.
This really isn’t an issue when working with a pneumatic nailer, rather than hand nailing. Finish nails manufactured for use in a pneumatic nailer are shaped differently. Not only does the nail have more of a square cross-section, but the point of the nail is already blunted to help prevent splitting. While this may look like poorly manufactured nails under casual inspection, it is actually intentional and intended to eliminate a potential problem when using the nailer.